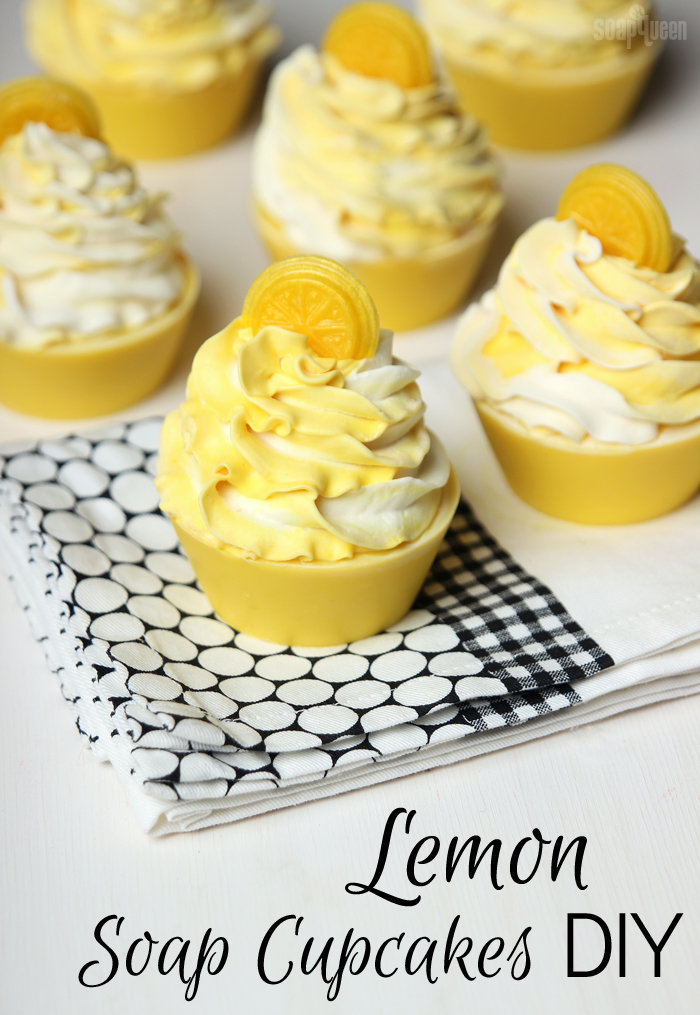
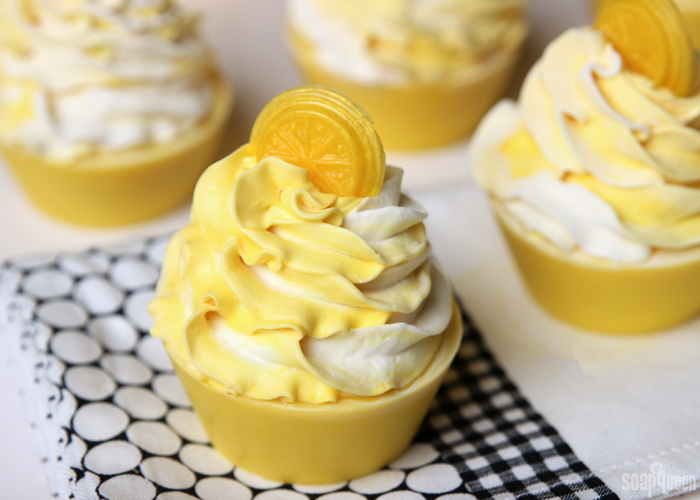
Lemon-flavored desserts are always a favorite. Not only are they delicious, but the bright yellow color is hard to beat. While you can’t eat these Lemon Cold Process Soap Cupcakes, they look just as yummy as the real thing! The design was a spin off the Luscious Lemon Cupcakes, which were made with melt and pour soap. Scented with Lemon Verbena Yankee Type Fragrance Oil, these soaps smell fresh and tart.
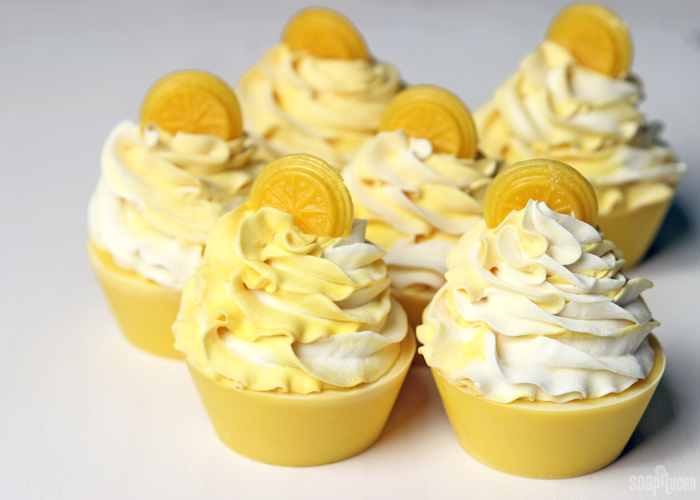
This recipe does require a few steps, and is considered an advanced soaping project. If you’ve never made soap before, I recommend getting a few batches under your belt before trying this tutorial. In particular, creating soap frosting requires a good understanding of soaping temperatures and lye safety. To watch the process of making cold process soap frosting, check out the Soap Queen TV video below.
What You’ll Need:
Soap Cupcakes Base:
Round Cupcake Silicone Mold
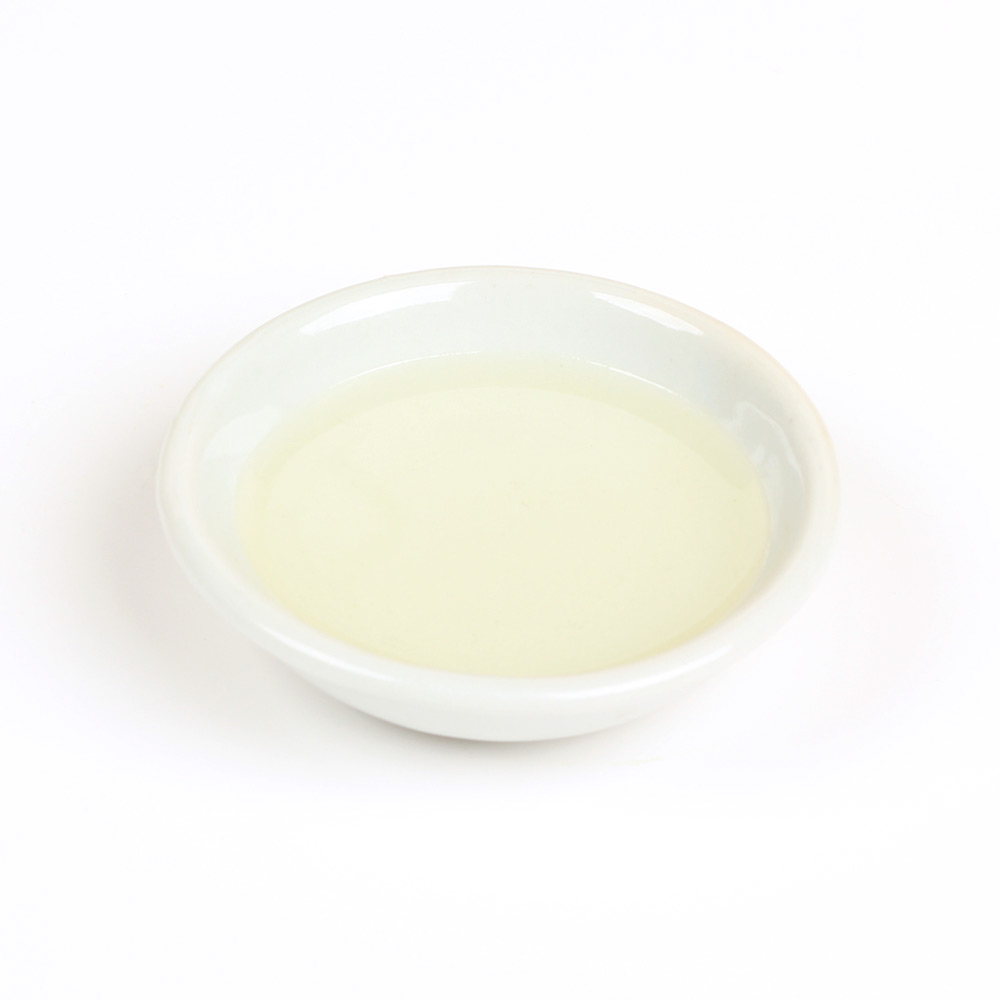
2.4 oz. Sweet Almond Oil
4 oz. Coconut Oil
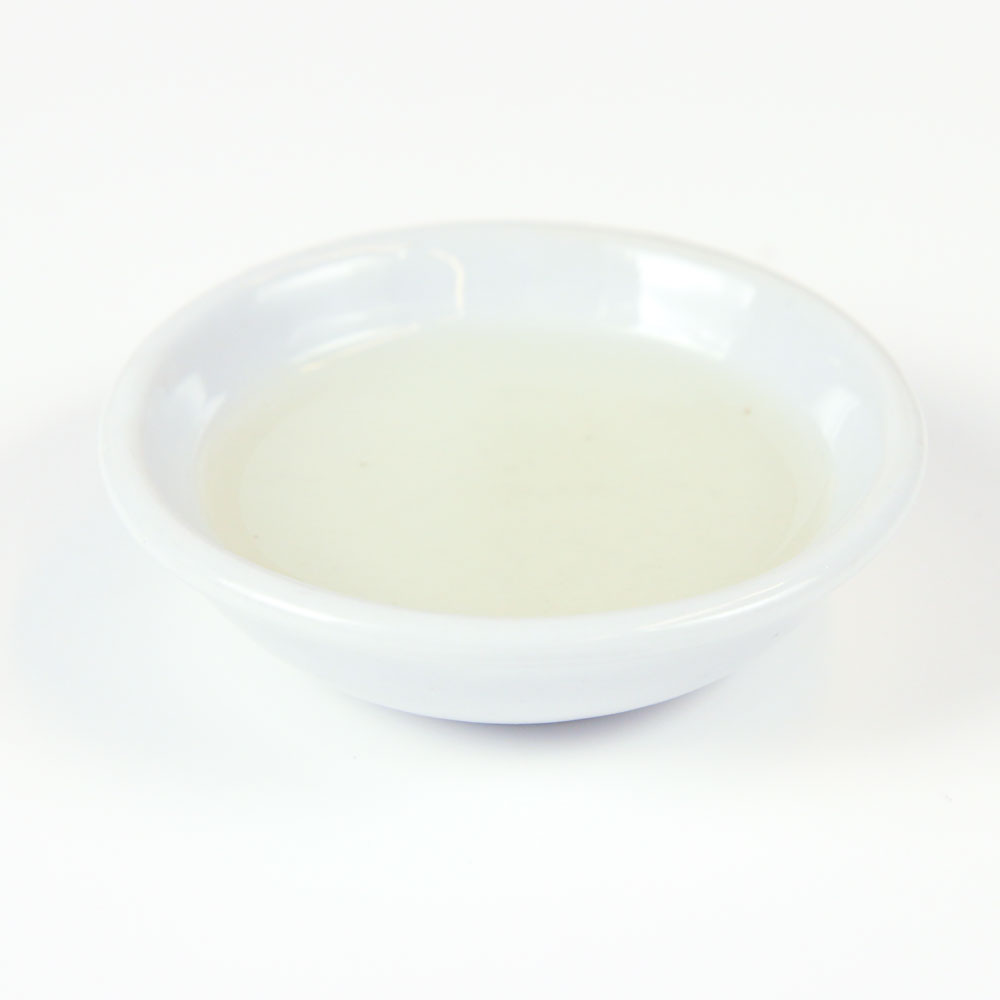
4 oz. Olive Oil
4.8 oz. Palm Oil
.8 oz. Shea Butter
2.3 oz. Sodium Hydroxide Lye
5.3 oz. Distilled Water
Yellow Lip Safe Mica
.2 oz. Lemon Verbena Yankee Type Fragrance Oil
Soap Frosting:
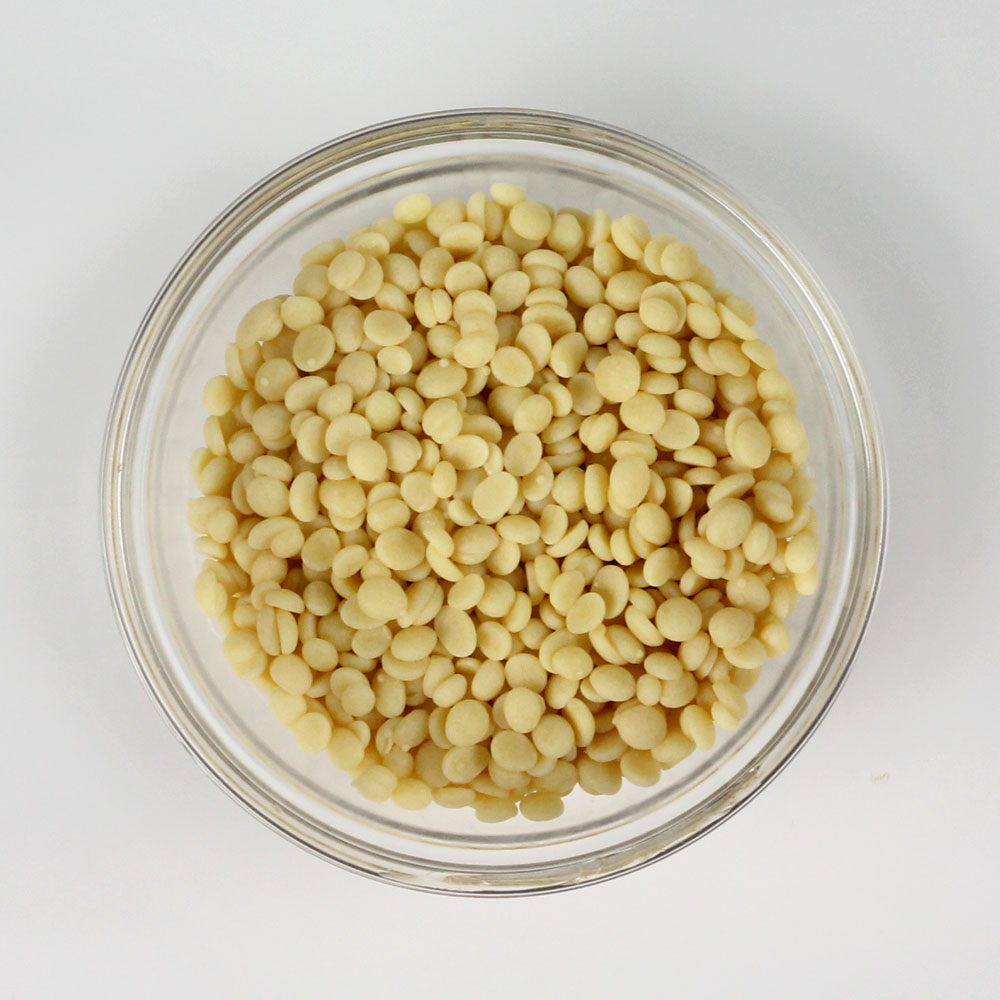
3.8 oz. Cocoa Butter
7.6 oz. Coconut Oil
3.8 oz. Olive Oil
3.8 oz. Shea Butter
2.8 oz. Sodium Hydroxide Lye
6.3 oz. Distilled Water
Yellow Lip Safe Mica
Lemon Verbena Yankee Type Fragrance Oil
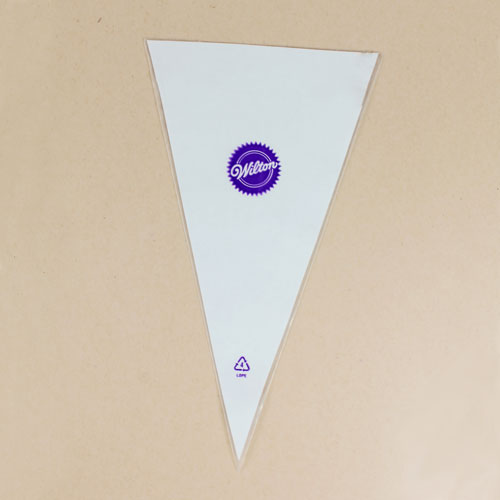
Disposable Frosting Bag
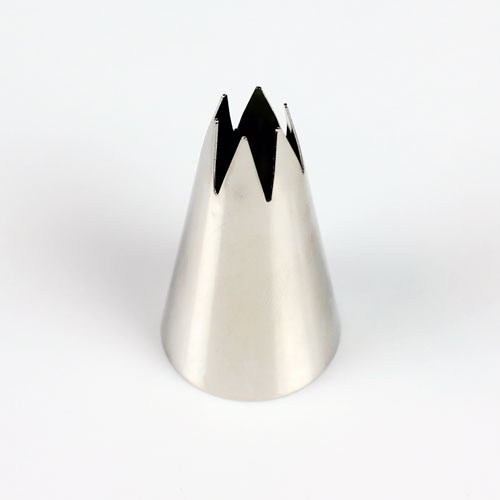
1M Frosting Tip
Soap Embeds:
Citrus Slice Wax Tart Mold
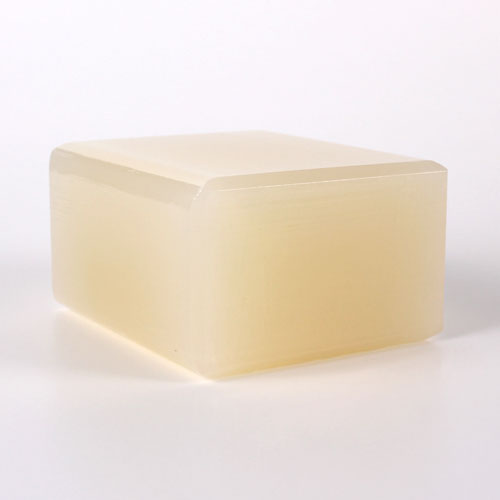
2 oz. LCP Clear MP Base
Yellow Lip Safe Mica
Optional: 99% Isopropyl Alcohol

Click here to add everything you need for this project to your Bramble Berry shopping cart!
Make the Lemon Embeds
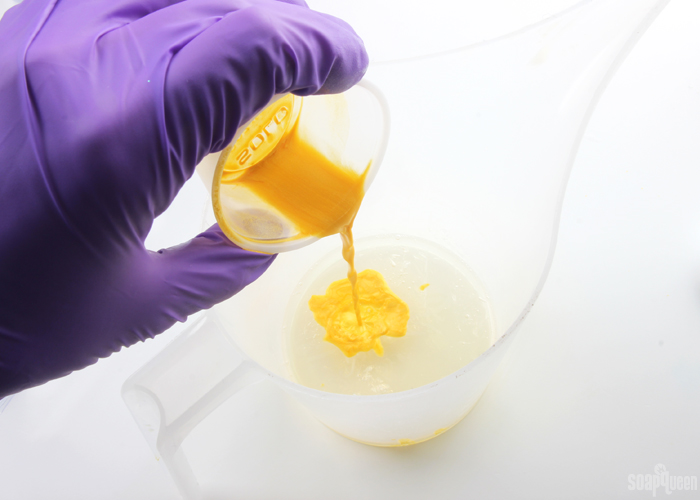
ONE: Disperse 1/2 teaspoon of Yellow Lip Safe Mica into 1/2 Tablespoon 99% isopropyl alcohol. Mix to combine. Cut 2 oz. of LCP Clear Melt and Pour Base in small chunks and melt in a heat-safe container on 5 second bursts. Melting on short bursts ensures the soap doesn’t burn. Read more about burnt melt and pour here. Add all the dispersed Yellow Lip Safe Mica colorant, and stir to combine.
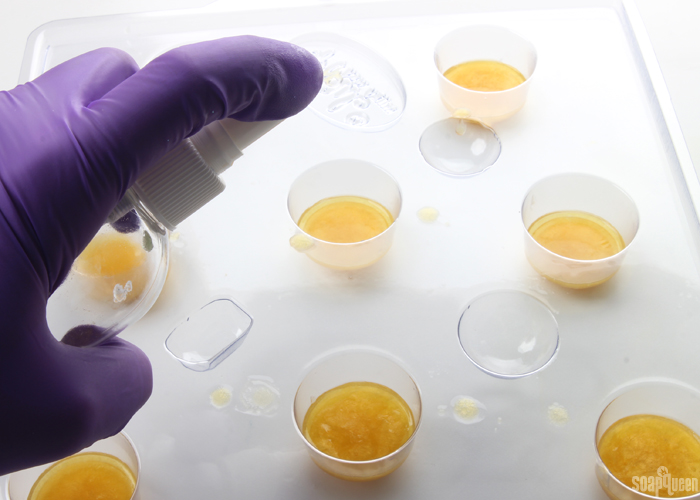
TWO: Carefully pour the soap into the cavities, filling only until the citrus design is covered. Spritz with 99% isopropyl alcohol to disperse any bubbles, and allow to fully cool and harden. This will take about 1-2 hours. Once hardened, pop out each embed and set aside until later.
Make the Base
If you’ve never made Cold Process soap before, stop here! I highly recommend checking out our FREE four part SoapQueen.tv series on Cold Process Soapmaking, especially the episode on lye safety. And if you’d rather do some reading, Bramble Berry carries a wide range of books on the topic, including my newest book, Pure Soapmaking. You can also checkout the digital downloads for that instant gratification factor.
SAFETY FIRST: Suit up for safe handling practices! That means goggles, gloves and long sleeves. Make sure kids, pets, and other distractions and tripping hazards are out of the house or don’t have access to your soaping space. Always soap in a well-ventilated area.
COLOR PREP: Disperse 1 teaspoon Yellow Lip Safe Mica into 1 tablespoon of light liquid oil.
ONE: Slowly and carefully add the lye to the water and gently stir until the lye has fully dissolved and the liquid is clear. Set aside to cool.
TWO: Combine the sweet almond oil, coconut oil, olive oil, palm oil and shea butter (remember to fully melt then mix your entire container of palm oil before portioning). Once the lye water and the oils have cooled to 130 degrees or below (and are ideally within 10 degrees of each other), add the lye water to the oils and stick blend until you reach a light trace. If you’d like a harder bar of soap that releases faster from the mold, you can add sodium lactate to the cooled lye water. Use 1 teaspoon of sodium lactate per pound of oils in the recipe. For this recipe, you’d add about 1 tsp. sodium lactate.
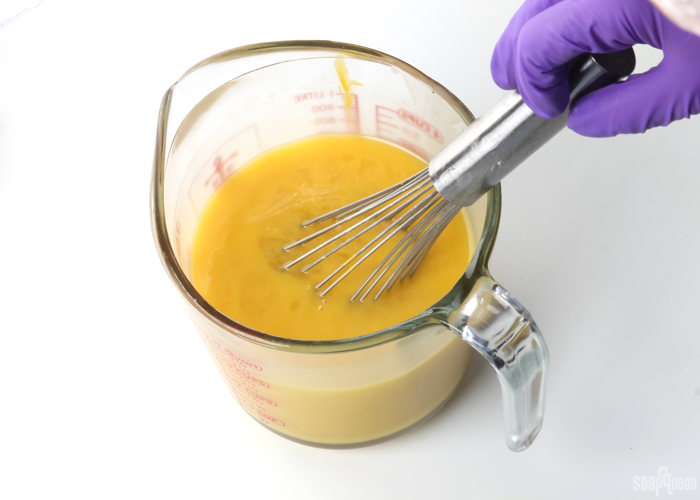
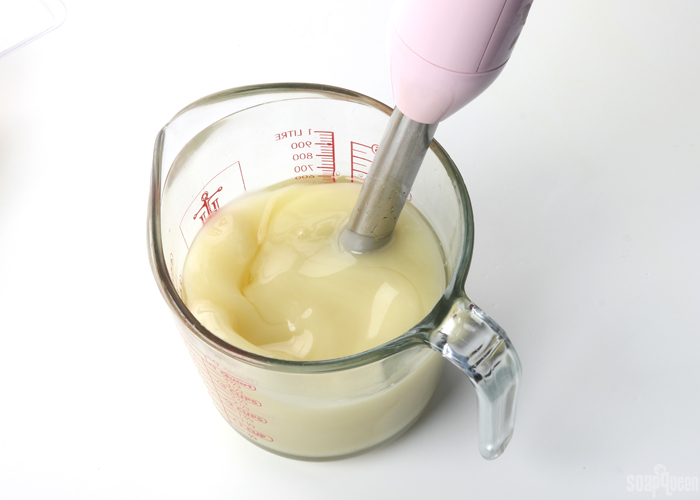 THREE: Add 1 tbs. of the dispersed Yellow Mica and 0.2 ounces of the Lemon Verbena Yankee Type Fragrance Oil. Use a whisk to stir both ingredients in thoroughly.
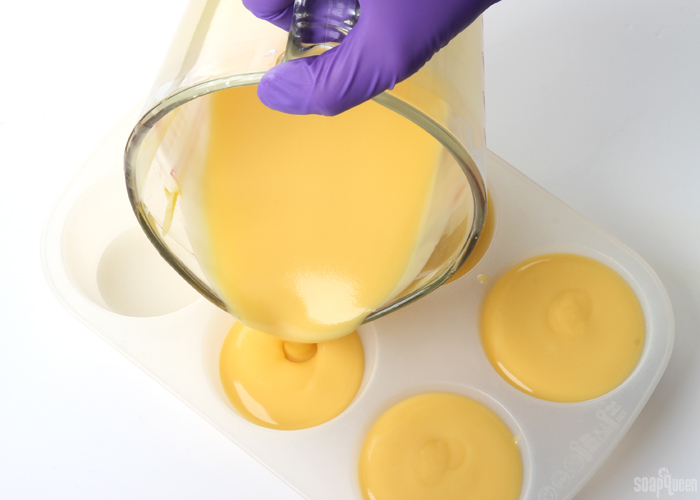
 FOUR: If your soap is still extremely thin, pulse the mixture with the stick blender for several seconds to thicken slightly. Pour the batter into each cavity. Tap the mold on the counter to help even out the soap and get rid of any bubbles.
Make the Frosting
SAFETY FIRST: Suit up for safe handling practices! That means goggles, gloves and long sleeves. Make sure kids, pets, and other distractions and tripping hazards are out of the house or don’t have access to your soaping space. Always soap in a well-ventilated area.
LYE & OIL PREP: In order to get soapy frosting to actually look like frosting, the lye and oils must be very cold. We recommend making the lye water a full day ahead of time, clearly labeling it (*poison* *danger* *do not drink!*) and keeping it in a refrigerator not used for food. Alternately, you can use frozen water (eh hem: ice) to add your lye flakes to but the lye will still need to cool down. The lye should be around 60 degrees F before adding it to the oils. Additionally, you want your oils to be around 70 degrees F. You can even refrigerate them for several hours too! They should be semi-solid at this temperature. If your oils become completely solid, don’t worry. Soap frosting can be created with solid oils as well.
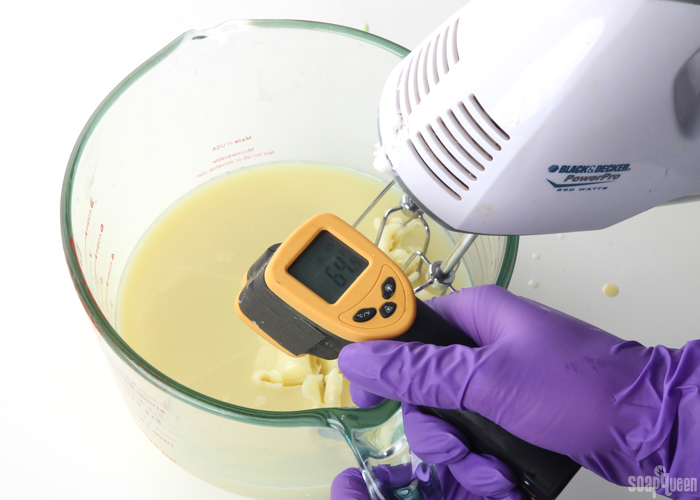 COLOR PREP: Disperse 2 teaspoons of Yellow Lip Safe Mica into 2 tablespoons of light liquid oil.
ONE: Whip the oils into a soft consistency. Slowly pour a small amount of the lye into the whipped oils, and use a spoon to incorporate. Be super careful not to splash any lye at this point before the lye water is fully incorporated into the hardened, slushy, cool oils. Continue to add a small amounts of the lye water to the oils, and slowly and carefully mix it in. Take your time with this process!
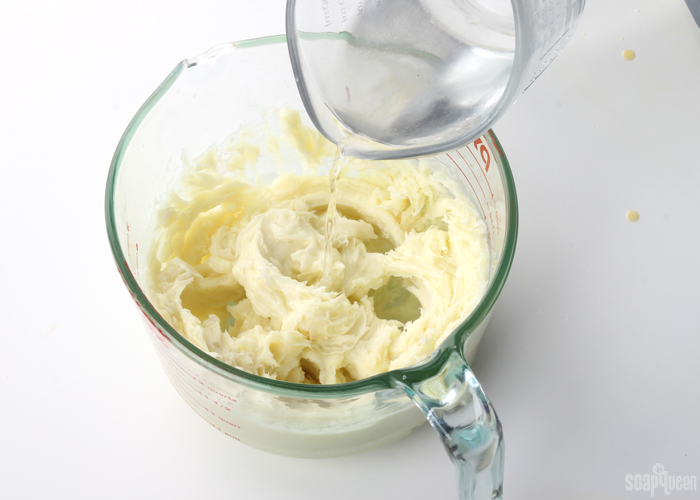
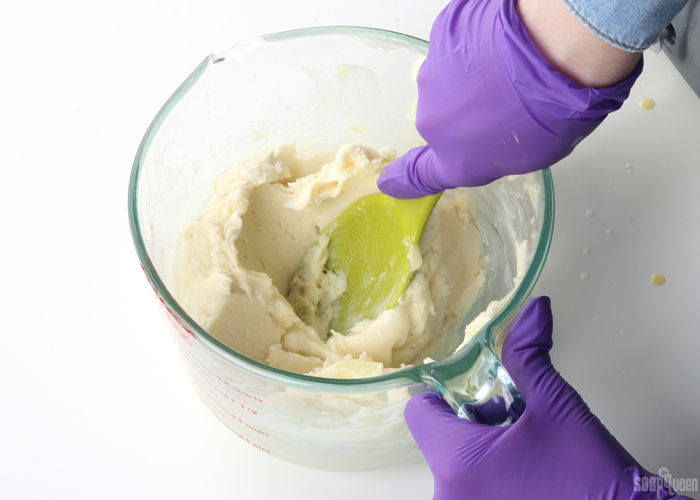 TWO: Once the lye has been incorporated into the oils (this can take a few minutes), turn the hand mixer or stand mixer on low. Whip oils until a fluffy, frosting texture is achieved. Scrape any batter that has splattered on the side of the container and then turn the mixer to a medium setting. Continue to whip for several minutes.
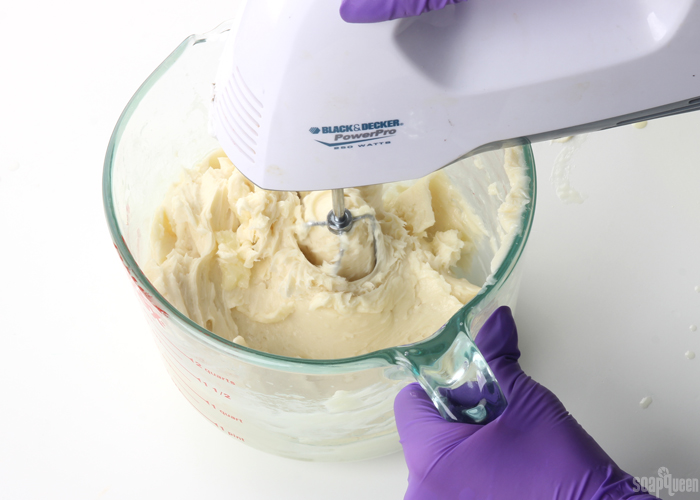
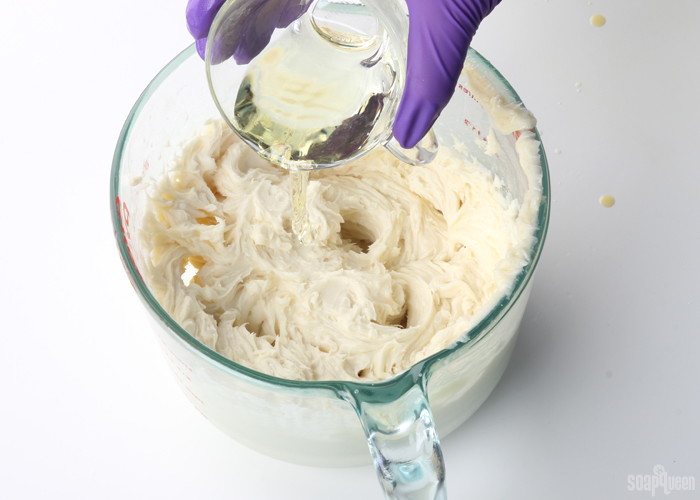
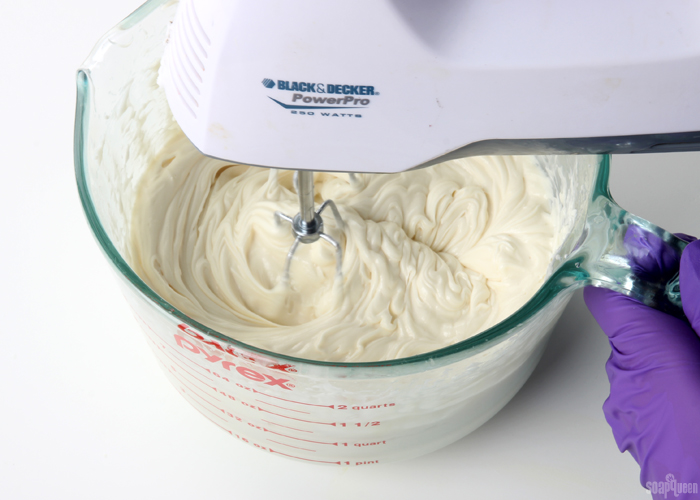
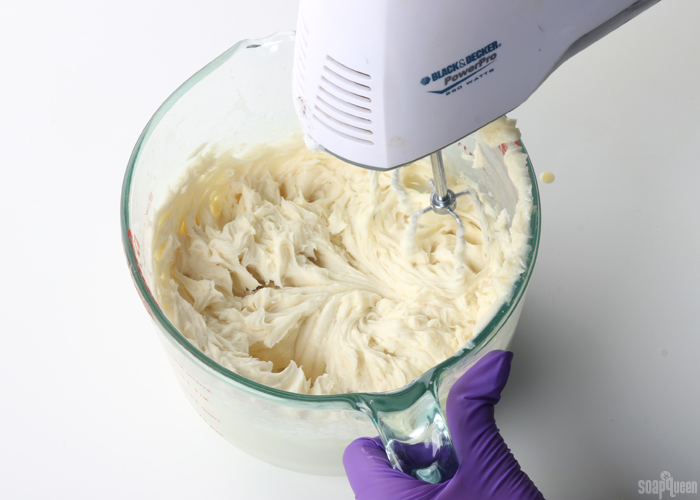 THREE: Once the lye and oils are completely combined, add 0.3 ounces of the Lemon Verbena Yankee Type Fragrance Oil. Incorporate the fragrance oil with a spoon or spatula first until mixed, then turn on the mixer on low and whip the ingredients together until completely combined.
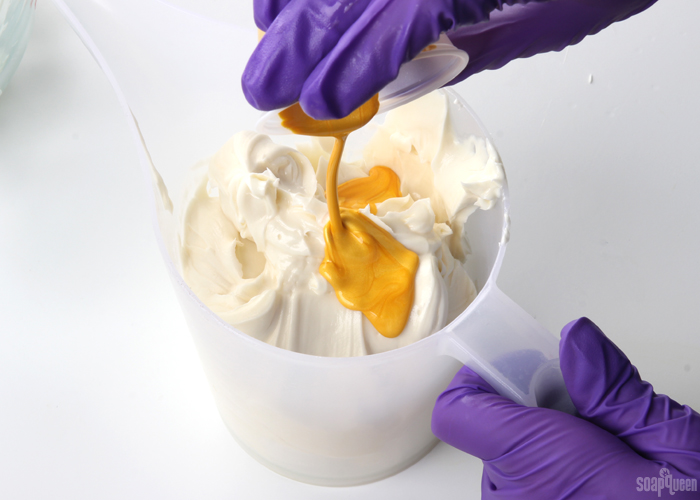
 FOUR: Split the frosting in half, and add all of the dispersed Yellow Lip Safe Mica. Use a spatula or whisk to fully mix in the colorant.
 FIVE: Cut off about a half inch from the tip of the frosting bag and push the tip through. Scoop two frosting colors into opposite sides of the bag until full. You will have some frosting left over, and will need to fill the bag again during the frosting process.
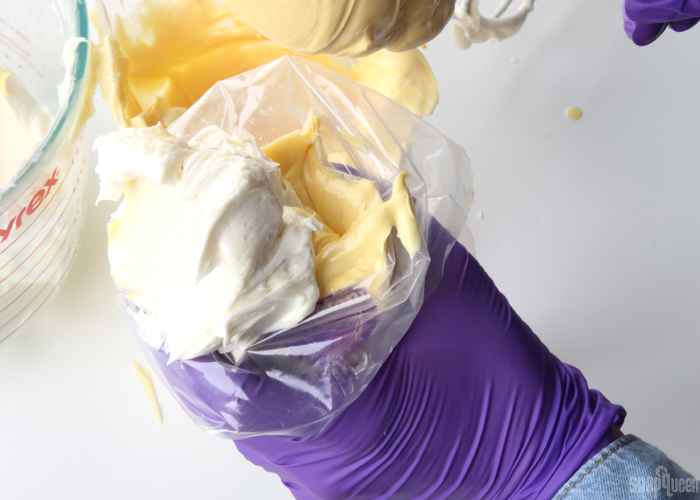 SIX: Squeeze out some of the frosting until both colors come out of the bag. Squeeze a dollop of frosting in the center of each cupcake.
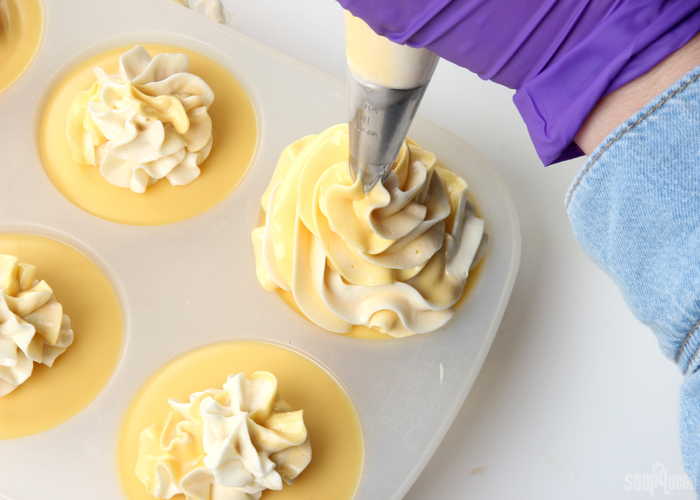
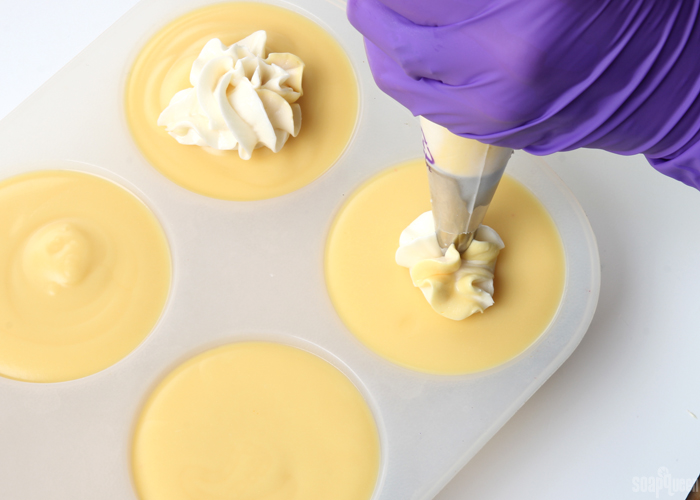 SEVEN: Pipe the frosting up and around the center of each cupcake until you form a peak.
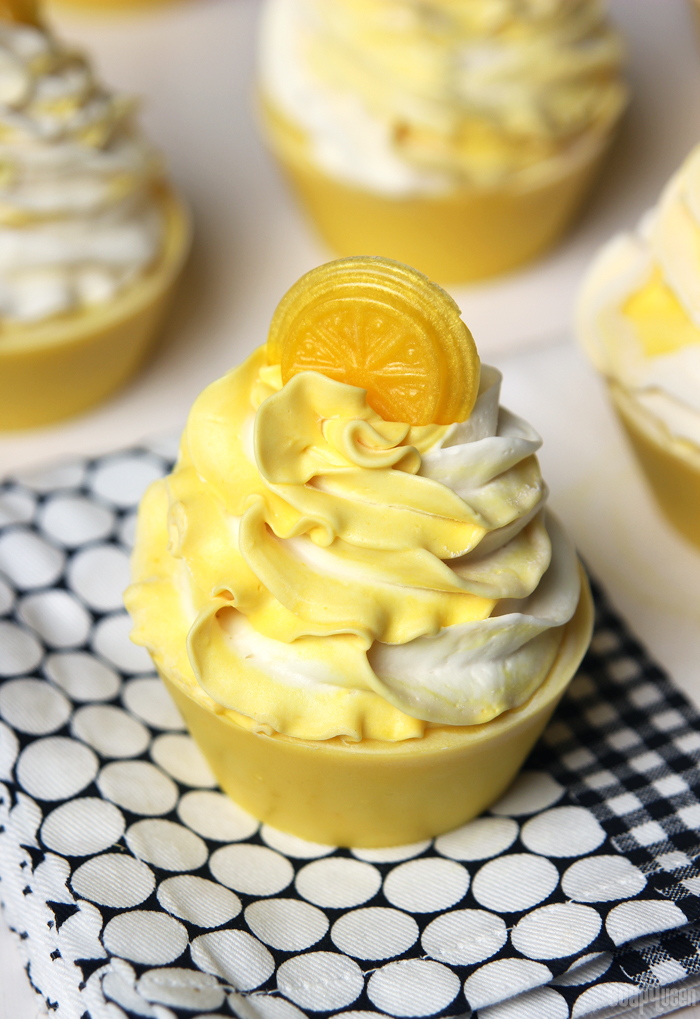
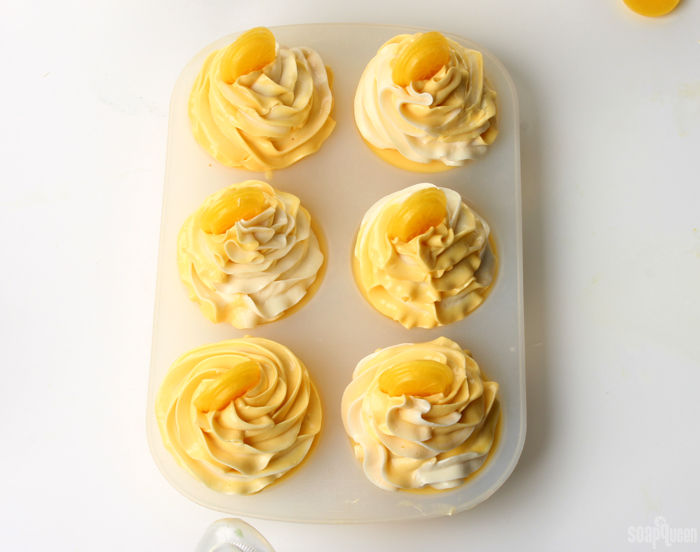
 EIGHT: Place a lemon embed into the top of each cupcake. Immediately place the cupcakes into the fridge or freezer. This helps the frosting stay firm and prevents it from melting. Remove the cupcakes from the fridge or freezer after several hours or overnight. Allow the cupcakes to stay in the mold for 2-3 days. Carefully remove each soap from the mold, and allow to cure for 4-6 weeks. Enjoy!
Click to View the Recipe
- Round Cupcake Silicone Mold
- 2.4 oz. Sweet Almond Oil
- 4 oz. Coconut Oil
- 4 oz. Olive Oil
- 4.8 oz. Palm Oil
- .8 oz. Shea Butter
- 2.3 oz. Sodium Hydroxide Lye
- 5.3 oz. Distilled Water
- Yellow Lip Safe Mica
- .2 oz. Lemon Verbena Yankee Type Fragrance Oil
- 3.8 oz. Cocoa Butter
- 7.6 oz. Coconut Oil
- 3.8 oz. Olive Oil
- 3.8 oz. Shea Butter
- 2.8 oz. Sodium Hydroxide Lye
- 6.3 oz. Distilled Water
- Yellow Lip Safe Mica
- Lemon Verbena Yankee Type Fragrance Oil
- Disposable Frosting Bag
- 1M Frosting Tip
- Citrus Slice Wax Tart Mold
- 2 oz. LCP Clear MP Base
- Yellow Lip Safe Mica
- Optional: 99% Isopropyl Alcohol
- Disperse ½ teaspoon of Yellow Lip Safe Mica into ½ Tablespoon 99% isopropyl alcohol. Mix to combine. Cut 2 oz. of LCP Clear Melt and Pour Base in small chunks and melt in a heat-safe container on 5 second bursts. Melting on short bursts ensures the soap doesn’t burn. Read more about burnt melt and pour here. Add all the dispersed Yellow Lip Safe Mica colorant, and stir to combine.
- Carefully pour the soap into the cavities, filling only until the citrus design is covered. Spritz with 99% isopropyl alcohol to disperse any bubbles, and allow to fully cool and harden. This will take about 1-2 hours. Once hardened, pop out each embed and set aside until later.
- Slowly and carefully add the lye to the water and gently stir until the lye has fully dissolved and the liquid is clear. Set aside to cool.
- Combine the sweet almond oil, coconut oil, olive oil, palm oil and shea butter (remember to fully melt then mix your entire container of palm oil before portioning). Once the lye water and the oils have cooled to 130 degrees or below (and are ideally within 10 degrees of each other), add the lye water to the oils and stick blend until you reach a light trace. If you’d like a harder bar of soap that releases faster from the mold, you can add sodium lactate to the cooled lye water. Use 1 teaspoon of sodium lactate per pound of oils in the recipe. For this recipe, you’d add about 1 tsp. sodium lactate.
- Add 1 tbs. of the dispersed Yellow Mica and 0.2 ounces of the Lemon Verbena Yankee Type Fragrance Oil. Use a whisk to stir both ingredients in thoroughly.
- If your soap is still extremely thin, pulse the mixture with the stick blender for several seconds to thicken slightly. Pour the batter into each cavity. Tap the mold on the counter to help even out the soap and get rid of any bubbles.Set soap aside to make the frosting.
- Whip the oils into a soft consistency. Slowly pour a small amount of the lye into the whipped oils, and use a spoon to incorporate. Be super careful not to splash any lye at this point before the lye water is fully incorporated into the hardened, slushy, cool oils. Continue to add a small amounts of the lye water to the oils, and slowly and carefully mix it in. Take your time with this process!
- Once the lye has been incorporated into the oils (this can take a few minutes), turn the hand mixer or stand mixer on low. Whip oils until a fluffy, frosting texture is achieved. Scrape any batter that has splattered on the side of the container and then turn the mixer to a medium setting. Continue to whip for several minutes.
- Once the lye and oils are completely combined, add 0.3 ounces of the Lemon Verbena Yankee Type Fragrance Oil. Incorporate the fragrance oil with a spoon or spatula first until mixed, then turn on the mixer on low and whip the ingredients together until completely combined.
- Split the frosting in half, and add all of the dispersed Yellow Lip Safe Mica. Use a spatula or whisk to fully mix in the colorant.
- Cut off about a half inch from the tip of the frosting bag and push the tip through. Scoop two frosting colors into opposite sides of the bag until full. You will have some frosting left over, and will need to fill the bag again during the frosting process.
- Squeeze out some of the frosting until both colors come out of the bag. Squeeze a dollop of frosting in the center of each cupcake.
- Pipe the frosting up and around the center of each cupcake until you form a peak.
- Place a lemon embed into the top of each cupcake. Immediately place the cupcakes into the fridge or freezer. This helps the frosting stay firm and prevents it from melting. Remove the cupcakes from the fridge or freezer after several hours or overnight. Allow the cupcakes to stay in the mold for 2-3 days. Carefully remove each soap from the mold, and allow to cure for 4-6 weeks. Enjoy!






I do not have cocoa butter but I have coconut oil and shea butter. Can I double the shea butter? if I use coconut oil, how much should I use for this receipt.?
thank you!!
Yes, you can double the shea butter in this recipe. Shea butter is a little softer that cocoa butter, but it will still work. Remember to run your recipe through the Lye Calculator after any substitutions: https://www.brambleberry.com/Pages/Lye-Calculator.aspx
This post on substituting oil in cold process soap has good information as well: http://www.soapqueen.com/bath-and-body-tutorials/tips-and-tricks/how-to-substitute-oil-in-cold-process-recipes/
Thank you!!!
Hey, Please how many cupcakes does this recipe make (using the same mold)?
This recipe makes 6 soap cupcakes. You can find that information at the top of each post under “yields.” 🙂
-Kelsey with Bramble Berry
Amazing video! Thanks for sharing this 🙂 One question: I noticed that neither the soap base nor the frosting was sprayed with 99% iso prop. Does this recipe not need to be sprayed due to soda ash not being able to form on the surface of the soap?
Thank you,
Ilina
We don’t recommend spraying the base, as it can form a skin that the frosting doesn’t attach to as well. As for the frosting, you can spray it on if you want! Give it a few spritzes to coat. 🙂
-Kelsey with Bramble Berry
99% Isopropyl Alcohol: https://www.brambleberry.com/99-Isopropyl-Alcohol-16-oz-P5682.aspx
Can I make the cupcake base a few days before the top/frosting? Will both stick together?
We’ve had the best luck with piping the frosting onto fresh soap. If the soap sits a few days, it can form a skin – especially if sprayed with alcohol. I would recommend piping the soap right after you make the base just to be extra careful.
-Kelsey with Bramble Berry
I know this is a weird question?, but is the top really sopy like the bottom?
Both the base and the frosting are cleansing and feel great on the skin. 🙂
-Kelsey with Bramble Berry
So you do not stick blend the frosting to emulsify?
That is correct. The frosting is whipped with a mixer to emulsify. Because it has a lot of hard oils, it tends to emulsify more quickly than a recipe with a lot of soft oils. However, depending on temperatures, it can take up to 30 minutes or more to get the correct consistency. Just keep whipping until it holds its shape. You can see that process in this video: https://www.youtube.com/watch?v=qwnm0gpJk2M&t=1s
-Kelsey with Bramble Berry
Hi! I made my first batch of cupcakes today and it turned out well. There was, however, one thing that I didn’t like, my batter for the pfrosting simply refused to go soft, it was something like mixed butter, I managed to decorate the cupcakes but had to put a lot of effort into squishing the batter out of the piping bag. Do you have any idea why this happened?
Next time i will try the recipe with the really thick trace, to see how that works out.
I’m thinking the batter may have gotten too thick. When it hits that stage it gets really hard and is tricky to pipe. It helps to whip the frosting until it’s just starting to form peaks. It will harden as you work with it and hold its shape. You can see that consistency in this video: https://www.youtube.com/watch?v=qwnm0gpJk2M&t=518s
-Kelsey with Bramble Berry
No, I haven’t over-beaten it, it was like that from the begining. I thing i should have continued mixing it
This is the result. I-m pretty happy how they look, but they are not perfect 🙂
https://ibb.co/cVT1Ak
Oh OK, I’m wondering if the butters are colder so they’re harder to beat up. It helps to let them sit at room temperature for 30 minutes or so. That way they start to soften, which makes them easier to beat. You can see how firm our oils were when we started whipping this recipe: https://www.youtube.com/watch?v=qwnm0gpJk2M&t=518s
The cupcakes turned out great by the way, very pretty. 🙂
-Kelsey with Bramble Berry
I too had this problem today. My cocoa butter never totally softened up even after 30 min of whipping. Frosting was starting to get stiff, so I had to go ahead and pipe it on. Was wondering if I melted the oils together the days before would this help or what am I doing wrong. Used your cocoa butter beads.
Chaleen
Do you know how cold your oils were before you got started whipping?
-Kelsey with Bramble Berry
I have been watching this channel/site for years, and live the information and kind way of sharing inside secrets. I love to pipe soap, but get impatient with waiting around for my soap to get thick enough to pipe. Going to be making a cherry vanilla soap this week and I am excited to try this recipe on my soap for frosting. Thank you so much for all the great ideas, safety measures explained, and yummy looking soap!
You’re welcome Cassandra! Have fun making these cupcakes. Let us know how they turn out. 🙂
-Kelsey with Bramble Berry
Does this frosting stay hard so that I will be able to mail the product.
It does stay hard! Because it’s cold process frosting, it will be as hard as a regular bar. It’s even a bit harder because of all the hard oils and butters in the recipe. When mailing this soap, make sure to put it in a sturdy box and have it surrounded with shock-absorbing packaging to prevent any dents. 🙂
Read more about how to ship your products here: https://www.soapqueen.com/bath-and-body-tutorials/tips-and-tricks/beginners-guide-to-packing-shipping-handmade-beauty-products/
-Kelsey with Bramble Berry
Hello! I have a question about this process. This soap does not pass the gel phase, and should be placed in the refrigerator, right? this has an impact on shelf life of the product? Do you have any idea of the validity of this soap?
Hi Renato!
That is correct, you want to place the soap in the freezer so the frosting stays firm! Because of this, it will not go through gel phase. Gel phase is purely aesthetic and doesn’t affect the final soap. The soap will have the same shelf life and will still feel awesome on the skin! It just needs a few more days to harden up. 🙂
Read more about gel phase here: http://www.soapqueen.com/bath-and-body-tutorials/tips-and-tricks/gel-phase/
-Kelsey with Bramble Berry
Can you use BB fizzy leamonade ?
Thanks Pat
Absolutely! That would look really beautiful in this recipe. I would recommend dispersing the same amount as the mica (1 teaspoon into 1 tablespoon of lightweight oil) and adding it 1 dispersed teaspoon at a time until you get a color you like. The same goes for the melt and pour embeds – mix 1/2 teaspoon of the colorant into 1/2 tablespoon of rubbing alcohol and add a 1/2 dispersed teaspoon to start with. 🙂
Fizzy Lemonade Colorant: https://www.brambleberry.com/Fizzy-Lemonade-Colorant-P4965.aspx
-Kelsey with Bramble Berry
Anne Marie-just rewatched the video and caught when your cupcake fell from the mold- made me laugh out load. Thanks for sharing that. You are great and now wish me luck to frost the tops! 🙂
Ha, we were cracking up when that happened! Have fun frosting the tops Marilyn. Let us know how the cupcakes turn out. 🙂
-Kelsey with Bramble Berry
I love the BB lemon verbena, it speeds up trace but that works in your favor for this recipe.
It’s a favorite of mine too! I love when a design benefits from acceleration 🙂
-Amanda with Bramble Berry
Wow, these look great! It’s probably not a recipe I’ll attempt because I don’t sell my soaps, but they look awesome. I would also have to put a huge DO NOT EAT label on it because sometimes children get my soap and they look good enough to eat!! I do have a question I’ve been wondering about. I’ve been curious about piping the top of my soap, but this seems like a lot of work. I’ve read where some soapers make a very thick trace and allow it to partially set up very thick, then put it into the bags and pipe. Do you folks have any comments or thoughts about that? I figured this is the best place to go for answers. Thanks for everything!!!!
Hi Eric!
Good question. This method would work well too! We haven’t tried it for cupcake frosting, but we did try something similar in the Alpine Adventures Soap. We let the soap become super thick, and piped the soap into various shapes to create a landscape design. The soap help it’s shape really well; I’m sure it would work great for frosting too! I would just recommend placing the soap into the fridge or freezer after piping to avoid the soap from melting. I hope this helps 🙂
Alpine Adventures Cold Process Tutorial: https://www.soapqueen.com/bath-and-body-tutorials/cold-process-soap/alpine-adventures-cold-process-tutorial/
-Amanda
What you describe is exactly how I pipe my soap! I find it is a lot less work than mixing up two separate batches, as I let what I set aside for piping firm up while I pour and swirl the base soap (I pipe on soap loaves mostly, though I also sometimes make cupcakes). I do make small batches (5 lbs of soap at a go), and have seen that soapers making larger batches of soap do mix up the piping and the base separately because the timing is trickier otherwise. If you want to try it start with a small batch, but don’t get too impatient. The piping soap has to set up thick enough to hold it’s shape when piped and if you pipe too soon it just puddles.
Thanks for the great tips Margaret! It sounds like a great option if you don’t want to make too many batches to start. 🙂
-Kelsey with Bramble Berry
So the frosting doesn’t tend to ‘fall-off’ after first use? It doesn’t seem like they would really fuse together when done separately
That’s always been my concern!!
That’s a totally valid concern Emma! And you’re right, the base and frosting can separate from each other. The key is to pipe the frosting on top as soon as possible. I recommend waiting no more than a few hours. The fresher the base of the cupcakes, the better the frosting adheres. We have had frosting stick to soap that was about 24 hours, but it’s a little bit more risky! I recommend prepping the frosting and base ingredients at the same time so you can make and pipe the frosting right after pouring the base soap 🙂
-Amanda with Bramble Berry
These are just so very cute!! I like the mixture of techniques you use here, with one soap for the base and then whipped soap for the frosting. The step by step pictures really show you how to do it. I currently just let my regular recipe sit until it gets to frosting consistency, but I may have to try it your way.
I’m so glad you enjoyed this post Margaret! That’s another great way to do it, and your frosting always looks great :). Next time we make frosting, we will have to demonstrate that technique!
-Amanda with Bramble Berry