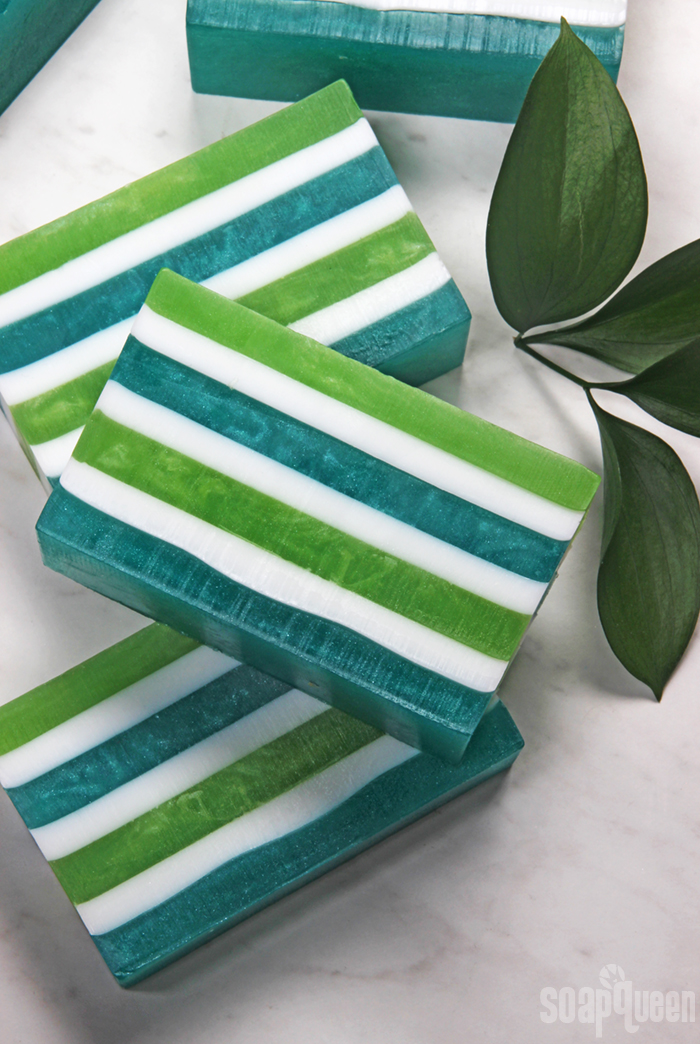
Spring brings to mind images of sunny skies and colorful blooms. Here in the Pacific Northwest, we have a few months to go until that kind of spring happens. Currently, we are experiencing lots of rain and gray skies. But that’s what keeps Washington state so beautiful and green, so no complaints!
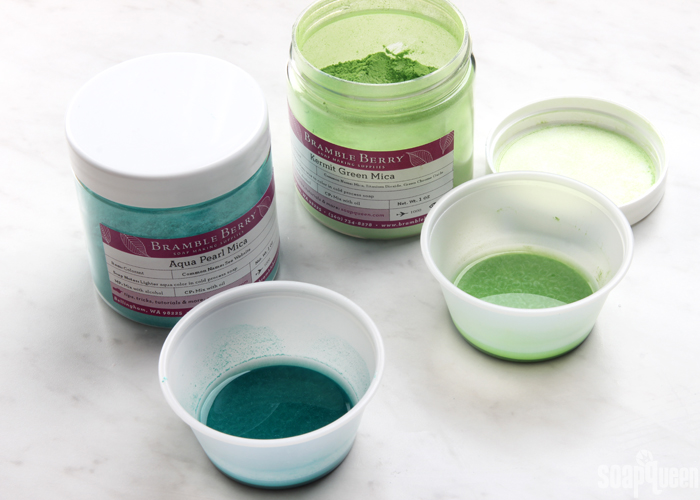
This melt and pour project was inspired by spring in the Pacific Northwest – plenty of green and blue and a fresh ozone scent. The colors are created with Kermit Green and Aqua Pearl Mica. To help the micas mix into the soap easier and prevent clumps, mix them with 99% isopropyl alcohol. Amazon Lily & Rain Fragrance Oil gives the soap crisp green scent, with notes of fresh cut grass and light florals.
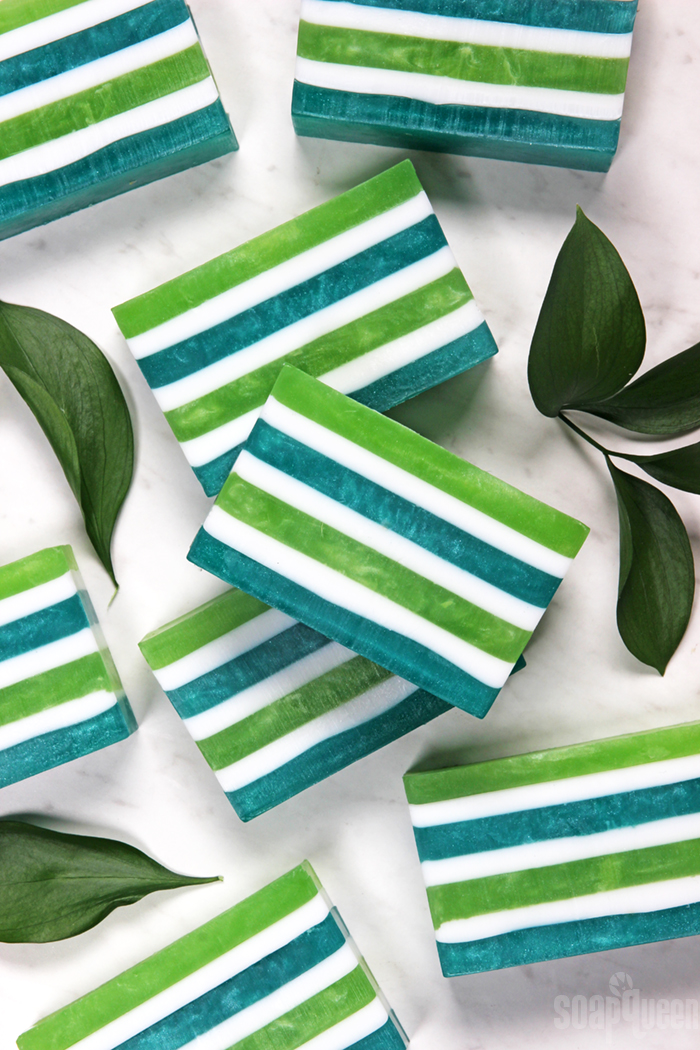
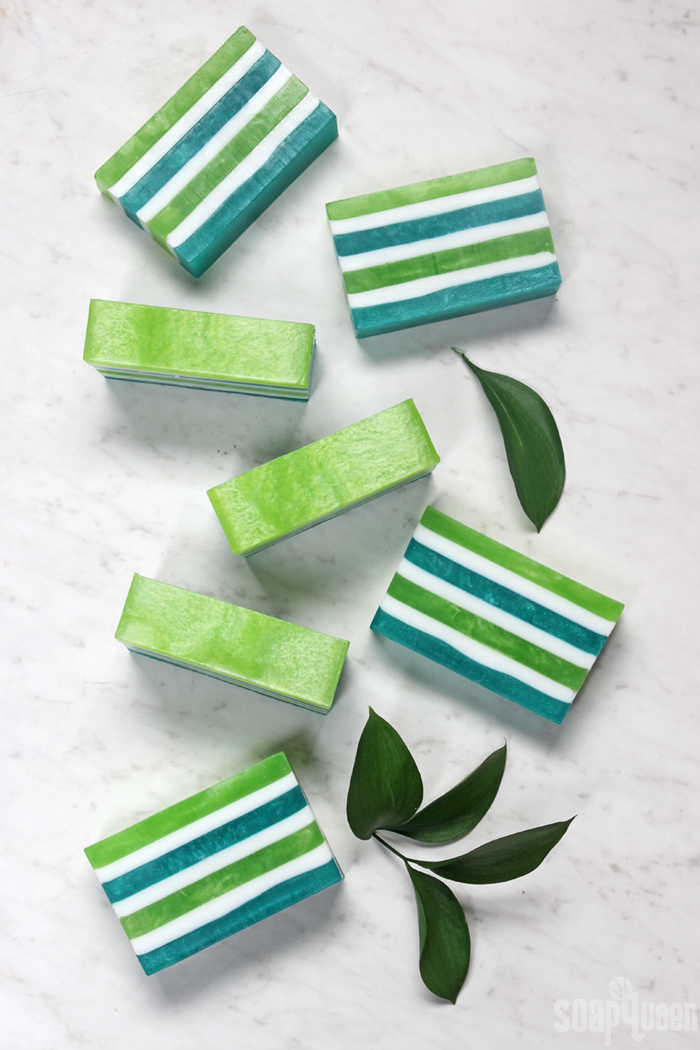
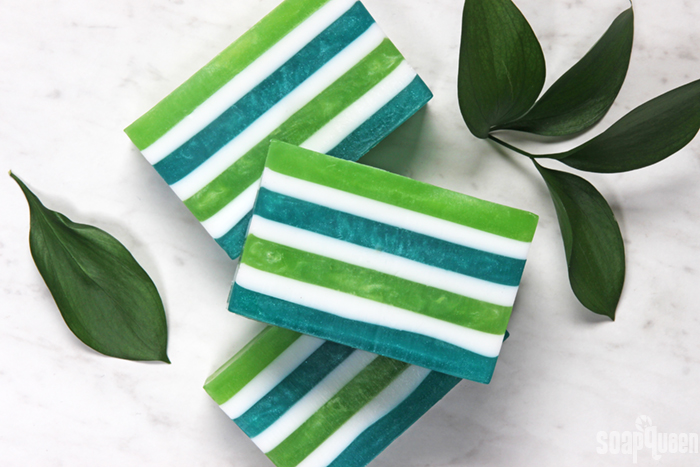
The key to layering melt and pour is a spray bottle of 99% isopropyl alcohol and a thermometer. This soap has seven layers and does require some patience. Spraying the soap with 99% isopropyl alcohol before and after each layer helps the layers stick together and gets rid of bubbles. A thermometer comes in handy to make sure each layer isn’t too hot. If a layer of soap is poured while extremely hot, it will melt the layer below. Learn more tips for layering melt and pour here.
What You’ll Need:
10″ Silicone Loaf Mold
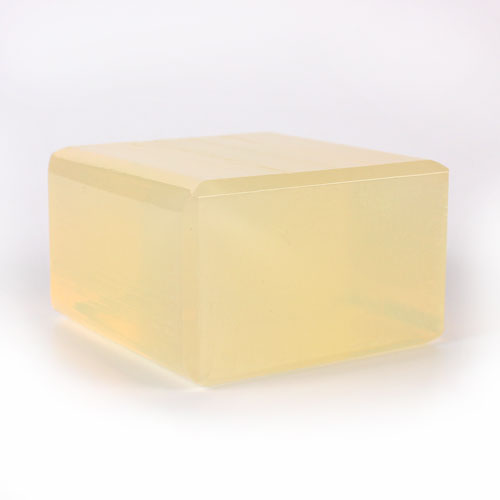
32 oz. Clear Melt and Pour Soap Base
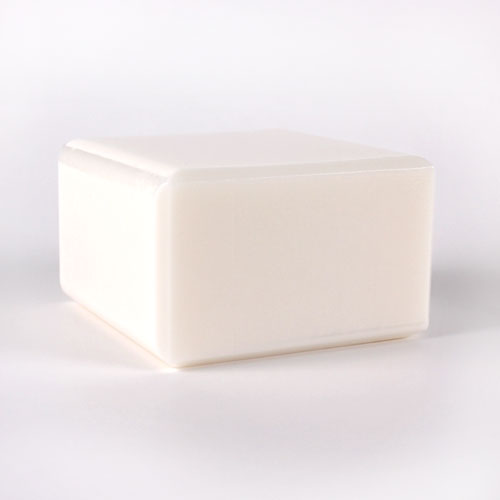
16 oz. White Melt and Pour Soap Base
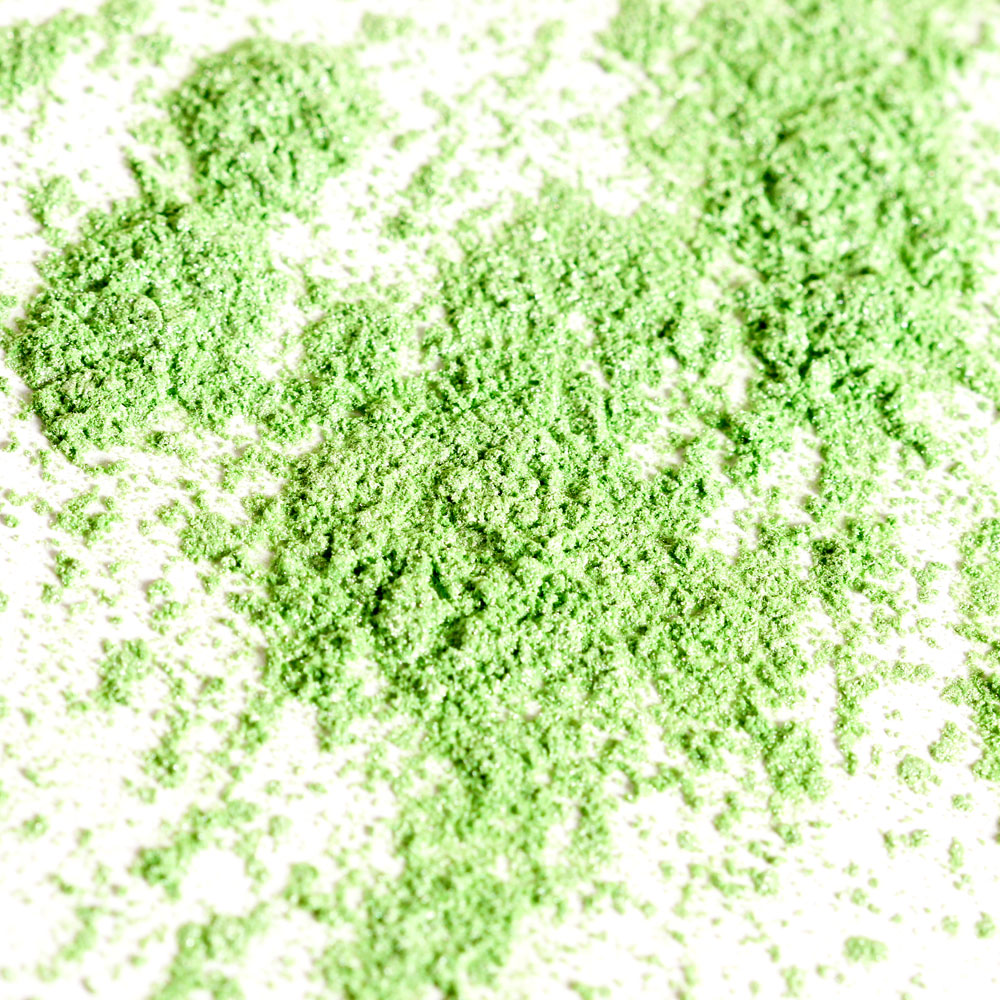
Kermit Green Mica
Aqua Pearl Mica
0.6 oz. Amazon Lily & Rain Fragrance Oil
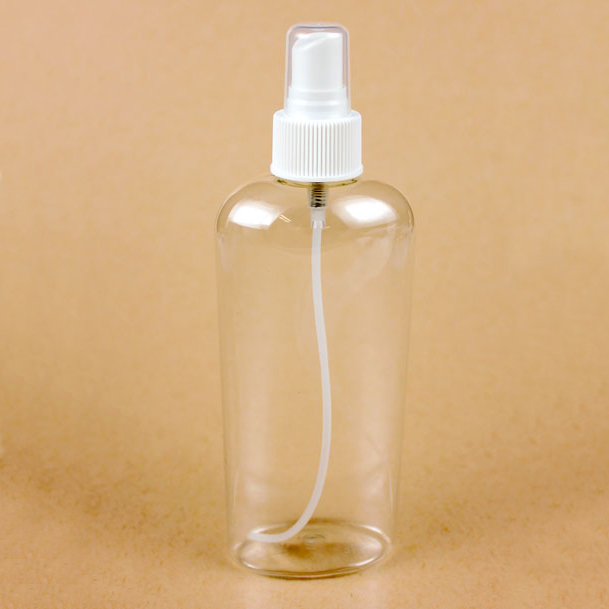
99% Isopropyl Alcohol in a Spray Bottle
Recommended: Infrared Thermometer

Click here to add everything you need for this project to your Bramble Berry shopping cart!
COLOR PREP: Add 1/2 teaspoon of the Kermit Green Mica and 1/2 teaspoon of the Aqua Pearl Mica into separate containers. Then, add 1/2 tablespoons of 99% isopropyl alcohol to each container and mix together to get rid of any clumps. Set the colorants aside.
ONE: Chop and melt 16 ounces of the Clear Melt and Pour Soap in the microwave using 30-60 second bursts. Once melted, add all of the dispersed Aqua Pearl Mica and stir to fully combine. Add 0.2 ounces of the Amazon Lily & Rain Fragrance Oil and stir to fully combine.
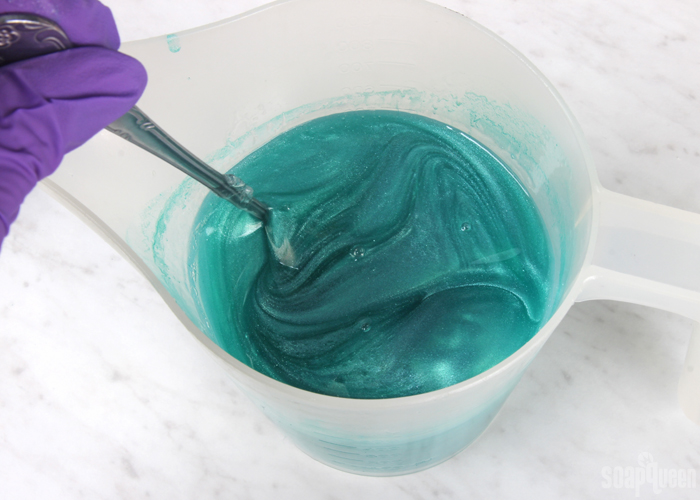
TWO: Spritz the mold with 99% isopropyl alcohol. This helps the soap spread smoothly into the mold. To keep the layers as exact as possible, place the mold on a scale and press the tare button. Pour 8 ounces of the blue soap into the mold and spritz with 99% isopropyl alcohol to get rid of bubbles.
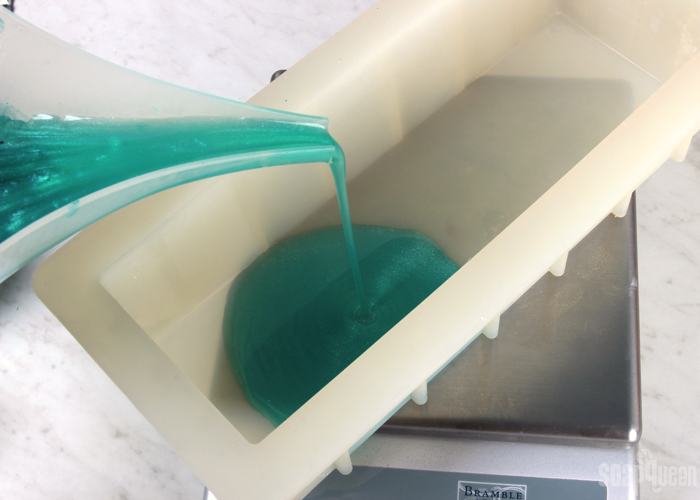
THREE: After about 5-10 minutes, test the bottom layer to see if it’s firm enough to support a layer on top. If it has formed a firm skin, chop and melt 16 ounces of the White Melt and Pour Soap Base using 30-60 second bursts. Once completely melted, add 0.2 ounces of Amazon Lily & Rain Fragrance Oil and stir to fully incorporate.
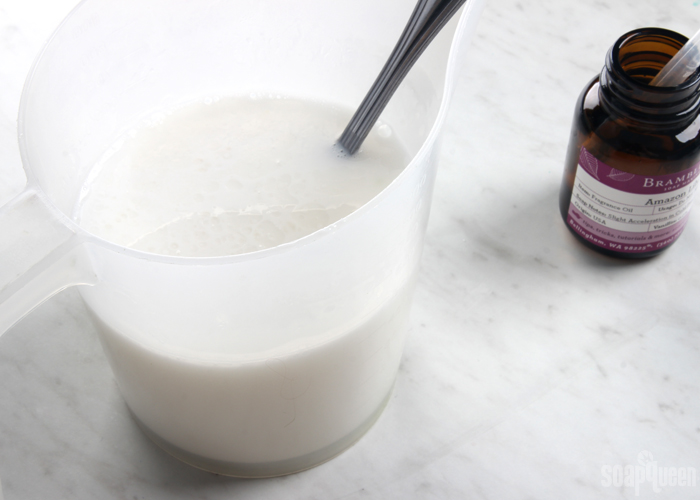
FOUR: Check the temperature of the white soap. If it’s poured into the mold while extremely hot, it may melt the layer below. If it’s below 130 ° F, spritz the blue layer with 99% isopropyl alcohol (this helps the layers stick together), and pour 5.3 ounces of the white soap into the mold. Spritz the top with 99% alcohol to help get rid of bubbles. Allow the layer to harden and cool for about 5-10 minutes.
FIVE: Chop and melt 16 ounces of the Clear Melt and Pour Soap in the microwave using 30-60 second bursts. Once melted, add all of the dispersed Kermit Green Mica to the soap and stir to fully combine. Add 0.2 ounces of the Amazon Lily & Rain Fragrance Oil and stir to fully combine.
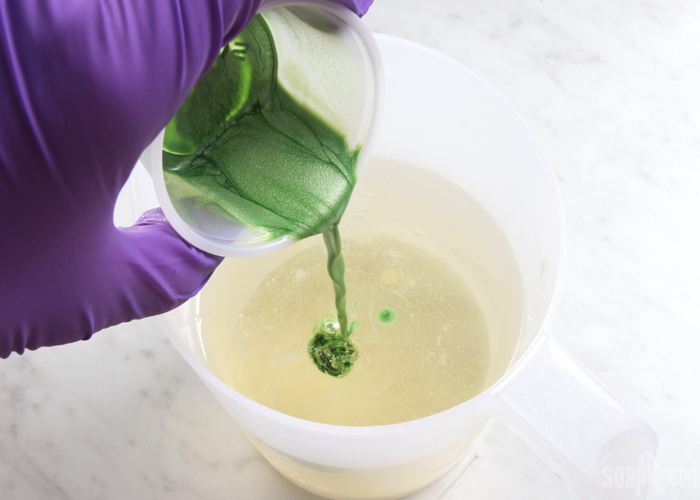
SIX: Test the white layer to make sure it’s firm enough to support the green layer. Test the temperature of the green soap. If the green soap is below 130 ° F, spritz the white soap with 99% isopropyl alcohol and pour 8 ounces of the green soap into the mold. Spritz the top with 99% isopropyl alcohol to get rid of bubbles. Allow to cool and harden for about 5-10 minutes.
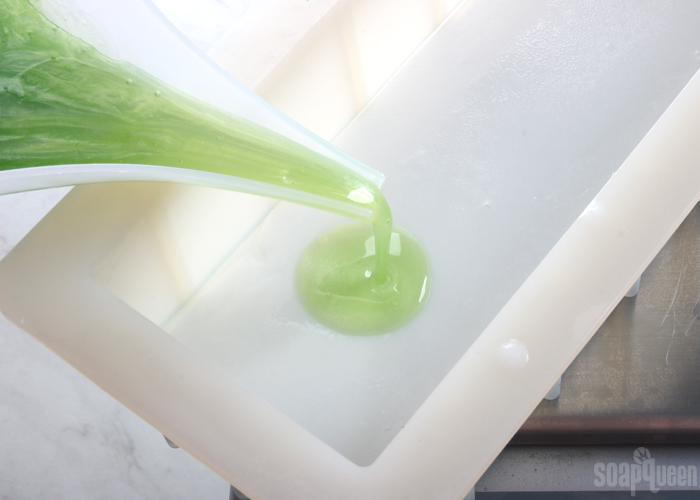
SEVEN: Once the green layer has hardened, reheat the white container of soap in the microwave using 15 second bursts. Be careful to not scorch the soap. Once the green layer is firm and the white soap is below 130 ° F, spritz the bottom layer with 99% isopropyl alcohol and pour 5.3 ounces of white soap into the mold. Spritz the top with 99% isopropyl alcohol to get rid of bubbles. Allow to cool and harden for about 5-10 minutes.
EIGHT: Once the white layer has hardened, reheat the container of the blue soap in the microwave using 15 second bursts. Be careful to not scorch the soap. Once the white layer is firm and the blue soap is below 130 ° F, spritz the bottom layer with 99% isopropyl alcohol and pour the remaining 8 ounces of blue soap into the mold. Spritz the top with 99% isopropyl alcohol to get rid of bubbles. Allow to cool and harden for about 5-10 minutes.
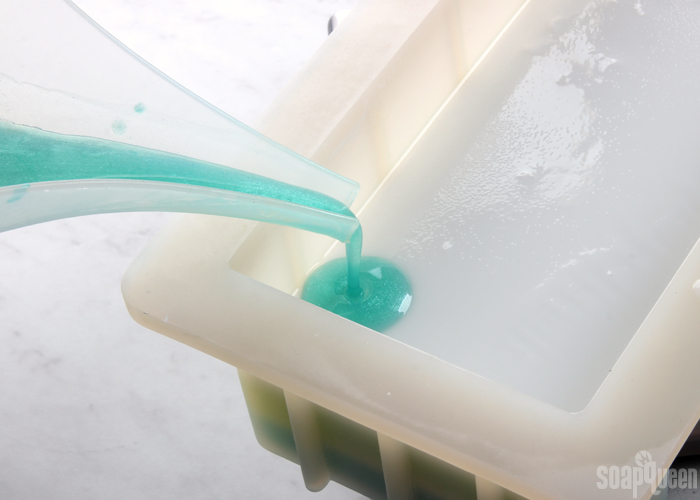
NINE: Once the blue layer has hardened, reheat the remaining white soap in the microwave using 10-15 second bursts. Be careful to not scorch the soap. Once the blue layer is firm and the white soap is below 130 ° F, spritz the blue layer with 99% isopropyl alcohol and pour the remaining white soap into the mold. Spritz the top with 99% isopropyl alcohol to get rid of bubbles.
TEN: Once the white layer has hardened, reheat the green container of soap in the microwave using 15 second bursts. Be careful to not scorch the soap. Once the white layer is firm and the green soap is below 130 ° F, spritz the bottom layer with 99% isopropyl alcohol and pour the remaining 8 ounces of green soap into the mold. Spritz the top with 99% isopropyl alcohol to get rid of bubbles.
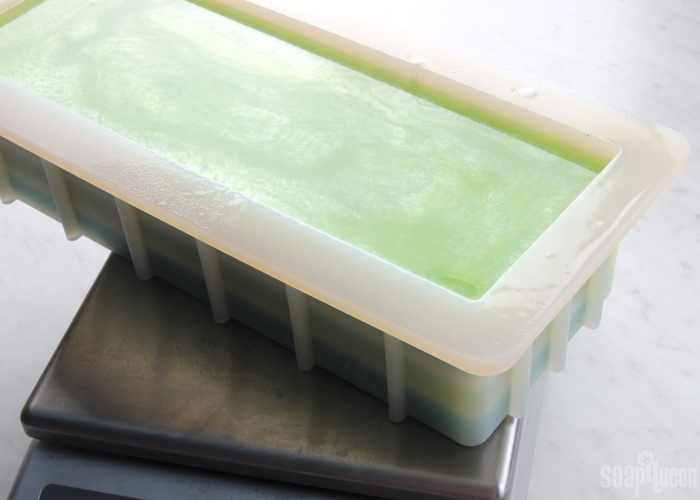
ELEVEN: Allow the soap to fully cool and harden for at least 4-5 hours or up to overnight. The soap needs to be completely cool and hard before it can be unmolded. Once it’s ready, pull away the sides of the mold to break the airlock. Push out the soap from the bottom. Cut the soap into bars and enjoy! Wrap the soap in plastic wrap after unmolding to prevent glycerin dew. Enjoy!
- 10″ Silicone Loaf Mold
- 32 oz. Clear Melt and Pour Soap Base
- 16 oz. White Melt and Pour Soap Base
- Kermit Green Mica
- Aqua Pearl Mica
- 0.6 oz. Amazon Lily & Rain Fragrance Oil
- 99% Isopropyl Alcohol in a Spray Bottle
- Recommended: Infrared Thermometer
- Chop and melt 16 ounces of the Clear Melt and Pour Soap in the microwave using 30-60 second bursts. Once melted, add all of the dispersed Aqua Pearl Mica and stir to fully combine. Add 0.2 ounces of the Amazon Lily & Rain Fragrance Oil and stir to fully combine.
- Spritz the mold with 99% isopropyl alcohol. This helps the soap spread smoothly into the mold. To keep the layers as exact as possible, place the mold on a scale and press the tare button. Pour 8 ounces of the blue soap into the mold and spritz with 99% isopropyl alcohol to get rid of bubbles.
- After about 5-10 minutes, test the bottom layer to see if it’s firm enough to support a layer on top. If it has formed a firm skin, chop and melt 16 ounces of the White Melt and Pour Soap Base using 30-60 second bursts. Once completely melted, add 0.2 ounces of Amazon Lily & Rain Fragrance Oil and stir to fully incorporate.
- t’s below 130 ° F, spritz the blue layer with 99% isopropyl alcohol (this helps the layers stick together), and pour 5.3 ounces of the white soap into the mold. Spritz the top with 99% alcohol to help get rid of bubbles. Allow the layer to harden and cool for about 5-10 minutes.
- Chop and melt 16 ounces of the Clear Melt and Pour Soap in the microwave using 30-60 second bursts. Once melted, add all of the dispersed Kermit Green Mica to the soap and stir to fully combine. Add 0.2 ounces of the Amazon Lily & Rain Fragrance Oil and stir to fully combine.
- Test the white layer to make sure it’s firm enough to support the green layer. Test the temperature of the green soap. If the green soap is below 130 ° F, spritz the white soap with 99% isopropyl alcohol and pour 8 ounces of the green soap into the mold. Spritz the top with 99% isopropyl alcohol to get rid of bubbles. Allow to cool and harden for about 5-10 minutes.
- Once the green layer has hardened, reheat the white container of soap in the microwave using 15 second bursts. Be careful to not scorch the soap. Once the green layer is firm and the white soap is below 130 ° F, spritz the bottom layer with 99% isopropyl alcohol and pour 5.3 ounces of white soap into the mold. Spritz the top with 99% isopropyl alcohol to get rid of bubbles. Allow to cool and harden for about 5-10 minutes.
- Once the white layer has hardened, reheat the container of the blue soap in the microwave using 15 second bursts. Be careful to not scorch the soap. Once the white layer is firm and the blue soap is below 130 ° F, spritz the bottom layer with 99% isopropyl alcohol and pour the remaining 8 ounces of blue soap into the mold. Spritz the top with 99% isopropyl alcohol to get rid of bubbles. Allow to cool and harden for about 5-10 minutes.
- Once the blue layer has hardened, reheat the remaining white soap in the microwave using 10-15 second bursts. Be careful to not scorch the soap. Once the blue layer is firm and the white soap is below 130 ° F, spritz the blue layer with 99% isopropyl alcohol and pour the remaining white soap into the mold. Spritz the top with 99% isopropyl alcohol to get rid of bubbles.
- Once the white layer has hardened, reheat the green container of soap in the microwave using 15 second bursts. Be careful to not scorch the soap. Once the white layer is firm and the green soap is below 130 ° F, spritz the bottom layer with 99% isopropyl alcohol and pour the remaining 8 ounces of green soap into the mold. Spritz the top with 99% isopropyl alcohol to get rid of bubbles.
- Allow the soap to fully cool and harden for at least 4-5 hours or up to overnight. The soap needs to be completely cool and hard before it can be unmolded. Once it’s ready, pull away the sides of the mold to break the airlock. Push out the soap from the bottom. Cut the soap into bars and enjoy! Wrap the soap in plastic wrap after unmolding to prevent glycerin dew. Enjoy!




Hi! Is there a way to make a smaller batch of this recipe? (Like 1 pound instead of 3) If so, what would the measurements be?
Yes, you can resize this recipe if you like. For the 1 pound, just divide all the measurements by 3.
Do you have to use 99% Isopropyl Alcohol. I have ethanol that I use on my cold process soaps. Would that be ok?
We’ve found the 99% isopropyl alcohol works best for layers so we recommend that for this recipe. You can find it here: https://www.brambleberry.com/99-Isopropyl-Alcohol-16-oz-P5682.aspx
You can also sometimes find it at the grocery store in the first aid aisle.
Is there sure fire way to cut the soap straight down and evenly?
Not necessarily sure fire, but it helps to center your knife and push it down in one smooth motion. When you rock it back and forth or pause, it can create uneven marks. A sharp knife really helps too.
Get more unmolding and cutting tips in this video: https://www.youtube.com/watch?v=6RDdjYDNwJU&t=17s
-Kelsey with Bramble Berry
I have a question. I’m also new to soap making. I recently made a m&p bar. in the clear soap I used bramble berrys liquid cherry colorant. I usually use micas but used the liquid this time. after four days the color is suddenly fading and my bar this turning back clear. what happened??
I’m not quite sure why that’s happening. Where are you storing your soap – is it exposed to sunlight at all?
-Kelsey with Bramble Berry
well I had them in a bag in my car but they didn’t get hot. that was probably it though. thanks.
In direct sunlight those colors can fade. For best results, we recommend storing your soap in a cool, dry, and dark place like a garage or basement. Learn more about storing products here: http://www.soapqueen.com/bath-and-body-tutorials/tips-and-tricks/how-to-store-handmade-bath-products/
-Kelsey with Bramble Berry
I am new (technically haven’t even started yet) to the soap making scene and am looking to do something to fill my summer as school doesn’t start for quite some time now. Here’s the catch…I am HIGHLY and I mean H.I.G.H.L.Y. allergic to alcohol. Like wear a medical bracelet, info in my wallet, I drink it I go into anaphylactic shock type of allergy.
Is there something else I can use for the process? Will witch hazel work?
Just curious…
Witch hazel often has alcohol in it, so I definitely would recommend that. We haven’t found a replacement for alcohol, but you can skip it. I would avoid layers, as they won’t stick without alcohol, but you can do other designs like swirls and solid colors. Pour the soap as slowly as possible to prevent bubbles. You may also try spritzing distilled water if you do get any bubbles, that may help.
Find some fun melt and pour designs here: https://www.soapqueen.com/category/bath-and-body-tutorials/melt-and-pour-soap/
-Kelsey with Bramble Berry
I have a question on making M&P soap. I am new to this and already bought some colorants from a different source but I found colors that I really like in this site. I understand that the bases used must be from the same source if the goal is to make a bar with different color layers or multicolor soap imbeds, which is what I am aiming for. My questions is: Can I mix colorants from different companies on the same soap bar? Or even is they are from the same company but different such as powder mica and a lab color? The same question goes for fragrances, can I mix 2 or more fragrances from different companies in the same bar? Thank you!
You can mix color and fragrance. Keep in mind LabColors do bleed, so that’s something to consider, as the color can bleed into the other layers. You may also want to make a small test batch to see how it looks and smells with the products.
This post has more on how to blend fragrances: https://www.soapqueen.com/bath-and-body-tutorials/tips-and-tricks/fragrance-oil-blending-tips/
And learn more about coloring soap here: http://www.soapqueen.com/bath-and-body-tutorials/tips-and-tricks/talk-it-out-tuesday-colorants/
-Kelsey with Bramble Berry
This raises a question. In Elvia’s question, she said the bases have to be from the same source. With layers, I see some recipes that use Goats milk and clear melt. Are they from the same source?
That depends on the recipe, but the MP bases you choose should be from the same vendor if you plan on mixing or layering them. For instance in the recipe above we used bases that were both manufactured by SFIC.
I tried this kit and I have a mixed review. First , I loved that everything was in the kit. Love the frangrance oil. The kit and instructions were easy to follow. Second, the layers did not stick together!!!! I followed the instructions to the letter!!! Help!!!!
Sonia
I’m sorry those layers separated on you. There are a couple tricks that can help them adhere nicely.
We recommend spritzing with 99% isopropyl alcohol right before the second layer is poured. If the alcohol is spritzed too early, it can evaporate. You want your layer covered with alcohol, but not completely soaked. Learn more about working with layers in this video: https://www.youtube.com/watch?v=5oyh1Bf3Gxo
Read more about 99% isopropyl alcohol here: http://www.soapqueen.com/bramble-berry-news/sunday-night-spotlight-99-isopropyl-alcohol/
Another way to help the layers stick is a nice sharp knife. I’ve found my layers separated on me when I used a dull knife, even with alcohol. I like using a sharp kitchen knife with a smooth blade.
For the soap now, you can “glue” those layers back together with melt and pour! To do so, melt 1-2 ounces of clear soap on 5 second bursts. When it’s melted, brush a light layer on and gently press the separated soap on top. Let that harden for 1-2 hours. That should help your soap stick together.
-Kelsey with Bramble Berry
Almost reminds me of Seattle Seahawk colors! (Go Hawks!)
Agreed, go Hawks!
-Kelsey with Bramble Berry
I have a mould with the following measurements:
L 12 3/4″ W 3 5/16″ H 3 1/2′ (max)
I don’t know how to measure M&P soap weight for volume – how much of each of the M&P soap bases will I need to fill this mould?
This blog post talks about how to find the volume of your mold: https://www.thespruce.com/calculate-amount-of-soap-for-mold-517198
Another thing you can do is put your mold on a scale, zero it out, and fill it up with water. Soap and water have different densities so the weight may be slightly different, but that will give you a rough estimate of where to start. Once you know how much weight it holds, you can add your soap. You may want to make extra just in case and have an extra mold nearby for leftovers.
-Kelsey with Bramble Berry
Can’t wait to try this!:)
Have fun, and let us know how it turns out.
-Kelsey with Bramble Berry
I have left over celleni blue mica does that bleed?
That color can bleed slightly. If you want clean lines with no bleeding, I would recommend another colorant. You can find a list of non-bleeding colors here: https://www.brambleberry.com/non-bleeding-colorants-c303.aspx
-Kelsey with Bramble Berry
While I’m not a real fan of M&P soap, this really looks nice. The greens look like they have glitter in them. Is that a result of that clear soap base? I imagine it would not show up in cold process.
That is correct – clear soap really shows the beautiful shimmer in the mica. That won’t be as noticeable in cold process. Micas do look really lovely and shimmery sprinkled on top of cold process soap though. You can see that in the Spiced Copper Cold Process Soap: https://www.soapqueen.com/bath-and-body-tutorials/spiced-copper-cold-process-soap-tutorial/
-Kelsey with Bramble Berry