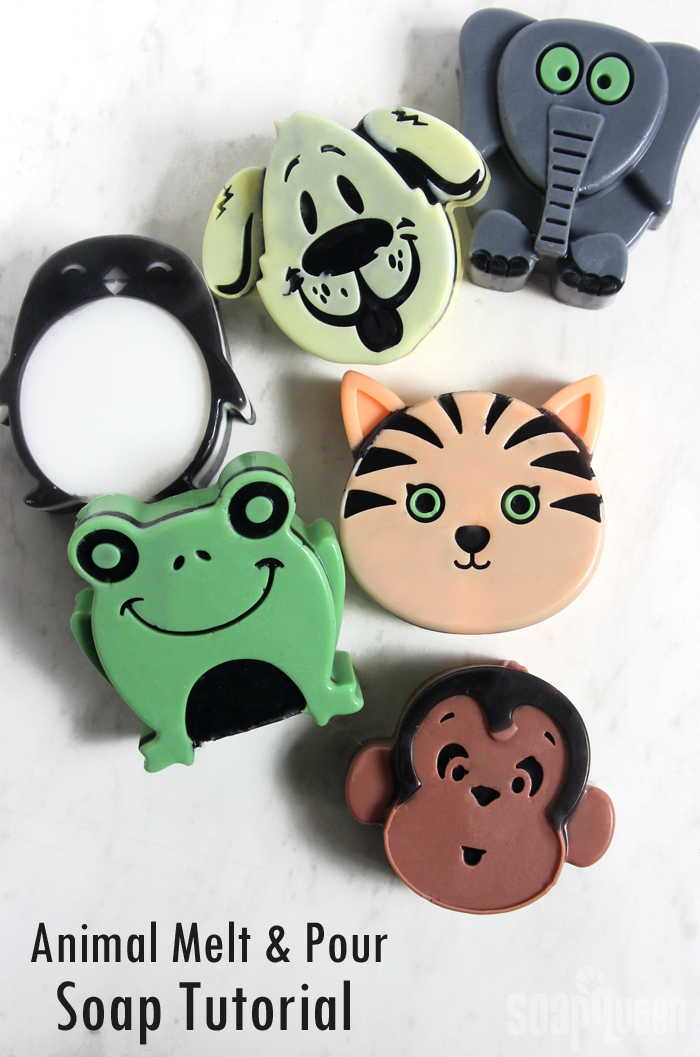
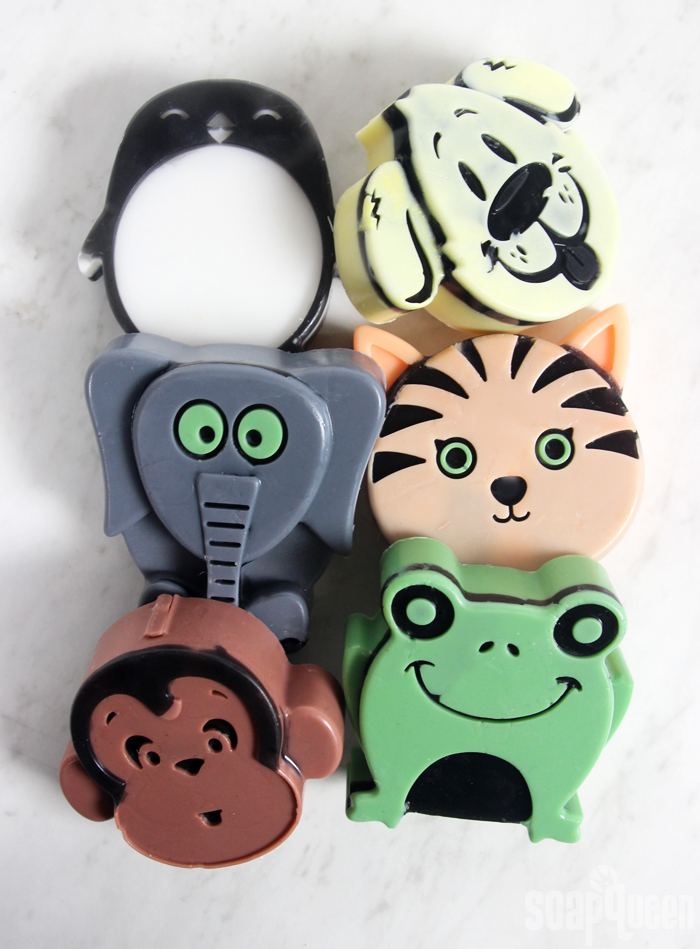
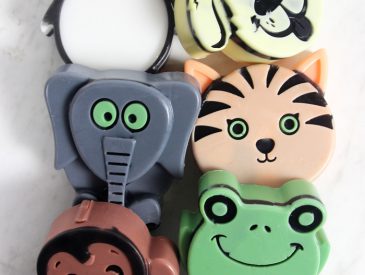
If you’re looking for a project to delight kids and animal lovers alike, these adorable Animal Melt & Pour Soaps will be perfect. They are made in the new 6 Cavity Kids Animal Silicone Mold, which features six different animals: a cat, dog, monkey, elephant, frog and penguin. Each cavity includes plenty of detail, which gives each critter personality. Filling in the details with various colors of soap help each detail pop. To help in this process, an Injector Tool, Clean Up Tool and a bottle of 99% isopropyl alcohol are crucial for this project.
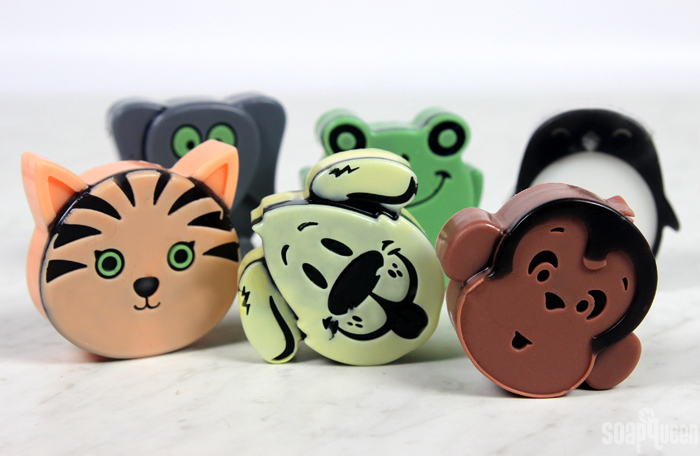
This is a more advanced melt and pour project. It requires an understanding of how melt and pour soap behaves at different temperatures, as well as knowledge of how to layer melt and pour. That being said, you can simplify this project if you like. Simply pouring one color for each soap still results in adorable bars. Simplifying the project makes it a great DIY for kids and beginners. The bars are scented with Sugared Grape Fragrance Oil, which smells like sweet grape soda. It’s perfect for kids who can’t get enough peanut butter and jelly, or sugary candy!
What You’ll Need:
6 Cavity Kids Animal Silicone Mold
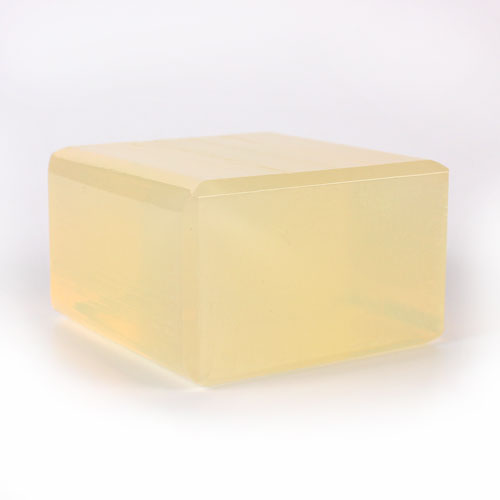
5 oz. Clear Melt and Pour Soap Base
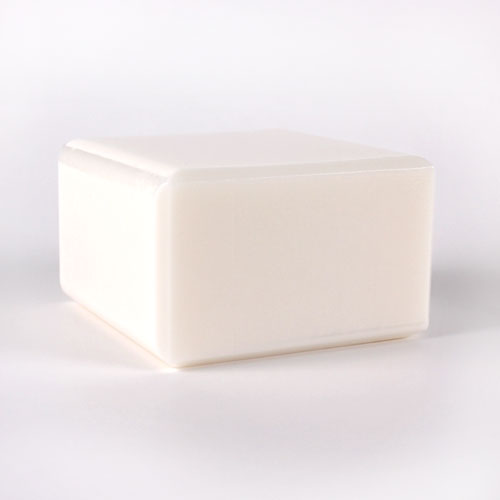
18 oz. White Melt & Pour Soap Base
7 mL Sugared Grape Fragrance Oil
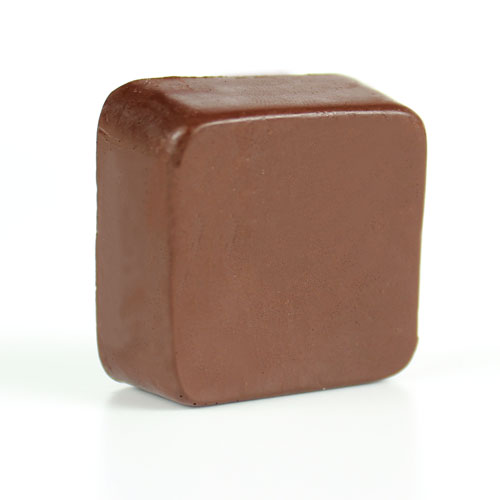
Brown Oxide Color Block
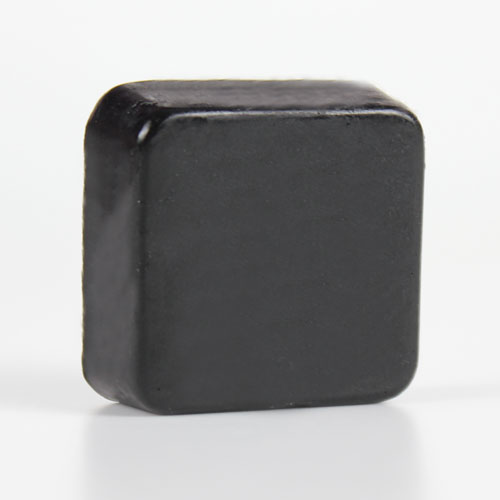
Black Oxide Color Block
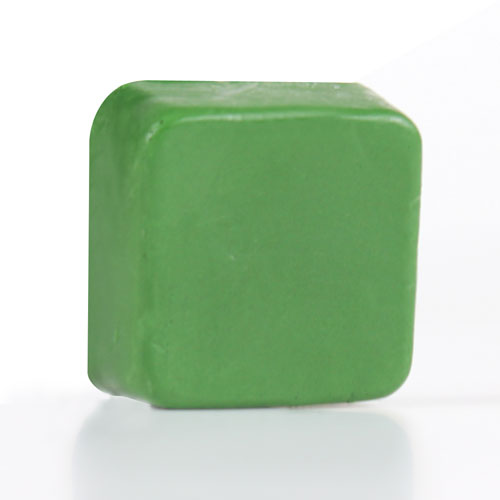
Chrome Green Color Block
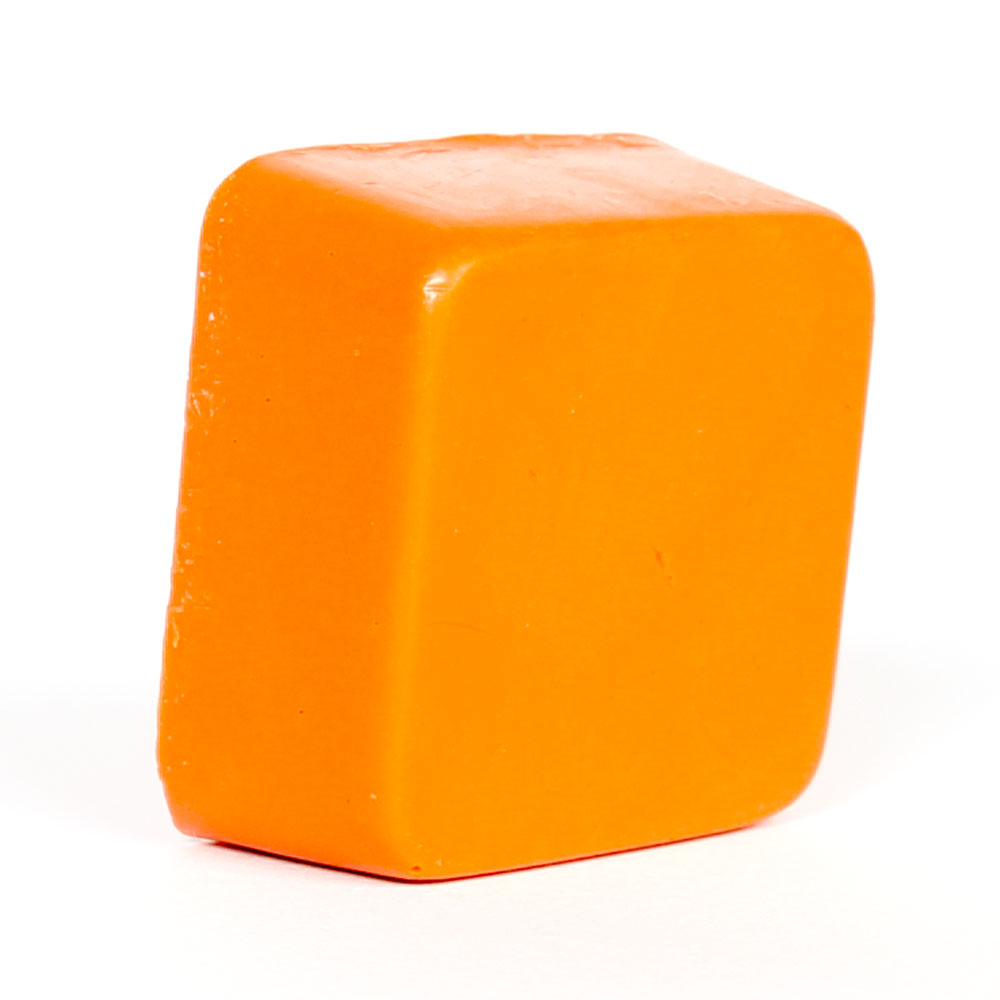
Perfect Orange Color Block
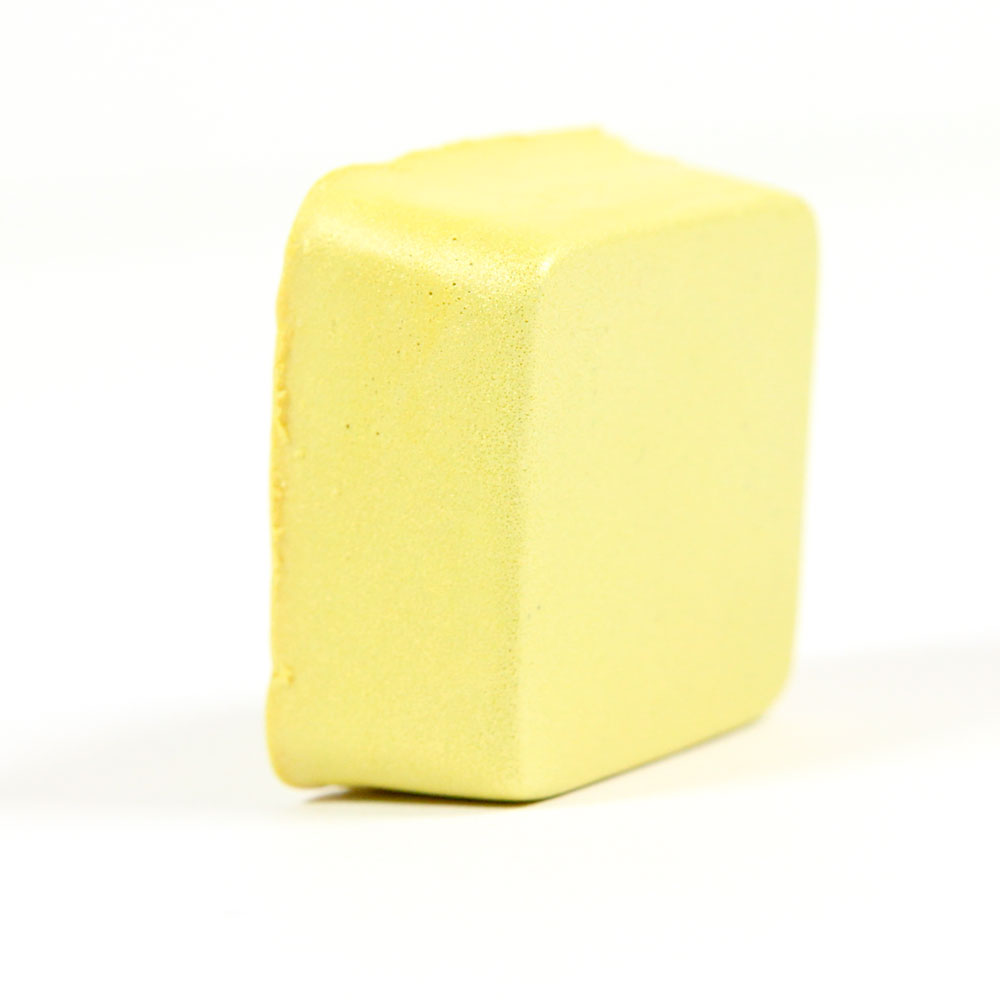
Shimmer Buttercup Color Block
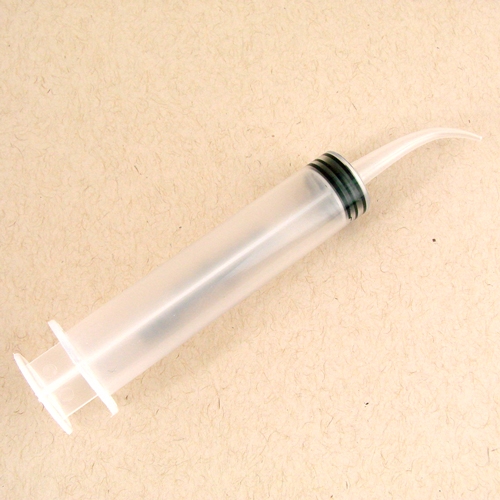
Injector Tool
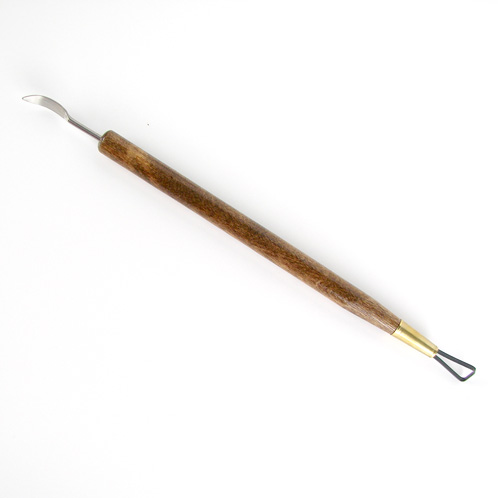
Clean Up Tool
Dropper
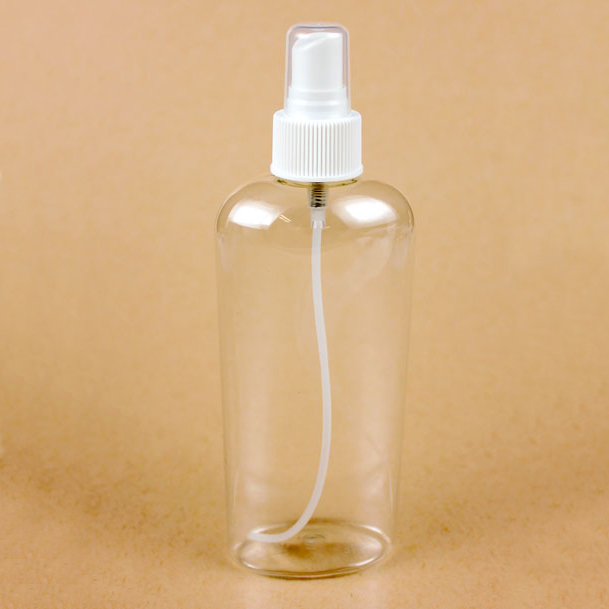
99% Isopropyl Alcohol in Spray Bottle

Click here to add everything you need for this project to your Bramble Berry shopping cart!
NOTES & TIPS:
- This project involves a good understanding of how melt and pour soap behaves. If you have never worked with melt and pour before, we recommend you get a few easier recipes under your belt first. Find some great beginners tutorials here.
- This tutorial involves melting and reheating several small containers of soap. If you prefer, you can melt a larger batch of white soap, and split it into separate containers.
- When melting small amounts of soap, use a small, heat safe container. Use short bursts to avoid burning the soap. If the soap burns it can become “gloppy” and difficult to work with, especially with the Injector Tool. Learn more about avoiding burnt melt and pour soap here.
- When working with the Injector Tool, it’s important to have a cup of very hot water nearby during the entire process. If the soap cools and hardens within the tool, it will become clogged. If you feel the soap becoming difficult to push out of the tool, quickly push out the soap and use the hot water to clear the tool.
- To help make the Injector Tool easier to work with, cut a small portion of the tip off. The hole still needs to be very small, but cutting a small amount off helps avoid the soap from hardening in the tool.
- Having a spray bottle filled with 99% isopropyl alcohol nearby for this entire project is key. Spritzing the mold before pouring soap helps the soap to spread into small areas of the mold. Spraying freshly poured soap with 99% isopropyl alcohol gets rid of bubbles, and spraying in between layers helps them stick. If in doubt, spray with 99% isopropyl alcohol! =)
- You may notice that the photos don’t line up perfectly with the instructions. For example, details may not be filled in, when the previous step instructed you to do so. After completely this tutorial, the instructions were written to help make the process easier, with reheating the containers of soap a minimal amount of times.
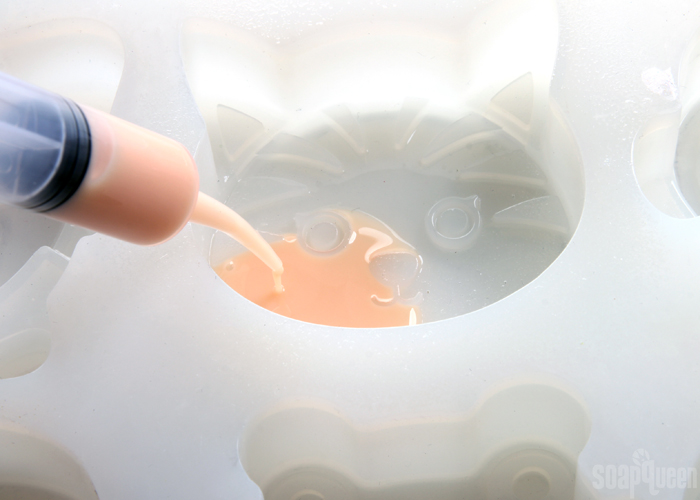
ONE: Chop and melt 3 ounces of White Melt and Pour Soap Base and a small chunk of the Perfect Orange Color Block in a small, heat safe container using 5-10 second bursts in the microwave. Stir to fully incorporate the Color Block, and add 1 mL of the Sugared Grape Fragrance Oil. Spritz the mold with 99% isopropyl alcohol and use the Injector Tool to fill in the face of the cat cavity. Only fill the very “bottom” of the cavity – do not let the soap overflow into the raised eyes or stripe details. Spritz with 99% isopropyl alcohol to get rid of any bubbles. Clear out the Injector Tool with hot water. Set the orange soap aside. Use the Clean Up Tool to fix any mistakes.
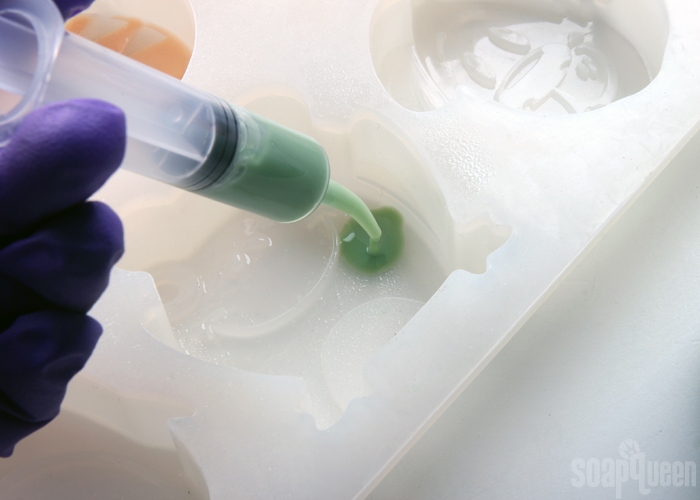
TWO: Chop and melt 3 ounces of White Melt and Pour Soap Base and a small chunk of the Chrome Green Color Block in a small, heat safe container using 5-10 second bursts in the microwave. Stir to fully incorporate the Color Block, and add 1 mL of the Sugared Grape Fragrance Oil. Spritz the mold with 99% isopropyl alcohol and use the Injector Tool to fill in the face of the frog cavity. Only fill the very “bottom” of the cavity – do not let the soap overflow into the raised face details. Fill in the middle of the eyes. Spritz with 99% isopropyl alcohol to get rid of any bubbles. Use some of the green soap to fill in the eyes of the cat and elephant cavities. Clear out the Injector Tool with hot water. Set the green soap aside. Use the Clean Up Tool to fix any mistakes.
THREE: Chop and melt 3 ounces of White Melt and Pour Soap Base and a small chunk of the Shimmer Buttercup Color Block in a small, heat safe container using 5-10 second bursts in the microwave. Stir to fully incorporate the Color Block, and add 1 mL of the Sugared Grape Fragrance Oil. Spritz the mold with 99% isopropyl alcohol and use the Injector Tool to fill in the face of the dog cavity. Only fill the very “bottom” of the cavity – do not let the soap overflow into the raised face details. Fill in the ears as well, but leave the raised details uncovered. Spritz with 99% isopropyl alcohol to get rid of any bubbles. Clear out the Injector Tool with hot water. Set the yellow soap aside. Use the Clean Up Tool to fix any mistakes.
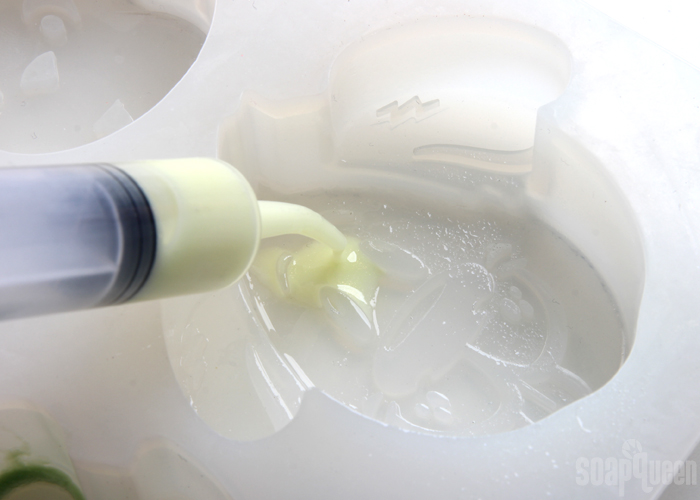
FOUR: Chop and melt 3 ounces of White Melt and Pour Soap Base and a small chunk of the Black Oxide Color Block in a small, heat safe container using 5-10 second bursts in the microwave. Stir to fully incorporate the Color Block, and add 1 mL of the Sugared Grape Fragrance Oil. Spritz the mold with 99% isopropyl alcohol and use the Injector Tool to fill in the elephant cavity. Only fill the very “bottom” of the cavity – do not let the soap overflow into face details. Fill in the ears, as well as the trunk. Spritz with 99% isopropyl alcohol to get rid of any bubbles. Clear out the Injector Tool with hot water. Set the gray soap aside. Use the Clean Up Tool to fix any mistakes.
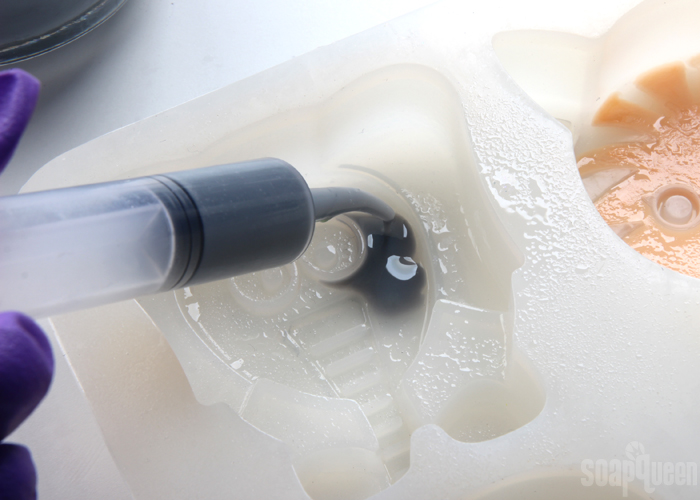
FIVE: Chop and melt 5 ounces of Clear Melt and Pour Soap Base and a chunk of Black Oxide Color Block in a small, heat safe container using 5-10 second bursts in the microwave. Stir to fully incorporate the Color Block and add 1 mL of the Sugared Grape Fragrance Oil. Spritz all cavities with 99% isopropyl alcohol and use the Injector Tool to fill in the top portion of the penguin cavity. Do not let the soap cover the face details. Use the Clean Up Tool to fix any mistakes.
NOTE: The black soap is used for a couple different things, and may need to be reheated more than once. To prevent it from burning, slightly more than needed is used. You may have a small amount of black soap leftover. If you’d like, you can use about 3 ounces of soap to not have any leftover.
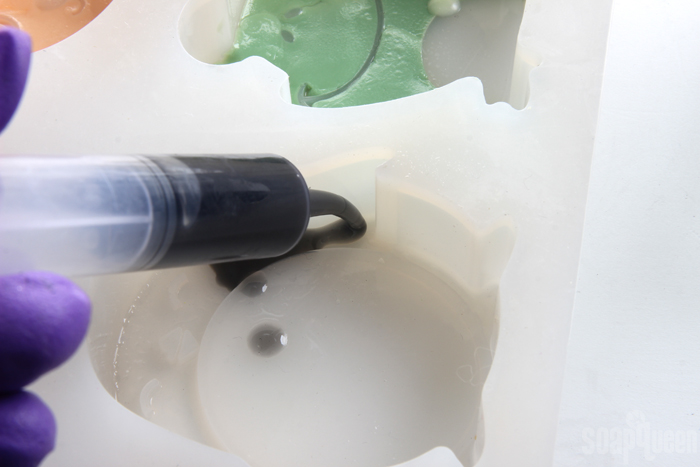
SIX: Use the black soap to also fill in the top of the monkey’s head. Then, use the melted black soap to pour a thin layer of soap into the entire cavity of the cat. Make sure the soap is not hotter than 130 ° F or it may melt the soap below. Do not fill the mold up entirely with black soap – it just needs to lightly cover the raised details that were not filled in with the previous layer. Spritz with alcohol to get rid of bubbles. Use the melted black soap to lightly cover the entire cavity of the elephant cavity, frog cavity, and dog cavity. Spritz with 99% isopropyl alcohol after each step. Set remaining black soap aside.
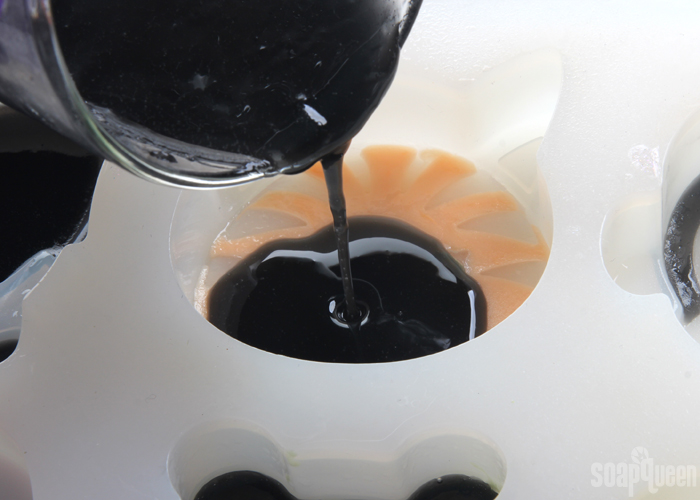
SEVEN: Chop and melt 3 ounces of White Melt and Pour Soap Base and a small chunk of the Brown Color Block in a small, heat safe container using 5-10 second bursts in the microwave. Stir to fully incorporate the Color Block, and add 1 mL of the Sugared Grape Fragrance Oil. Spritz the mold with 99% isopropyl alcohol and use the Injector Tool to fill in the monkey cavity. Don’t allow the soap to cover the details of the face. Fill in the ears as well. Spritz with 99% isopropyl alcohol to get rid of any bubbles. Clear out the Injector Tool with hot water. Set the brown soap aside. Use the Clean Up Tool to fix any mistakes.
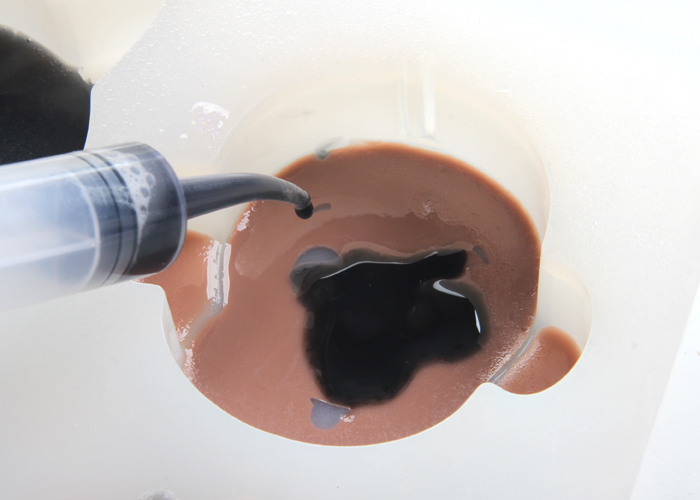
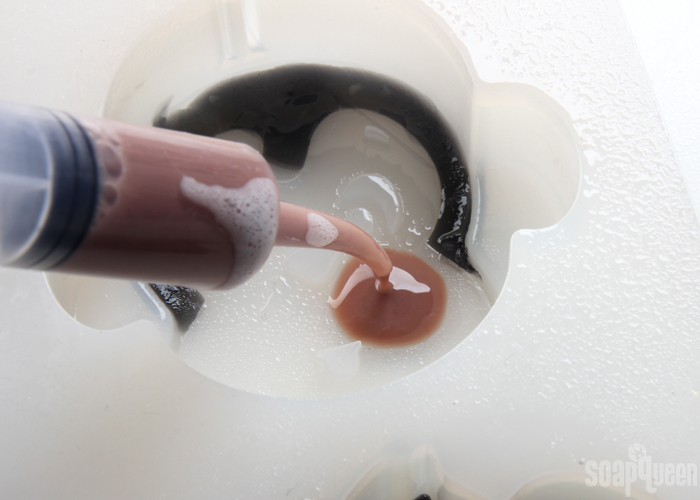 EIGHT: Once the brown soap has cooled (should only take a few minutes), reheat the remaining black soap if necessary using 5 second bursts. Spritz the monkey cavity with 99% isopropyl alcohol and place a very small amount of black soap onto the details of the face. You don’t need to cover the entire mold. Spritz with alcohol to get rid of any bubbles.
 EIGHT: Chop and melt 3 ounces of White Melt and Pour Soap Base in a small, heat safe container using 5-10 second bursts in the microwave. add 1 mL of the Sugared Grape Fragrance Oil. Spritz the penguin mold with 99% isopropyl alcohol and use white soap to fill in the entire cavity. Spritz with 99% isopropyl alcohol to get rid of any bubbles.
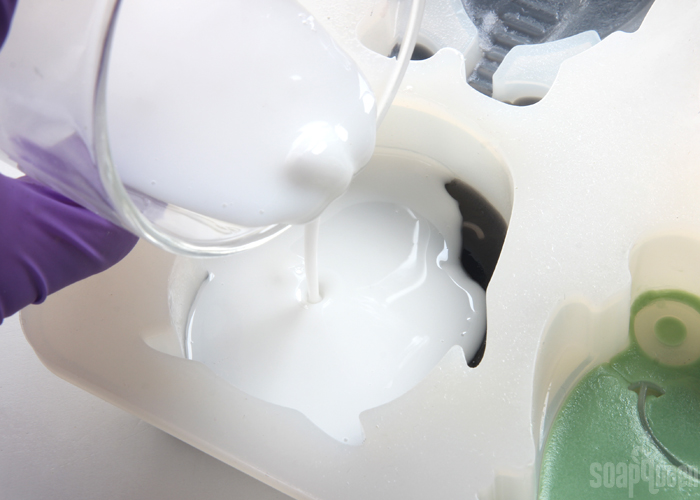
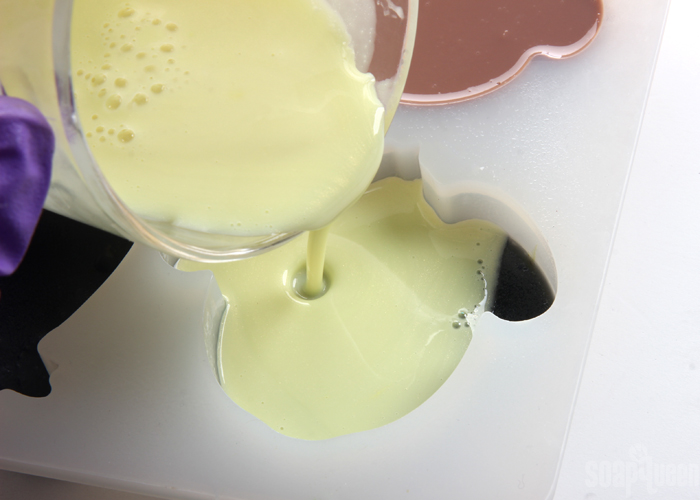
NINE: Remelt the remaining yellow, orange, grey, brown and green soap in the microwave using 5 second bursts. Be careful to not scorch the soap since it’s such a small amount. Spritz the cavities of the dog, cat, monkey, elephant and frog with 99% isopropyl alcohol. Make sure the soap is not above 130 ° F, or it may melt the layer below. Pour the yellow soap into dog cavity, the orange soap into the cat cavity, the green soap into the frog cavity, the brown soap into the monkey cavity, and the grey soap into the elephant cavity. Spritz with alcohol after each pour to get rid of bubbles.
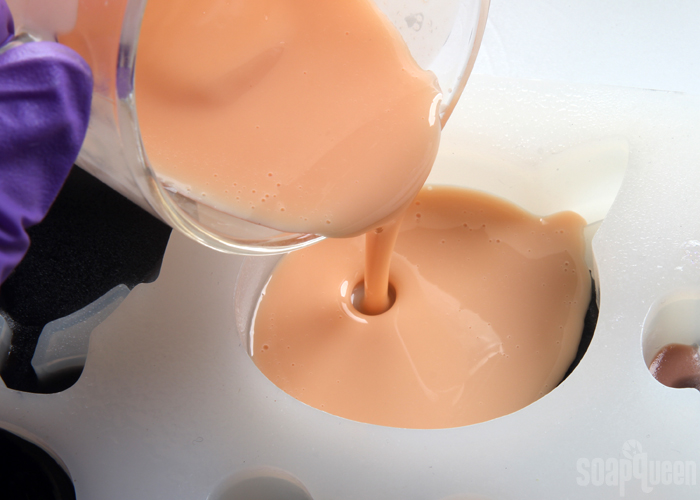
Allow the soaps to cool and harden for several hours, up to overnight. Once they are completely cooled, remove them from the mold and wrap them in plastic wrap to help prevent glycerin dew. Enjoy!
- 6 Cavity Kids Animal Silicone Mold
- 5 oz. Clear Melt and Pour Soap Base
- 18 oz. White Melt & Pour Soap Base
- 7 mL Sugared Grape Fragrance Oil
- Brown Oxide Color Block
- Black Oxide Color Block
- Chrome Green Color Block
- Perfect Orange Color Block
- Shimmer Buttercup Color Block
- Injector Tool
- Clean Up Tool
- Dropper
- 99% Isopropyl Alcohol in Spray Bottle
- Chop and melt 3 ounces of White Melt and Pour Soap Base and a small chunk of the Perfect Orange Color Block in a small, heat safe container using 5-10 second bursts in the microwave. Stir to fully incorporate the Color Block, and add 1 mL of the Sugared Grape Fragrance Oil. Spritz the mold with 99% isopropyl alcohol and use the Injector Tool to fill in the face of the cat cavity. Only fill the very “bottom” of the cavity – do not let the soap overflow into the raised eyes or stripe details. Spritz with 99% isopropyl alcohol to get rid of any bubbles. Clear out the Injector Tool with hot water. Set the orange soap aside. Use the Clean Up Tool to fix any mistakes.
- Chop and melt 3 ounces of White Melt and Pour Soap Base and a small chunk of the Chrome Green Color Block in a small, heat safe container using 5-10 second bursts in the microwave. Stir to fully incorporate the Color Block, and add 1 mL of the Sugared Grape Fragrance Oil. Spritz the mold with 99% isopropyl alcohol and use the Injector Tool to fill in the face of the frog cavity. Only fill the very “bottom” of the cavity – do not let the soap overflow into the raised face details. Fill in the middle of the eyes. Spritz with 99% isopropyl alcohol to get rid of any bubbles. Use some of the green soap to fill in the eyes of the cat and elephant cavities. Clear out the Injector Tool with hot water. Set the green soap aside. Use the Clean Up Tool to fix any mistakes.
- Chop and melt 3 ounces of White Melt and Pour Soap Base and a small chunk of the Shimmer Buttercup Color Block in a small, heat safe container using 5-10 second bursts in the microwave. Stir to fully incorporate the Color Block, and add 1 mL of the Sugared Grape Fragrance Oil. Spritz the mold with 99% isopropyl alcohol and use the Injector Tool to fill in the face of the dog cavity. Only fill the very “bottom” of the cavity – do not let the soap overflow into the raised face details. Fill in the ears as well, but leave the raised details uncovered. Spritz with 99% isopropyl alcohol to get rid of any bubbles. Clear out the Injector Tool with hot water. Set the yellow soap aside. Use the Clean Up Tool to fix any mistakes.
- Chop and melt 3 ounces of White Melt and Pour Soap Base and a small chunk of the Black Oxide Color Block in a small, heat safe container using 5-10 second bursts in the microwave. Stir to fully incorporate the Color Block, and add 1 mL of the Sugared Grape Fragrance Oil. Spritz the mold with 99% isopropyl alcohol and use the Injector Tool to fill in the elephant cavity. Only fill the very “bottom” of the cavity – do not let the soap overflow into face details. Fill in the ears, as well as the trunk. Spritz with 99% isopropyl alcohol to get rid of any bubbles. Clear out the Injector Tool with hot water. Set the gray soap aside. Use the Clean Up Tool to fix any mistakes.
- Chop and melt 5 ounces of Clear Melt and Pour Soap Base and a chunk of Black Oxide Color Block in a small, heat safe container using 5-10 second bursts in the microwave. Stir to fully incorporate the Color Block and add 1 mL of the Sugared Grape Fragrance Oil. Spritz all cavities with 99% isopropyl alcohol and use the Injector Tool to fill in the top portion of the penguin cavity. Do not let the soap cover the face details. Use the Clean Up Tool to fix any mistakes.
NOTE: The black soap is used for a couple different things, and may need to be reheated more than once. To prevent it from burning, slightly more than needed is used. You may have a small amount of black soap leftover. If you’d like, you can use about 3 ounces of soap to not have any leftover. - Use the black soap to also fill in the top of the monkey’s head. Then, use the melted black soap to pour a thin layer of soap into the entire cavity of the cat. Make sure the soap is not hotter than 130 ° F or it may melt the soap below. Do not fill the mold up entirely with black soap – it just needs to lightly cover the raised details that were not filled in with the previous layer. Spritz with alcohol to get rid of bubbles. Use the melted black soap to lightly cover the entire cavity of the elephant cavity, frog cavity, and dog cavity. Spritz with 99% isopropyl alcohol after each step. Set remaining black soap aside.
- Chop and melt 3 ounces of White Melt and Pour Soap Base and a small chunk of the Brown Color Block in a small, heat safe container using 5-10 second bursts in the microwave. Stir to fully incorporate the Color Block, and add 1 mL of the Sugared Grape Fragrance Oil. Spritz the mold with 99% isopropyl alcohol and use the Injector Tool to fill in the monkey cavity. Don’t allow the soap to cover the details of the face. Fill in the ears as well. Spritz with 99% isopropyl alcohol to get rid of any bubbles. Clear out the Injector Tool with hot water. Set the brown soap aside. Use the Clean Up Tool to fix any mistakes.
- Once the brown soap has cooled (should only take a few minutes), reheat the remaining black soap if necessary using 5 second bursts. Spritz the monkey cavity with 99% isopropyl alcohol and place a very small amount of black soap onto the details of the face. You don’t need to cover the entire mold. Spritz with alcohol to get rid of any bubbles.
- Chop and melt 3 ounces of White Melt and Pour Soap Base in a small, heat safe container using 5-10 second bursts in the microwave. add 1 mL of the Sugared Grape Fragrance Oil. Spritz the penguin mold with 99% isopropyl alcohol and use white soap to fill in the entire cavity. Spritz with 99% isopropyl alcohol to get rid of any bubbles.
- Remelt the remaining yellow, orange, grey, brown and green soap in the microwave using 5 second bursts. Be careful to not scorch the soap since it’s such a small amount. Spritz the cavities of the dog, cat, monkey, elephant and frog with 99% isopropyl alcohol. Make sure the soap is not above 130 ° F, or it may melt the layer below. Pour the yellow soap into dog cavity, the orange soap into the cat cavity, the green soap into the frog cavity, the brown soap into the monkey cavity, and the grey soap into the elephant cavity. Spritz with alcohol after each pour to get rid of bubbles.
- Allow the soaps to cool and harden for several hours, up to overnight. Once they are completely cooled, remove them from the mold and wrap them in plastic wrap to help prevent glycerin dew. Enjoy!



These are super cute ! I absolutely love it 😍
Thanks so much, glad you love the tutorial.
Every time I try to use the injector tool it gets clogged up right away, the soap is steaming hot and cools down almost instantly.
We recommend keeping your injector tool in a hot cup of water, which will keep it warm so it won’t harden the soap as quickly. Then, as soon as you’re done piping, rinse the injector tool in that cup of hot water to clear it so the soap won’t clog it. You can see that technique here: https://www.youtube.com/watch?v=KLr_3CLqir8
I made these little guys yesterday. After two and a half hours (not including clean up of 6 different colors) I was quite convinced that I would be posting one of the epic “Etsy fail” type of pictures today. The directions were great and were correct that you need PATIENCE – more patience than I ever had to muster up. Such fine detail and the soap was either too thin and hot or too cool and hard. At one point, my 6 little glass cups of soap almost wound up in the back yard! And the depositor tool – well that’s the work of the devil. :)Wine probably would have helped – hindsight is great. But I persevered. And ended up with what looked like a heck of a mess right there. And then magic happened – I unmolded the soaps and they were adorable!! No matter that the fine details weren’t perfect – you could hardly even tell. The 3 year olds who will get them in their Easter baskets will be thrilled! Thanks, Brambleberry!
These are definitely a labor of love! We had a few tricky moments making these as well, but we think the end result is worth it. Glad they turned out well. 🙂
-Kelsey with Bramble Berry
I ordered all the supplies to make this for Easter baskets. So excited! The directions say to break off a small chunk of color. I need a little more direction – is a small chunk the size of a pea, a grape or a golfball? Thanks for your help!
The Color Blocks are what you see is what you get! So add a few small shavings to the melted soap, stir to incorporate, and check the color. If you want it darker, you can add more from there. 🙂
-Kelsey with Bramble Berry
Thank you!!
Is there a place I can read about M&P Soap and temps for layering and for putting details in
Absolutely! We have some great posts that talk about layering melt and pour. I’ll link those below. 🙂
5 Tips for Layering Melt and Pour Soap: https://www.soapqueen.com/bath-and-body-tutorials/5-tips-layering-melt-pour/
Basic Layers: https://www.youtube.com/watch?v=5oyh1Bf3Gxo&t=204s
Beginner’s Guide to Melt and Pour: http://www.soapqueen.com/bath-and-body-tutorials/melt-and-pour-soap/free-beginners-guide-to-soapmaking-melt-and-pour/
-Kelsey with Bramble Berry
These are adorable!! I would love to see a video of this process.
Thanks Kim! We’ll definitely keep that in mind for future videos. 🙂
-Kelsey with Bramble Berry
Wood like to see a Scotty dog mold with a collar
Thanks for the suggestion Linda! I passed it along to our research and development department. 🙂
-Kelsey with Bramble Berry
I would love to see a silicone loaf mold with rounded bottom edges, and individual cavity hexagons.
Thanks so much, I’ll pass that suggestion along!
-Kelsey with Bramble Berry
Those are adorable!
Thanks Monica! 🙂
-Kelsey with Bramble Berry
How do you know if the color blocks are non-bleeding? Not all of them are and it seems by trial and error to find out.
Most of the color blocks are non bleeding! Some say in the product title as well. The only ones that aren’t non bleeding are the ones that have FD&C dyes. You can find that information in the description. 🙂
Color Blocks: https://www.brambleberry.com/Color-Blocks-for-Melt-Pour–C340.aspx
-Kelsey with Bramble Berry
I did some random searching on the site and didn’t see any blocks off hand with FD&C in the description. Yes they all say “non-bleeding” now, but they didn’t always used to. I have lots of color blocks that I bought some time ago. The name on the web site would sometimes say non-bleeding, but the label on the block doesn’t say that. So now I don’t know what is what.
Sorry about any confusion. We have a category with all the color blocks that are non-bleeding. You can find that here: https://www.brambleberry.com/Non-Bleeding-Color-Blocks-C342.aspx
If the color blocks you have are in that category, they are non bleeding. 🙂
-Kelsey with Bramble Berry