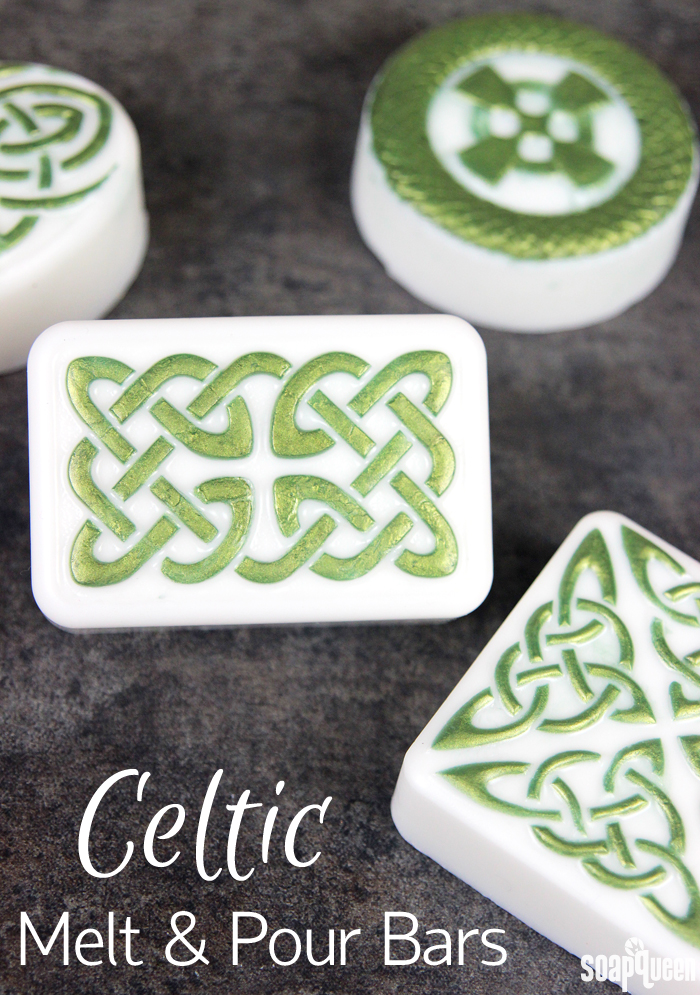
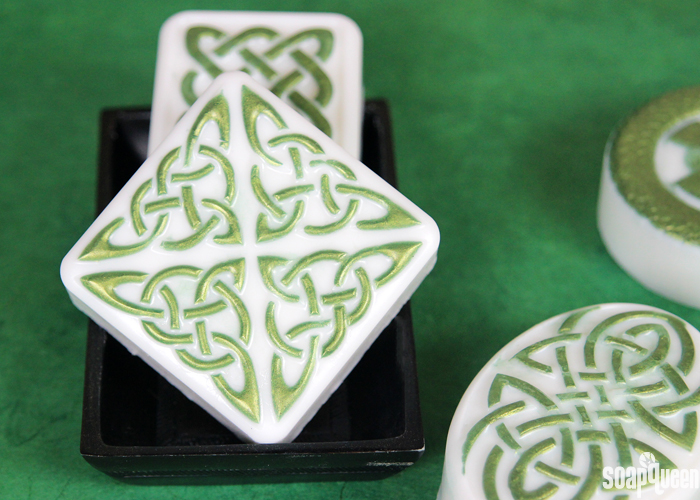
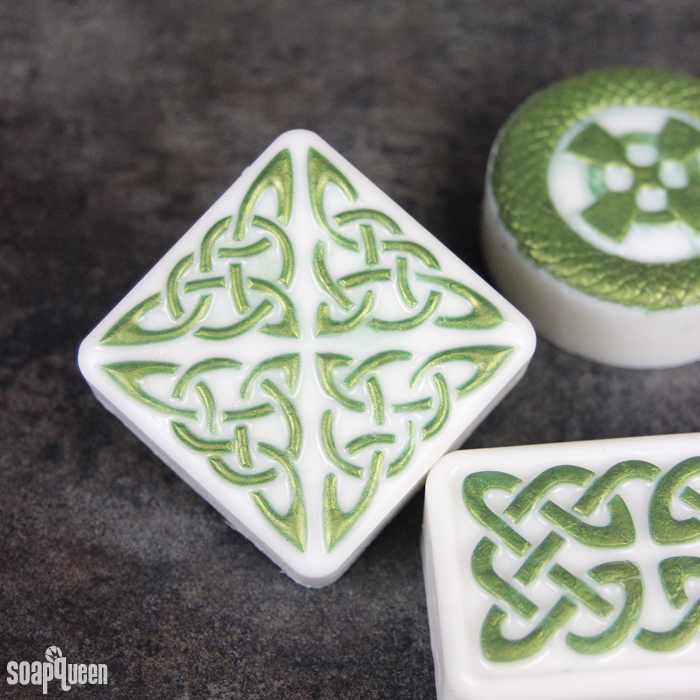
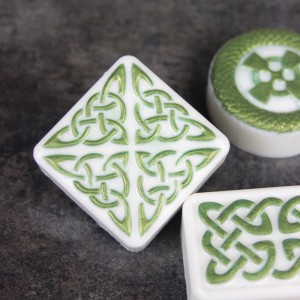
Green is one of my favorite colors for decor and crafts. This might be evident by the number of green tutorials here on the blog. From the lime green shown in the Lime in the Coconut Cold Process, to the soft green in the Creamy Cucumber Lotion, there is a shade for every project. With St. Patrick’s Day just a few weeks away, now is the time to get crafting with green. These Celtic Melt and Pour Bars use Evergreen Mica to create beautiful Celtic-inspired designs. The Celtic Combo Limited Edition Mold used in this project creates four unique designs that are perfect for the holiday.
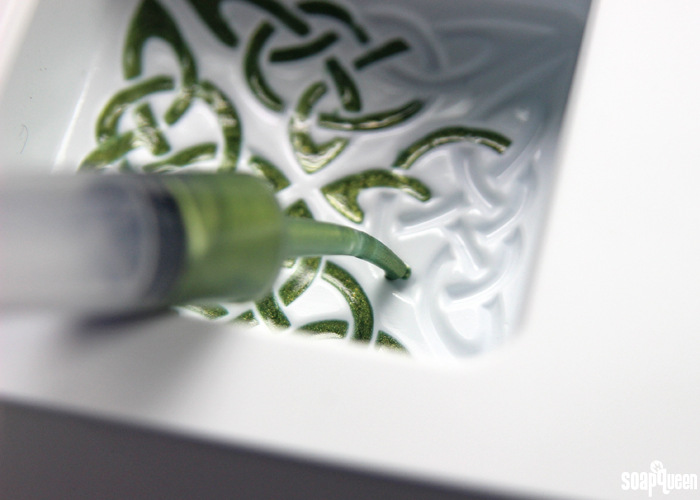
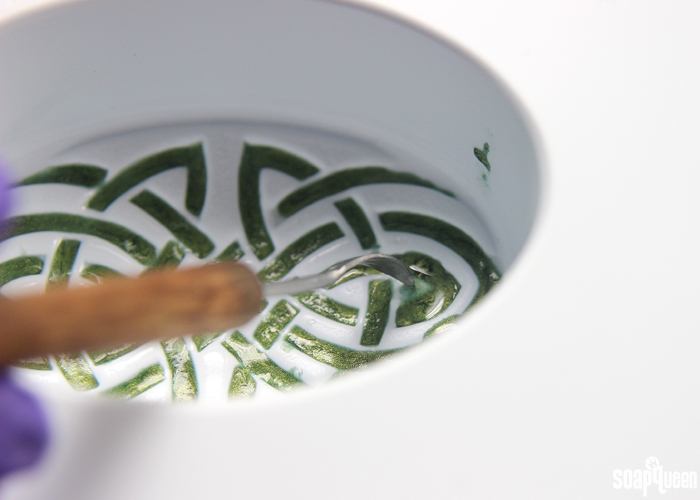
The first step of this project is filling the details in each cavity with highly pigmented soap using the Injector Tool. This process does take some patience and a steady hand. I highly recommend having a spray bottle of 99% isopropyl alcohol nearby. I like to spray the mold lightly with alcohol immediately before filling in the details. The alcohol helps the melted soap spread easily into the small cavities. Then spray with alcohol immediately after to help disperse any bubbles.
Temperature is also key in this project. After filling in the details, allow the green soap to fully cool and harden. Once you’re ready to pour the white soap on top, be careful that it’s not too hot. If the soap is much hotter than 130 ° F, it will melt the green pattern. Patience is key! To read more about temperature in melt and pour soap, check out the How to Avoid Burnt Melt & Pour blog post.
What You’ll Need:
Celtic Combo Limited Edition Mold
24 oz. White Melt and Pour
2 oz. Clear Melt and Pour
Evergreen Mica
.4 oz. Green Tea and Cucumber Fragrance Oil
Injector Tool
99% Isopropyl Alcohol

Click here to add everything you need for this project to your Bramble Berry shopping cart!
ONE: Disperse 1 teaspoon of Evergreen Mica into 1 tablespoon of isopropyl alcohol and stir to combine. Set aside.
TWO: Chop and melt 2 ounces of Clear Melt and Pour Soap in the microwave using 3-5 second bursts. It’s easy to burn such a small amount of soap, so be careful not to overheat.
THREE: Add all of the dispersed Evergreen Mica into the melted clear soap and use a spoon to thoroughly mix in.
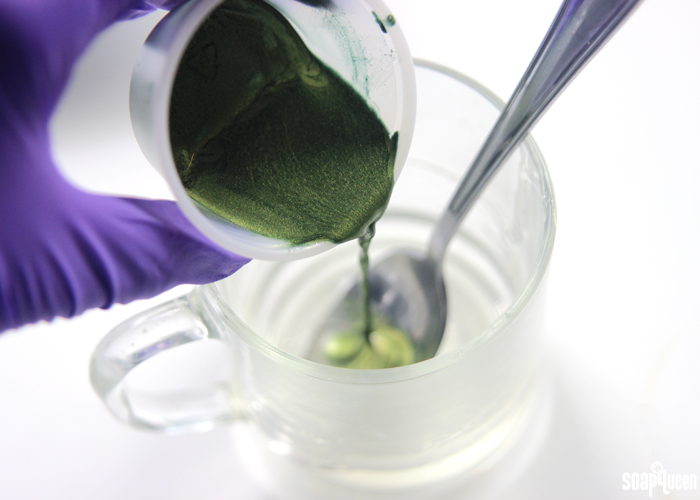
FOUR: Using the injector tool, begin to carefully fill in the details of each mold. This process does take some patience and a steady hand. I have found that cutting a small amount of the tip off the injector tool helps disperse a slightly larger amount of soap and prevents clogging. In addition, I recommend spritzing the mold with a few sprays of isopropyl alcohol before filling in the details. Doing so helps the soap spread throughout the mold details.
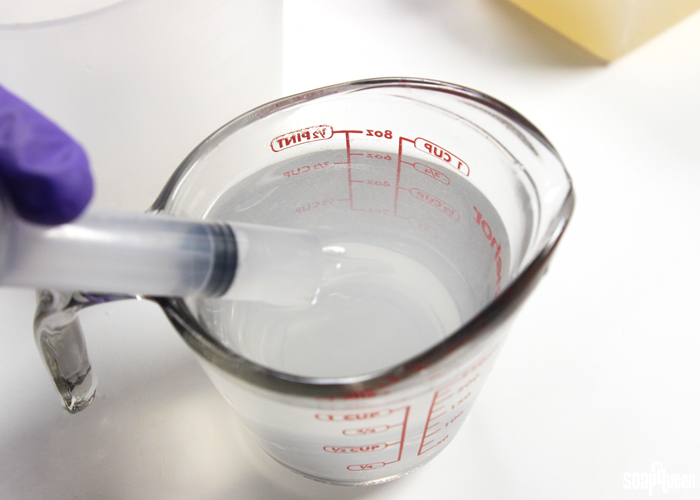
TIP: Have a cup of very hot water nearby when using the Injector Tool. The soap can cool and harden within the tool, which will clog it. Immediately after using the Injector Tool, clear out the tool in the hot water.
 FIVE: Continue filling the mold details with green soap. If necessary, reheat the soap in the microwave using 3 second bursts. If the soap leaks out of the details, allow it to dry and harden, and use the Clean Up Tool to clean up any mistakes. Once all the details are filled, allow the green soap to fully cool and harden.
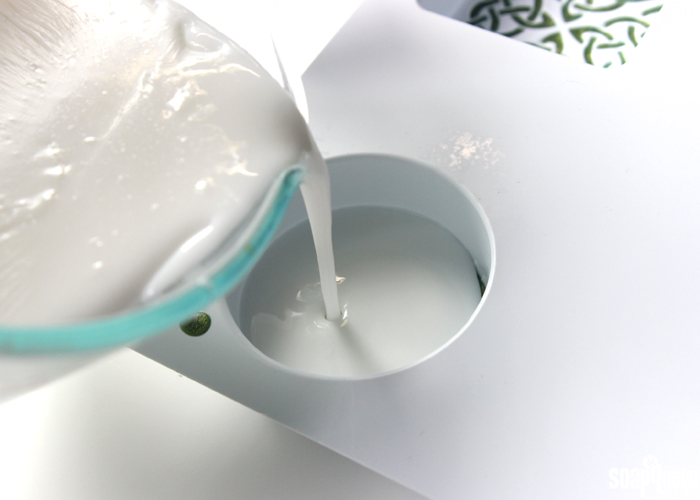
SIX: Chop and melt 24 ounces of white melt and pour soap in the microwave using 30 second bursts. Once fully melted, add .4 ounces of Green Tea and Cucumber Fragrance Oil and stir to thoroughly combine. Allow the soap to reach a temperature of 125 ° F or below. If the soap is too hot when poured, it will melt the green details. Once the soap has cooled, spray the mold cavities with 99% isopropyl alcohol to help the layers stick. Pour the soap into each cavity and spritz the top with alcohol to help disperse any bubbles.
Allow the soap to fully cool and harden in the mold. To remove, press the back of each cavity with your palm to release the air lock. Enjoy! Curious how to wrap soap? I’ve got a video for just that here. Wrap the soap in plastic wrap before use to help prevent glycerin dew. Learn more about glycerin dew and how to prevent it here.
How are you celebrating St. Patrick’s Day?
- Celtic Combination Mold
- 24 oz. White Melt and Pour
- 2 oz. Clear Melt and Pour
- Evergreen Mica
- .4 oz. Green Tea and Cucumber Fragrance Oil
- Injector Tool
- Isopropyl Alcohol
- Disperse 1 teaspoon of Evergreen Mica into 1 tablespoon of isopropyl alcohol and stir to combine. Set aside.
- Chop and melt 2 ounces of Clear Melt and Pour Soap in the microwave using 3-5 second bursts. It’s easy to burn such a small amount of soap, so be careful not to overheat.
- Add all of the dispersed Evergreen Mica into the melted clear soap and use a spoon to thoroughly mix in.
- Using the injector tool, begin to carefully fill in the details of each mold. This process does take some patience and a steady hand. I have found that cutting a small amount of the tip off the injector tool helps disperse a slightly larger amount of soap and prevents clogging. In addition, I recommend spritzing the mold with a few sprays of isopropyl alcohol before filling in the details. Doing so helps the soap spread throughout the mold details.
TIP: Have a cup of very hot water nearby when using the Injector Tool. The soap can cool and harden within the tool, which will clog it. Immediately after using the Injector Tool, clear out the tool in the hot water. - Continue filling the mold details with green soap. If necessary, reheat the soap in the microwave using 3 second bursts. If the soap leaks out of the details, allow it to dry and harden, and use the Clean Up Tool to clean up any mistakes. Once all the details are filled, allow the green soap to fully cool and harden.
- Chop and melt 24 ounces of white melt and pour soap in the microwave using 30 second bursts. Once fully melted, add .4 ounces of Green Tea and Cucumber Fragrance Oil and stir to thoroughly combine. Allow the soap to reach a temperature of 125 ° F or below. If the soap is too hot when poured, it will melt the green details. Once the soap has cooled, spray the mold cavities with 99% isopropyl alcohol to help the layers stick. Pour the soap into each cavity and spritz the top with alcohol to help disperse any bubbles.
- Allow the soap to fully cool and harden in the mold. To remove, press the back of each cavity with your palm to release the air lock. Enjoy! Wrap the soap in plastic wrap before use to help prevent glycerin dew. Learn more about glycerin dew and how to prevent it here.


Can you use melt and pour with the green mica, let it harden then pour cold processed soap over it? Thanks
Hi Terri!
I’m not entirely sure! We have placed melt and pour embeds inside and on top of soap with great results, but we haven’t tried pouring cold process soap onto melt and pour. My worry is the cold process may not grab onto the melt and pour very well. We usually have to press the embeds in to get them to stick, as seen in this Queen of Hearts Cold Process Soap: https://www.soapqueen.com/bath-and-body-tutorials/cold-process-soap/queen-hearts-cold-process/
I would recommend making a small test batch to see if the melt and pour sticks. Also, I would recommend soaping at lower temperatures (130F or below) so you don’t melt the melt and pour details. 🙂
Read more about working with cold process and plastic molds here: https://www.soapqueen.com/bath-and-body-tutorials/tips-and-tricks/unmolding-cold-process-soap-from-plastic-molds/
-Kelsey with Bramble Berry