Click here for Day One
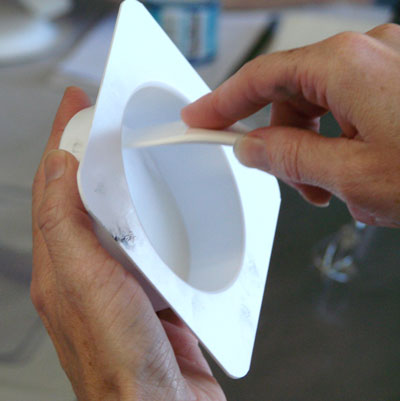
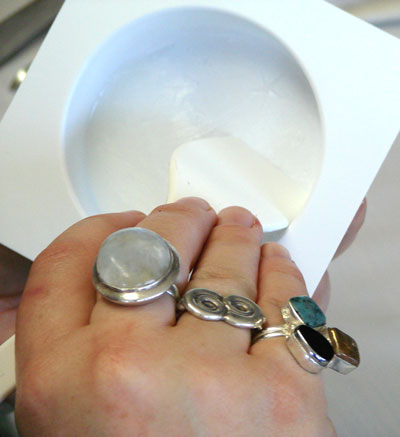
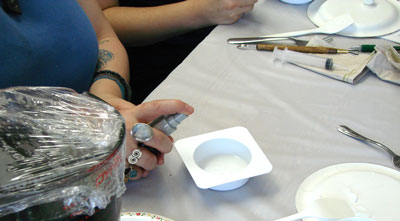
Step Seven: By this point the white soap you injected into in the mold is likely to be ready (touch with your finger to make sure it’s hard). Then hold the entire mold up to the light and you should be able to some faint impression of the mold design. Knowing that the moon is on the left, begin to scrape (with your white scraping tool) very thin layers of soap from right to left, hold up to the light, scrape more, hold up to the light, scrape more.
Step Seven, still: By the 3rd scraping or so you can actually start to feel the bottom of the mold and that’s ok. What you want to achieve is to scrape most of the soap from the bottom, while leaving the stars and moon intact.At some point you can only guess what the finished product will look like (but generally speaking — if you leave too much soap at the bottom you may end up with really heavy clouds, if you scrape off too much you may actually scrape your stars off and end up with just a moon so aim for something between the extremes).
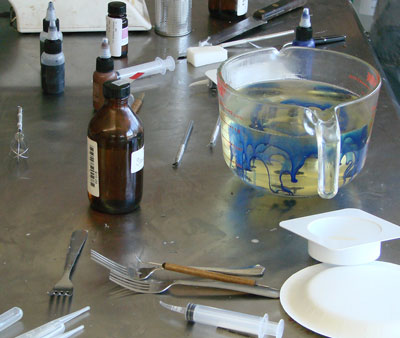
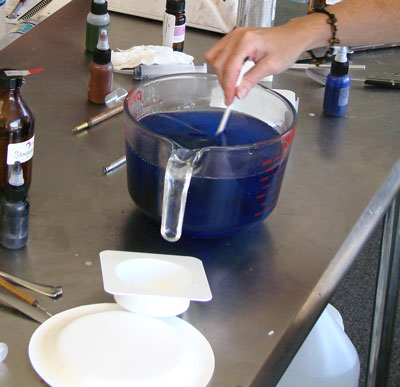
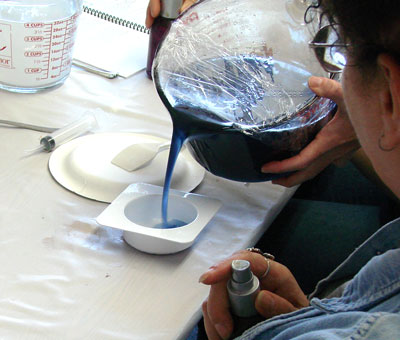
Step Eight: Now it’s time to revisit the navy blue Lily scented soap. Uncover and stir if it has begun to cool down to the point where there are thick spots just zap it for 20 seconds and stir. The Navy soap is ready to pour over the white soap in the mold when it is completely blended yet still warm enough to hold your pinkie finger tip in without any pain at all. The idea being, you want it liquid, but cool enough so it won’t melt your thinnest star detail in your mold.
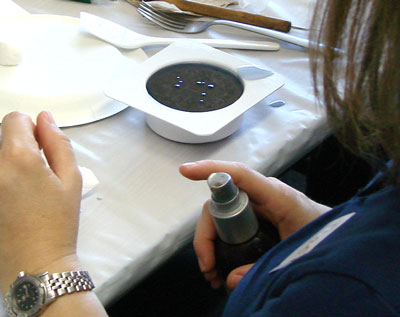
Spritz the white layer!
Step Eight: When the navy soap is at the right temperature cover it back up with the plastic wrap, spray a single cavity with alcohol 5 sprays (to cover the entire bottom of the mold) peel back the plastic wrap and fill the cavity in one fast pour and spray the filled cavity with one spray of alcohol to remove any bubbles. Spray the 2nd cavity, and fill with one fast pour, continue ‘til you’re done. Spritz the white layer!
Spritz the back of the soap to remove any excess bubbles from pouring.
Let the mold set overnight if possible (or at least 4 hours). FYI, The clear shaving soap takes much longer to harden than the white shea butter soap. After the soaps have cooled (for at least 4 hours), for best results, cover the cooled soaps still in the mold with plastic wrap and turn detail side up in your freezer under the blower for 3 minutes then pull out and give one quick firm push to each cavity.
Look for the final reveal of this fun and easy (really, it is easy! Just try it, you’ll see) soap tomorrow.


Very cool tutorial, PJ! I look forward to trying this one out. Thank you for sharing this with us.
Thank you too, Anne-Marie for having such talented guests on your blog! 🙂