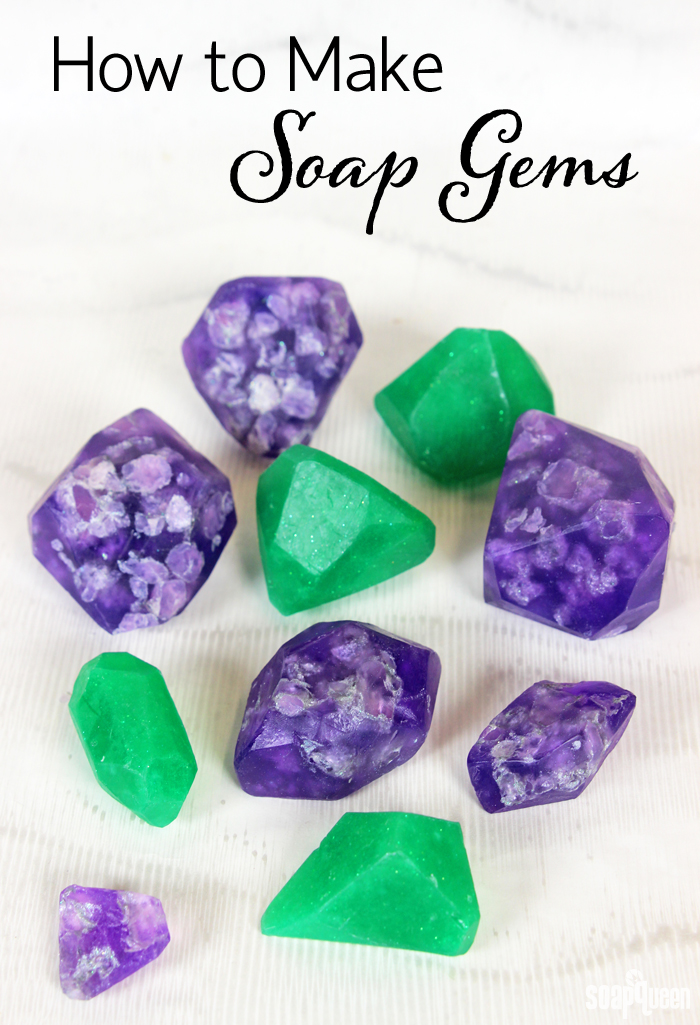
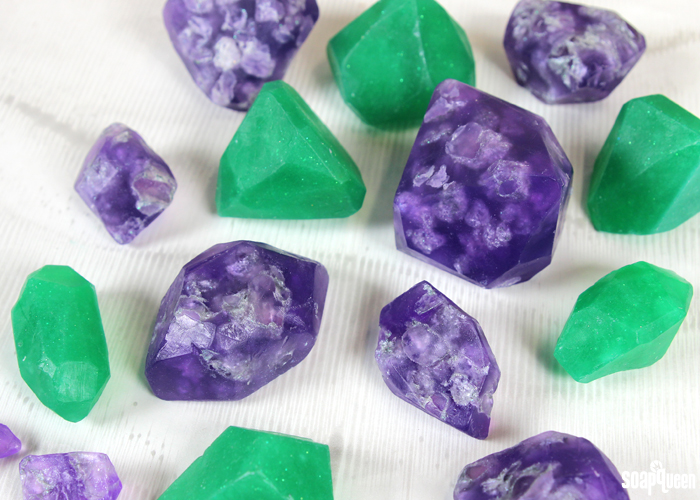
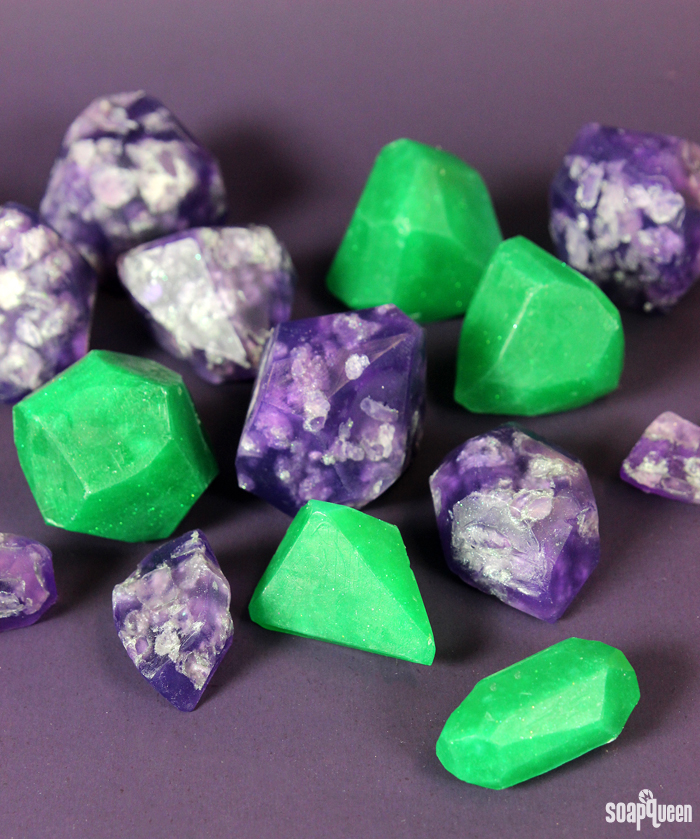
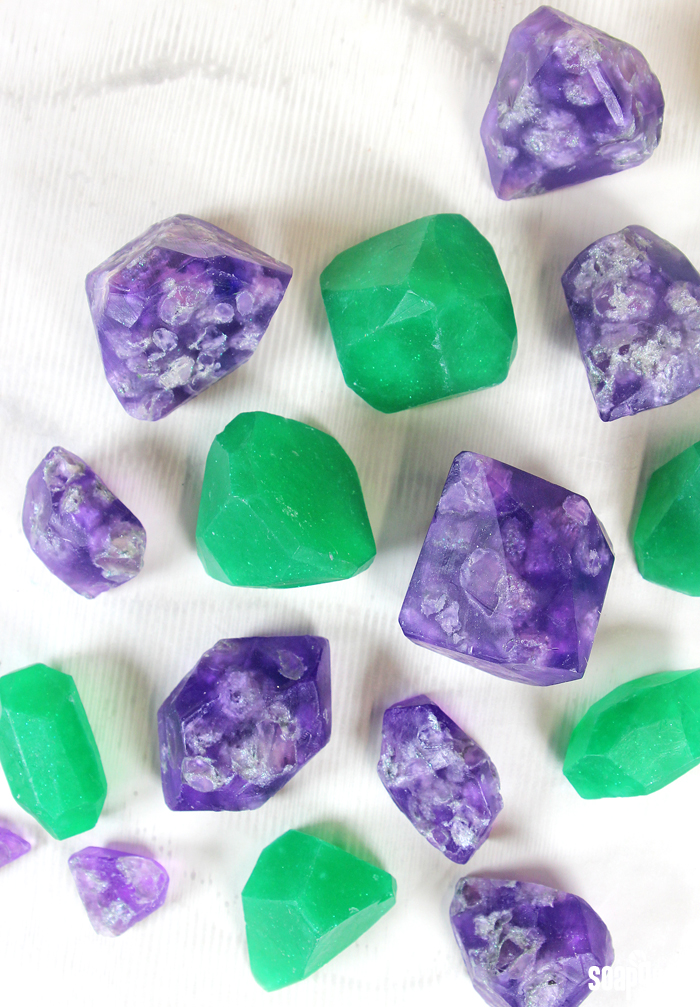
Soap gems and crystals are making a big comeback! Beautiful to look at, it’s easy to understand why they can be found in numerous boutiques, craft stores, Etsy shops and large chain stores. Interested in making your own? They are a great project for both beginner and advanced crafters. In this video, I’ll show you how to create gems using two techniques. One technique is quick and easy and creates an emerald gem. The other involves an extra step but results in a more realistic amethyst gem appearance. If you’ve never made melt and pour soap before, I would recommend checking out the Basics of Melt and Pour Soap video series to understand the basics of working with melt and pour.
I love this project because there are so many options for colors, fragrances and shapes. Have fun experimenting with different shades to create your favorite gems, rocks and crystals. In this video I use the 9 Cube Soap Silicone Mold and cut the soap into various shapes. If you don’t have a soap making mold, this project can also be made with recyclable materials such as plastic food containers. If you give this project a try, be sure to share it on our Facebook page and Instagram with the hashtag #SoapShare!
What You’ll Need:
Soap Emeralds
9 Cube Silicone Mold
20 oz. Clear Melt and Pour
Shamrock Green Mica
Fine Iridescent Glitter
.4 oz. Green Tea Fragrance Oil
99% Isopropyl Alcohol
Soap Amethysts
Blender of Food Processor
9 Cube Silicone Mold
30 oz. Clear Melt and Pour
Snowflake Sparkle Mica
Fine Iridescent Glitter
Vintage Gray Mica
4 mL Diluted Easter Purple LabColor
0.4 oz. Lilac Fragrance Oil
99% Isopropyl Alcohol
 Click here to add everything you need for this project to your Bramble Berry shopping cart!
Have you tried making soapy gemstones before? There are so many awesome techniques and variations, I would love to see how you make them! =)


Thanks for sharing recipes, I will try this one tomorrow.
regards
Have fun!
-Kelsey with Bramble Berry
What a fun project, and a clever way of creating those crystal embeds! I love all of the color combos!
Thanks so much Debbie! 🙂
-Kelsey with Bramble Berry
Hey,
My melt and pour base starts to harden as soon as i take it out from microwave after heating. What can be the matter?
Neither my mixing spoon nor my utensil comes out so clean like in the videos you make.
I dont even have the breathing space you have to add the ingredients one by one. it start to form a layer on top and then when i mix it all sticks to my spoon.
I hope i am able to explain my query.
Please help me with this.
Thanks 🙂
Komal Balani.
Hi Komal!
I’m thinking that soap may be getting a bit too hot. If melt and pour burns, it can form a skin and harden really quickly.
When working with the soap, we recommend using short bursts. If you’re working with a small amount of soap, we recommend 5 second bursts in the microwave with plenty of stirring in between. For larger batches, you can use 20-30 second bursts. Make sure the soap doesn’t get much hotter than 140F. You can also put your microwave settings on low to heat it gently. That should allow you time to work with the soap. 🙂
Read more about burnt melt and pour and how to prevent it here: https://www.soapqueen.com/bath-and-body-tutorials/tips-and-tricks/how-to-avoid-burnt-melt-pour/
-Kelsey with Bramble Berry
I have been having trouble with the colors on several recipes from soapqueen.com. With this recipe, I followed the instructions exactly and the emeralds turned out perfect. The lab color however, was much too pale(and I made my concentrate/water dilution to specifications)and red to get the purple in the video. I used a blue color block I had at home along with the lab color which achieved a pretty perfect amethyst and my soaps turned out wonderful. I do however seem to be having this issue over and over with my colors being too pale or not close so I wonder if I am doing something wrong.
Hi Amanda!
Because you followed the instructions exactly, I’m a bit stumped as to why the colors aren’t as vibrant! With clear melt and pour soap, the LabColors should look nice and vibrant. Can you tell me more about how you diluted the LabColors? Did you make any substitutions to the recipe? Thank you!
-Kelsey with Bramble Berry
I believe it is 100% vegetable glycerin.
Thanks so much for letting me know May! The 100% vegetable glycerin won’t work the same as melt and pour soap. Melt and pour soap has many other ingredients besides glycerin, including coconut, palm oil, etc. You can learn more about our melt and pour bases here: http://www.soapqueen.com/bath-and-body-tutorials/tips-and-tricks/sunday-night-spotlight-melt-and-pour-bases/
I would recommend using the melt and pour bases for this recipe. You can use the glycerin for a variety of recipes though! It feels great in lotion and can be added to melt and pour to make it more flexible. Read more about glycerin here: https://www.brambleberry.com/Glycerin-Liquid-P5965.aspx
And learn how to use it for your melt and pour projects in the Jelly Roll Soap video: https://www.youtube.com/watch?v=9djtB-6mZPU
-Kelsey with Bramble Berry
Could I substitute the soap base with just plain glyceryn (a block of it)?
Hi May!
Just to clarify, is the block pure vegetable glycerin? Or is it a regular glycerin soap base, made with ingredients like coconut oil and water? Thanks so much. 🙂
-Kelsey with Bramble Berry
I made the Amethysts this weekend and they came out great. I saw an older photo on your instagram where you made a bunch of different colors including a turquoise one. How did you get the turquoise color? Is there a lab color for that?
Yay, so glad the amethyst gems turned out well! To get the turquoise color featured on our Instagram, we mixed Neon Blue Raspberry Color Block with a bit of Shimmer Super Pearly White Color Block. It creates a gorgeous blue shade. To get a similar color, I would recommend adding the Neon Blue Raspberry and mixing it into the soap. Then, add that white mica until you get a shade you like. 🙂
Neon Blue Raspberry Color Block: https://www.brambleberry.com/Color-Block-Neon-Blue-Raspberry-P6092.aspx
Shimmer Super Pearly White Color Block: https://www.brambleberry.com/Color-Block-Shimmer-Super-Pearly-White-P5349.aspx
Color blocks are super easy to use. All you have to do is shave off small pieces into the melted soap and mix well. See how to use them in the video here: https://www.brambleberry.com/Color-Blocks-for-Melt-Pour–C340.aspx
-Kelsey with Bramble Berry
Soap gems photo on Instagram: https://www.instagram.com/p/65lJrNA5g4/
Thanks so much! I’m definitely going to try it!
You’re welcome! Have fun. If you get any pictures, we’d love to see them on our Facebook page. 🙂
Bramble Berry Facebook: https://www.facebook.com/BrambleBerry/
-Kelsey with Bramble Berry
Is there any particular reason you used lab color as opposed to mica when you made the amethyst soap? Does one provide any certain benefit than the other? Additionally, I saw in the picture you did a turquoise stone. When you did that was it done just like the amethyst soap but with black embeds vs the clear? Thanks for doing this.
Hi Debbie!
That’s a great question! LabColor gives the soap a more transparent look than other colorants, like micas. That allows you to see all the gorgeous glittery embeds a little more clearly. It also gives the soap a beautiful sort of stained glass look. You can see in the picture that the purple is a bit more transparent compared to the emerald soap.
However, if you want to use a mica, that’s just fine too! Amethyst Purple Mica would look gorgeous in that soap. 🙂
Amethyst Purple Mica: https://www.brambleberry.com/Amethyst-Purple-Mica-P3598.aspx
Also, for the turquoise stone, we ground up clear soap and then covered it with Luster Black Mica. That gives it the lovely blackish gray color on the outside. 🙂
Luster Black Mica: https://www.brambleberry.com/Luster-Black-Mica-P3453.aspx
-Kelsey with Bramble Berry
Gorgeous! Very excited to try this in the future
Thank you so much Donna! Can’t wait to see what you create. 🙂
-Kelsey with Bramble Berry