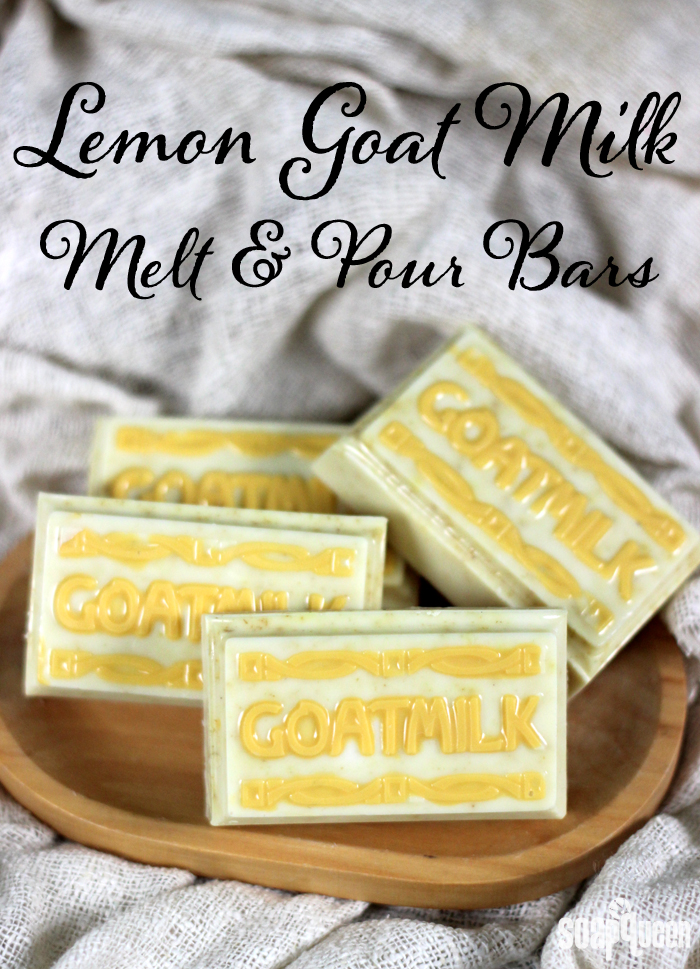
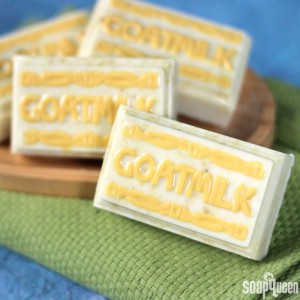
Goatmilk is a popular soapmaking ingredient for good reason. It creates a lush lather and leaves skin feeling soft. Goat milk contains capric-caprylic triglyceride, which is a fatty acid that helps skin form a barrier to inhibit the loss of moisture. If you want to receive all the benefits of goat milk in melt and pour, the Goat Milk Melt and Pour Base is your answer. These adorable Lemon & Goat Milk Melt and Pour bars are made with the Goat Milk Melt and Pour Base, which contains 10% fresh liquid goat milk.
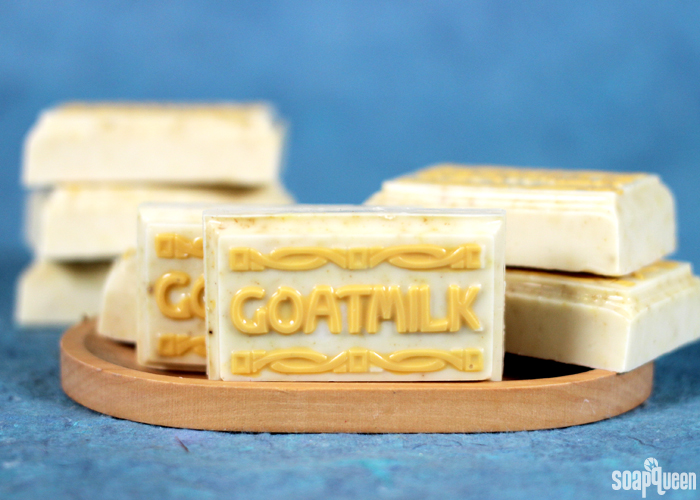
Lemon peel and Lemon Essential Oil give these bars a fresh smell and natural texture. Approximately 1.7 ounces per bar, the small guest size is perfect for traveling, party favors or even samples. The scored lines on the Guest Goat Milk Tray Mold make cutting the slab of soap into smaller bars easy.
What You’ll Need:
Guest Goat Milk Tray Mold
28 oz. Goat Milk Melt & Pour Base
10 mL Lemon Essential Oil
1.5 tsp. Lemon Peel
Yellow Oxide Color Block
Optional: Clean Up Tool, Droppers, 99% Isopropyl Alcohol
 Click here to add everything you need for this project to your Bramble Berry shopping cart!
 TWO: Spray the mold with a thin layer of 99% isopropyl alcohol. Using a dropper, drop the yellow soap into the lettering and border detail. Spraying the mold with alcohol beforehand helps the soap spread easily into the letters and borders. Spritz the top with alcohol to disperse any bubbles. Allow to fully cool and harden.
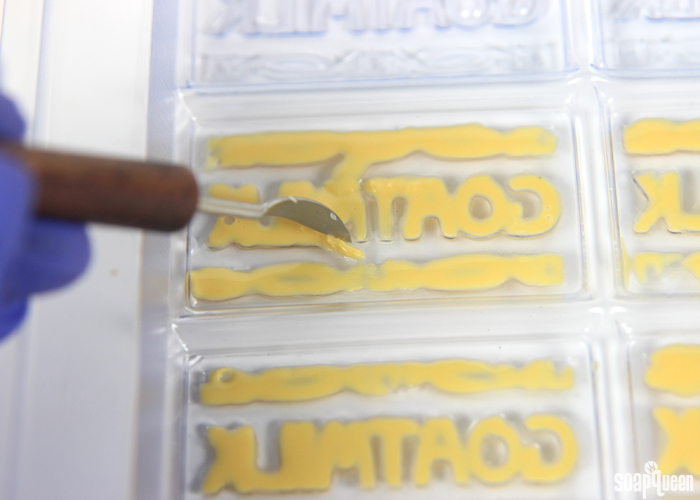
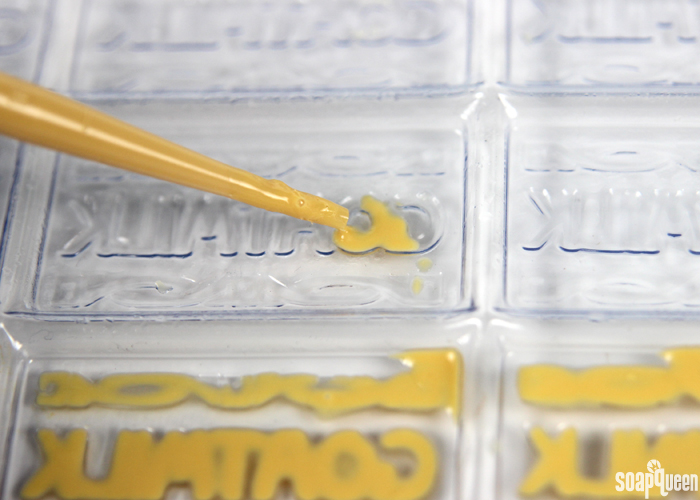 TIP: If necessary, use a Clean Up Tool to clean up any soap that has spread out of the detailing.
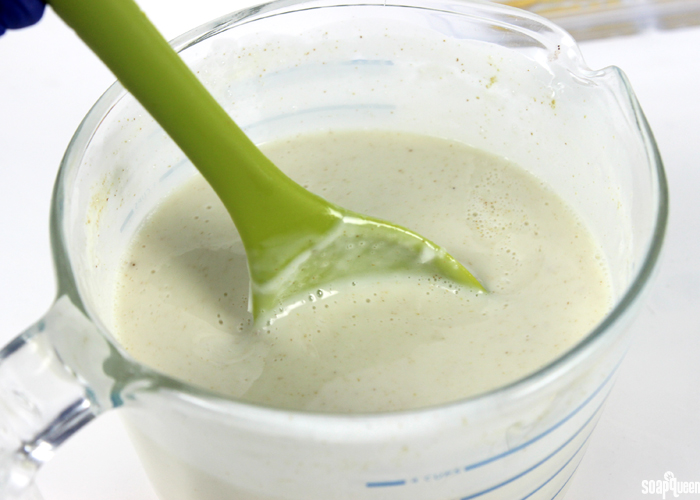
 THREE: Chop and melt 26 oz. of Goat Milk Melt & Pour Base in the microwave using 30 second bursts. Once melted, add 10 mL of Lemon Essential Oil and use a spoon or spatula to fully mix in.
FOUR: Disperse 1.5 tsp. of Lemon Peel Powder into 1 Tbs. 99% isopropyl alcohol. Add to soap and use a spoon or spatula to fully mix in. Dispersing the powder helps avoid clumps.
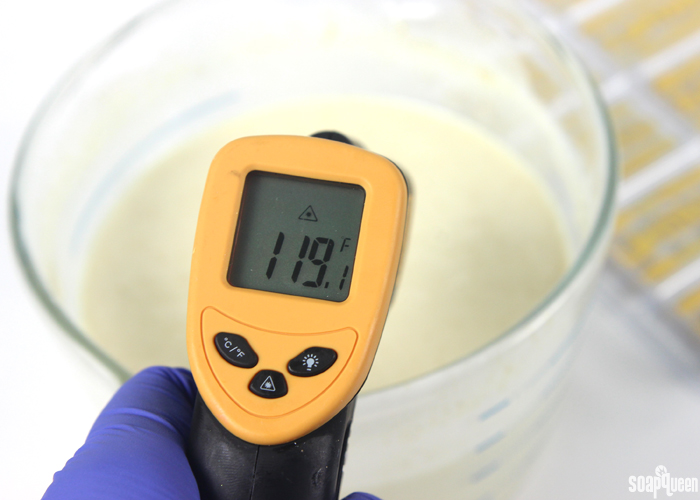
 FIVE: Once the soap has reached a temperature of 120-125°F, spritz the yellow soap with 99% alcohol then pour. Don’t pour the soap if it’s above 125°F, or it may melt the yellow details.
 SIX: Pour the soap into the mold, and spritz the top with 99% alcohol to disperse any bubbles. Allow to fully cool and harden.
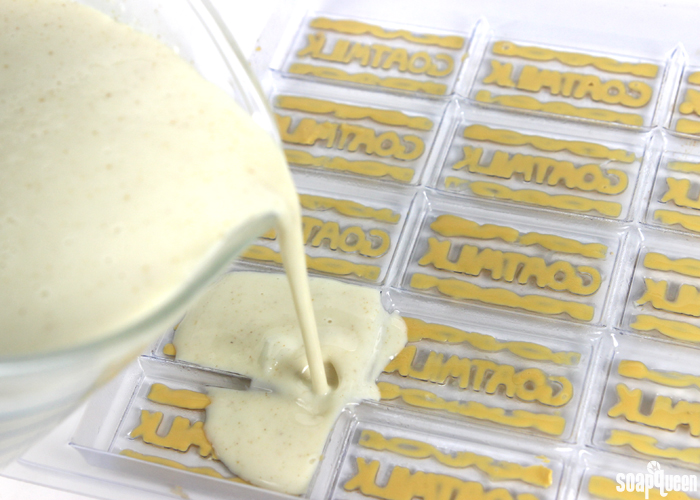 SEVEN: Once cooled, remove from the mold and use a sharp knife to cut into bars along the scored lines. Enjoy!
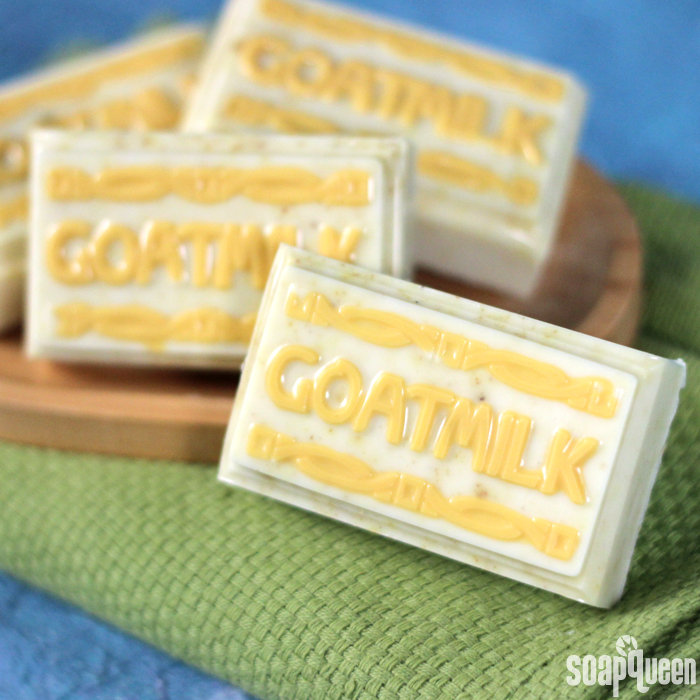 If your yellow details are sticking in the soap, it’s possible that you poured your second layer too cool or that you wanted too long in between layers. You just want that first layer to be hard enough to support the second layer. If the yellow details aren’t sticking, it’s okay to remelt the entire batch in 15 second increments (to prevent burning) and try again. Layers are one of the most difficult techniques in melt and pour soapmaking.
Do you enjoy goat milk in your soap? If you’d like to learn how to use goat milk in cold process, check out this Goat Milk & Oatmeal Cold Process Soap Tutorial!
- Guest Goat Milk Tray Mold
- 28 oz. Goat Milk Melt & Pour Base
- 10 mL Lemon Essential Oil
- 1.5 tsp. Lemon Peel
- Yellow Oxide Color Block
- Optional: Clean Up Tool, Droppers, 99% Isopropyl Alcohol
- Chop and melt 2 oz. of Goat Milk Melt & Pour base in the microwave using 10 second bursts. Because you are melting such a small amount of soap, using short bursts prevents the soap from scorching. Add shavings of the Yellow Oxide Color Block until a rich yellow color is achieved.
- Spray the mold with a thin layer of 99% isopropyl alcohol. Using a dropper, drop the yellow soap into the lettering and border detail. Spraying the mold with alcohol beforehand helps the soap spread easily into the letters and borders. Spritz the top with alcohol to disperse any bubbles. Allow to fully cool and harden. If necessary, use a Clean Up Tool to clean up any soap that has spread out of the detailing.
- Chop and melt 26 oz. of Goat Milk Melt & Pour Base in the microwave using 30 second bursts. Once melted, add 10 mL of Lemon Essential Oil and use a spoon or spatula to fully mix in.
- Disperse 1.5 tsp. of Lemon Peel Powder into 1 Tbs. 99% isopropyl alcohol. Add to soap and use a spoon or spatula to fully mix in. Dispersing the powder helps avoid clumps.
- Once the soap has reached a temperature of 120-125°F, spritz the yellow soap with 99% alcohol then pour. Don’t pour the soap if it’s above 125°F, or it may melt the yellow details.
- Pour the soap into the mold, and spritz the top with 99% alcohol to disperse any bubbles. Allow to fully cool and harden.
- Once cooled, remove from the mold and use a sharp knife to cut into bars along the scored lines. Enjoy!

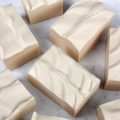
I made this soap yesterday. My kitchen smelled awesome! Hers my question:
I had trouble with spraying yet he alcohol. I got a spray bottle but it seemed to spray out at such a high pressure that there was a lot of alcohol in the mold, between the layers, etc. I’d appreciate any suggestions you may have on this.
My dark yellow trim and goat milk is sloppy. Any tips for controlling this better?
When can I remove the soap from the mold and cut?
Thanks! I really appreciate these tutorials!
Hi Beth!
So glad you’re enjoying the tutorials! If that alcohol is spraying a bit too much, I would recommend using less pressure on the nozzle. That will give you a lighter spray! You can also spray from farther away to distribute the alcohol more evenly.
For a bit more control on the details, you can use our Injector Tool: https://www.brambleberry.com/Injector-Soap-Tool-P4660.aspx
It has a precise opening so you can get in the details. If you make any mistakes, you can clean fix them with the Clean Up Tool: https://www.brambleberry.com/Clean-Up-Tool-P4758.aspx
You can unmold the soap when it’s fully cool and hard! That takes about 3 hours or up to overnight. 🙂
-Kelsey with Bramble Berry
Can you use powdered goats milk in a plain base? does powdered goats milk provide anything for you skin if you can?
Hi Larissa!
We don’t recommend using the goat milk powder in a plain melt and pour base. Because the base has already turned into soap, the goat milk powder will rehydrate in the base and spoil. That will shorten the shelf to just a couple of weeks. The milk in our Goat Milk Melt and Pour has gone through the saponification process, meaning the milk has turned into soap. It also feels awesome on the skin! I would recommend using that one rather than adding the goat milk powder to another base. 🙂
-Kelsey with Bramble Berry
When can we use the melt and pour soap after it’s made?
Hi Odie!
You can use the soap as soon as it’s cool and hard! That’s one of the awesome things about making melt and pour – it’s ready to use right away. 🙂
-Kelsey with Bramble Berry
A weird thing happened to me today. I made a soap 2 days ago with Organic Vanilla Soymilk. The whole process went great as usual and I fragranced half for the bottom with your French Vanilla FO, no other color, and in the top only added 1/2 tsp of TD in 1/2 tbs oil.
Well, it was too soft to unmold yesterday, so I did it today, even though I could tell it was still a bit soft on the bottom. The top, white, part was ok, but the bottom, fragranced part was still very soft, like fudge.
But, the weird part was when I cut into it! I let it sit a couple of hours out of the mold to harden and then I cut it. The bottom part looks ok- tan color with darkening from the outside. The top though, is white on the outside with BLUE on the inside!!
It was in the fridge after molding and it didn’t go through gel phase, but I don’t know what made it blue. I assume there’s some of that blue in the brown part too, just not visible because of the color. So weird!!
On the other hand I made your Buttermilk carrot baby bar yesterday, and it was perfect and ready to unmold today after 20 hours, nice and hard. I left it unscented, but everything else is pretty much the same. Looks great!
Update this morning: the blue center is going away and it’s almost all gone. The brown discoloring is progressing nicely and it looks like milk chocolate now. And vanilla scent is slowly coming back too. Yesterday it only had a slightly off smell, kind of eggy. It might still turn out ok. 🙂
Hi Martina!
Oh wow, that’s strange! I’m wondering if it was a reaction with something in the milk. I’m glad to hear it’s going away now though! Keep us posted on how it goes as the soap continues to cure. 🙂
Also, so glad you like the Buttermilk Bastile Baby Bar recipe! I have a bar in my shower right now and can’t get enough of it: http://www.soapqueen.com/bath-and-body-tutorials/cold-process-soap/buttermilk-bastille-baby-bar-on-soap-queen-tv/
-Kelsey with Bramble Berry