Click here for Part One Instructions
Click here for Part Three Instructions
Step Three: Pop your Black Soap Out
Invert your mold and gently pry your flat soap out. Face it so that the underside of the soap is facing you (this is the more dull side).
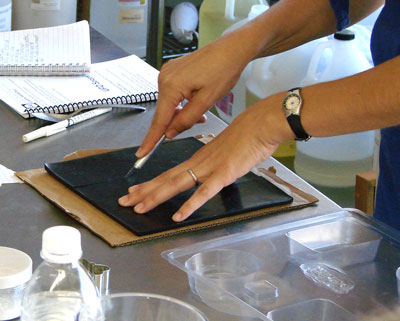
Step Four: Prepare your Cameo Design
Using the size of your soap mold as a guide, draw your design or find a great silhouette on the internet and shrink it down. Print it on normal paper on your inkjet or laser printer.
Place your design on top of the soap. Use a small exacto knife to trace around the design, through the soap. Make sure your soap is on a cutting board or thick piece of cardboard. You don’t want to accidentally cut your counter.
If you’re not so good with the knife, you can also use a small cookie cutter to shorten this step up.
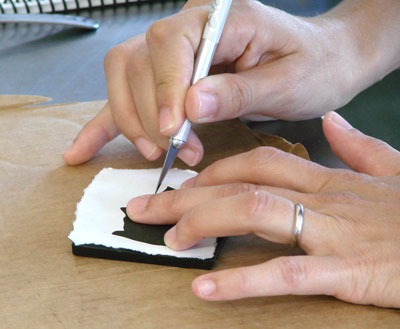 Part of the fun of this technique is the ability to customize logos, your name, your special symbol or even your own silhouette.
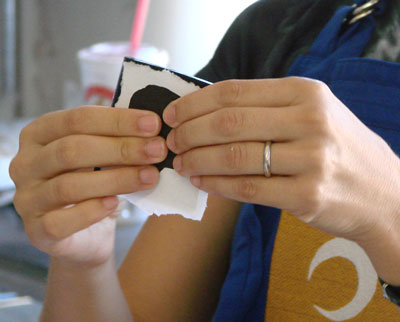
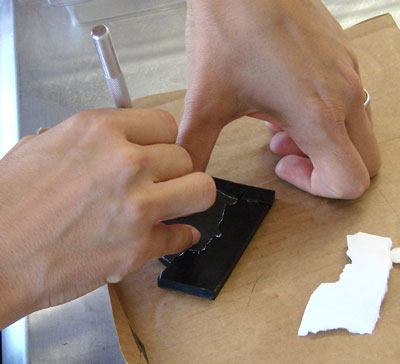 Use your fingers to smooth out any rough edges. My silhouettes were cut in such a herky-jerky, caffeine-fueled fashion that I had a lot of smoothing to do!
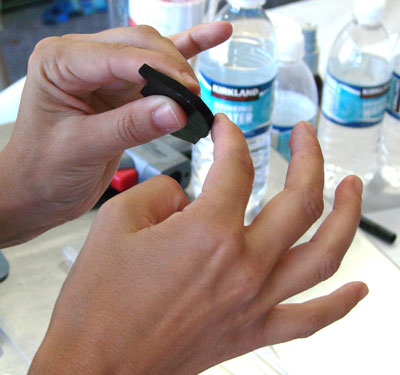 You can do some very intricate designs with enough patience and no caffeine. A steady hand is essential for this project.
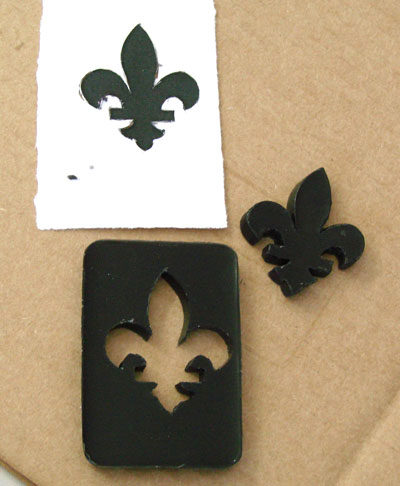 Now that your silhouette is prepared, join me tomorrow as we work our way through placing this customized soap into your mold for maximum dramatic effect.



Then cookie cutter it is…for those of us that are a tad clumsy with knives. ;>
Oh my gosh! I am loving learning how to do this! I’m totally inspired to give it a go! thanks! 🙂
Teresa,
Cookie Cutters are a great way to ease into this project. I know that I used cookie cutters for some of my more successful attempts when I needed to make a bunch for the retail store. =)
I think I can actually make this one…I bought that mold from BB! :> I might try cookie cutter shapes instead of handling those scary X-acto knives though.