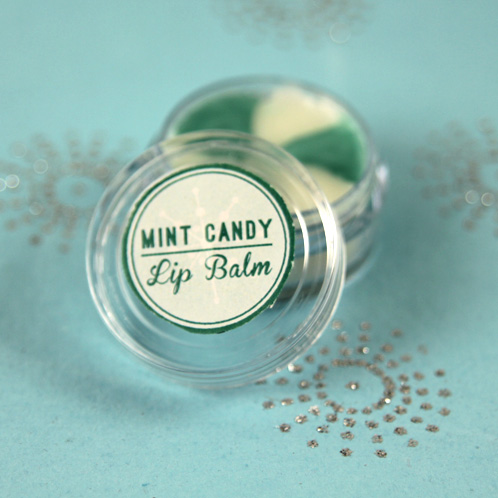
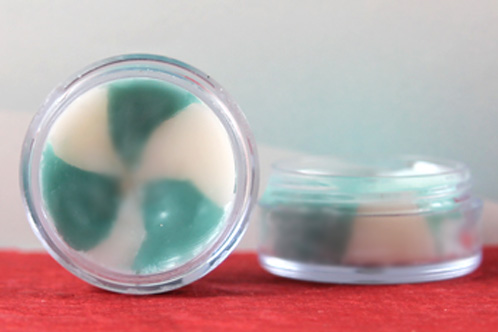
You can never have too many stocking stuffers, and these minty little lip balms are perfect if you need a last minute gift. Our Bramble Berry Lip Balm Base come premixed and ready to go — all you need to do is melt it down and pour into a container! For this design, we got creative and used a kebab skewer to mimic the famous Starlight Mint candies, and then flavored them with Mint Julep Flavor Oil. They’re a quick and easy minty treat!
What You’ll Need:
3.5 oz. Bramble Berry Lip Balm Base
Apple Moss Green Mica
Super Pearly White Mica
Mint Julep Flavor Oil
10 Clear Lip Butter Pots
.15 CC mini scoops
Droppers
Mint Candy PDF Labels
Click here to add everything you need for this project to your Bramble Berry shopping cart!
NOTE: This recipe used to contain Shamrock Green Mica, which was reformulated in November 2017 and is no longer lip safe. It now uses Apple Moss Green Mica, so the color will look different than pictured.
ONE: In a heat-safe container, melt 2.5 oz. of lip balm base on 30 second bursts in the microwave. If you attempt to just heat the base without stopping and stirring in between 30 second bursts, it’s possible to shatter glass so take a little longer and make your microwave happy. Add 1 scoop of Super Pearly White Mica to the melted base and stir.
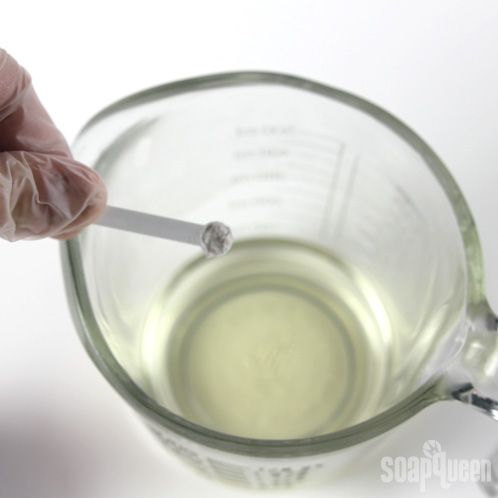
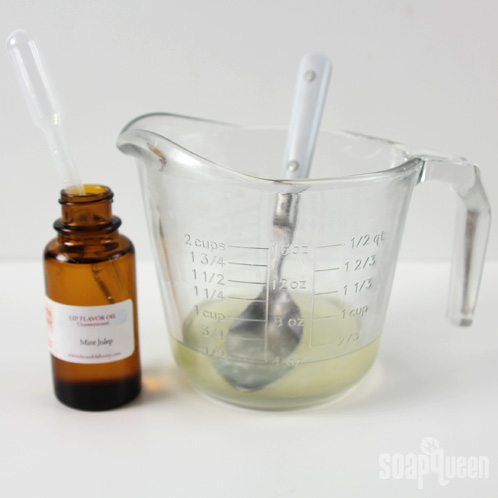
TWO: After the colorant has been fully incorporated into the base, use a dropper to add 5 drops of the Mint Julep Flavor Oil and stir.
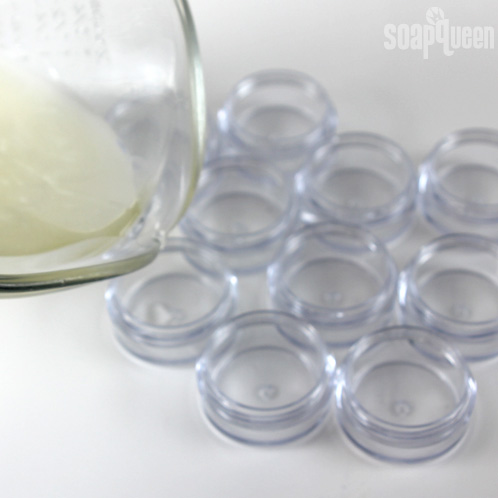
THREE: Set out the lip butter pots and slowly pour the mixture into each. Each pot will hold about 1/2 inch of melted base or .25 oz.
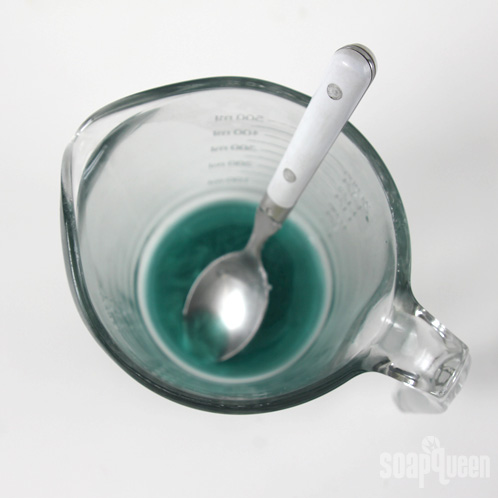
FOUR: Melt 1 oz. of lip balm base and add 2 scoops of Apple Moss Green Mica. Give the mixture a good stir, and then add 2 – 3 drops of Mint Julep Flavor Oil.
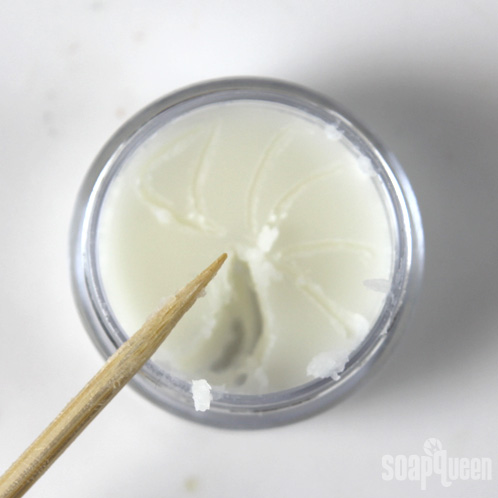
FIVE: Give the base 10 – 15 minutes to harden before carving out space for the green base. Using a chopstick (or in our case, a kebab skewer) make a dot in the center of the lip balm. From the center, draw a curved line to the edge of the pot. In the center again, make another curved line following the first. You should end up with something that looks like a bent over triangle. Repeat this 4 more times to create two more triangle shapes.
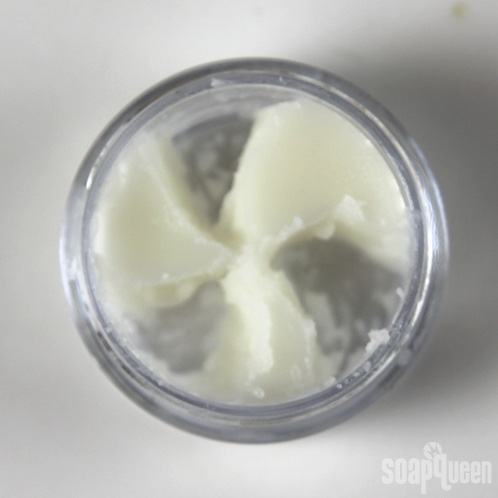
SIX: Using a dropper again, fill the cavities with the melted green base. It’s okay if a little spills over because you can clean it up after it hardens.
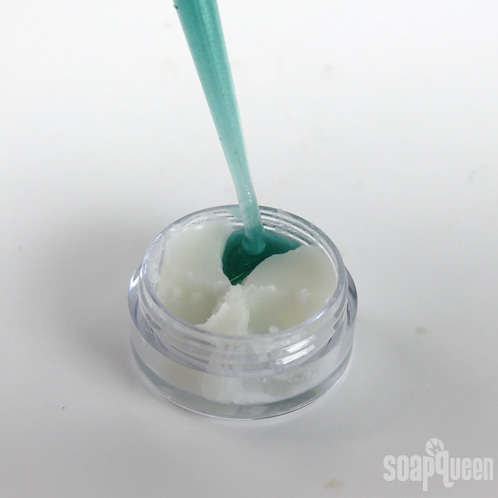
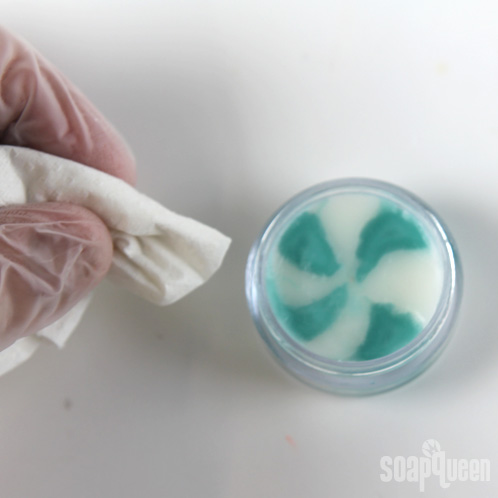
SEVEN: Some of the green base may have spilled over, but that’s okay. Using a paper towel, gently wipe the green base away. Finish the lip balms by gently going over the tops with a heat gun on low until the balm is a little bit shiny. This will fill in any gaps or bunches in the surface. Allow to harden.
 Clean-up can be challenging without the right way to do it. I throw away the droppers (sad, but true) and clean up my melting and mixing containers by melting down melt and pour scraps (any soap that didn’t work out, or if you only soap to perfection each time, brand new melt and pour). Then, stir really well, coat the entire cup and try to get all the wax and oil incorporated in. Pour this bar of soap and use it yourself for an ultra-luxe bar of melt and pour soap or just pour directly into garbage can (do not pour down your drain). Viola!
Your minty holiday lip balm is ready to use (or give away!) immediately.



I love these little balms..and they’re so easy to make…Would it be possible to use essential oils instead of the fragrance oil. That way they can remain more natural or vegan..(with the Nourish lip base, of course)..
So glad you love these balms Sandee! Also, you can definitely use essential oils in this recipe as long as they’re lip safe. See a full list of the lip safe essential oils in this post: http://www.soapqueen.com/bramble-berry-news/sunday-night-spotlight-flavoring-oils/
Peppermint Essential Oil, 2nd Distill would give this balm a lovely minty scent, and is lip safe. 🙂
-Kelsey with Bramble Berry
Peppermint Essential Oil, 2nd Distill: https://www.brambleberry.com/Peppermint-Essential-Oil-2nd-Distill-P3832.aspx
I made a few lip balms using this tutorial and they turned out adorable 🙂 It was very easy, and fun to make. Thanks for the tutorial!
Good morning!
So happy to hear your lip balms turned out well! We would love to see them on our Facebook page 🙂
https://www.facebook.com/BrambleBerry?
Happy Soaping! 🙂
-Amanda with Bramble Berry
I just finished making 30 mint candy lip balms for the teachers at my son’s school. It was the first time making lip balm and now I’m hooked. I like it better than my favorite lip balm I purchase at the drug store. I’ll definitely be making more of these little jewels!
Hi Lora!
So glad you enjoyed making lip balm, isn’t it fun? 🙂 We would love to see your lip balm or other soapy creations on our Facebook page!
https://www.facebook.com/BrambleBerry
Happy Soaping!
-Amanda with Bramble Berry
Wouldn’t it be slightly easier to make the mint candy shape in the white if you use a small part of the smallest brambleberry circle cookie cutter? Just wondering because I remember seeing the small one from the orange slice video on soap queen tv! But I love this tutorial either way!
Hi Leanna!
That is a great idea! If you get a chance to try it out that way, let us know. For small scale production, we’ve found that this way works the best for us. =)
-Becky with Bramble Berry
I’m really excited to try this, its so pretty!
Hi Rebecca!
We can’t wait for you to try this tutorial out. Be sure to give us feedback once you’ve tried it. =)
-Becky with Bramble Berry