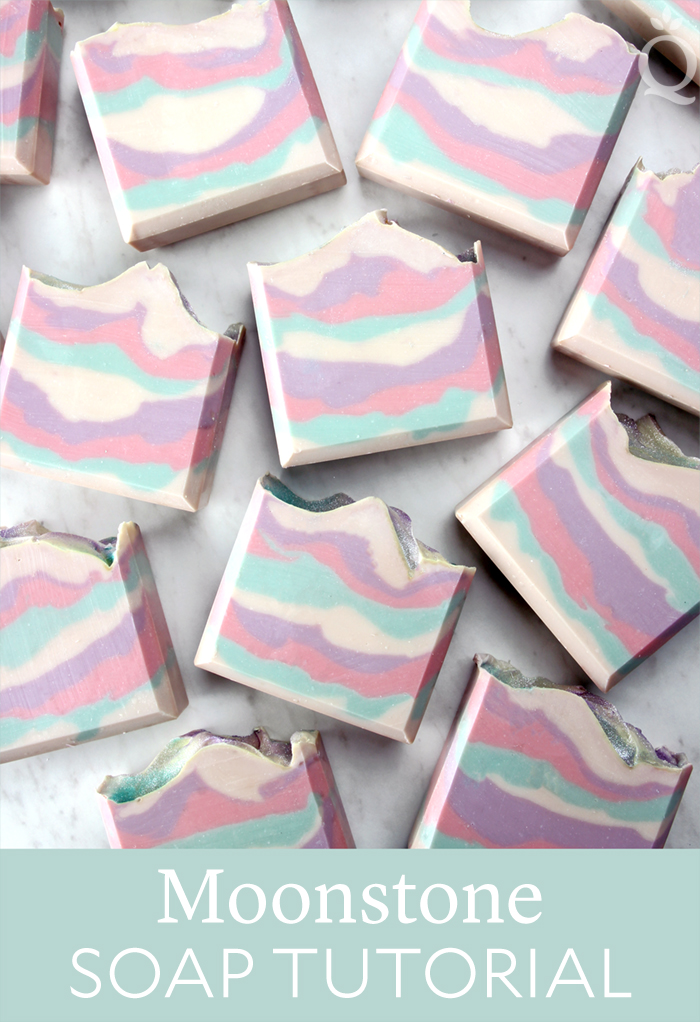
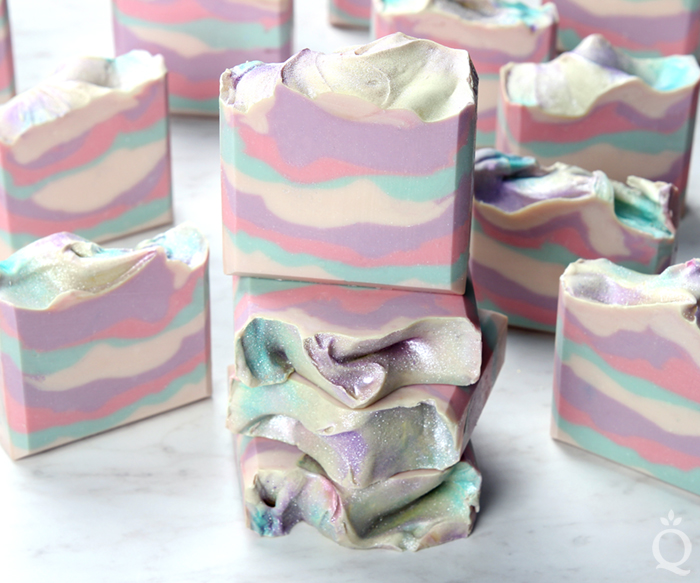
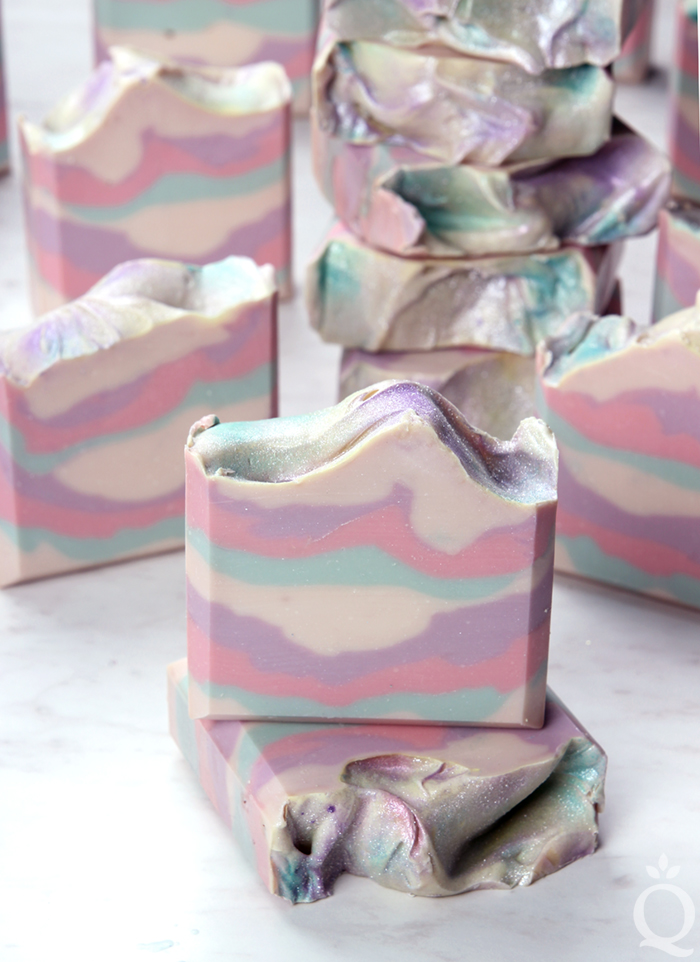
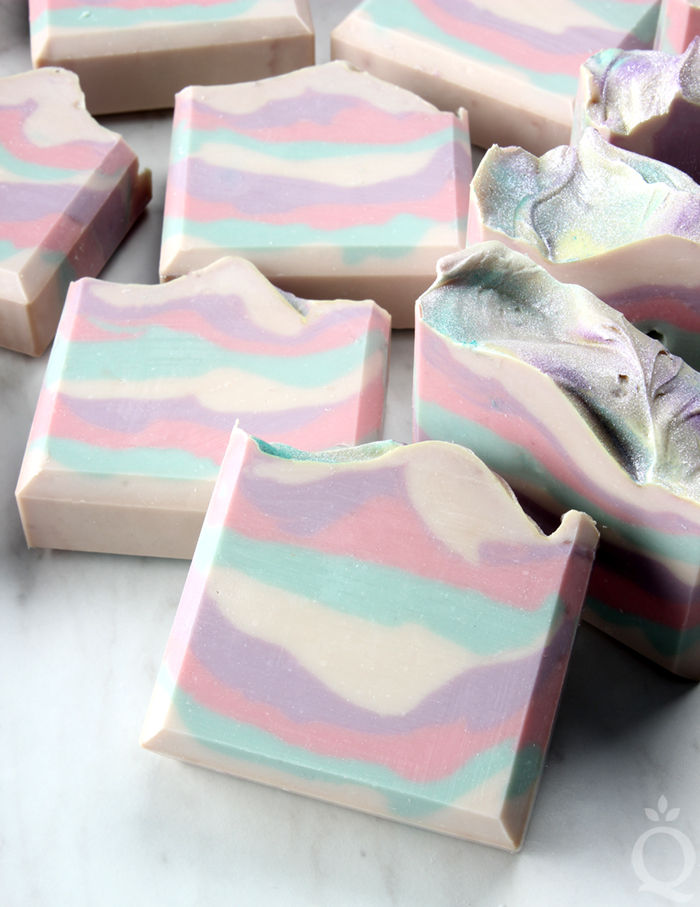
 It’s amazing what a little mica can do. It adds a beautiful iridescence to handmade bath and beauty products. This Moonstone Cold Process Soap has a layered design, but what makes it special is the glimmer on top.
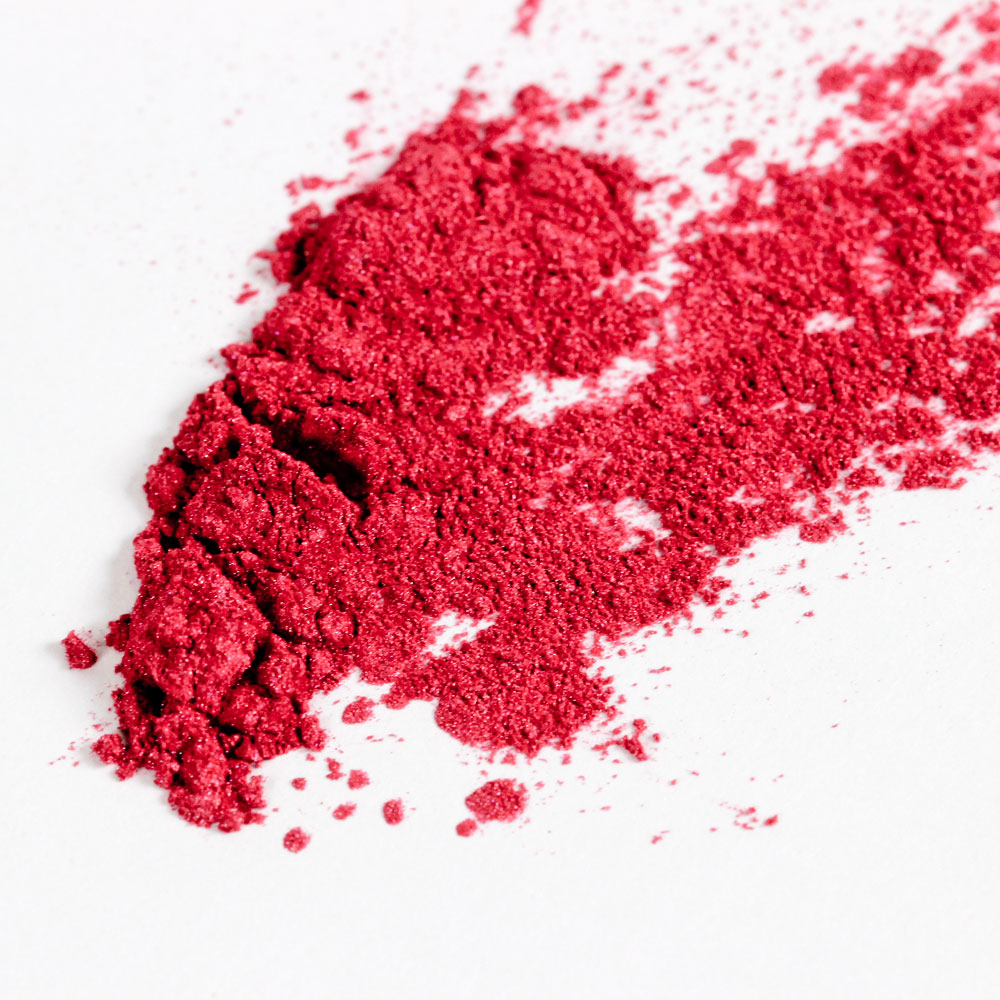
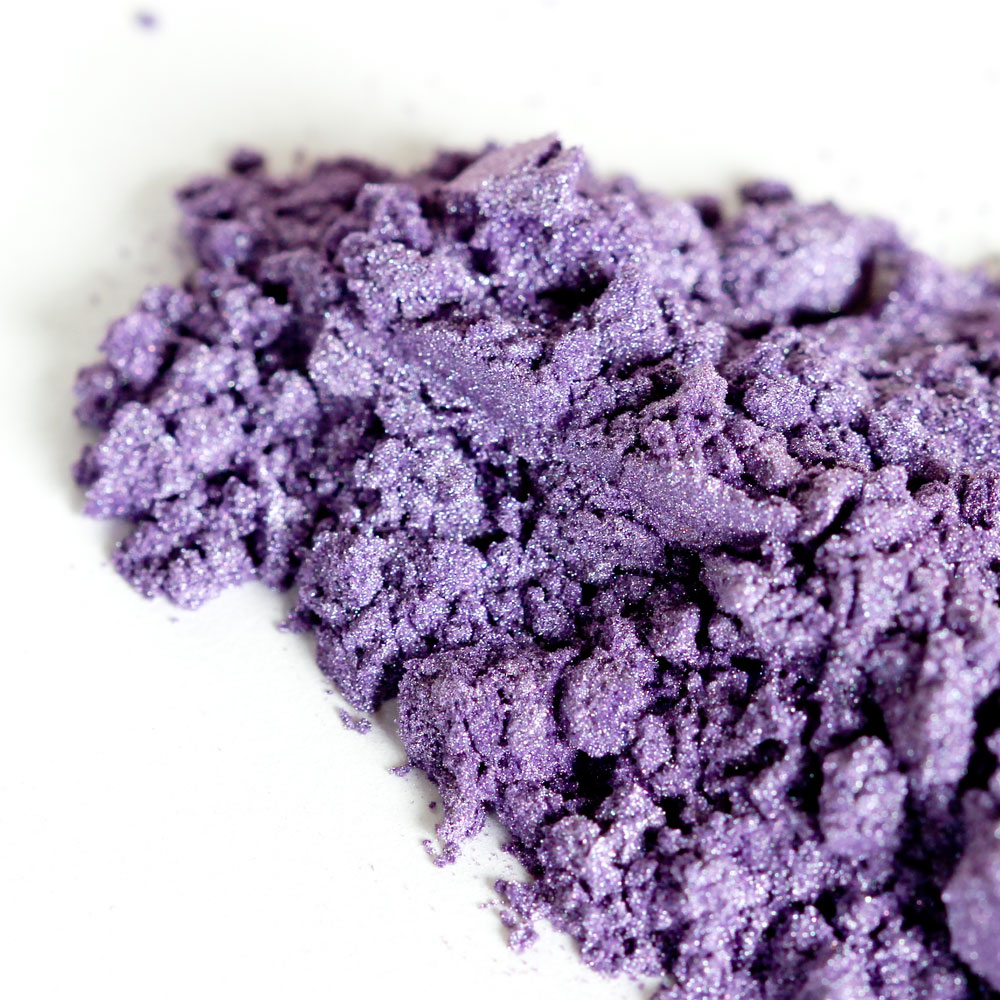
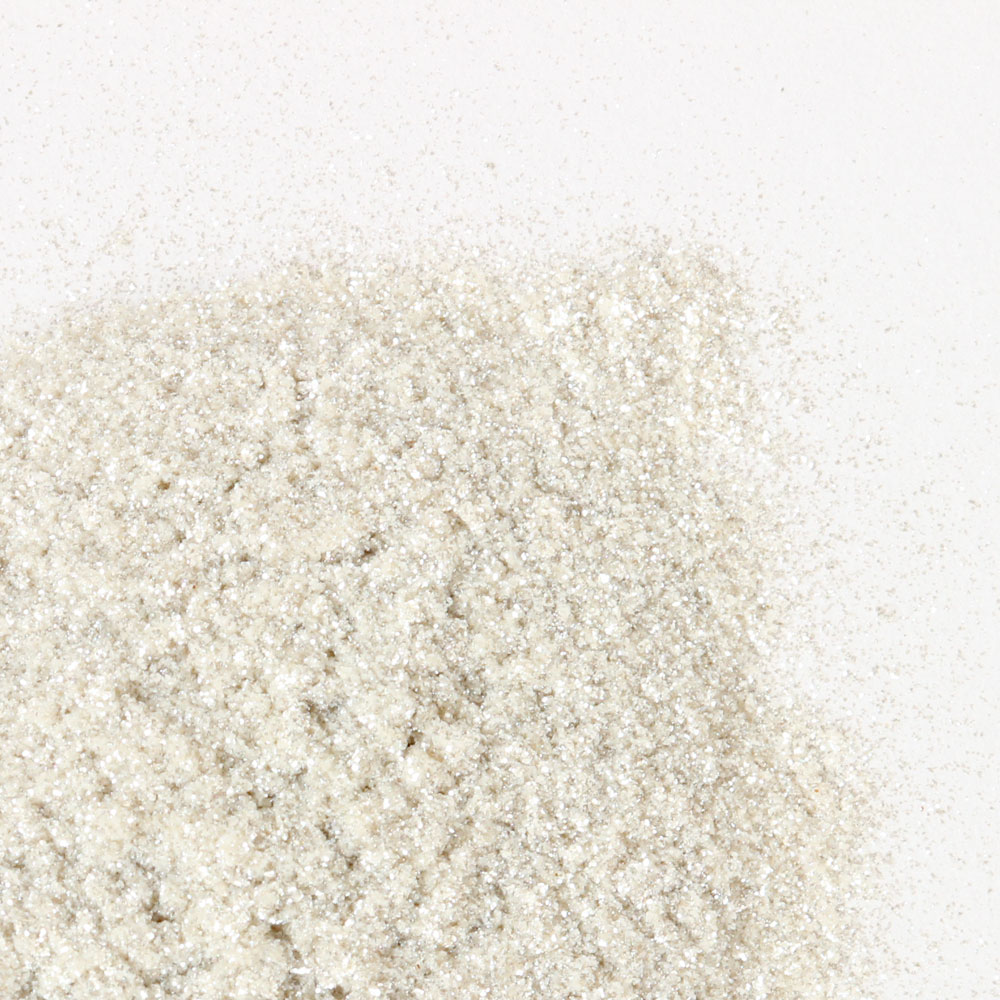
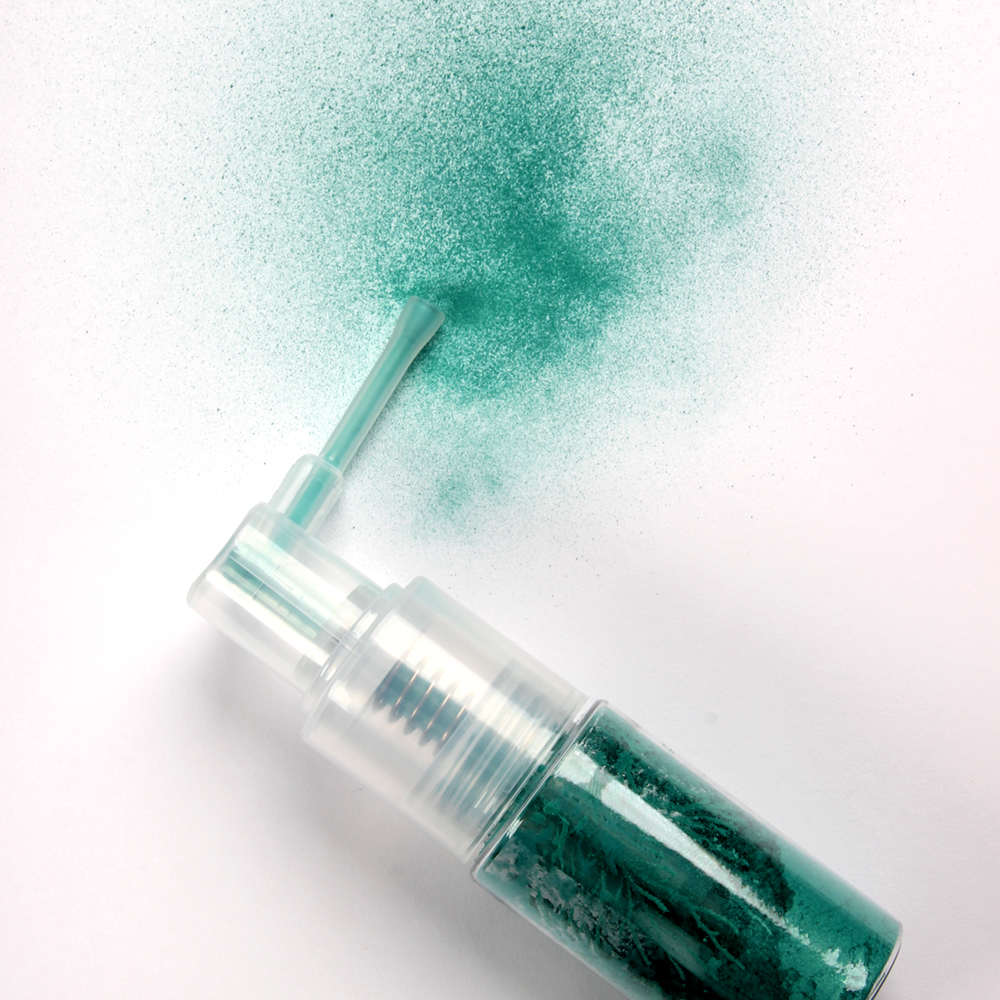
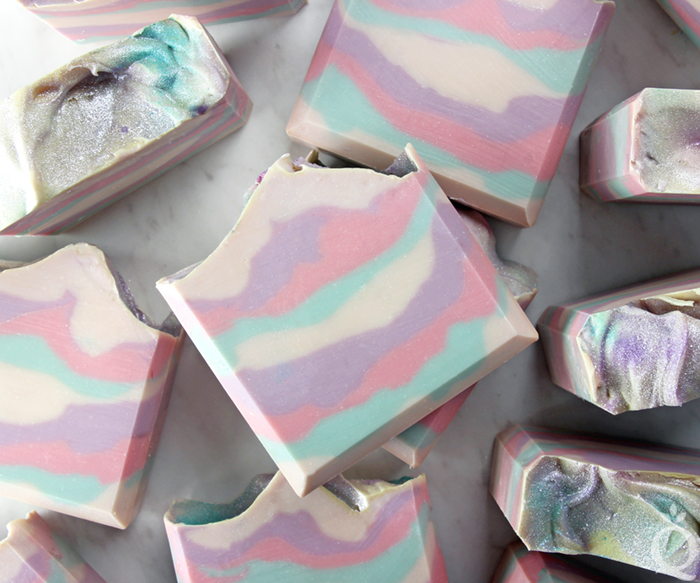 The recipe is topped with Snowflake Sparkle, Aqua Pearl, Party Pink, and Lavender Micas. You can place the colors on top of the soap easily using the new Powder Sprayer, which is part of our gemstone collection. All you have to do is press the top of the sprayer and the mica is dusted onto your soap. It’s an easy way to work with powders, and also happens to be pretty fun to use.
 This recipe is scented with new Moonstone Fragrance Oil, which is a combination of soft floral, light powder, and sweet fruit. It has notes of lavender, bergamot, jasmine, violet, sandalwood, and vanilla. You can sample Moonstone and three other new scents in the Gemstone Fragrance Oil Collection. It includes 2 ounces of each fragrance for just $16.95, and is available until Sept. 3rd.
The Moonstone Fragrance Oil discolors to a soft brown. To combat the discoloration, this recipe includes plenty of titanium dioxide. An abundance of titanium dioxide can lead to glycerin rivers – learn more about glycerin rivers here. To prevent glycerin rivers this recipe has a 15% water discount, so be ready to move quickly.
What You’ll Need:
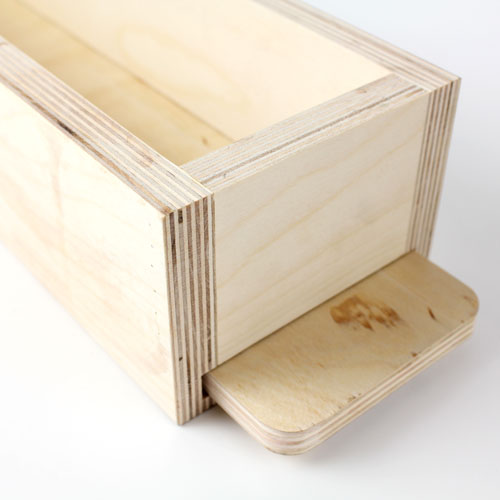
5 Pound Mold with Sliding Bottom
Silicone Liner for 5 Pound Wood Mold
54 oz. Basic Quick Mix
7.7 oz. Sodium Hydroxide Lye
15.1 oz. Distilled Water (15% water discount)
3.5 oz. Moonstone Fragrance Oil
Titanium Dioxide
Snowflake Sparkle Mica
Aqua Pearl Mica
Magenta Mica
Lavender Mica
Party Pink Mica
Four Powder Sprayers

Click here to add everything you need for this project to your Bramble Berry shopping cart!
If you’ve never made cold process soap before, stop here! I highly recommend checking out our FREE four part SoapQueen.tv series on Cold Process Soapmaking, especially the episode on lye safety. Or if you’d prefer to read, Bramble Berry carries a wide range of books on the topic, including my newest book, Pure Soapmaking. You can also check out the digital downloads for that instant gratification factor.
SAFETY FIRST: Suit up for safe handling practices! That means goggles, gloves and long sleeves. Make sure kids, pets, and other distractions and tripping hazards are out of the house or don’t have access to your soaping space. Always soap in a well-ventilated area.
COLOR PREP: To ensure that the titanium dioxide blends smoothly into the soap batter, we recommend micronizing it before dispersing it in oil. Please note this is an optional tip, but it does help with the titanium dioxide clumping in the soap. To micronize colorant, simply use a coffee grinder to break up any clumps of color and prevent streaks of white from showing in the final soap. We like to use a coffee grinder that has a removable stainless steel mixing area for easy cleaning.
Next, disperse 4 teaspoons of the colorant into 4 tablespoons of sunflower or sweet almond oil (or any other liquid oil). In separate containers, disperse 1/2 teaspoon of Aqua Pearl Mica, Lavender Mica, and Magenta Mica into 1/2 tablespoon of liquid oil. Use a mini mixer to work out any clumps. Fill the four powder sprayers separately with Snowflake Sparkle Mica, Lavender Mica, Party Pink Mica, and Aqua Pearl Mica. Set aside.
FRAGRANCE PREP: Measure 3.5 ounces of Moonstone Fragrance Oil into a glass container that is safe for use with fragrance oil. Set aside.
ONE: Slowly and carefully add the lye to the water and gently stir until the lye has fully dissolved and the liquid is clear. Set aside to cool. If you prefer a harder bar of soap that releases faster from the mold, you can add sodium lactate to the cooled lye water. Use 1 teaspoon of sodium lactate per pound of oils in the recipe. For this recipe, you’d add 3.5 tsp. of sodium lactate.
TWO: Fully melt the entire bag of Basic Quick Mix until it’s completely clear and there is no cloudiness. Shake the bag to mix up all the oils. Measure 54 ounces into your soaping bowl. Once the lye water and the oils have cooled to 130 degrees or below (and are ideally within 10 degrees of each other), add the lye water to the oils and stick blend the mixture to a thin trace.
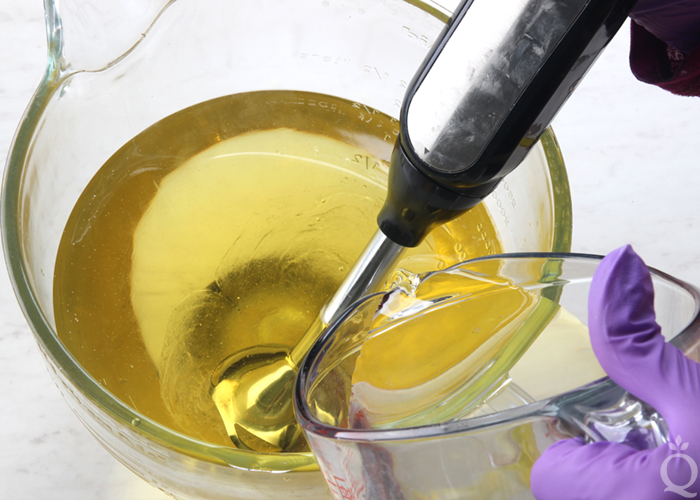
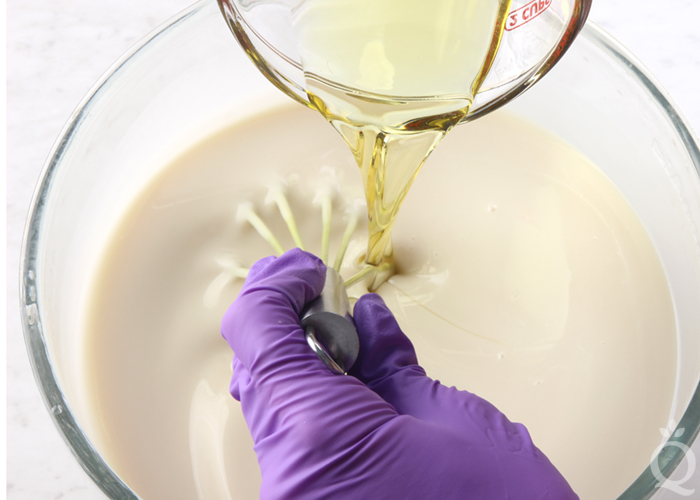
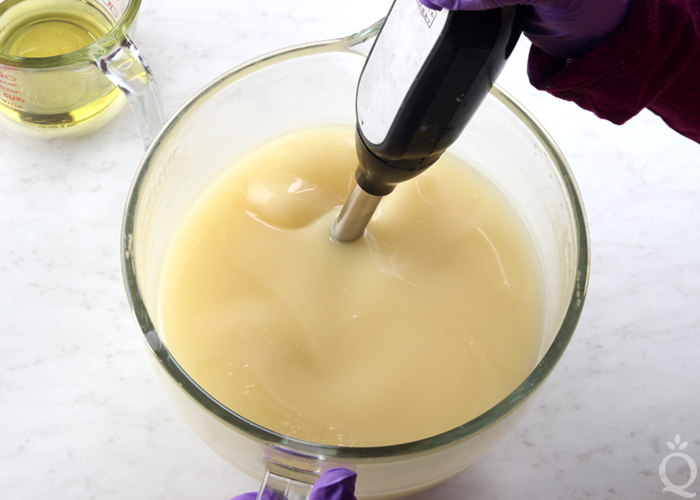 THREE: Add all of the dispersed titanium dioxide and Moonstone Fragrance Oil to the soap. Use a whisk to thoroughly mix in. If the mixture is still very thin, quickly pulse it with the stick blender to thicken the soap to a light medium trace.
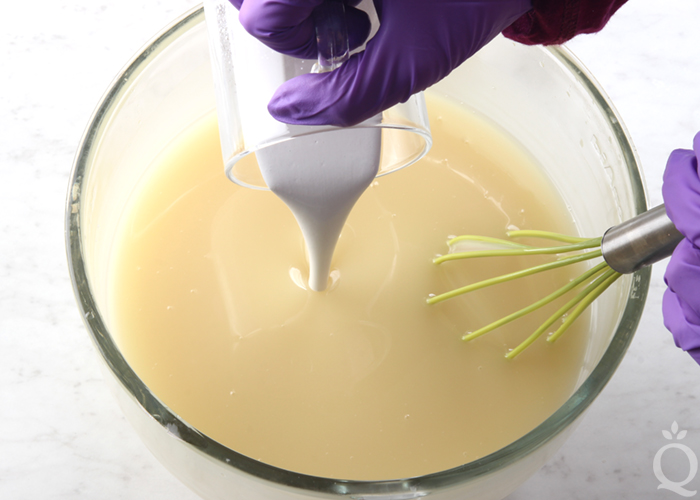
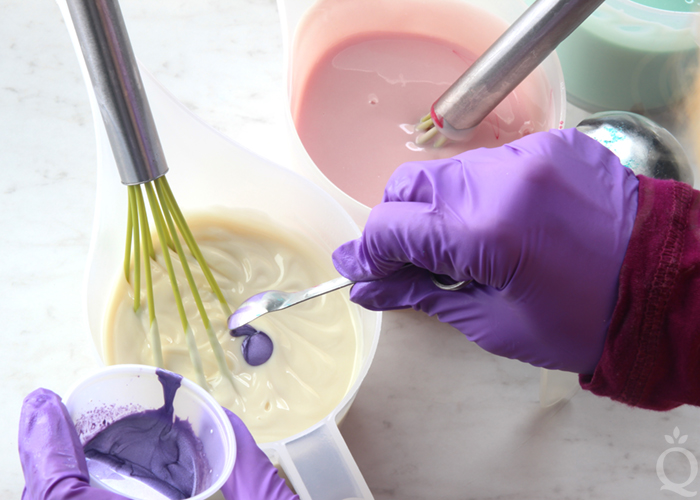
 FOUR: Pour 17 ounces of soap into each of three separate containers. Add the following dispersed colorants into each container, and use a whisk to fully mix them in.
- Container A (pink): 1 1/4 tsp. dispersed Magenta Mica
- Container B (purple): All dispersed Lavender Mica
- Container C (blue): 1/2 tsp. dispersed Aqua Pearl Mica
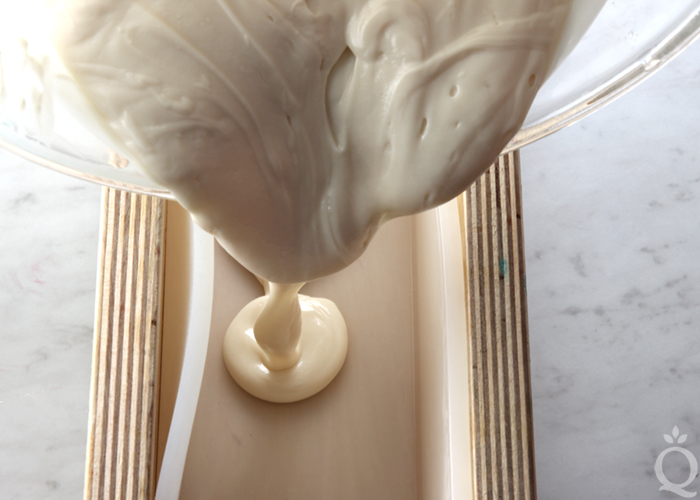
 FIVE: Pour 1/3 of the white soap into the mold (it’s okay to eyeball it). Use a spoon to evenly spread the soap throughout the mold. Don’t worry about the layer being straight. Tap the mold on the counter to help get rid of bubbles.
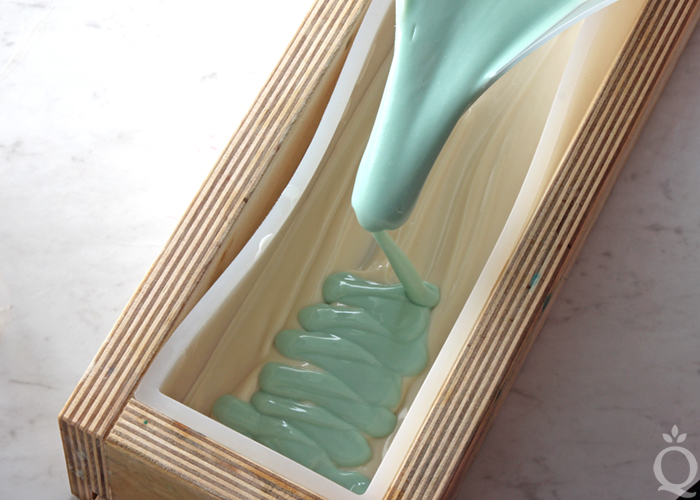
 SIX: Pour half of the blue soap onto the white. Use a spoon to spread the blue soap throughout the mold. Again, don’t worry about the layer being straight.
 SEVEN: Use the powder sprayer filled with Snowflake Sparkle Mica to completely cover the blue layer of soap with mica.
NOTE: We sprayed Snowflake Sparkle Mica in between the layers of this soap. The final effect is not quite as noticeable as we thought it would be. You can skip these steps if you’d like, or follow the instructions as written if you like as much sparkle as possible.
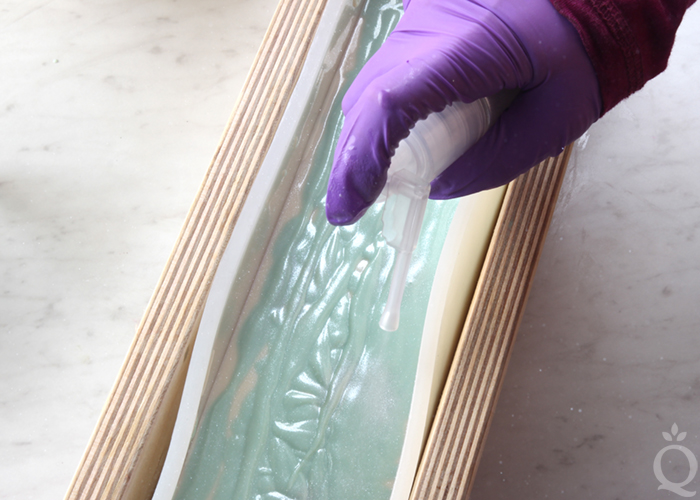 EIGHT: Pour half of the pink soap onto the blue layer. Use a spoon to spread the soap throughout the mold. Then, use the powder sprayer with Snowflake Sparkle Mica to completely cover the pink layer.
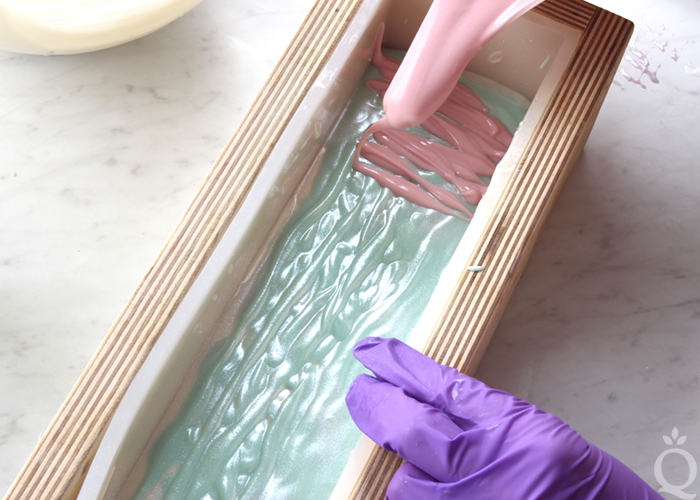
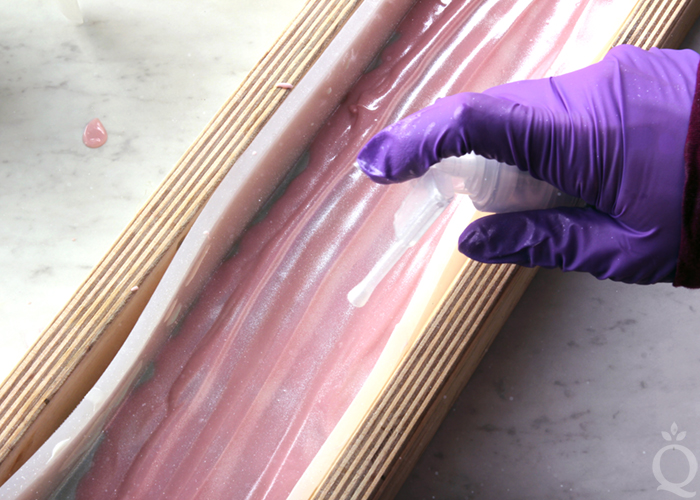 NINE: Cover the pink layer with half of the purple soap. Use a spoon to evenly spread the soap. Use the Powder Sprayer filled with Snowflake Sparkle Mica to completely cover the purple layer. Tap the mold firmly on the counter to help get rid of bubbles.
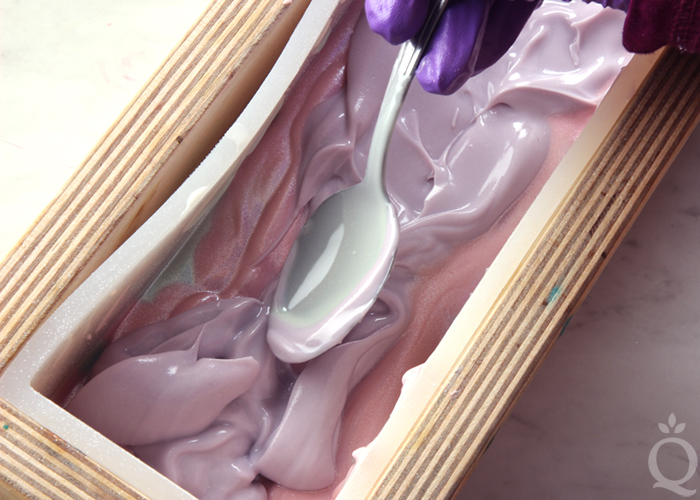 TEN: Repeat this layering process with another 1/3 of the white soap and the remaining blue, pink, and purple soaps. Between the blue, pink, and purple layers, use the powder sprayer again to completely cover the soap with Snowflake Sparkle Mica.
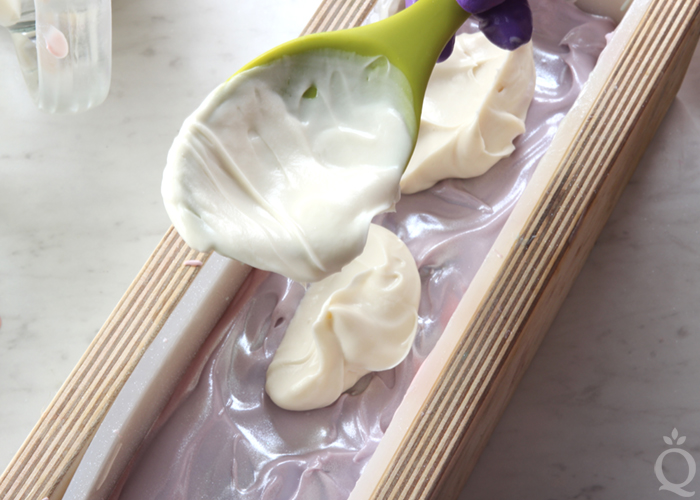
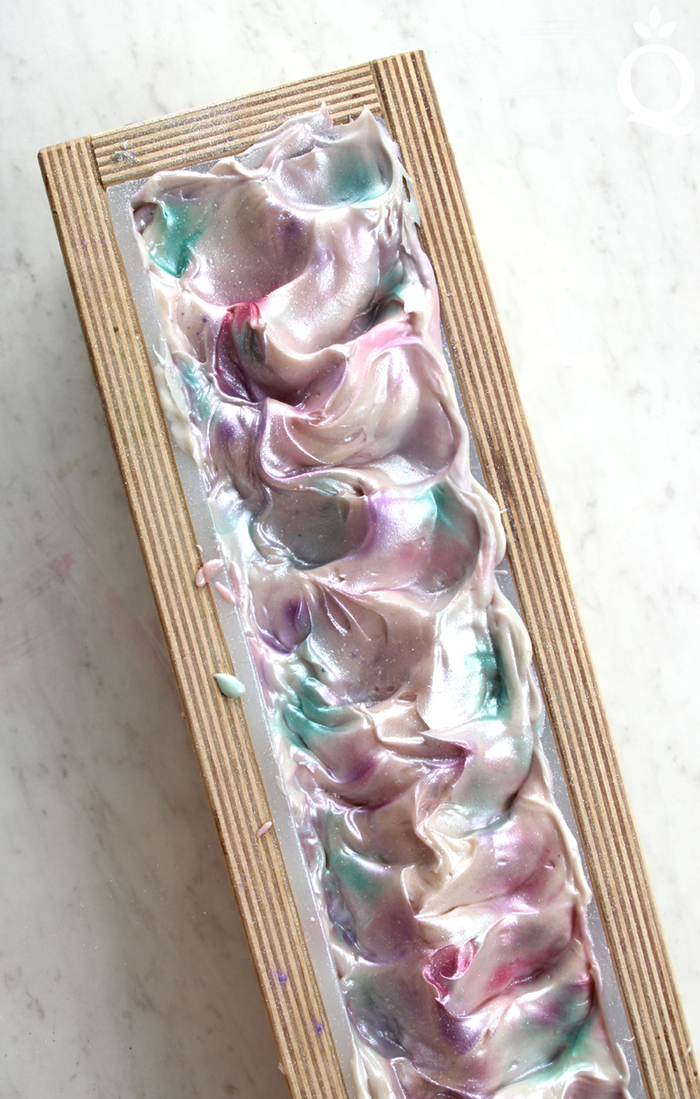
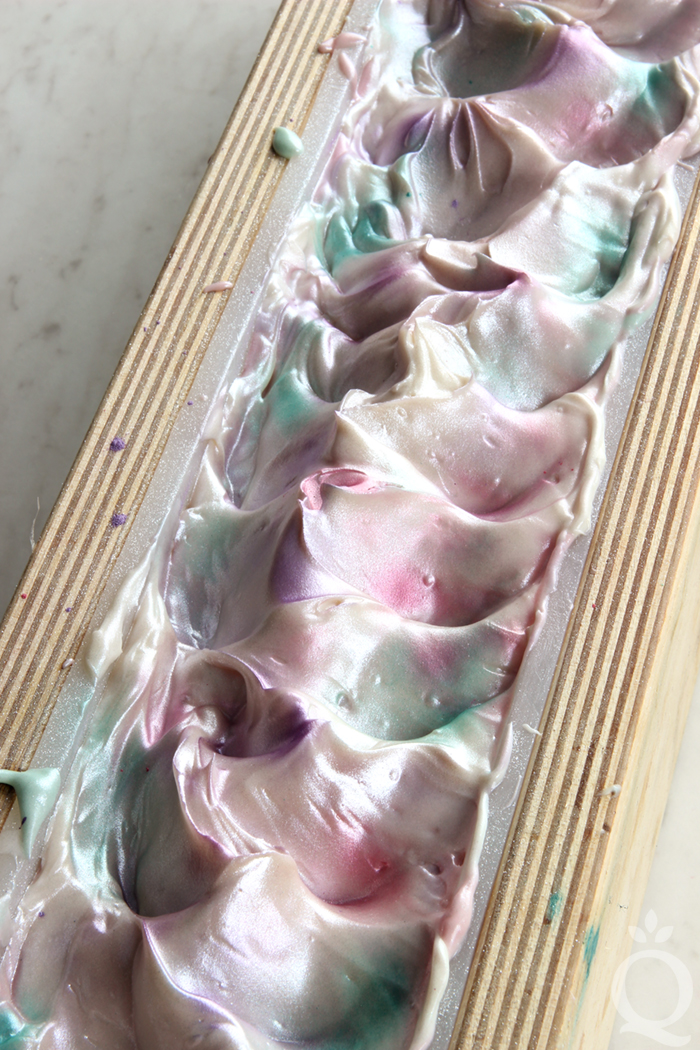
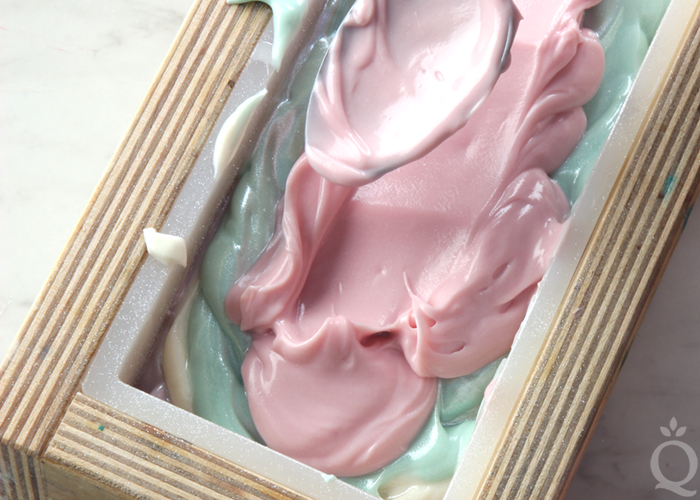 ELEVEN: Tap the mold firmly on the counter to help get rid of bubbles. Cover the purple layer with the remaining white soap and use a spoon to evenly spread the soap throughout the mold. Then, use the spoon to create texture on the top. There is no right or wrong way to create texture, so have fun with it!
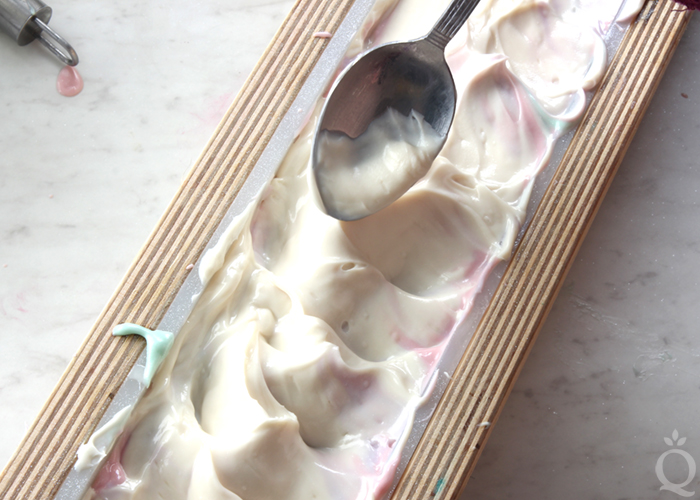 TWELVE: Once you’re happy with the top, use the powder sprayer to completely cover the top with Snowflake Sparkle Mica.
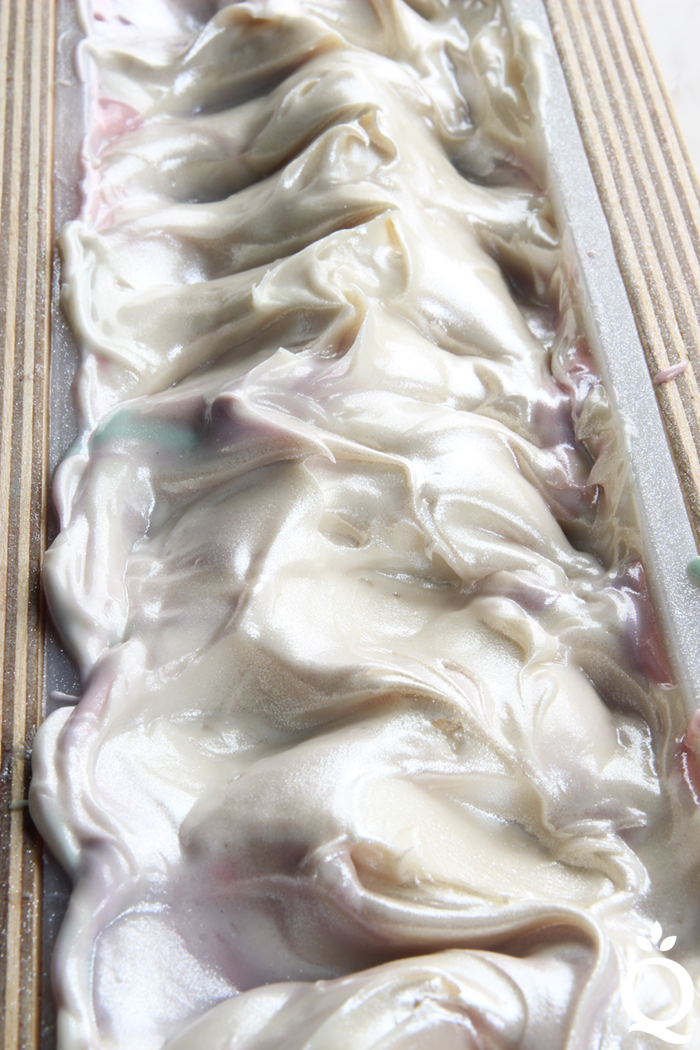 THIRTEEN: Use the powder sprayers filled with Lavender Mica, Aqua Pearl Mica, and Party Pink Mica to spray the colors on the top of the soap in different areas. There is no right or wrong way to layer the colors, so have fun with it! But remember – you can always add more color, so start slow. Adding too much color will take away the soft “pearly” look. Less is more in this case!
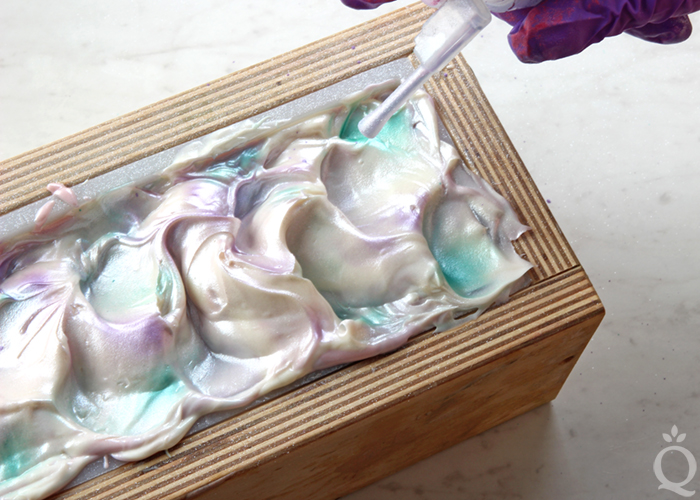 FOURTEEN: Once you’re happy with the top, allow the soap to stay in the mold for 2-3 days. Because it has a water discount, you may be able to unmold it faster than a normal recipe. Once it’s ready, unmold and cut into bars. Allow to cure for 4-6 weeks. Because it has a water discount, it will cure slightly faster than a normal recipe. Enjoy!
NOTE: We did not spray the top of the soap with alcohol because it may disrupt the mica dusting. We didn’t notice any soda ash. If you’d like, you can spray the top with 99% isopropyl alcohol. Just make sure the spray is extremely fine, and test a small area first to make sure it doesn’t cause the mica dust to drip.
- 5 Pound Mold with Sliding Bottom
- Silicone Liner for 5 Pound Wood Mold
- 54 oz. Basic Quick Mix
- 7.7 oz. Sodium Hydroxide Lye
- 15.1 oz. Distilled Water (15% water discount)
- 3.5 oz. Moonstone Fragrance Oil
- Titanium Dioxide
- Snowflake Sparkle Mica
- Aqua Pearl Mica
- Magenta Mica
- Lavender Mica
- Party Pink Mica
- Four Powder Sprayers
- Slowly and carefully add the lye to the water and gently stir until the lye has fully dissolved and the liquid is clear. Set aside to cool. If you prefer a harder bar of soap that releases faster from the mold, you can add sodium lactate to the cooled lye water. Use 1 teaspoon of sodium lactate per pound of oils in the recipe. For this recipe, you’d add 3.5 tsp. of sodium lactate.
- Fully melt the entire bag of Basic Quick Mix until it’s completely clear and there is no cloudiness. Shake the bag to mix up all the oils. Measure 54 ounces into your soaping bowl. Once the lye water and the oils have cooled to 130 degrees or below (and are ideally within 10 degrees of each other), add the lye water to the oils and stick blend the mixture to a thin trace.
- Add all of the dispersed titanium dioxide and Moonstone Fragrance Oil to the soap. Use a whisk to thoroughly mix in. If the mixture is still very thin, quickly pulse it with the stick blender to thicken the soap to a light medium trace.
- Pour 17 ounces of soap into each of three separate containers. Add the following dispersed colorants into each container, and use a whisk to fully mix them in.
Container A (pink): 1¼ tsp. dispersed Magenta Mica
Container B (purple): All dispersed Lavender Mica
Container C (blue): ½ tsp. dispersed Aqua Pearl Mica - Pour ⅓ of the white soap into the mold (it’s okay to eyeball it). Use a spoon to evenly spread the soap throughout the mold. Don’t worry about the layer being straight. Tap the mold on the counter to help get rid of bubbles.
- Pour half of the blue soap onto the white. Use a spoon to spread the blue soap throughout the mold. Again, don’t worry about the layer being straight.
- Use the powder sprayer filled with Snowflake Sparkle Mica to completely cover the blue layer of soap with mica. NOTE: We sprayed Snowflake Sparkle Mica in between the layers of this soap. The final effect is note quite as noticeable as we thought it would be. You can skip these steps if you’d like, or follow the instructions as written if you like as much sparkle as possible.
- Pour half of the pink soap onto the blue layer. Use a spoon to spread the soap throughout the mold. Then, use the powder sprayer with Snowflake Sparkle Mica to completely cover the pink layer.
- Cover the pink layer with half of the purple soap. Use a spoon to evenly spread the soap. Use the Powder Sprayer filled with Snowflake Sparkle Mica to completely cover the purple layer. Tap the mold firmly on the counter to help get rid of bubbles.
- Repeat this layering process with another ⅓ of the white soap and the remaining blue, pink, and purple soaps. Between the blue, pink, and purple layers, use the powder sprayer again to completely cover the soap with Snowflake Sparkle Mica.
- Tap the mold firmly on the counter to help get rid of bubbles. Cover the purple layer with the remaining white soap and use a spoon to evenly spread the soap throughout the mold. Then, use the spoon to create texture on the top. There is no right or wrong way to create texture, so have fun with it!
- Once you’re happy with the top, use the powder sprayer to completely cover the top with Snowflake Sparkle Mica.
- Use the powder sprayers filled with Lavender Mica, Aqua Pearl Mica, and Party Pink Mica to spray the colors on the top of the soap in different areas. There is no right or wrong way to layer the colors, so have fun with it! But remember – you can always add more color, so start slow. Adding too much color will take away the soft “pearly” look. Less is more in this case!
- Once you’re happy with the top, allow the soap to stay in the mold for 2-3 days. Because it has a water discount, you may be able to unmold it faster than a normal recipe. Once it’s ready, unmold and cut into bars. Allow to cure for 4-6 weeks. Because it has a water discount, it will cure slightly faster than a normal recipe. Enjoy! NOTE: We did not spray the top of the soap with alcohol because it may disrupt the mica dusting. We didn’t notice any soda ash. If you’d like, you can spray the top with 99% isopropyl alcohol. Just make sure the spray is extremely fine, and test a small area first to make sure it doesn’t cause the mica dust to drip.






I have a love-hate relationship making this soap! It’s already going to be my sixth batch and the same thing keeps occurring and I’m not sure yet if it’s because I live in a warm climate. I always finish off with light trace for this one because I feel like I have to move fast or it thickens way too much. The first layers of white, pink, blue, and lavender are pretty good and still somewhat liquid-like. But the second layer, forget it! It’s already super thick and clumping. I know the fragrance and colorants all have to do with accelerating this trace and their thickening process. Nonetheless, my soaps always wind up looking great and people love the layers however, it’s just in the process of making them that I struggle with this. Help
It sounds like you’re doing everything right! The final layers of this soap recipe will be thicker and more tricky to pour since they have longer to reach trace and are starting to turn into soap. It helps to add your fragrance oil at the last possible moment and always hand stir it in.
For more tips, How to Soap with Accelerating Fragrance Oils: https://www.soapqueen.com/bath-and-body-tutorials/tips-and-tricks/how-to-work-with-accelerating-fragrance-oils/
Thank you so much!
The top of my soap is not as nice as i would like. After it has cured for 5 days can i still add another layer of CP soap? Or can i add a layer MP soap on top after spraying rubbing alcohol? Would the layers stick?
I’m not sure – we usually like to pipe on cold process soap when the bottom is still fresh to ensure it sticks. You may try a small test batch of cold process soap to see if it sticks. Don’t spray alcohol in between the layers, that can actually make it separate.
You may also try cutting the top off instead. That way you can see the swirl inside and not have to make extra soap. We did that for this soap when we weren’t in love with the design on top: https://www.soapqueen.com/bath-and-body-tutorials/grapefruit-la-croix-soap-tutorial/
How did you accomplished the lovely edges on the finished bars?
We used a Soap Beveller to get those edges. It’s a simple way to add a professional finishing touch: https://www.brambleberry.com/Soap-Beveller-P4141.as
Would you add the entire ounce of Titanium Dioxide provided in the kit to the soap?
No, this recipe calls for 4 teaspoons of titanium dioxide, which is not the full 1 ounce of colorant. You can find that amount in the “color prep” section.
Hi
Just wondering what percentage of super fat was used in your basic quick mix as was hoping to make this soap using your basic quick mix recipe to fit a smaller mold. Family will be receiving this as Christmas presents. Hope it turns out like the one in the tutorial
Thanks
We used a 5% superfat for this recipe. Have fun making it Rita, I think your family will love it.
Hi-
I made this soap the other night. It was my first attempt at layers, I think my trace was too thin because I was worried about the acceleration so I’ll probably end up with swirls. I’m still very excited to cut it tonight though!
My question is about the sprayers. I had a very hard time getting an even covering and the sprayers seemed to stop spraying after 2 or 3 puffs. I ended up using a sifter to get some mica on top. Is there any tips to the sprayers? Do they need to be completely full? Mine were filled about 1/2 way.
Thanks!
Hmm, I’m not sure why that’s happening. The mist is really fine so it can look pretty sparse, but should be spraying on. The bottom spout was touching mica correct?
Great recipe!!!…I can’t wait to try this. This is going to be my first time to try swirling. I have a question, I don’t want to ruin the top of the soap by covering it ( insulate ) overnight as it might wreck the texture of the top of the soap? Can I leave it uncovered overnight? Thank you.
Yes absolutely, we like to leave textured tops uncovered so they keep the beautiful peaks. You can keep it uncovered on a counter, or we’ve been keeping our soaps in a drawer so they stay warm but they don’t have anything directly on top of them. That may be an option for you.
Hello! I love the colors in this design but I’m replacing the fragrance with the amethyst fragrance oil. Since it doesn’t look like that one discolors, can I reduce the amount of titanium dioxide? Thanks!
Yes, you won’t need as much to combat that discoloration. I’d recommend preparing 2 teaspoons of titanium dioxide into 2 tablespoons of a lightweight oil, then adding 1 dispersed teaspoon at a time until you get a color you like. If you have leftover color, store it in an airtight container in a cool dry place. It will have the same shelf life as the oil it’s mixed with: http://www.soapqueen.com/bath-and-body-tutorials/tips-and-tricks/free-beginners-guide-to-soapmaking-common-soapmaking-oils/
-Kelsey with Bramble Berry
I have a 7lb mold, can someone help me with figuring out the oils/water/lye for a bigger batch of this soap?
Absolutely, we have a post that has step-by-step instructions for resizing your recipe: https://www.soapqueen.com/bath-and-body-tutorials/tips-and-tricks/how-to-resize-cold-process-soap-recipes/
That blog was published when we had our old Lye Calculator. It does look different than the one we have now, but it still works the same way the steps show.
-Kelsey with Bramble Berry
Hiya, I hail from NZ. I love reading and watching your tutorials -unfortunately I dont know anywhere here to get “Quick Mix”
what do you suggest to replace this? I would love to make your moonstone soap but having quick mix in the recipe stops me. Help!! cheers Helen
Absolutely, we have the percentages of each Quick Mix listed here so you can recreate the recipe with oils you have on hand: https://www.soapqueen.com/bath-and-body-tutorials/tips-and-tricks/sunday-night-spotlight-quick-mixes/
-Kelsey with Bramble Berry
How is it possible to use “Party Pink Mica in this CP soap if the PPM disappears? I have used PPM once in my CP soap and it does disappears.
The Party Pink Mica does disappear in soap, so it’s just sprayed on the top in this recipe. We used Magenta Mica inside the soap to get the pink color you see.
If you have a mica that doesn’t work in cold process, you can spray it on top or use it as a mica line. Learn more in this post: https://www.soapqueen.com/bath-and-body-tutorials/tips-and-tricks/sunday-night-spotlight-mica-colorants/
-Kelsey with Bramble Berry
I am doing this soap today. I only have two sprayers so I’m going to put the snowflake in one and then combine all the colors in another. Hope it turns out. Thanks again soap queen!!
Have fun and let us know how it goes. 🙂
-Kelsey with Bramble Berry
This soap was fun to make. It turned out well but I ended up doing a drop swirl. Love the sheen on the top of the soap.
I am a new soaper and these wonderful posts excite me and challenge me to know more. Thanks so much for sharing. You are good!
Thanks for your sweet comment Pat! 🙂
-Kelsey with Bramble Berry
Beautiful! It’s good to see you doing soap again! I realize I’m not the only visitor, but soaping ideas and tutorials are the reason I visit. Thanks so much for sharing your talent with the world!
You’re welcome, glad you enjoyed the tutorial. 🙂
-Kelsey with Bramble Berry
I have a 7lb mold, can someone help me with figuring out the oils/water/lye for a bigger batch of this soap?