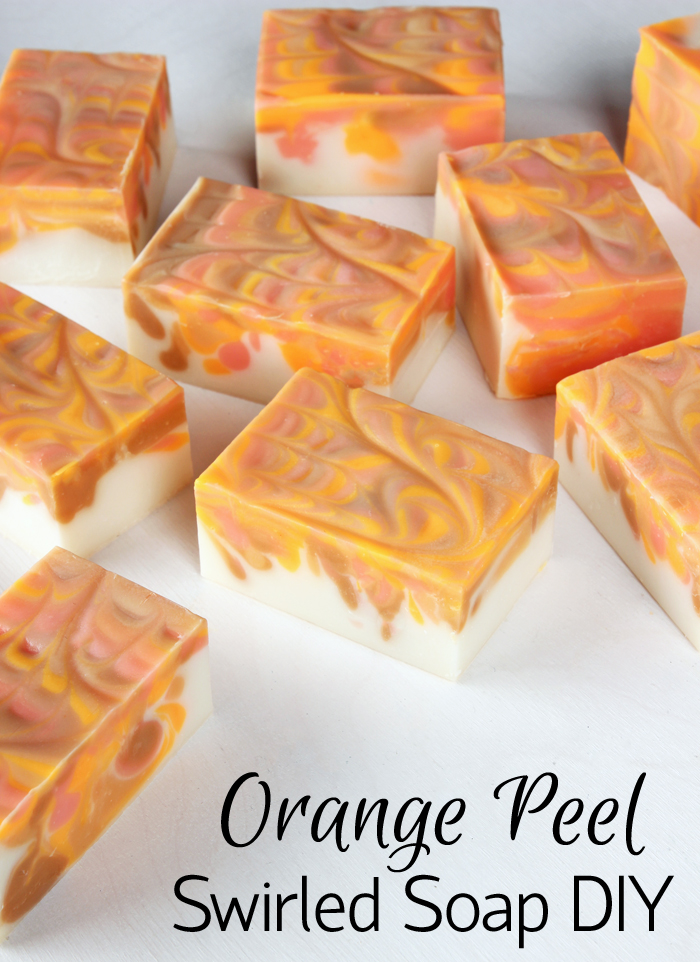
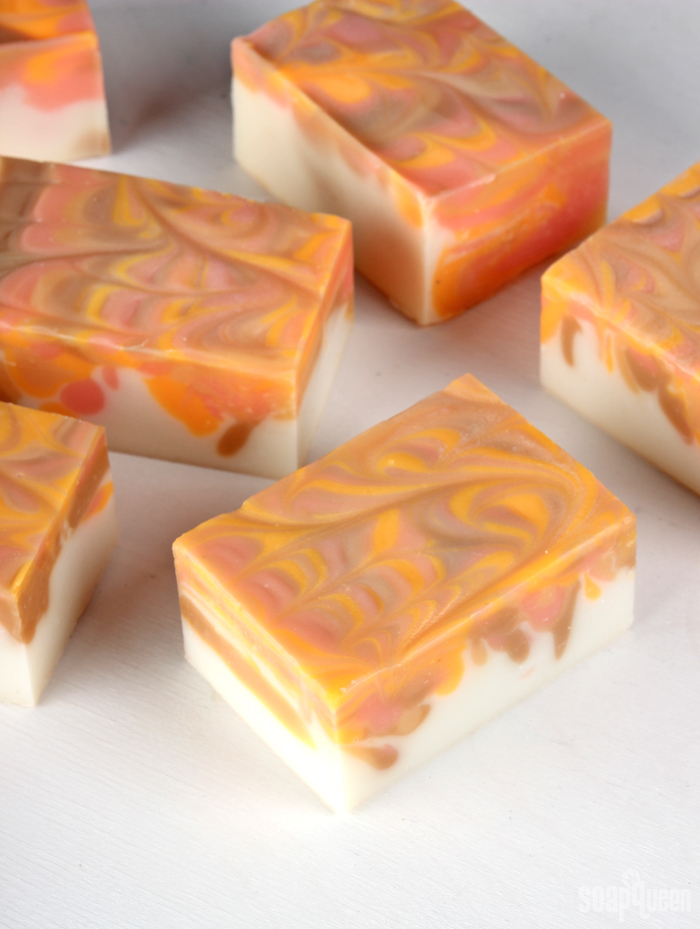
This week has been all about orange for #SoaptheRainbow. This Orange Peel Swirled Cold Process Soap contains four different shades to create a bright orange swirl. It’s scented with Orange Peel Cybilla Fragrance Oil, which smells wonderful in cold process soap. The fragrance also behaves well and does not accelerate, making it perfect for the swirled design.
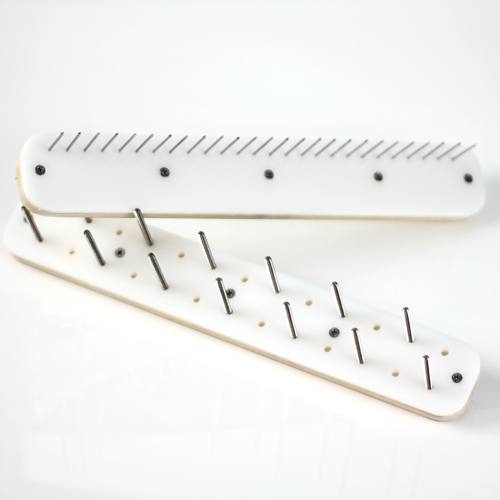
To create the swirl shown in the soap, I used the Easy Swirl Tool and Comb Swirl Tool (you can find these tools sold together in the Swirl Tool Kit). These tools feature stainless steel screws that create beautiful patterns in soap. They can also be customized to fit any size mold. To see more swirl ideas using these tools, check out the tutorials below.
Swirl Tool Techniques (Peacock Swirl, Frog Foot, Butterfly, etc)
How to Make the Perfect Peacock Swirl in Cold Process Soap
Soap Challenge: Peacock Swirl
Butterfly Swirl Soap Tutorial
Frog Foot Swirl Cold Process Tutorial
Amethyst Garden Soap Tutorial
French Curl Cold Process Tutorial
Fall Sherbet Cold Process Soap
Peacock Swirl in Cold Process Soap
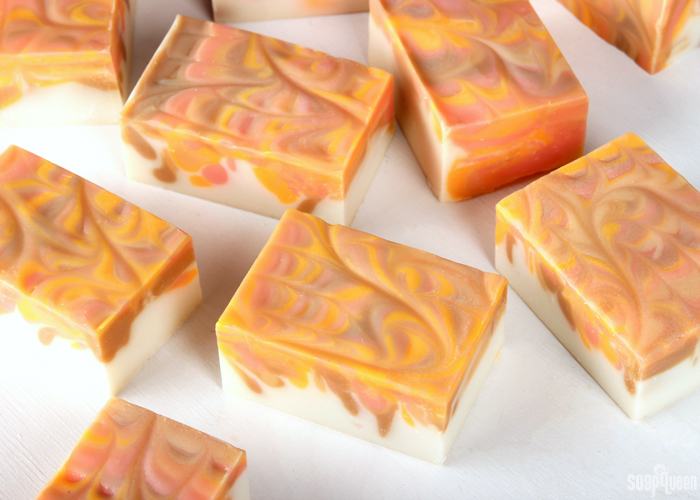
I made this soap while filming live on Facebook. To watch the live videos, be sure to “like” the Bramble Berry Facebook page. You can see the full video below.
What You’ll Need:
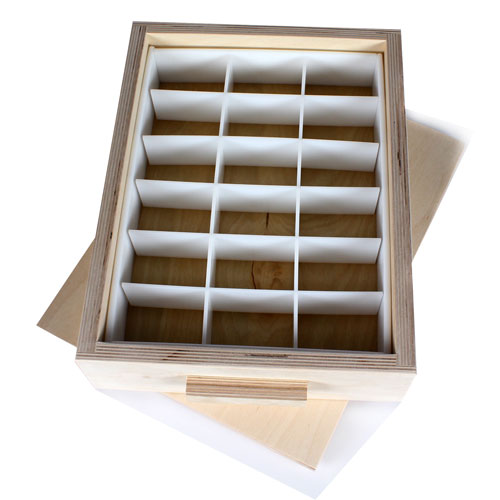
18 Bar Birchwood Mold
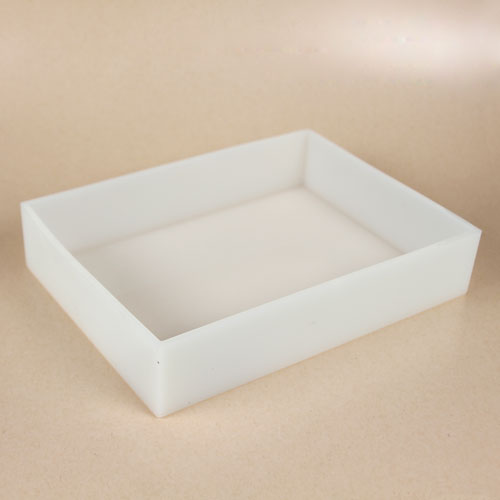
Silicone Liner for 18 Bar Birchwood Mold
66 oz. Swirl Quick Mix
9.1 oz. Sodium Hydroxide Lye
21.8 oz. Distilled Water
4 oz. Orange Peel Cybilla Fragrance Oil
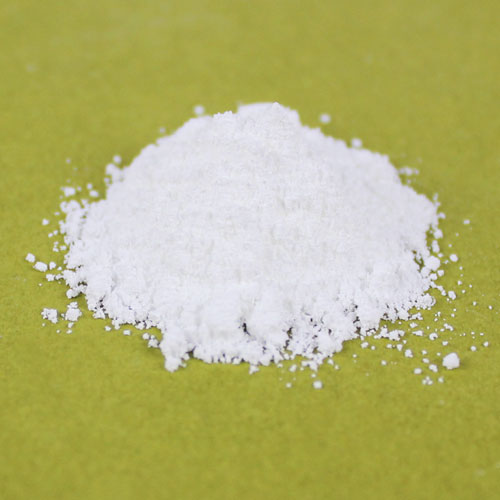
Titanium Dioxide Pigment
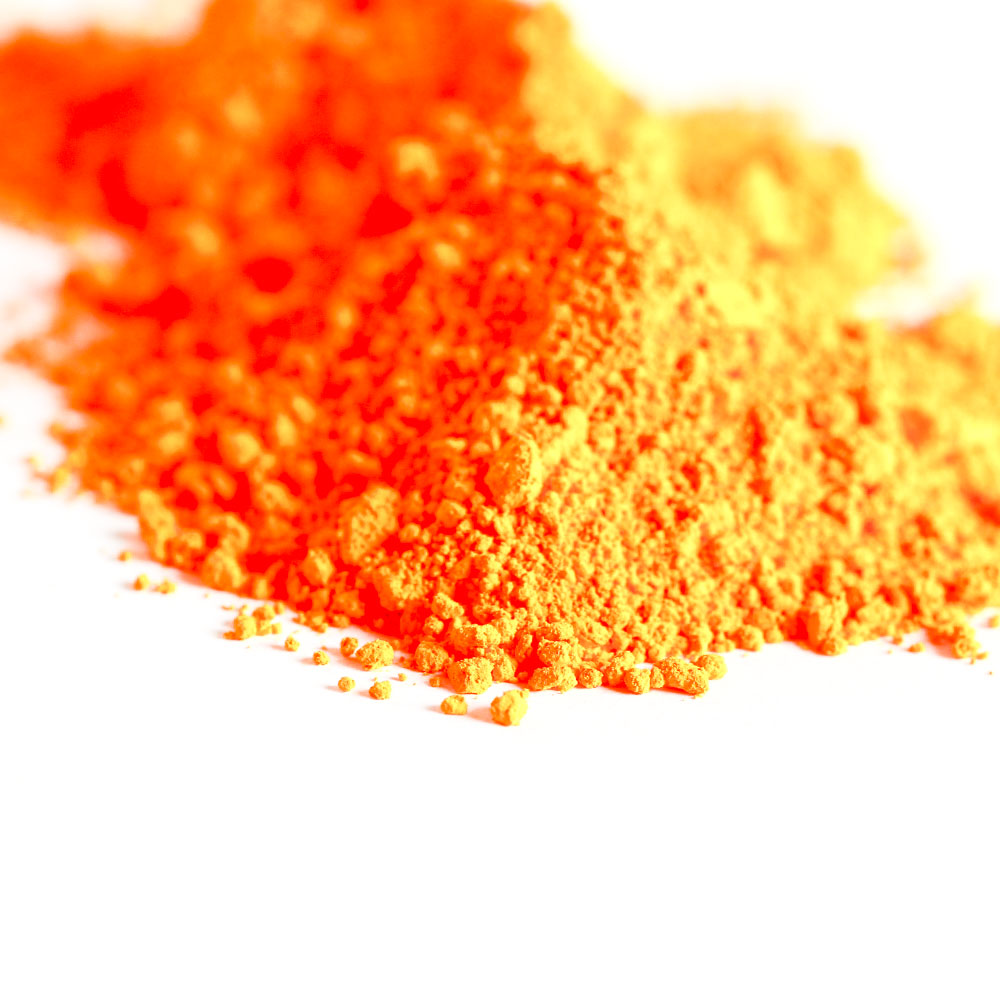
Nuclear Orange Pigment
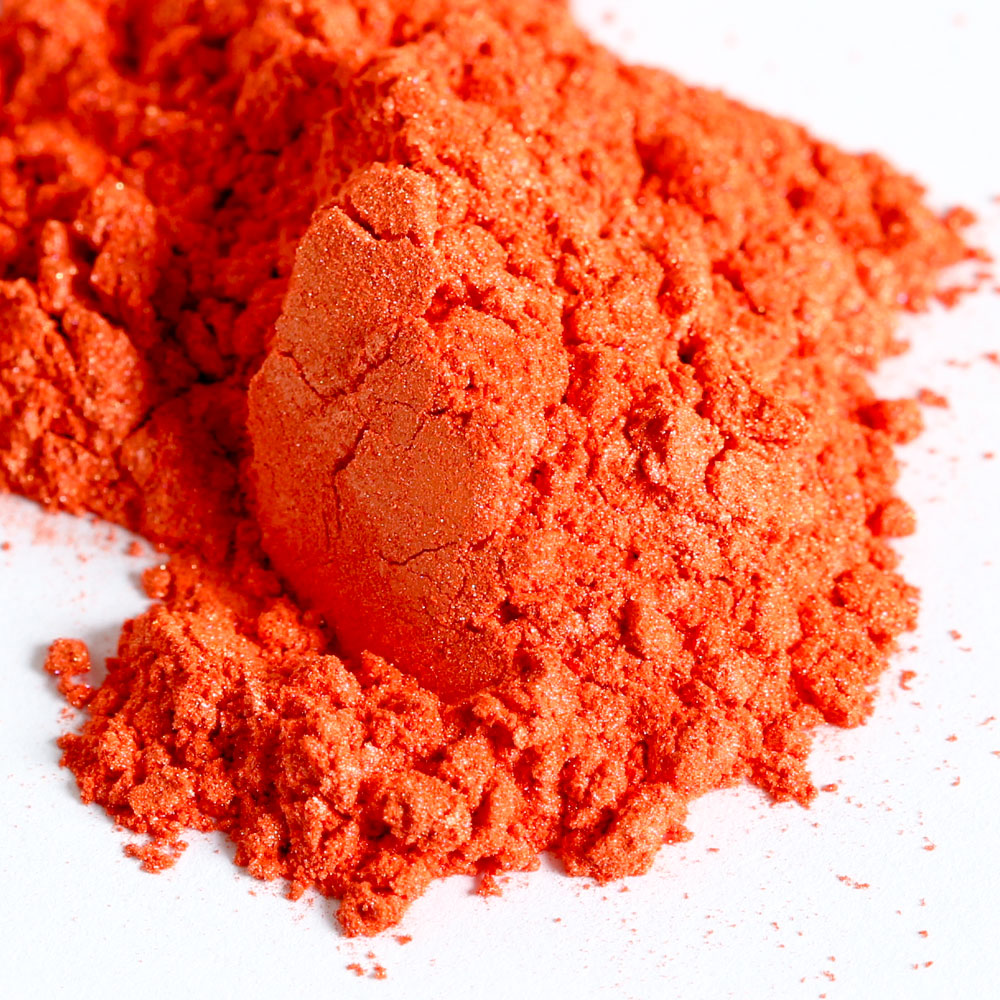
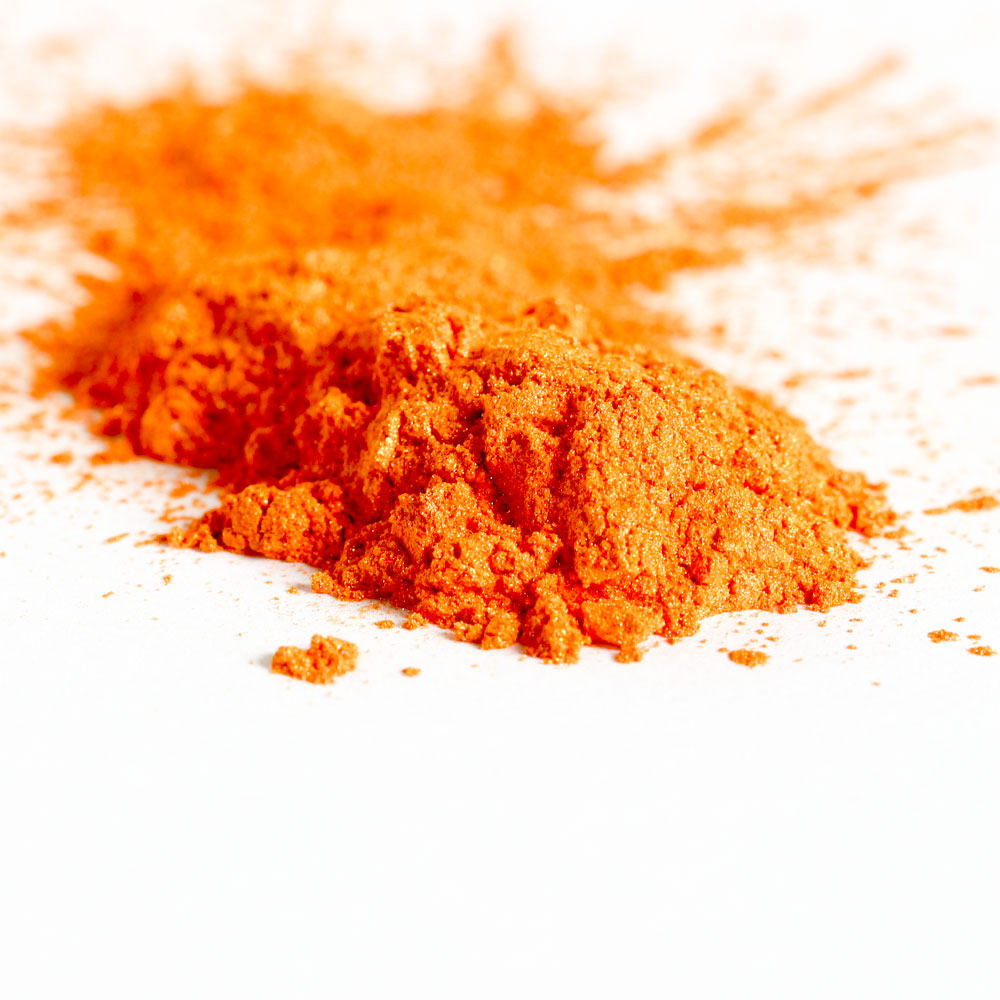
Racing Stripe Orange Mica
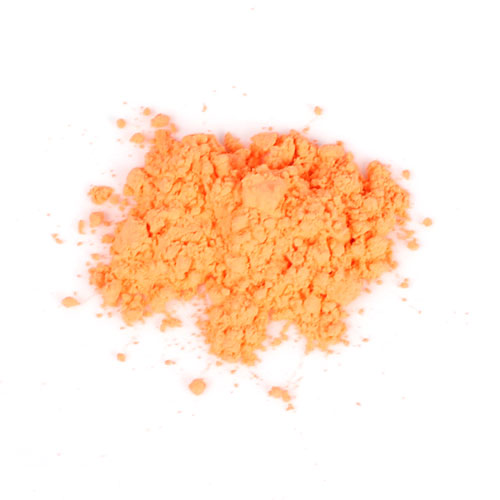
Tangerine Wow! Colorant
Sunset Orange Mica
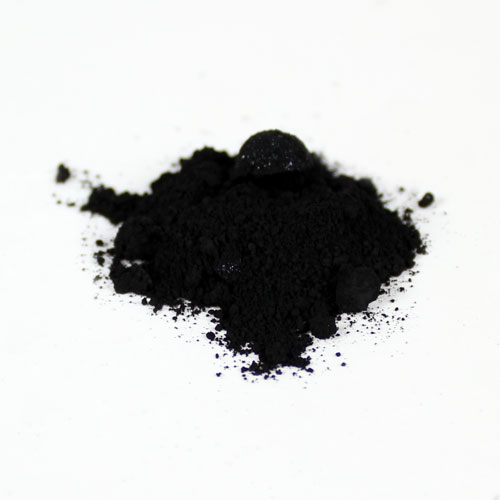
Black Oxide
Swirl Tool Kit (or Easy Swirl Tool + Comb Swirl Tool)

Click here to add everything you need for this project to your Bramble Berry shopping cart!
If you’ve never made Cold Process soap before, stop here! I highly recommend checking out our FREE four part SoapQueen.tv series on Cold Process Soapmaking, especially the episode on lye safety. And if you’d rather do some reading, Bramble Berry carries a wide range of books on the topic, including my newest book, Pure Soapmaking. You can also check out the digital downloads for that instant gratification factor.
SAFETY FIRST: Suit up for safe handling practices! That means goggles, gloves and long sleeves. Make sure kids, pets, and other distractions and tripping hazards are out of the house or don’t have access to your soaping space. Always soap in a well-ventilated area.
COLOR PREP: To ensure that the Titanium Dioxide blends smoothly into the soap batter, we recommend micronizing it before dispersing it in oil. Please note this is an optional tip but it does help with the titanium dioxide clumping in the soap. =) To micronize colorant, simply use a coffee grinder to blend the colorant to break up any clumps of color and prevent streaks of white from showing in the final soap. We like to use a coffee grinder that has a removable, stainless steel mixing area for easy cleaning. Then, disperse 1 teaspoon of the colorant into 1 tablespoon of sunflower or sweet almond oil (or any other liquid oil). Then in separate containers disperse, Racing Stripe Orange Mica, Tangerine Wow! Colorant, Sunset Orange Mica into 1 tablespoon lightweight oil. Then in separate containers, disperse 1/2 teaspoon Black Oxide and 1/2 teaspoon Nuclear Orange Pigment into 1/2 tablespoon lightweight liquid oil. Use a mini mixer to help get rid of any chunks.
FRAGRANCE OIL PREP: Measure 4 ounces of Orange Peel Cybilla Fragrance Oil in a glass, fragrance oil safe container. Set aside.
MOLD & TOOL PREP: Insert the silicone liner into the wood mold. Have the Easy Swirl Tool and Comb Swirl Tool nearby.
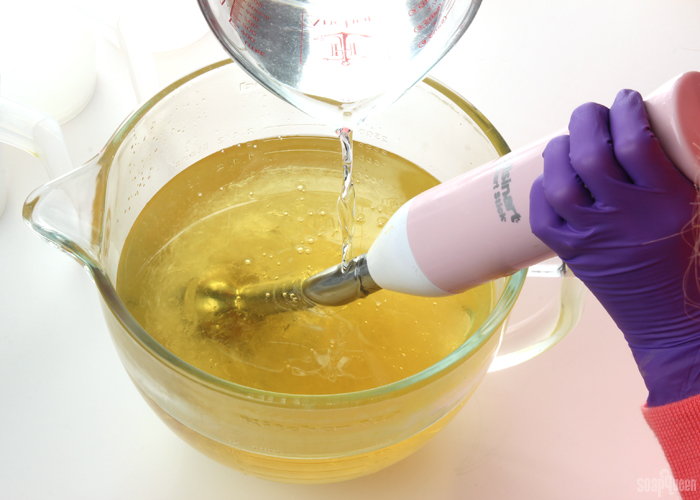
ONE: Slowly and carefully add the lye to the water and gently stir until the lye has fully dissolved and the liquid is clear. Set aside to cool.
TWO: Fully melt the Swirl Recipe Quick Mix oils until completely clear. Once the lye water and the oils have cooled to 110-120 F degrees or below (and are ideally within 10 degrees of each other), add the lye water to the oils and stick blend until very thin trace. If you’d like a harder bar of soap that releases faster from the mold, you can add sodium lactate to the cooled lye water. Use 1 teaspoon of sodium lactate per pound of oils in the recipe. For this recipe, you’d add about 3.5 teaspoons sodium lactate.
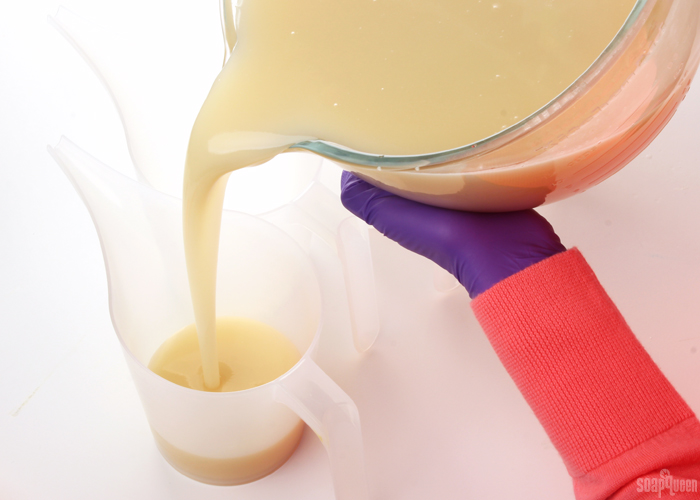
 THREE: Once you’ve reached a very thin trace, split off about 500 mL into four separate containers. You will also have the original mixing bowl, for a total of five containers.
 FOUR: To each container, add the dispersed colorants in the amounts below. Whisk in each colorant until fully combined.
- Container A (large container): 1 Tbs. dispersed titanium dioxide
- Container B (500 mL): 1 tsp. dispersed Nuclear Orange Pigment
- Container C (500 mL): 1.5 tsp. Tangerine Wow! Colorant
- Container D (500 mL) : 2 tsp. dispersed Racing Stripe Orange Mica
- Container E (500 mL): 2 tsp. dispersed Sunset Orange Mica + 1/16 tsp. dispersed Black Oxide
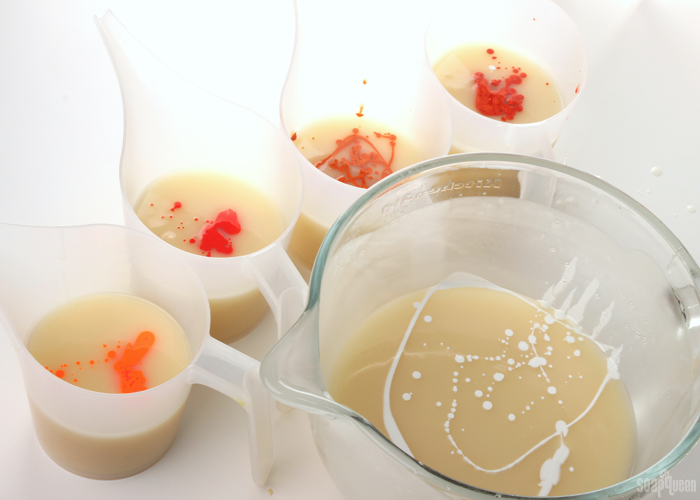 FIVE: Whisk in the Orange Peel Cybilla Fragrance Oil proportionately into each container (it’s okay to eyeball it!) until fully mixed in. If your soap is still very thin, you can quickly blend each container with the stick blender to ensure the colorants and fragrance oil are mixed in completely.
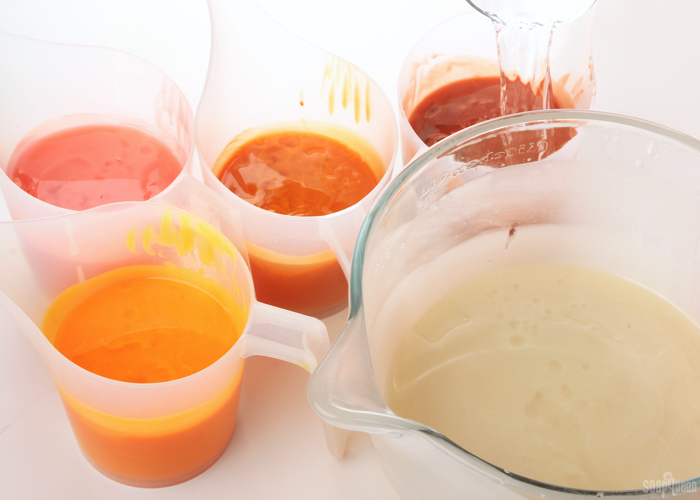 SIX: Pour in all the white soap into the mold. Begin pouring each orange colored soap into the mold, using a zig-zag pattern up and down the length of the mold. Pour quickly, and don’t worry too much if the colors fall into the white soap. Later in the pouring process, it’s important to pour “low and slow” to ensure the colors sit on top, but for the first couple passes, it’s okay to pour thicker, faster and less precise pours.
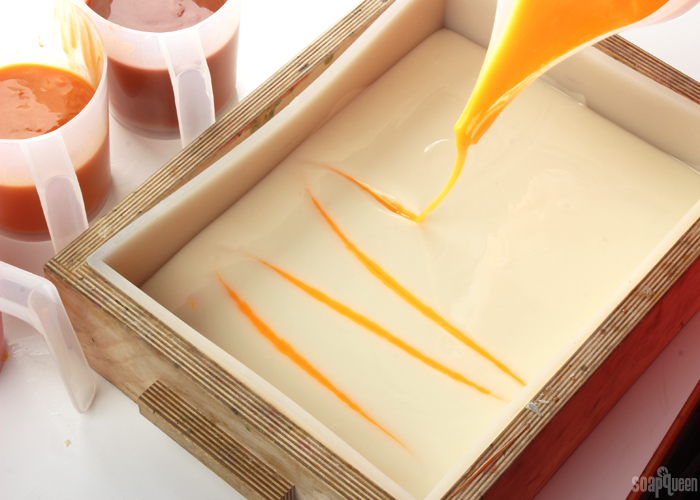 SEVEN: Continue this process until you’ve used about half of each color.
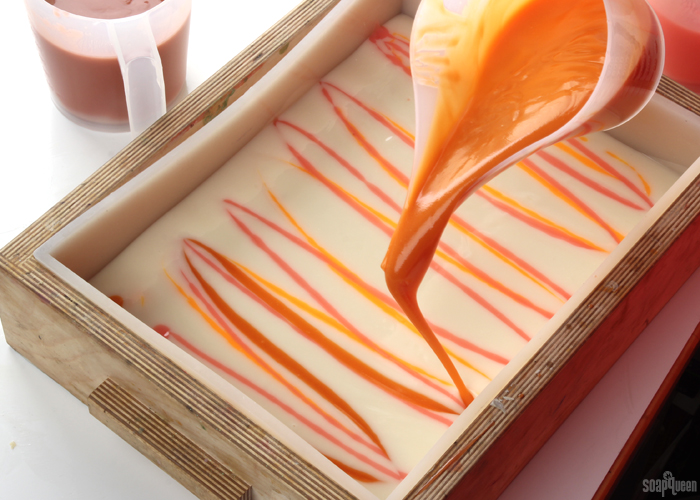
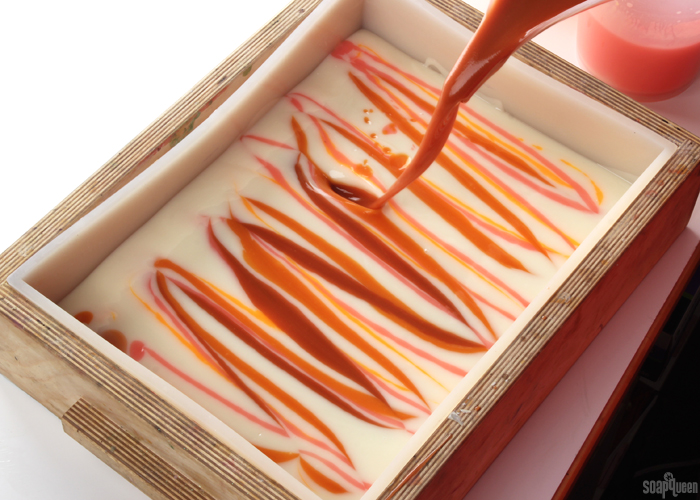 EIGHT: Once you’ve poured about half of each orange hue, begin pouring slowly, with more purpose. The soap should begin to sit on top of the white soap, rather than dropping into the white. Try to pour each layer next to each other, so there are “stripes” of each color. If necessary, whisk each color throughout the pouring process to ensure the soap stays fluid enough to pour.
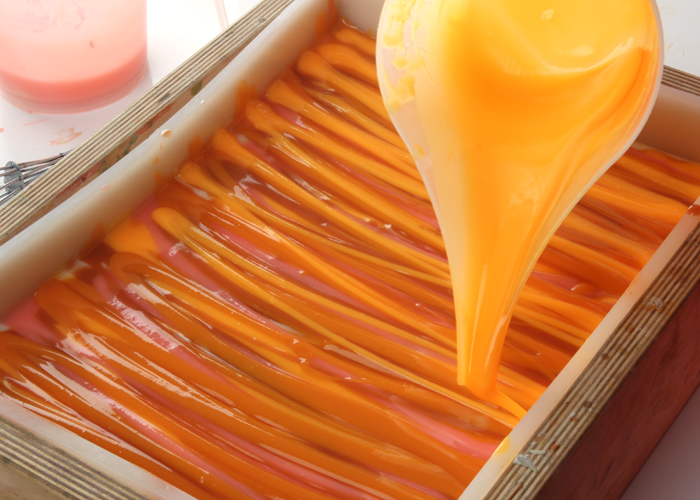 NINE: Once you’ve poured all the soap into the mold, it’s time to use the Comb Swirl Tool. Insert the tool into the top of the soap, and drag it down the length of the mold. This will pull all the layers together.
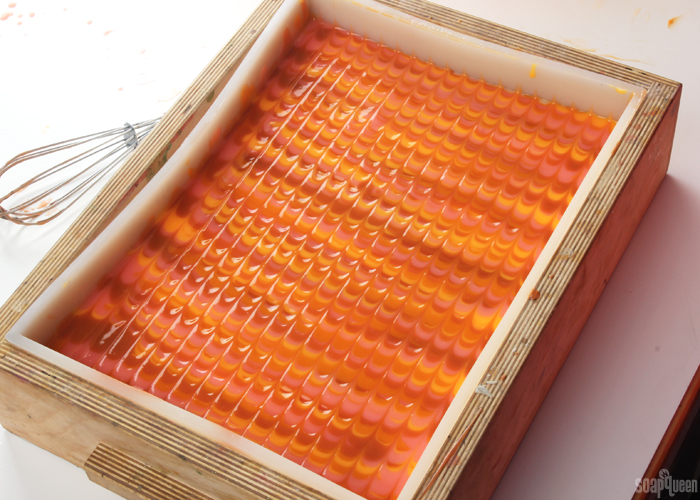 TEN: Then, it’s time to use the Easy Swirl Tool. Starting on one length side of the mold, move the Easy Swirl Tool “back and fourth” or “side to side,” away from you, making S-shaped curves in the soap. Check out the Instagram video below to see the tools in action!
NOTE: Generally, the two swirl tools are used in the same direction in the mold. I wanted to try something a little different for this project. I think the swirl turned out beautifully, but as you can see in the photo below, the Easy Swirl Tool did not drag through all the swirls created by the Comb Swirl Tool. It still turned out great!
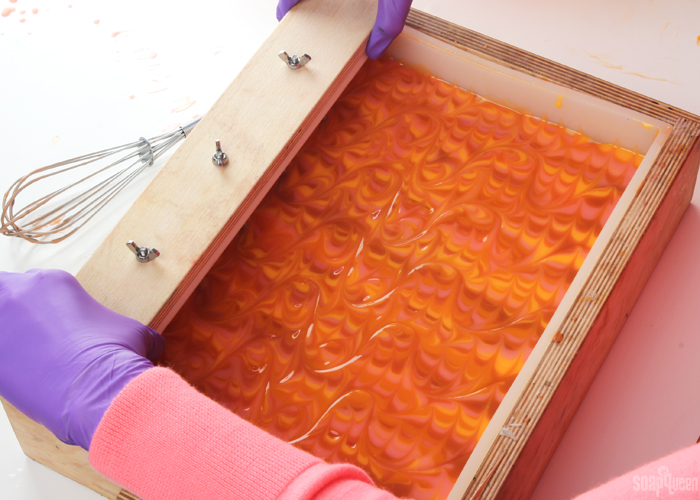
ELEVEN: Spritz the top of the soap with 99% isopropyl alcohol to help prevent soda ash. Cover and insulate for 24 hours, then allow the soap to stay in the mold for 2-3 days to harden. Carefully remove from the mold, and slice into bars. Allow to cure for 4-6 weeks and enjoy!
Click to View the Recipe
- 18 Bar Birchwood Mold
- Silicone Liner for 18 Bar Birchwood Mold
- 66 oz. Swirl Quick Mix
- 9.1 oz. Sodium Hydroxide Lye
- 21.8 oz. Distilled Water
- 4 oz. Orange Peel Cybilla Fragrance Oil
- Titanium Dioxide Pigment
- Nuclear Orange Pigment
- Racing Stripe Orange Mica
- Tangerine Wow! Colorant
- Sunset Orange Mica
- Black Oxide
- Swirl Tool Kit (or Easy Swirl Tool + Comb Swirl Tool)
- Slowly and carefully add the lye to the water and gently stir until the lye has fully dissolved and the liquid is clear. Set aside to cool.
- Fully melt the Swirl Recipe Quick Mix oils until completely clear. Once the lye water and the oils have cooled to 110-120 F degrees or below (and are ideally within 10 degrees of each other), add the lye water to the oils and stick blend until very thin trace. If you’d like a harder bar of soap that releases faster from the mold, you can add sodium lactate to the cooled lye water. Use 1 teaspoon of sodium lactate per pound of oils in the recipe. For this recipe, you’d add about 3.5 teaspoons sodium lactate.
- Once you’ve reached a very thin trace, split off about 500 mL into four separate containers. You will also have the original mixing bowl, for a total of five containers.
- To each container, add the dispersed colorants in the amounts below. Whisk in each colorant until fully combined.
Container A (large container): 1 Tbs. dispersed titanium dioxide
Container B: 1 tsp. dispersed Nuclear Orange Pigment
Container C: 1.5 tsp. Tangerine Wow! Colorant
Container D: 2 tsp. dispersed Racing Stripe Orange Mica
Container E: 2 tsp. dispersed Sunset Orange Mica + 1/16 tsp. dispersed Black Oxide - Whisk in the Orange Peel Cybilla Fragrance Oil proportionately into each container (it’s okay to eyeball it!) until fully mixed in. If your soap is still very thin, you can quickly blend each with the stick blender to ensure the colorants and fragrance oil are mixed in.
- Pour in all the white soap into the mold. Begin pouring each color into the mold, using a zig-zag pattern up and down the length of the mold. Pour quickly, and don’t worry too much if the colors fall into the white soap. Later in the pouring process, it’s important to pour “low and slow,” to ensure the colors sit on top, but for the first couple passes, it’s okay to pour thicker, faster and less precise.
- Continue this process until you’ve used about half of each color.
- Once you’ve poured about half of each orange hue, begin pouring more slowly, with more purpose. The soap should begin to sit on top of the white soap, rather than dropping into the white. Try to pour each layer next to each other, so there are “stripes” of each color. If necessary, whisk each color to ensure the soap stays fluid enough to pour.
- Once you’ve poured all the soap into the mold, it’s time to use the Comb Swirl Tool. Insert the tool into the top of the soap, and drag it down the length of the mold. This will pull all the layers together.
- Then, it’s time to use the Easy Swirl Tool. Starting on one length side, move the Easy Swirl Tool “back and fourth” or “side to side” making S-shaped curves in the soap. Check out the Instagram video below to see the tools in action!
NOTE: Generally, the two swirl tools are used in the same direction in the mold. I wanted to try something a little different for this project. I think the swirl turned out beautifully, but as you can see in the photo below, the Easy Swirl Tool did not drag through all the swirls created by the Comb Swirl Tool. It still turned out great! - Spritz the top of the soap with 99% isopropyl alcohol to help prevent soda ash. Cover and insulate for 24 hours, then allow the soap to stay in the mold for 2-3 days to harden. Carefully remove from the mold, and slice into bars. Allow to cure for 4-6 weeks and enjoy!





Hi! Thanks for the tutorial. I purchased this mold and love it.
I am wondering how many oz is each bar of this soap . I’m having a little trouble getting the right amount of oils to produce a 4.5 oz bar so they will be the same weight as the soap I make in the loaf molds.
Hi Allison!
Because we did not use dividers in this recipe, our bars were a little inconsistent in weight due to human error when cutting. On average, our bars weighed anywhere from 3.9-5.2 ounces. Because this mold produces 18 bars when using the dividers, you could estimate that 18 x 4.5 would give you about the right amount of soap. 18 x 4.5 equals 81. You could also estimate that the bars will loose some weight from curing. To make up for this, I would recommend making about 10% more soap, which would be a total of 89.1. If you’re like me and prefer to work in even numbers, you could shoot for a total batch of 91 ounces (water, oils and lye). I hope this helps!
-Amanda with Bramble Berry
The soap looks good. Orange peels are good for cleansing skin and helps to whitening it. And the soap also containing useful oils. Surely going to try this one too!
Thanks Rebecca, so glad you like it! 🙂
-Amanda with Bramble Berry
Hi,
I’m glad you mentioned about the seal going on the stick blender.
I noticed when I wiped mine, a grey substance, possibly factory lubrication, was leaking out when the seal was going. That would be gross in soap! Now I check the seal closely also!
Glad you caught that before it went in your batch Dawnia! Thanks for watching. 🙂
-Kelsey with Bramble Berry
How large is the clear mixing bowl you made the soap in and where can I purchase? Thanks!
This is a 5 Quart Mixing Bowl! It’s great for larger batches. You have plenty of room to mix your soap. 🙂
5 Quart Mixing Bowl: https://www.brambleberry.com/5-Quart-Glass-Mixing-Bowl-with-Lid-P5606.aspx
-Kelsey with Bramble Berry
I don’t have the tools to make this one and, gee whiz, I don’t want any more molds or tools. However, I just want to comment to say how excited I always get to see a new recipe/design because I have gotten SO many great design and pattern ideas here and thank you so much for the free training. The people who receive my soap absolutely love it. Although I buy my oils and lye locally to help local businesses, I get all my other tools and supplies from Brambleberry and I always mention Brambleberry and Soapqueen when I film for youtube.com
Thanks again, team!
Thank you so much Eric, your kind comments really mean a lot to us. We’re so glad you’re part of this soapmaking community. Also, a chopstick will work for this design! It just requires a few more passes. 🙂
-Kelsey with Bramble Berry