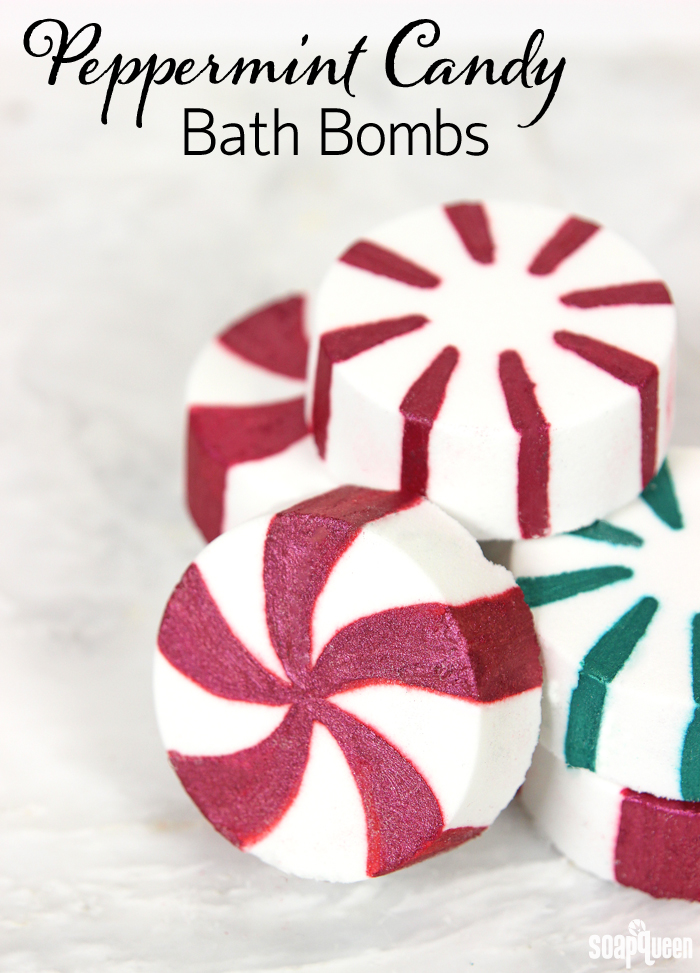
 One of my favorite ways to treat myself after a long day is with a hot bath and a book. This is especially true during the cold winter months! A hot bath can keep you warm and comfy for hours. To make your bath time extra fun, bath bombs are a must. These Peppermint Candy Bath Bombs are made with argan oil which is full of vitamin E and skin-loving properties. The blend of Peppermint Essential Oil, 1st Distill and Non-Discoloring Vanilla Fragrance Oil creates a sweet and minty blend that smells just like traditional peppermint candies.
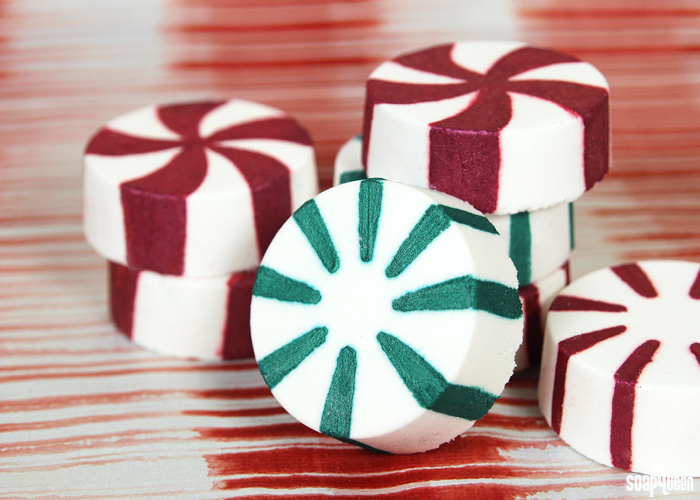
After these bath bombs harden and dry in the mold, they are decorated with a blend of mica and alcohol to give them the peppermint candy appearance. The mica does color the bath water and may leave a little color on the tub, but will wash away with a little scrubbing. I added polysorbate 80 to this recipe to help the oils disperse throughout the water instead of pool on the top, but it’s completely optional. To see the difference between bath water with polysorbate and without, read the Herb Infused Bath Oil tutorial. Check out these fizzies in action in the video at the very bottom of this post!
What You’ll Need:
6-7 Disk Mold & Package
2 cups Baking Soda
1 cup Citric Acid
4 mL Peppermint Essential Oil, 1st Distill
3 mL Vanilla Non-Discoloring Fragrance Oil
.3 oz. Argan Oil
.3 oz. Polysorbate 80 (optional)
Witch Hazel
Shamrock Mica
Merlot Sparkle Mica
Cellini Red Mica
99% Isopropyl Alcohol

Click here to add everything you need for this project to your Bramble Berry shopping cart!
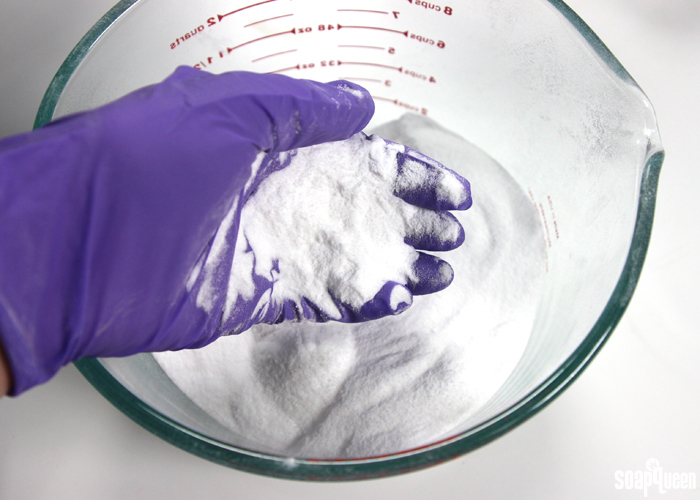
ONE: In a large mixing bowl, combine the baking soda and citric acid. Use your hands to break apart any large clumps until the mixture is completely smooth. If you’d like, you can place the mixture through a sifter to help remove and break up clumps. Citric acid has a tendency to take off nail polish, so wear gloves to protect your manicure. =)
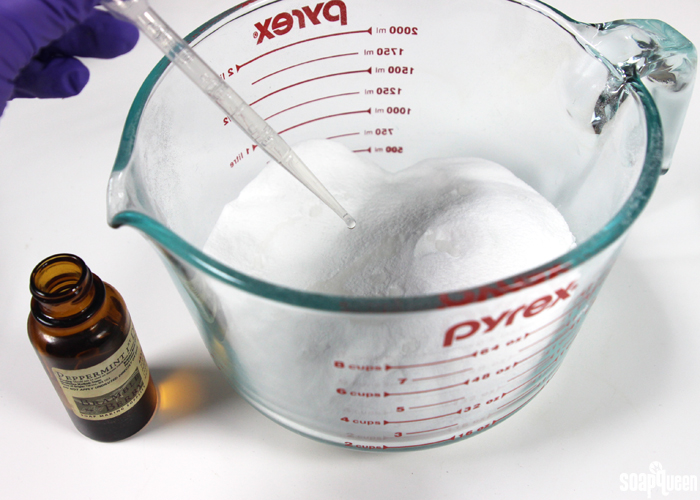
 TWO: Add the Peppermint Essential Oil 1st Distill and Non-Discoloring Vanilla Fragrance Oil to the mixture, and use your hands to completely mix in.
 THREE: Add the argan oil and polysorbate 80 into the mixture and use your hands to completely combine.
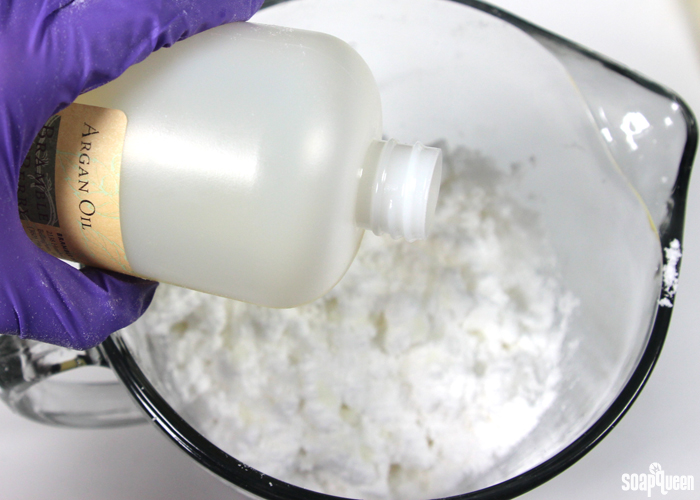 FOUR: Check the moisture of the fizzy mixture by squeezing a large handful. The mixture should hold together on its own without crumbling. Below, you can see the mixture holds together for the most part, but not completely. It needs a little bit more moisture.
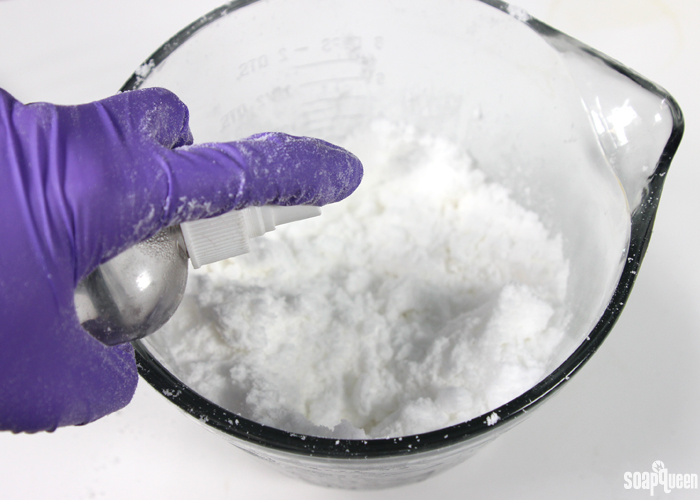
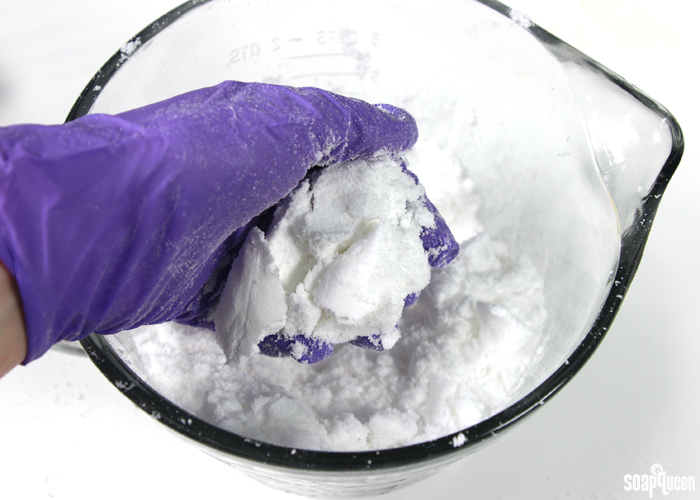 FIVE: To help the bath bomb mixture hold together better, add spritzes of witch hazel into the mixture. After every couple of spritzes, use your hands to work the witch hazel into the mixture until completely combined.
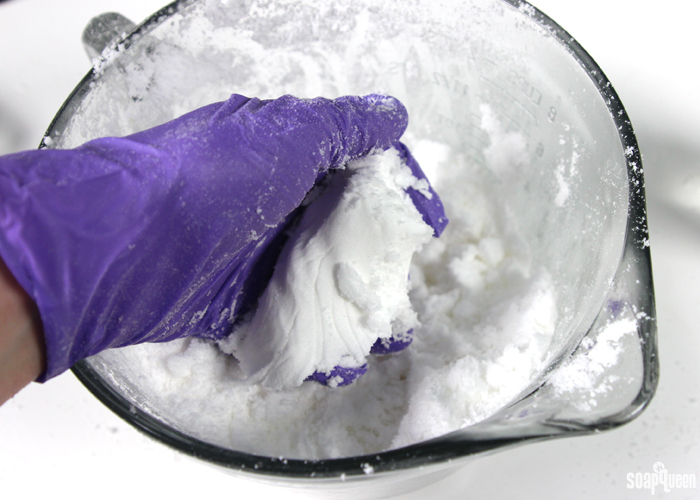
 After a few spritzes of witch hazel, check the moisture of the fizzies again. Below, you can see that the mixture forms a ball much better than before. Now the mixture is ready to mold!
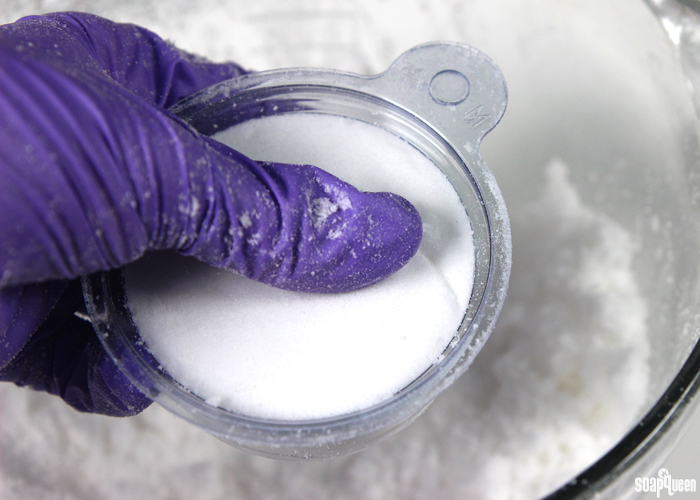
 SIX: Firmly pack the bath bomb mixture into the Disk Mold and Package. Use your fingers to scrape away the mixture from the mold seams to ensure the lid will fit tightly on the mold.
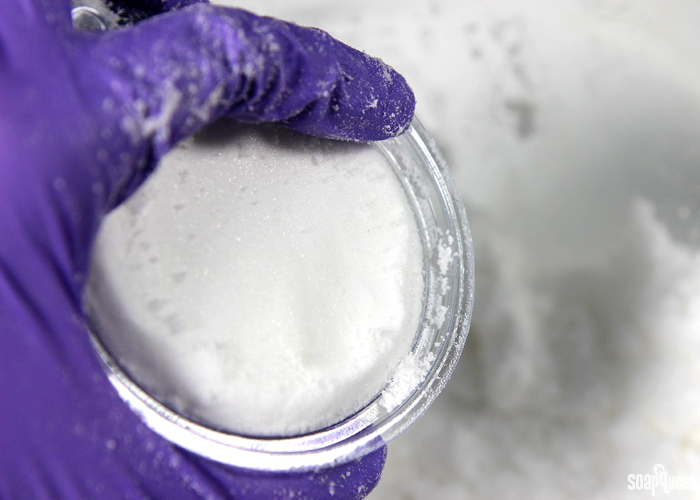 SEVEN: Place the lid on the mold. Continue filling the molds with the bath bomb mixture until it’s all used up. Allow the bath fizzies to completely dry for several hours up to overnight.
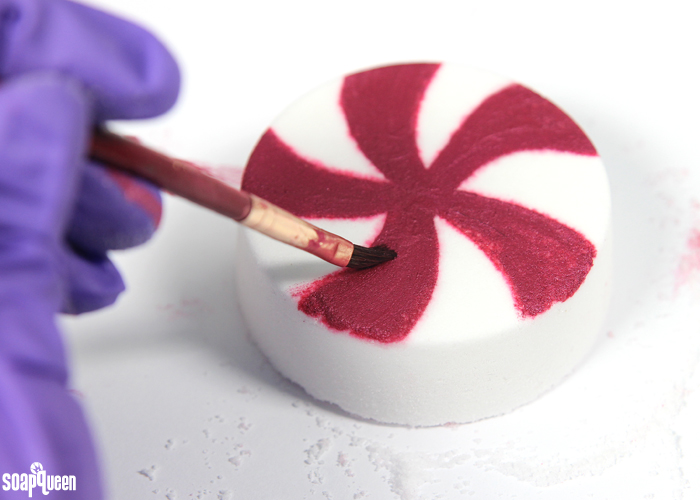
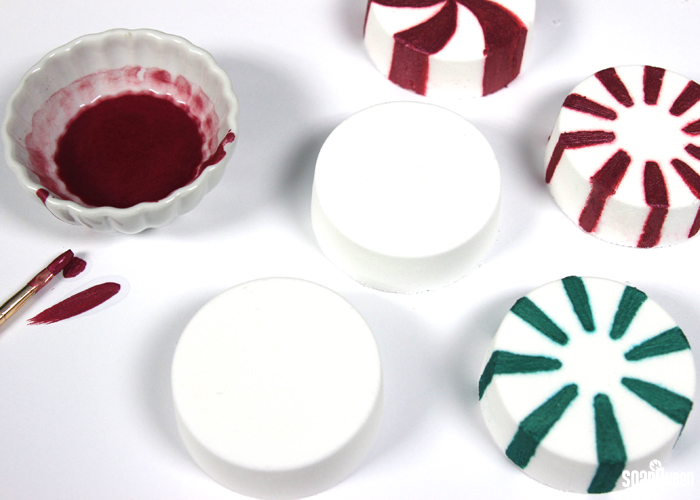
 EIGHT: Once the bath bombs are completely dry, gently press them out of the mold. Then it’s time to “paint” them! For the green shade, mix 1 tsp. Shamrock Mica into 2 tsp. of 99% isopropyl alcohol and stir until there are no clumps. For the red color, mix .5 tsp. Merlot Sparkle Mica and 2 tsp. Cellini Red Mica into 1 Tbsp. 99% isopropyl alcohol. Then, use a paint brush to paint the peppermint candy stripes in a circular pattern and down the side of the bath bomb.
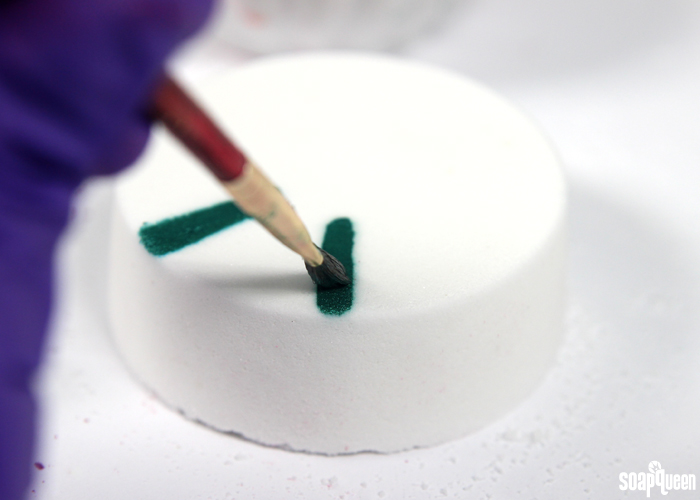
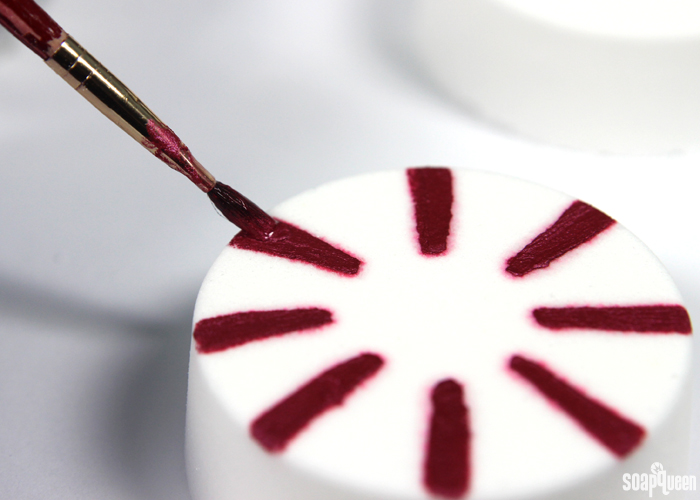 NINE: Continue to “paint” until all the bath bombs are decorated. If your “paint” becomes a little thick, add 1/2 tsp. of alcohol to the mixture to thin it out. If you prefer the “pinwheel” peppermint candy design, use the paint to decorate the bath bombs that way. Personally, I found the stripes to be much easier to paint. =)
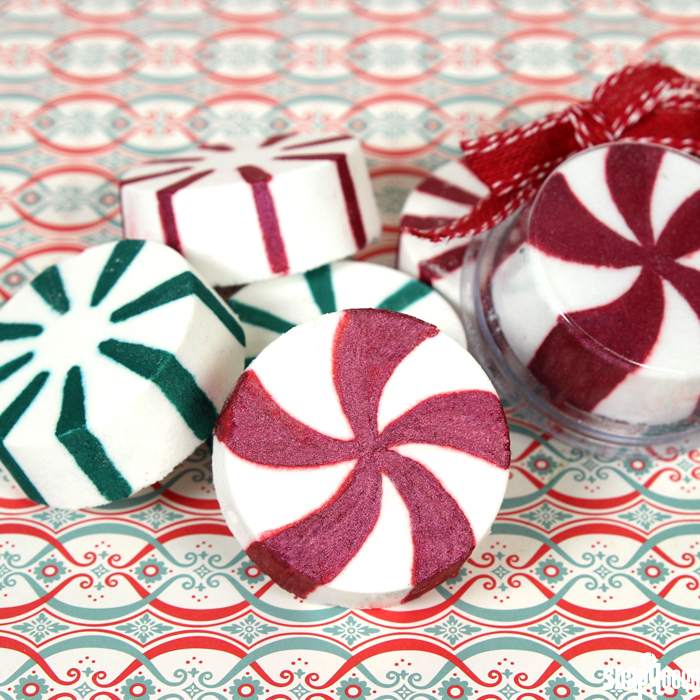
 Once you’ve finished painting the bath fizzies, they can be placed back into the Disk Mold and Package. This mold serves as both a mold and a way to package and protect the fizzy. =)
Watch the video below to see these fizzies in action! As you see, the mica on the fizzies does give the water a small amount of color. The polysorbate 80 helps prevent large pools of oil from forming on top of the water and prolongs the fizzying reaction.
- 6-7 Disk Mold & Package
- 2 cups Baking Soda
- 1 cup Citric Acid
- 4 mL Peppermint Essential Oil, 1st Distill
- 3 mL Vanilla Non-Discoloring Fragrance Oil
- .3 oz. Argan Oil
- .3 oz. Polysorbate 80 (optional)
- Witch Hazel
- Shamrock Mica
- Merlot Sparkle Mica
- Cellini Red Mica
- 99% Isopropyl Alcohol
- In a large mixing bowl, combine the baking soda and citric acid. Use your hands to break apart any large clumps until the mixture is completely smooth. If you’d like, you can place the mixture through a sifter to help remove and break up clumps. Citric acid has a tendency to take off nail polish, so wear gloves to protect your manicure. =)
- Add the Peppermint Essential Oil, 1st Distill and Non-Discoloring Vanilla Fragrance Oil to the mixture, and use your hands to completely mix in.
- Add the argan oil and polysorbate 80 into the mixture and use your hands to completely combine.
- Check the moisture of the fizzy mixture by squeezing a large handful. The mixture should hold together on its own without crumbling. Below, you can see the mixture holds together for the most part, but not completely.
- To help the bath bomb mixture hold together better, add spritzes of witch hazel into the mixture. After every couple of spritzes, use your hands to work the witch hazel into the mixture until completely combined.After a few spritzes of witch hazel, check the moisture of the fizzies again. Below, you can see that the mixture forms a ball much better than before. Now the mixture is ready to mold!
- Firmly pack the bath bomb mixture into the Disk Mold and Package. Use your fingers to scrape away the mixture from the mold seams to ensure the lid will fit tightly on the mold.
- Place the lid on the mold. Continue filling the molds with the bath bomb mixture until it’s all used up. Allow the bath fizzies to completely dry for several hours up to overnight.
- Once the bath bombs are completely dry, gently press them out of the mold. Then it’s time to “paint” them! For the green shade, mix 1 tsp. Shamrock Mica into 2 tsp. of 99% isopropyl alcohol and stir until there are no clumps. For the red color, mix .5 tsp. Merlot Sparkle Mica and 2 tsp. Cellini Red Mica into 1 Tbsp. 99% isopropyl alcohol. Then, use a paint brush to paint the peppermint candy stripes in a circular pattern and down the side of the bath bomb.
- Continue to “paint” until all the bath bombs are decorated. If your “paint” becomes a little thick, add ½ tsp. of alcohol to the mixture to thin it out. If you prefer the “pinwheel” peppermint candy design, use the paint to decorate the bath bombs that way. Personally, I found the stripes to be much easier to paint. =)
- Once you’ve finished painting the bath fizzies, they can be placed back into the Disk Mold and Package. This mold serves as both a mold and a way to package and protect the fizzy. =)
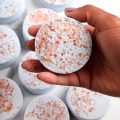
I’ve been trying to “paint” my bath bombs following this tutorial and the painted berry bath bomb tutorial and they are turning out horrible! The bath bomb starts fizzing as soon as the “paint touches it, and then it like sinks in and fades 😔 What could be wrong?
What are you mixing the mica with? That may be setting it off.
-Kelsey with Bramble Berry
Also what is the shelf life? I felt like I read it somewhere but can’t find it. Thank you
These bath bombs will last about 6 months to a year. To ensure they stay fresh, make sure to wrap them tightly with plastic wrap and keep them in a cool, dry place. 🙂
Read more about storing bath bombs here: http://www.soapqueen.com/bath-and-body-tutorials/tips-and-tricks/how-to-store-handmade-bath-products/
-Kelsey with Bramble Berry
Hello I was wondering for the oils is it weight or fl oz for the .3oz?
The .3 oz. measurement is by weight! You can use a scale to measure that out, or convert to mL and use a dropper. The .3 oz. is about 9 mL. 🙂
Droppers: https://www.brambleberry.com/Droppers-With-Suction-Bulb-P3802.aspx
-Kelsey with Bramble Berry
Hello, I’m thinking of Christmas already :-)… and want to a make bath bombs with my soap gifts. Can I paint the entire “bomb” using alcohol and mica (thinking about red or green like Christmas ornaments)? Will the alcohol affect the overall product? Is there a red mica you can recommend that is safe to use? Some micas recommend using Glycerin to disperse, is Glycerin OK to use to paint the bath bomb? THANK YOU…!
Hi Mei!
You can paint the entire bath bomb! The great thing about alcohol is it evaporates and doesn’t affect the final bath bomb. I would recommend alcohol over glycerin. Glycerin is a bit heavier, so it can dent the bath bomb slightly. Alcohol is nice and light!
You can also spritz the bath bomb lightly with alcohol and roll it in mica. That coats the entire thing with color. We did that in our Midas Touch Bath Bombs, I’ll include a link below. 🙂
Midas Touch Bath Bombs: https://www.soapqueen.com/bath-and-body-tutorials/midas-touch-bath-bombs/
-Kelsey with Bramble Berry
wish I had done more research on poly80 and poly20 before I purchased a big bottle of 20! I was planning on making cocoa butter bath bombs and bath melts, and was hoping to help out with the grease pit left in the tub by adding poly20!
I would still recommend giving Polysorbate 20 a try! It can help that cocoa butter emulsify better than if no emulsifier was in the recipe. If you find there are still pools of oil, you may want to give the Polysorbate 80 a try. 🙂
Also, you can use Polysorbate 20 for room sprays and perfumes! It works great for those. I’ll include some fun recipes below.
Springtime Room Spray: http://www.soapqueen.com/bath-and-body-tutorials/home-crafts/springtime-body-spray/
White Ginger and Amber Spray Perfume: http://www.soapqueen.com/bath-and-body-tutorials/white-ginger-and-amber-spray-perfume/
-Kelsey with Bramble Berry
I love it too!
Questions:
What’s the difference between Polysorbate 80 and 20? I have 20.
And why did you use non-discoloring Vanilla? It wouldn’t discolor in a bath bomb anyway, right?
Thanks!
So glad you love it Martina!
Polysorbate 20 is typically used to emulsify lighter oils, like fragrance oils, while Polysorbate 80 is typically used to emulsify heavier oils, like carrier oils. This post from Swifty Craft Monkey has more information on the difference between the two: http://swiftcraftymonkey.blogspot.com/2010/05/question-polysorbate-20-vs-polysorbate.html
Because this recipe has a carrier oil, we decided to use Polysorbate 80 to help it mix in with the bath water. You may try a small test batch with the Polysorbate 20 and see if it works well in the tub. If not, Polysorbate 80 works well. 🙂
Polysorbate 20: https://www.brambleberry.com/Polysorbate-20-P3212.aspx
Polysorbate 80: https://www.brambleberry.com/Polysorbate-80-P4438.aspx
Also, discoloring fragrance oils can sometimes discolor bath bombs. It is more inconsistent than discoloration in soap – sometimes it discolors, sometimes it doesn’t. To be on the safe side, we decided to use Non-Discoloring Vanilla Fragrance Oil. It smells really good in this recipe!
-Kelsey with Bramble Berry
That is just awesome!
Thank you so much Margaret! 🙂
-Kelsey with Bramble Berry
What a fun idea – this could be customized in so many ways!
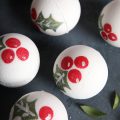
Thank you Michael, so glad you like it! Also, you could definitely paint on any design you like. Little holly berries for Christmas would be adorable. 🙂
-Kelsey with Bramble Berry