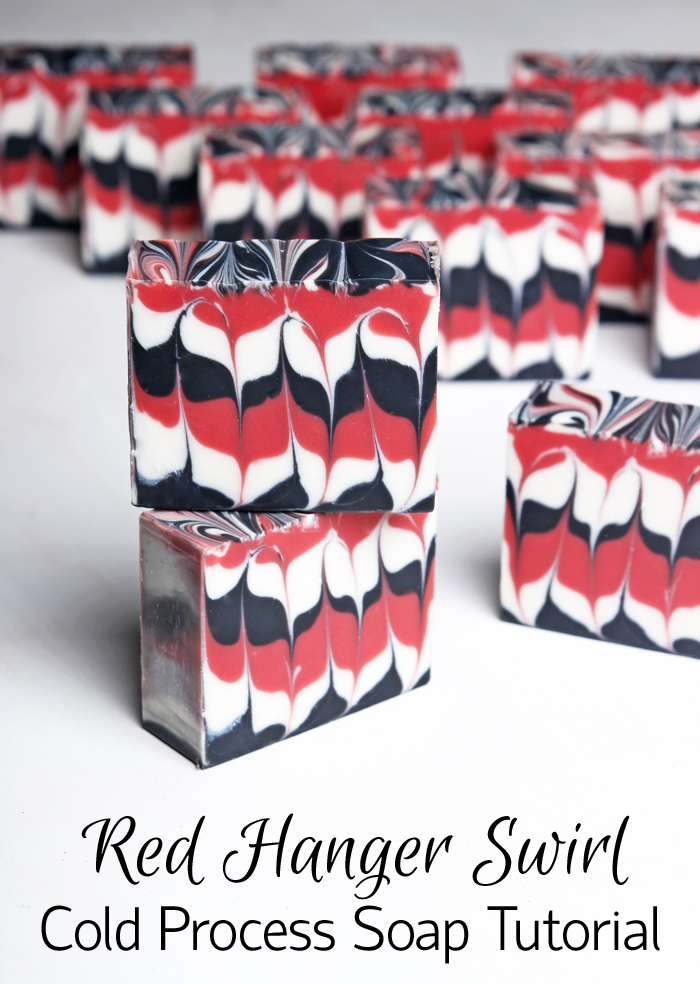
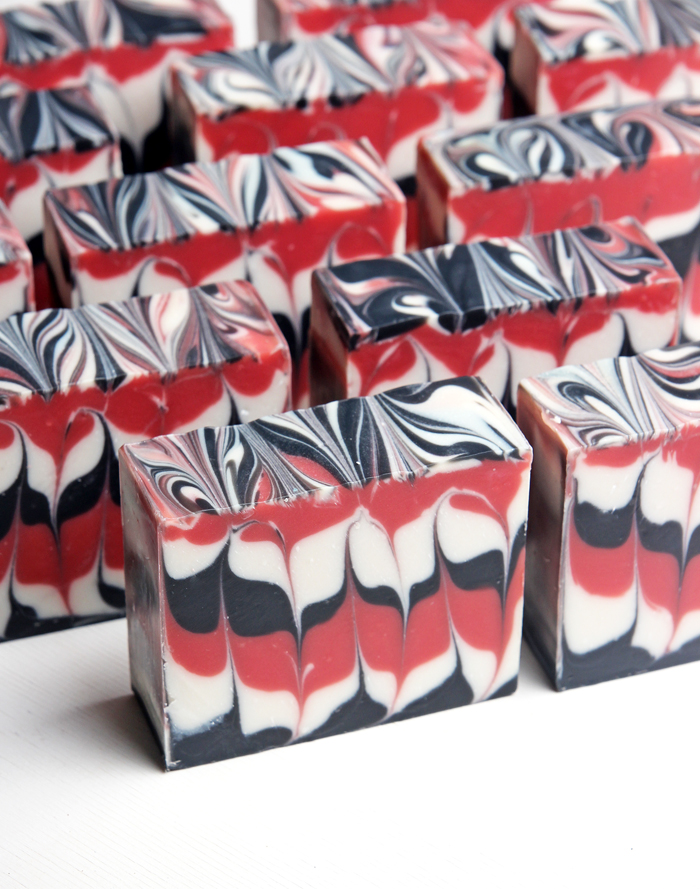
Red is bold and dramatic. It conveys a variety of feelings including love, anger, passion and courage. When brainstorming a soap design to represent the color red for #SoaptheRainbow, I wanted it to be bold and daring. I decided on a hanger swirl design with a vibrant shade of red paired with black and white. It’s scented with a combination of Apple Sage Fragrance Oil and Yacht Club Fragrance Oil for a blend that’s fruity with hints of musk.
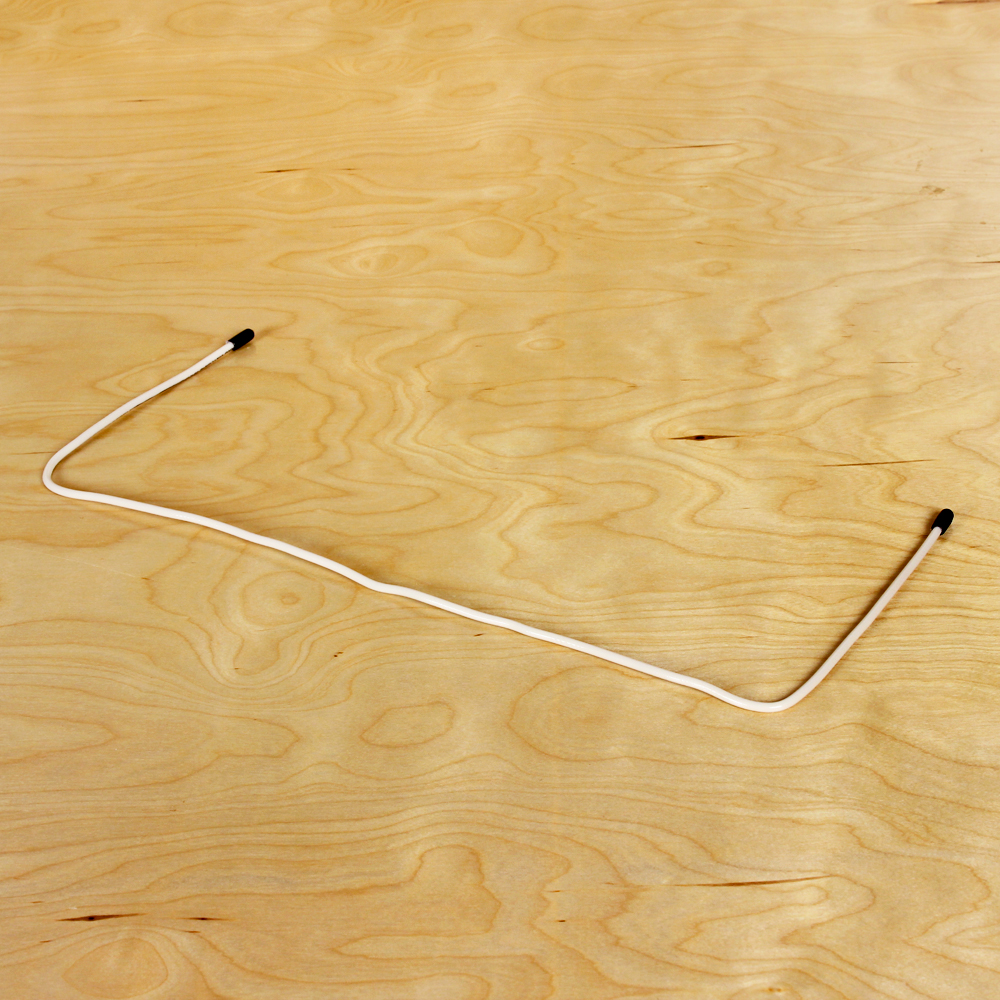
The technique in this tutorial uses a bent hanger to swirl the soap. In this case I used the Hanger Swirl Tool, which is bent to fit inside the mold lengthwise. First, the black, white and red soap are carefully layered on top of each other. Then, the Hanger Swirl Tool is pushed up and down within the soap to swirl the layers. This technique can be modified in many ways depending on how you layer the soap and move the Hanger Swirl Tool. For example, the Butterfly Swirl made famous by Zahida of Handmade in Florida is a modified version of the hanger swirl technique. Click here to see Zahida’s Butterfly Swirl in action.
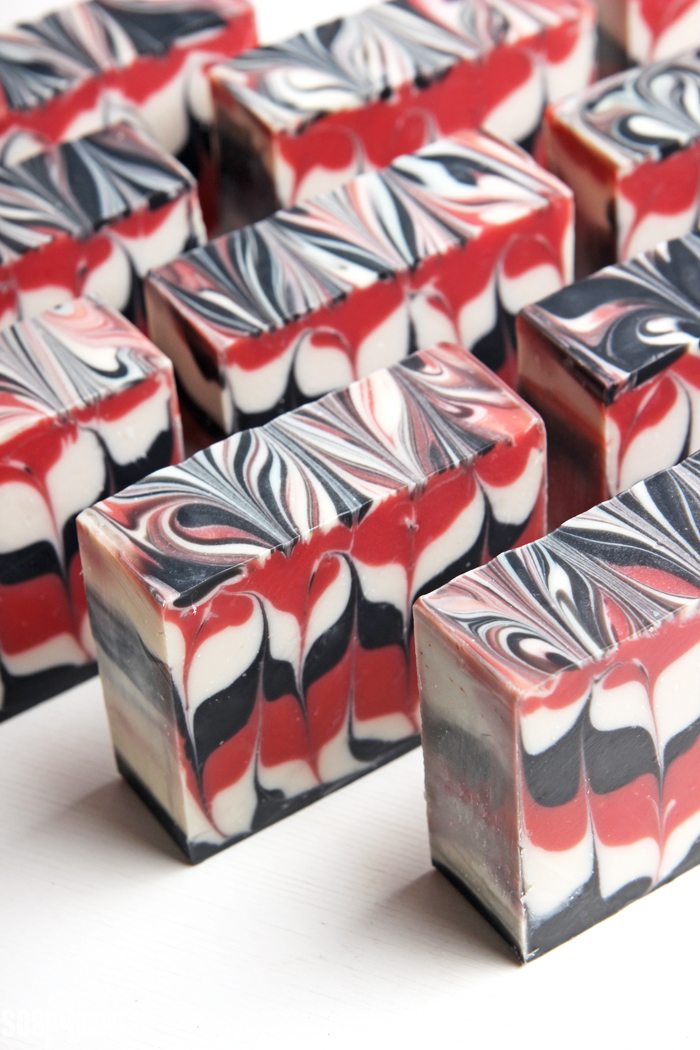
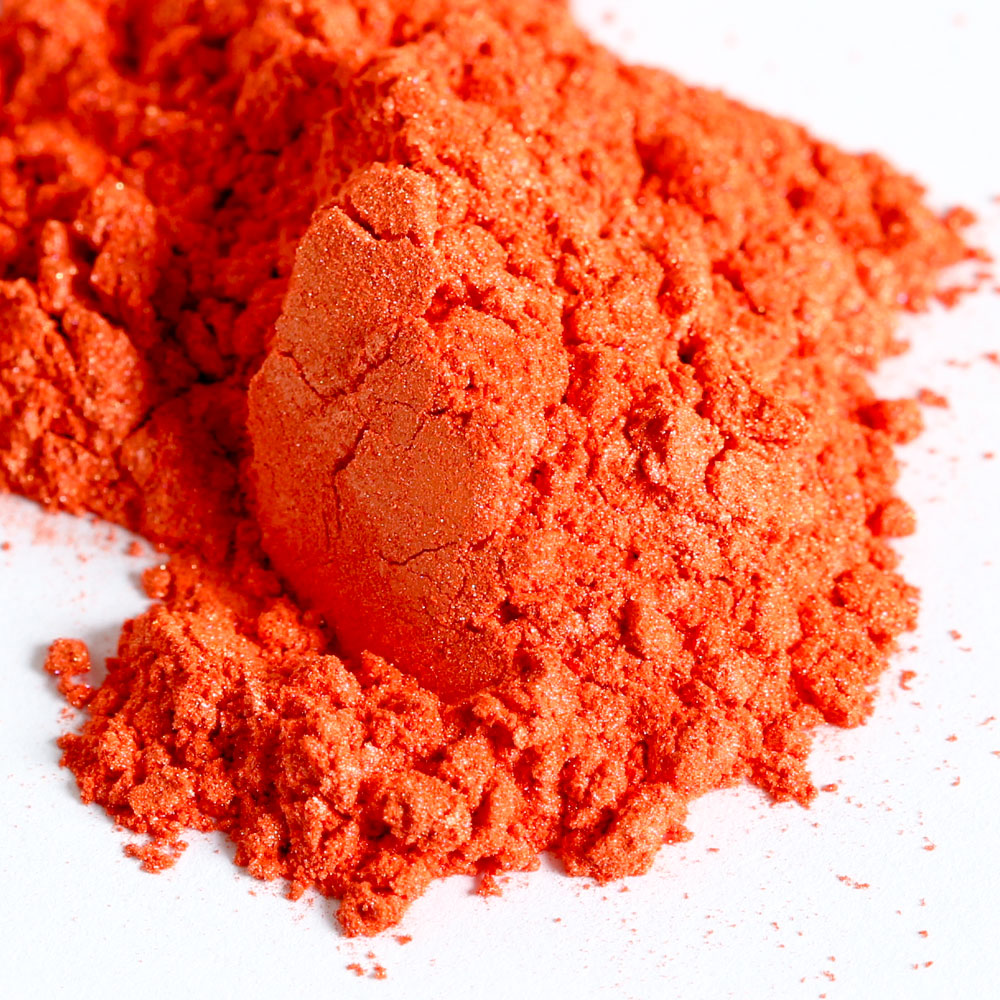
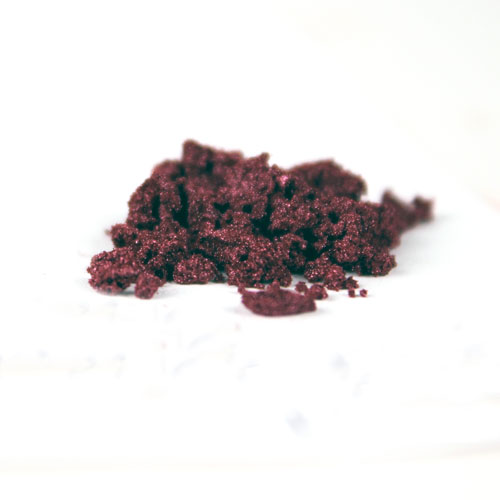
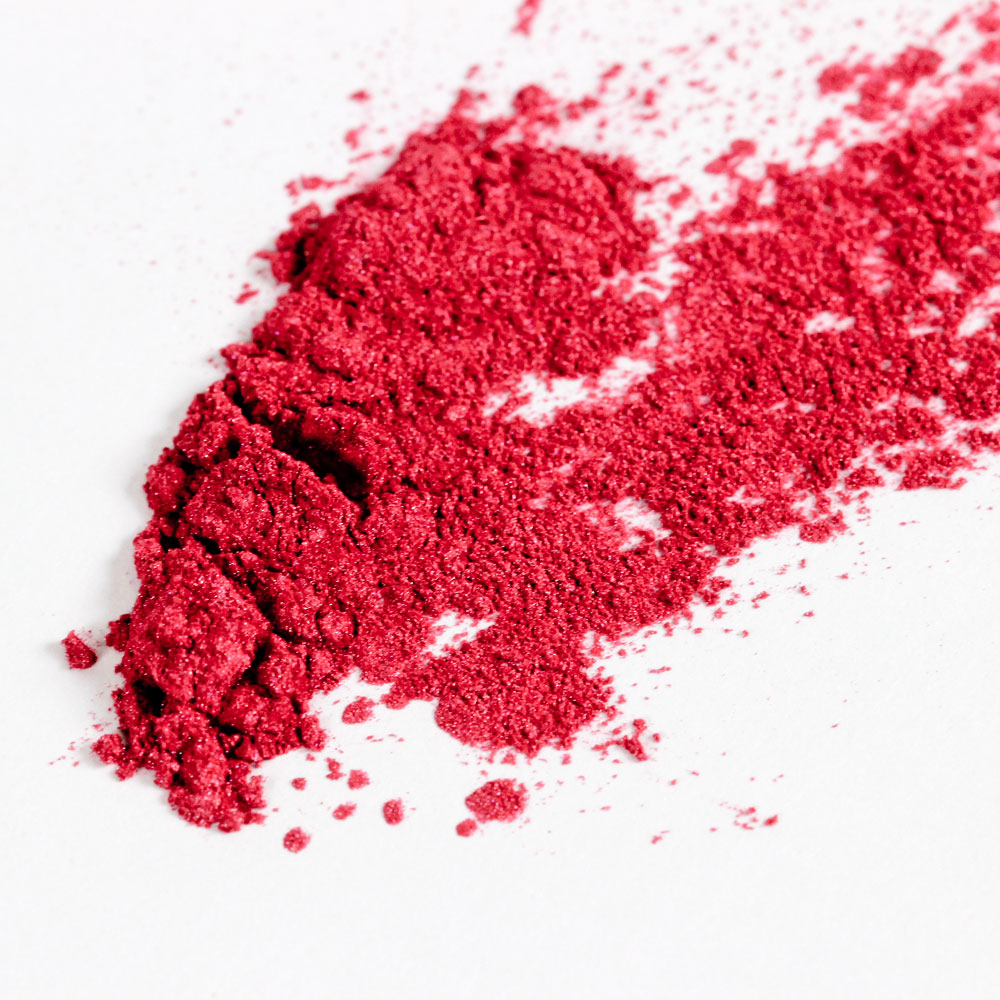
Red is a bit of a tricky color to achieve in cold process soap. When you add red colorants to a white batter, they tend to take on a pink shade. To create the vibrant red in this soap, I used a combination of Magenta Mica, Merlot Sparkle Mica and Sunset Orange Mica. On its own, Magenta Mica has a pink shade. The Merlot Sparkle Mica deepens the color, and the Sunset Orange Mica helps get rid of the pink hue. To see more red shades in cold process soap, check out the Quest for the “Perfect Red” in Cold Process Soap post.
Don’t forget to keep sharing your #SoaptheRainbow red photos until Sunday! I will be choosing my favorite red photos on Instagram, Twitter and Facebook. The winners will be posted on the Bramble Berry Instagram account, and will win a $10 Bramble Berry gift certificate. There is also a Grand Prize worth more than $250 of Bramble Berry goodies. Click here to enter. But wait, there’s more!
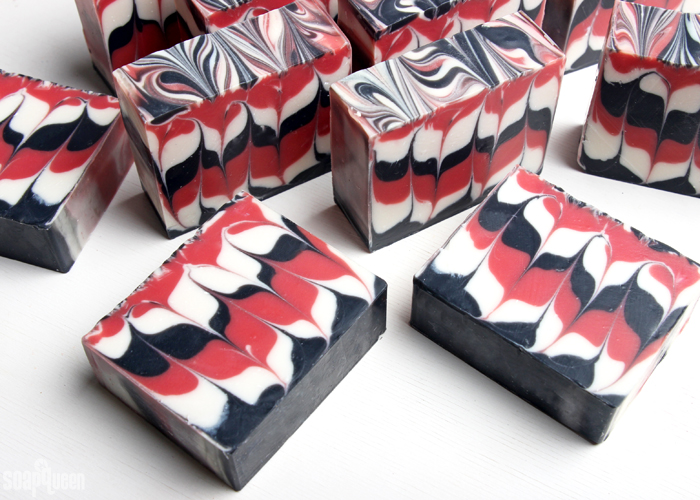
What You’ll Need:
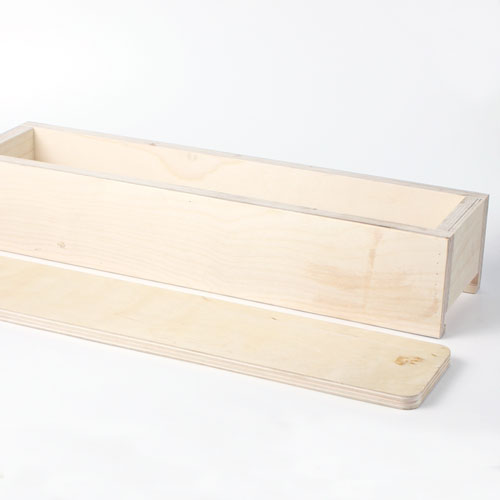
5 Pound Mold with Sliding Bottom
Silicone Liner for 5 lb Wood Mold
Hanger Swirl Tool
54 oz. Swirl Quick Mix
7.5 oz. Sodium Hydroxide Lye
17.8 oz. Distilled Water
Magenta Mica
Sunset Orange Mica
Merlot Sparkle Mica
Black Oxide
Titanium Dioxide
2 oz. Apple Sage Fragrance Oil
1.5 oz. Yacht Club Fragrance Oil

Click here to add everything you need for this project to your Bramble Berry shopping cart!
If you’ve never made Cold Process soap before, stop here! I highly recommend checking out our FREE four part SoapQueen.tv series on Cold Process Soapmaking, especially the episode on lye safety. And if you’d rather do some reading, Bramble Berry carries a wide range of books on the topic, including my newest book, Pure Soapmaking. You can also check out the digital downloads for that instant gratification factor.
SAFETY FIRST: Suit up for safe handling practices! That means goggles, gloves and long sleeves. Make sure kids, pets, and other distractions and tripping hazards are out of the house or don’t have access to your soaping space. Always soap in a well-ventilated area.
COLOR PREP: To ensure that the Titanium Dioxide blends smoothly into the soap batter, we recommend micronizing it before dispersing it in oil. Please note this is an optional tip but it does help with the titanium dioxide clumping in the soap. =) To micronize colorant, simply use a coffee grinder to blend the colorant to break up any clumps of color and prevent streaks of white from showing in the final soap. We like to use a coffee grinder that has a removable, stainless steel mixing area for easy cleaning. Then, disperse 3 teaspoons of the colorant into 3 tablespoons of sunflower or sweet almond oil (or any other liquid oil). Then in separate containers disperse 1/2 teaspoon Magenta Mica, Sunset Mica, and Merlot Sparkle Mica into 1/2 tablespoon of oil. Finally, disperse 1/2 tsp. Black Oxide with 1/2 tablespoon lightweight liquid oil. Use a mini mixer to get rid of any clumps.
FRAGRANCE OIL PREP: Measure 2 oz. Apple Sage Fragrance Oil and 1.5 oz. Yacht Club Fragrance Oil in a glass, fragrance oil safe container. Set aside.
MOLD & TOOL PREP: Insert the silicone liner into the wood mold. Bend the hanger tool so it fits inside the mold by length with silicone liner.
ONE: Slowly and carefully add the lye to the water and gently stir until the lye has fully dissolved and the liquid is clear. Set aside to cool.
TWO: Fully melt the Swirl Recipe Quick Mix oils until completely clear. Once the lye water and the oils have cooled to 110-120 F degrees or below (and are ideally within 10 degrees of each other), add the lye water to the oils and stick blend until thin trace. If you’d like a harder bar of soap that releases faster from the mold, you can add sodium lactate to the cooled lye water. Use 1 teaspoon of sodium lactate per pound of oils in the recipe. For this recipe, you’d add about 3.5 teaspoons sodium lactate.
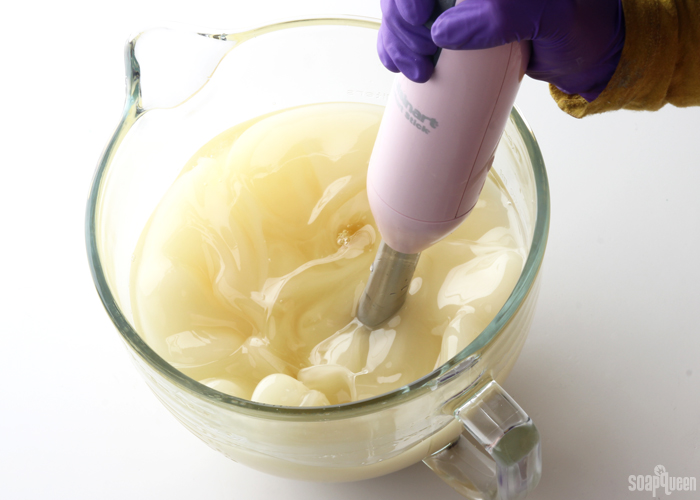 THREE: Once you reach a thin trace, split the batter into three equal containers. Each container will be about 800 mL.
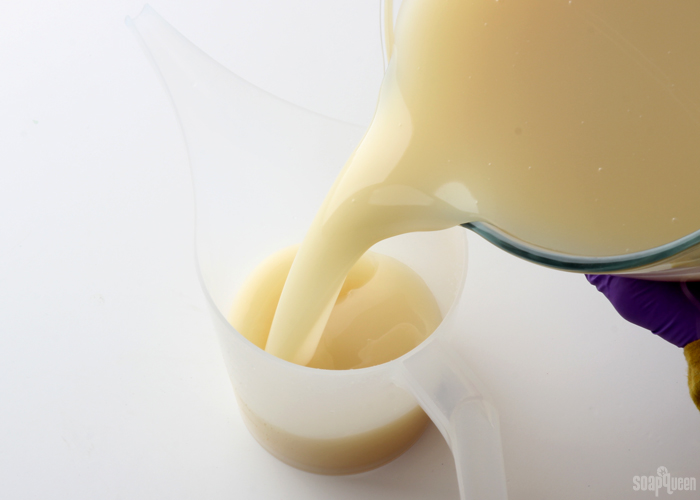 FOUR: To one container, add all of the dispersed titanium dioxide and use a whisk to fully mix in the colorant.
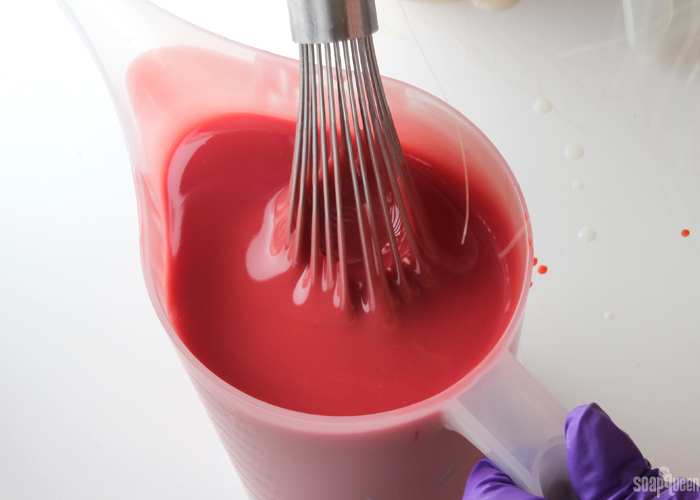
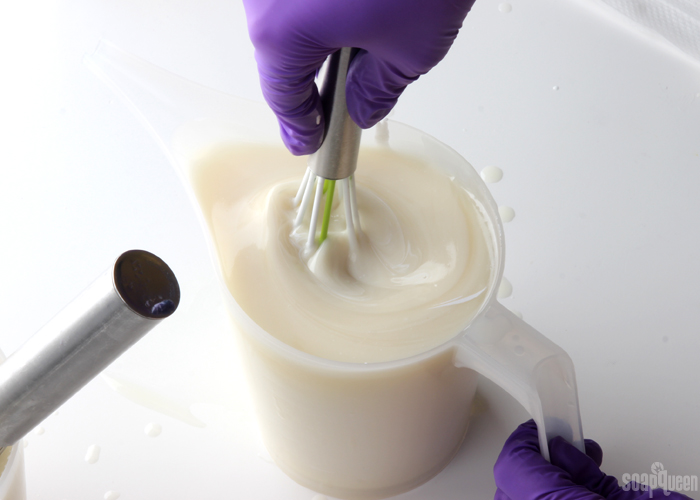 FIVE: To another container, add 1 tsp. dispersed Magenta Mica, 1/4 tsp. dispersed Merlot Sparkle Mica and 3/4 tsp. dispersed Sunset Orange Mica. Use a whisk to fully mix in the colorants. To the last container, add 1 tsp. dispersed black oxide and whisk in.
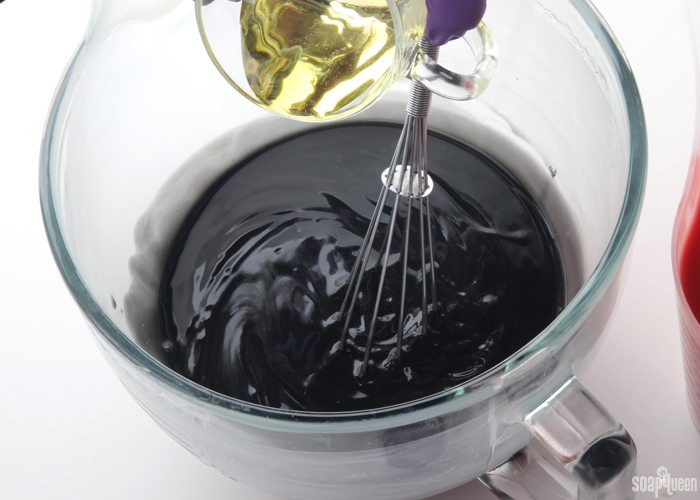
 SIX: Add 1/3rd of the fragrance oil blend (it’s okay to eyeball it!) to the black soap and use a whisk to fully mix in.
 SEVEN: Add half of the black soap into the mold. Tap the mold firmly on the counter to help get rid of bubbles and evenly disperse the soap.
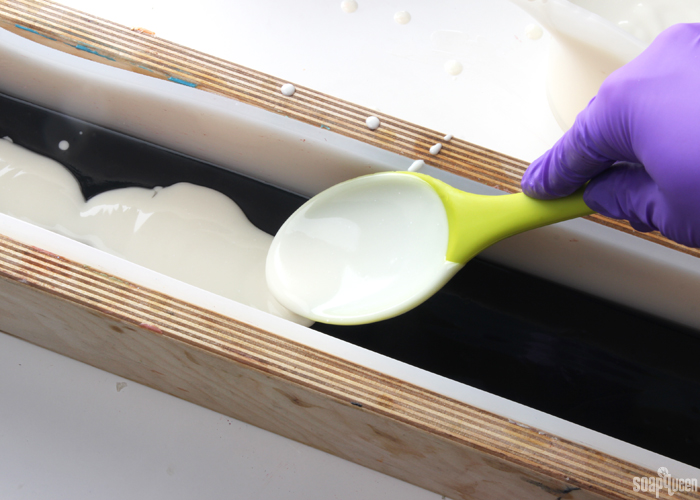
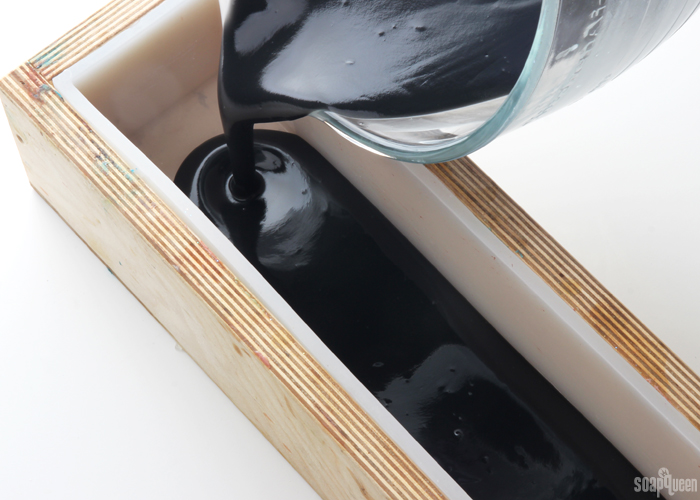 EIGHT: Add 1/3rd of the fragrance oil blend into the white soap, and use a whisk to completely stir in. Then, very carefully, spoon half of the white soap on top of the black. Be careful not to let the white soap break through to the black layer below. Tap the mold on the counter to help evenly disperse the white soap throughout the mold.
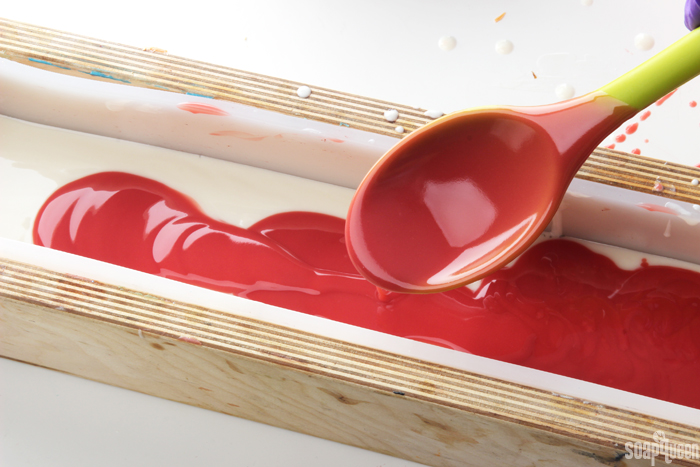
 NINE: Add 1/3rd of the fragrance oil blend into the red soap, and use a whisk to stir in. Very carefully, spoon half of the red soap on top of the white. Be careful to not break through to the white layer below. Tap the mold firmly on the counter to help get rid of any bubbles and disperse the soap throughout the mold.
 TEN: Stir all three colors of soap with a whisk to help them stay fluid and pourable. Gently add the remaining black soap on top of the red, leaving behind a very small amount of the black soap to create the swirl on top. Tap the mold on the counter to help disperse the soap. Add the remaining white soap on top of the black, leaving behind a small amount for the swirl on top.
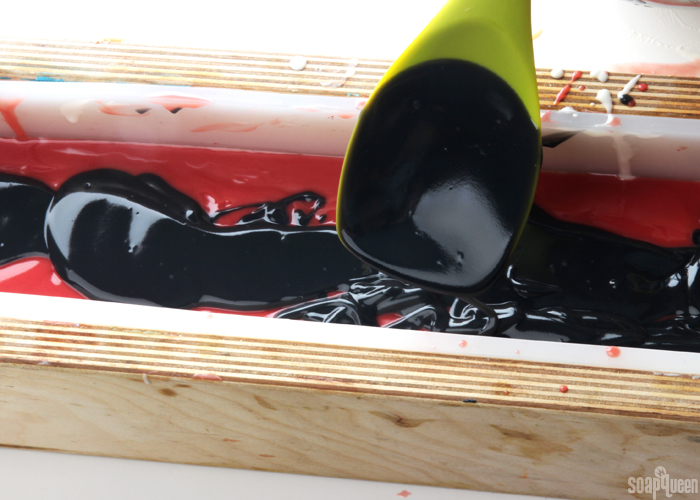 ELEVEN: Spoon the remaining red soap on top of the white. Use a small spoon to even out the top. Tap firmly on the counter to get rid of bubbles.
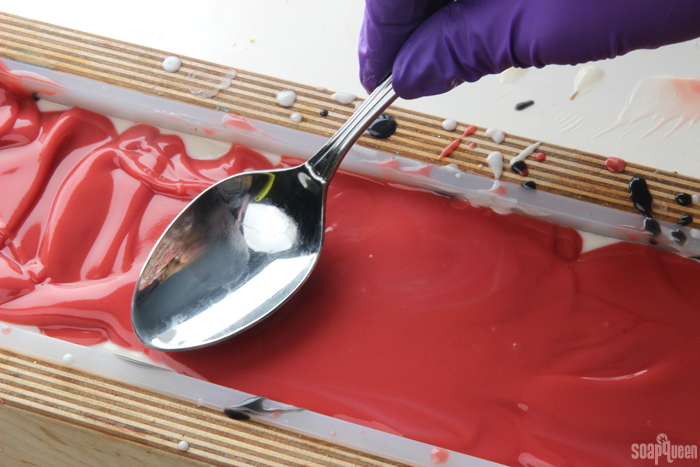 TWELVE: Now it’s time to make the hanger swirl! Insert the hanger into the soap against the long side of the mold furthest away from you. Drag the hanger against the bottom of the mold toward you. Once you drag the hanger about 1/6th of the way, pull the hanger up until it almost breaks through the top of the soap, but not quite. Move the hanger towards you about 1/6th of the way. Push the hanger back down into the soap, and drag the hanger against the bottom of the mold and move it towards you again, moving about 1/6th of the way. Bring the hanger up until it almost breaks the top, then move it over and push it back down.
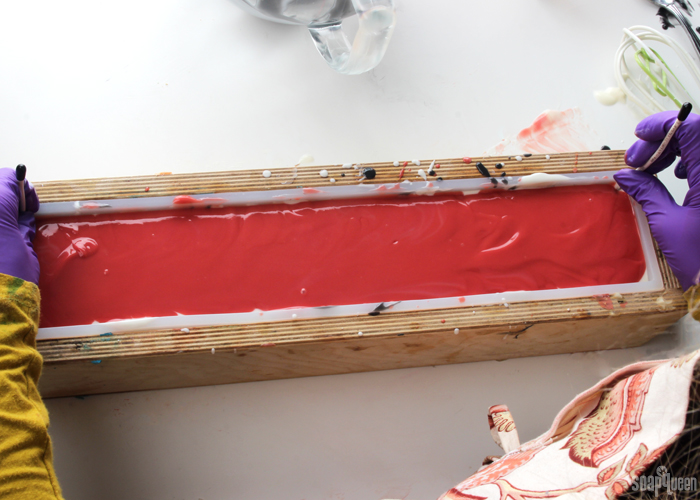 THIRTEEN: Continue the “down, over, up, over, down, over, up, over” process until you reach the other side of the mold. Once done, tap the mold firmly on the counter and smooth out the top of the soap with a spoon.
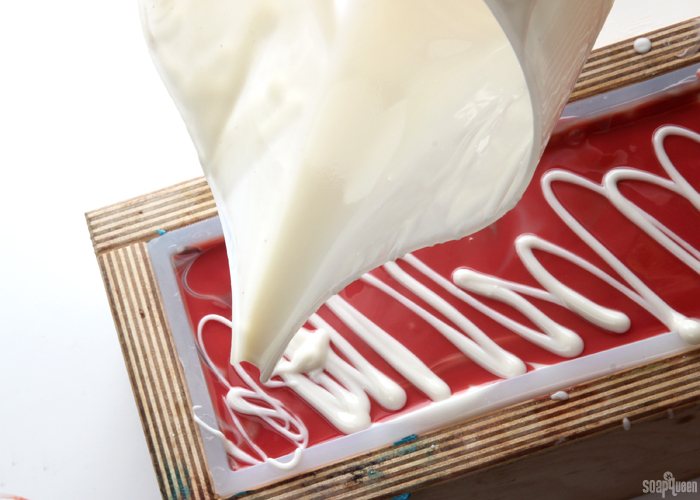
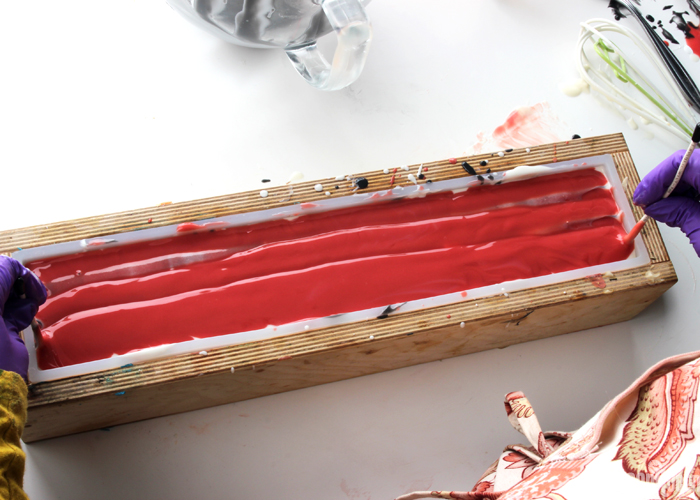 FOURTEEN: Drizzle the remaining white and black soap on top of the red soap in thin lines. No need to be super precise, you can see mine looked quite “abstract.” =)
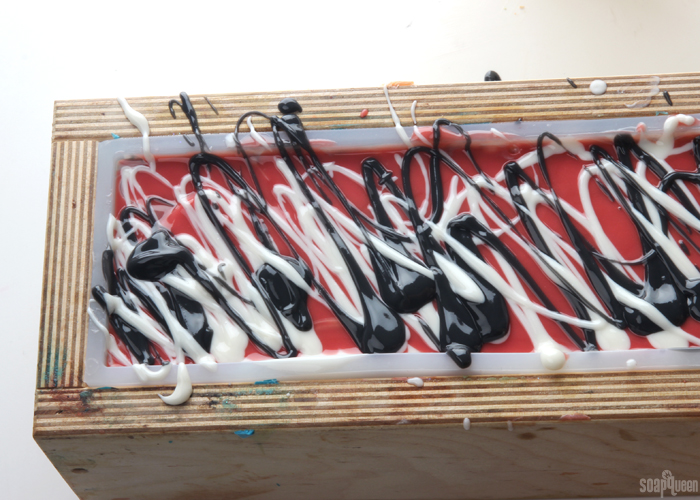 FIFTEEN: Insert a dowel or chopstick into the very top of the soap. You don’t want to disrupt your layers below! Starting in a corner, drag the dowel or chopstick in large “S” curves width wise down the length of the mold.
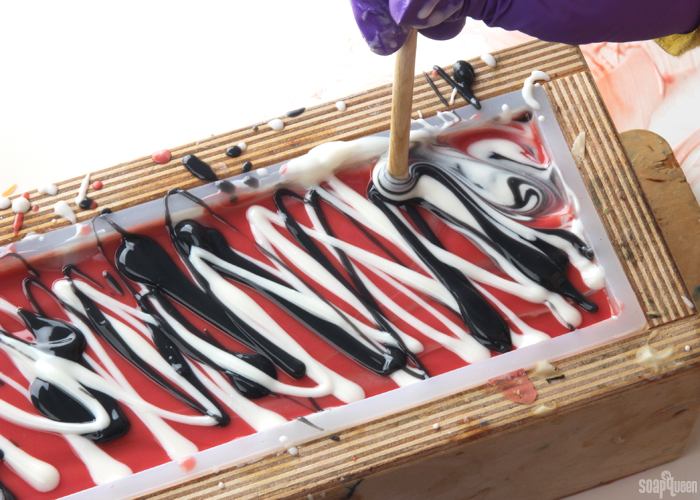
SIXTEEN: Clean off the dowel, then insert it again into the very top of the soap and drag it up and down the length of the mold in an “S” curve. Spritz with 99% isopropyl alcohol to prevent soda ash and cover the soap to insulate for 24 hours.
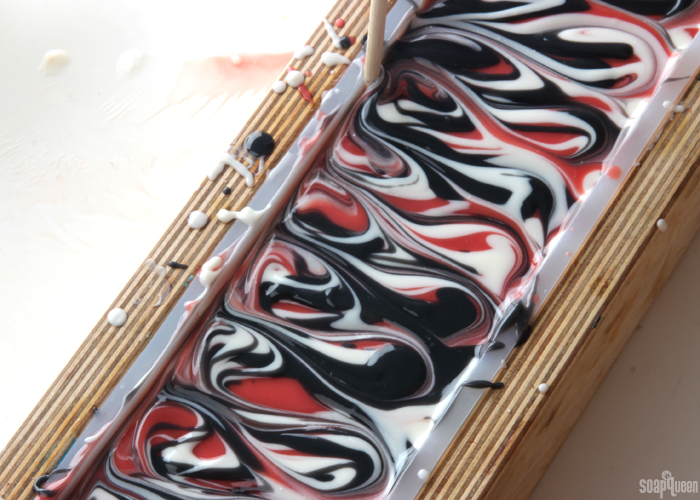
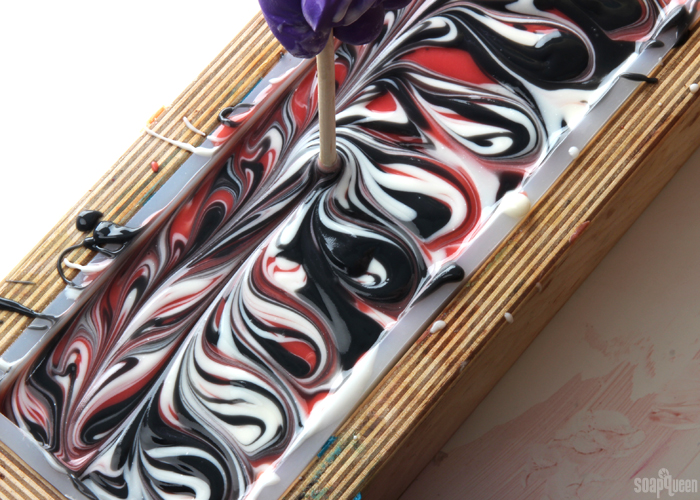
Allow the soap to stay in the mold for 2-3 days. Remove from the mold and cut into bars. Allow the soap to cure for 4-6 weeks. Enjoy!
Click to View the Recipe
- 5 Pound Mold with Sliding Bottom
- Silicone Liner for 5 lb Wood Mold
- Hanger Swirl Tool
- 54 oz. Swirl Quick Mix
- 7.5 oz. Sodium Hydroxide Lye
- 17.8 oz. Distilled Water
- Magenta Mica
- Sunset Orange Mica
- Merlot Sparkle Mica
- Black Oxide
- Titanium Dioxide
- 2 oz. Apple Sage Fragrance Oil
- 1.5 oz. Yacht Club Fragrance Oil
- Slowly and carefully add the lye to the water and gently stir until the lye has fully dissolved and the liquid is clear. Set aside to cool.
- Fully melt the Swirl Recipe Quick Mix oils until completely clear. Once the lye water and the oils have cooled to 110-120 F degrees or below (and are ideally within 10 degrees of each other), add the lye water to the oils and stick blend until thin trace. If you’d like a harder bar of soap that releases faster from the mold, you can add sodium lactate to the cooled lye water. Use 1 teaspoon of sodium lactate per pound of oils in the recipe. For this recipe, you’d add about 3.5 teaspoons sodium lactate.
- Once you reach a thin trace, split the batter into three equal containers. Each container will be about 800 mL.
- To one container, add all of the dispersed titanium dioxide and use a whisk to fully mix in the colorant.
- To another container, add 1 tsp. dispersed Magenta Mica, ¼ tsp. dispersed Merlot Sparkle Mica and ¾ tsp. dispersed Sunset Orange Mica. Use a whisk to fully mix in the colorants. To the last container, add 1 tsp. dispersed black oxide and whisk in.
- Add ⅓rd of the fragrance oil blend (it’s okay to eyeball it!) to the black soap and use a whisk to fully mix in.
- Add half of the black soap into the mold. Tap the mold firmly on the counter to help get rid of bubbles and evenly disperse the soap.
- Add ⅓rd of the fragrance oil blend into the white soap, and use a whisk to completely stir in. Then, very carefully, spoon half of the white soap on top of the black. Be careful not to let the white soap break through to the black layer below. Tap the mold on the counter to help evenly disperse the white soap throughout the mold.
- Add ⅓rd of the fragrance oil blend into the red soap, and use a whisk to stir in. Very carefully, spoon half of the red soap on top of the white. Be careful to not break through to the white layer below. Tap the mold firmly on the counter to help get rid of any bubbles and disperse the soap throughout the mold.
- Stir all three colors of soap with a whisk to help them stay fluid and pourable. Gently add the remaining black soap on top of the red, leaving behind a small amount to create a swirl on top. Tap mold on the counter to help disperse the soap. Add the remaining white soap on top of the black, leaving behind a small amount for the swirl on top.
- Spoon the remaining red soap on top of the white. Use a small spoon to even out the top. Tap firmly on the counter to get rid of bubbles.
- Now it’s time to make the hanger swirl! Insert the hanger into the soap against the long side of the mold furthest away from you. Drag the hanger against the bottom of the mold toward you. Once you drag the hanger about ⅙th of the way, pull the hanger up until it almost breaks through the top of the soap, but not quite. Move the hanger towards you about ⅙th of the way. Push the hanger back down into the soap, and drag the hanger against the bottom of the mold and move it towards you again, moving about ⅙th of the way. Bring the hanger up until it almost breaks the top, then move it over and push it back down.
- Continue the “down, over, up, over, down, over, up, over” process until you reach the other side of the mold. Once done, tap the mold firmly on the counter and smooth out the top of the soap.
- Drizzle the remaining white and black soap on top of the red soap in thin lines. No need to be super precise about this, you can see mine looked quite “abstract.” =)
- Insert a dowel or chopstick into the very top of the soap. You don't want to disrupt your layers below! Starting in a corner, drag the dowel or chopstick in large "S" curves width wise down the length of the mold.
- Clean off the dowel, then insert it again into the very top of the soap and drag it up and down the length of the mold in an "S" curve. Spritz with 99% isopropyl alcohol to prevent soda ash and cover the soap to insulate for 24 hours. Allow the soap to stay in the mold for 2-3 days. Remove from the mold, and cut into bars. Allow the soap to cure for 4-6 weeks. Enjoy!






Hi, I was wondering why this has to stay in the mold for 2-3 days. Is it because of the special mix you are using or the batch size. Most of mine are 4lb and usually stay 24 hours before demold and cutting. I have also never tried a swirl.
How long the soap is in the mold depends on a couple of factors. This recipe is made with Swirl Quick Mix, which has a large amount of soft oils to help with swirling. Those soft oils take a bit longer to harden than a recipe made with a lot of hard oils. It also depends on if the soap gels or not. Gelled soap tends to unmold more quickly. I would recommend checking this recipe after 2 days. If it’s still fairly soft, you can let it sit a few more days and check again. 🙂
Read more about gel phase here: http://www.soapqueen.com/bath-and-body-tutorials/tips-and-tricks/gel-phase/
-Kelsey with Bramble Berry
Hi Kelsey,
First of all I love Soap Queen TV and Brambleberry.
This isnt about the soap this tutorial is for but i dont know where else to ask you. I am a new bee in soap making. My question is that my soap turns thick too quickly. This is my recipe:
Water-182.4 grams
Lye-67.49 gms
fragnance oil-15.84gms
Coconut oil-140gms
Olive oil- 200 gms
Rice bran oil-75 gms
Shea butter-65gms
I also notice that whenever i mix my lye into water, the temperature of the water is always below 130 F but I live in a very hot climate. So then at what temperatures i should mix my lye solution and oils? Also that the soap batter becomes thick even before i mix in the fragrance. Please advice. Any help will be highly appreciated. Thanks in advance.
Hi Renu! Thanks so much for that recipe. I checked the oil amounts and they look just fine! We usually recommend temperatures of 100-130F. We find that keeps all the oils melted and we have some time to work with the design. How long are you stick blending the soap? Let me know and I’ll help you troubleshoot. 🙂
-Kelsey with Bramble Berry
Hi Kelsey..
Thanks for replying. I usually stick blend for a minute or two.. Actually all the oils are melted at room temperature due to the hot climate but still I do microwave it for half a minute. Also that I mixed in my lye solution which was around 127F to the melted oils at 122F. Also one more thing, sorry I am asking too many questions… What to do if the lye solution gets colder thn the oils? Is there a way to heat it up?
Those temperatures look just fine! I’m wondering if it may be the stick blending time. We find just about 30 seconds of pulsing and stirring with the stick blender usually gets us to thin trace. Stick blending for up to 2 minutes can thicken the soap up pretty quickly. For your next batch I would recommend stick blending and stirring with the blender for about 30 seconds. Stir until there are no streaks of color and the soap is the consistency of a melted milkshake. That is called “thin trace.” Learn more about trace here: http://www.soapqueen.com/bath-and-body-tutorials/tips-and-tricks/trace/
Also, if your lye gets too cool you can put it in a hot water bath to warm it up a little. 🙂
-Kelsey with Bramble Berry
Hi Kelsey,
Thank you soo much for your advice, my soap turned out really well.. 🙂
Keep up the good work and do think of expanding this lovely company to other countries..
You’re welcome! So glad the soap turned out well. Enjoy. 🙂
-Kelsey with Bramble Berry
I love this soap. I would like to make a red, white, and blue soap. Is there a blue colorant that would work well?
So glad you love it Marissa! We have lots of great blue options. Ultramarine Blue Pigment works really well in cold process soap: https://www.brambleberry.com/Ultramarine-Blue-Pigment-medium-P4043.aspx
Caribbean and Mermaid Blue are really lovely as well. You can incorporate them the same way as the colors above, mixing with a lightweight oil and adding 1 dispersed teaspoon at a time until you get a color you like. 🙂
Caribbean Blue Mica: https://www.brambleberry.com/Caribbean-Blue-Mica-P6356.aspx
Mermaid Blue Mica: https://www.brambleberry.com/Mermaid-Blue-Mica-P6354.aspx
-Kelsey with Bramble Berry
Beautiful! Will have to try this hanger swirl…usually I keep the hanger down in instead of lifting all the way up but this is a super cool design! Thanks 🙂
You’re welcome Michele, glad you like the soap! Have fun giving this technique a try. 🙂
-Kelsey with Bramble Berry
I made it yesterday and cut it today. My top did not turn out as well, but the soap did.
youtube.com under theorgelmeister
Awesome, can’t wait to check it out Eric! 🙂
-Kelsey with Bramble Berry
That is just beautiful!! So your ratio is 4:1:3 for magenta:merlot:orange? I’ll have to try it!! 🙂
Thank you Martina! Also, that color ratio is correct. 🙂
-Kelsey with Bramble Berry