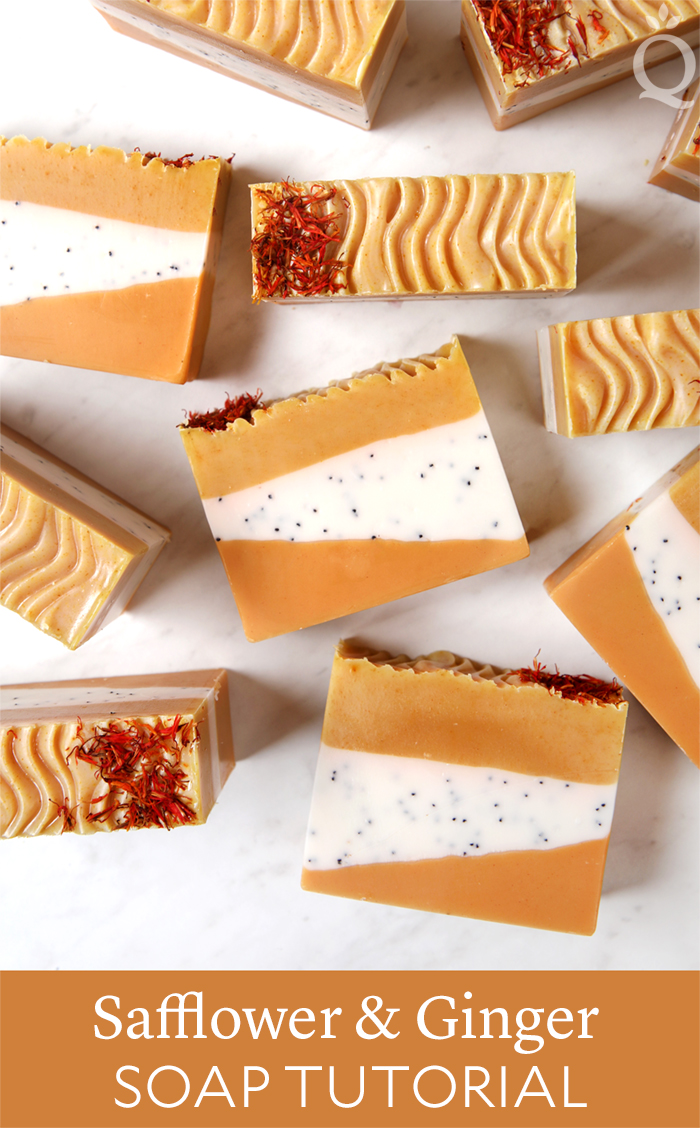
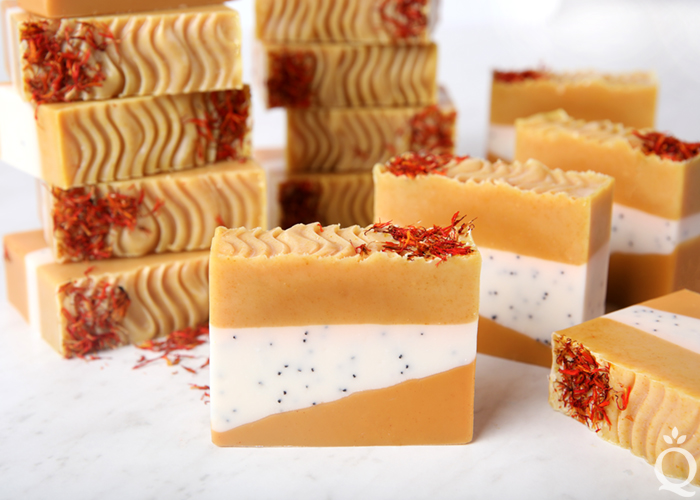
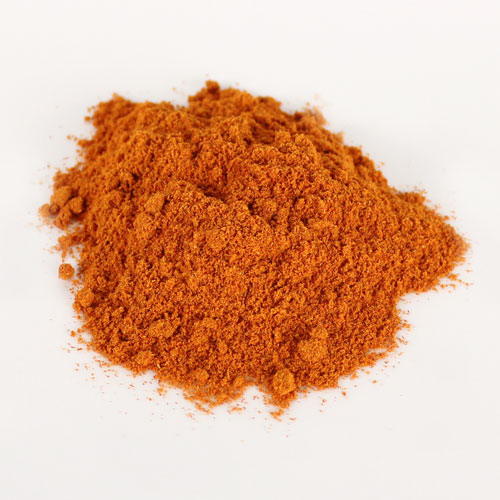
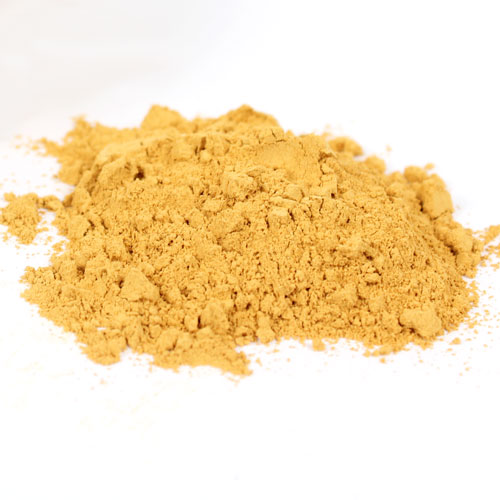
Safflower is a thistle-like plant with a variety of uses. The crop is used to make oil, dyes, and more. In this soap, safflower powder is used to give the top layer a soft yellow hue. Safflower petals are sprinkled on top for a pop of color and texture.
The layered design requires a good understanding of soap texture, also known as trace. In order to create a diagonal layer, the mold is propped up on one side and the soap is allowed to harden in the mold. Once it’s firm enough, the mold is set evenly on the counter and the remaining soap is layered on top. This requires the second and third layer of soap to stay thin and workable while the bottom layer hardens.
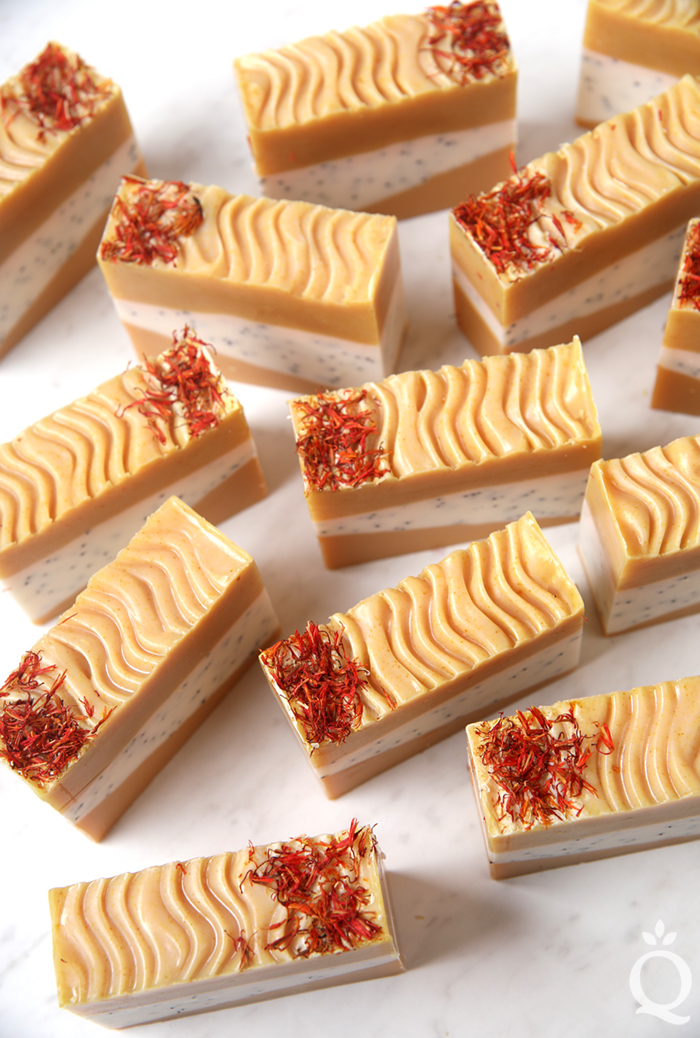
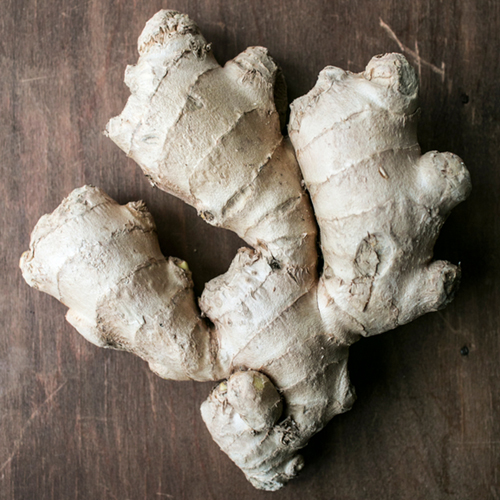
The ginger essential oil aids in the layering process. Because it accelerates, it helps the soap harden faster. The oil is added to each layer right before it’s poured into the mold, which creates firm bottom layers that are not disrupted as easily by the soap on top.
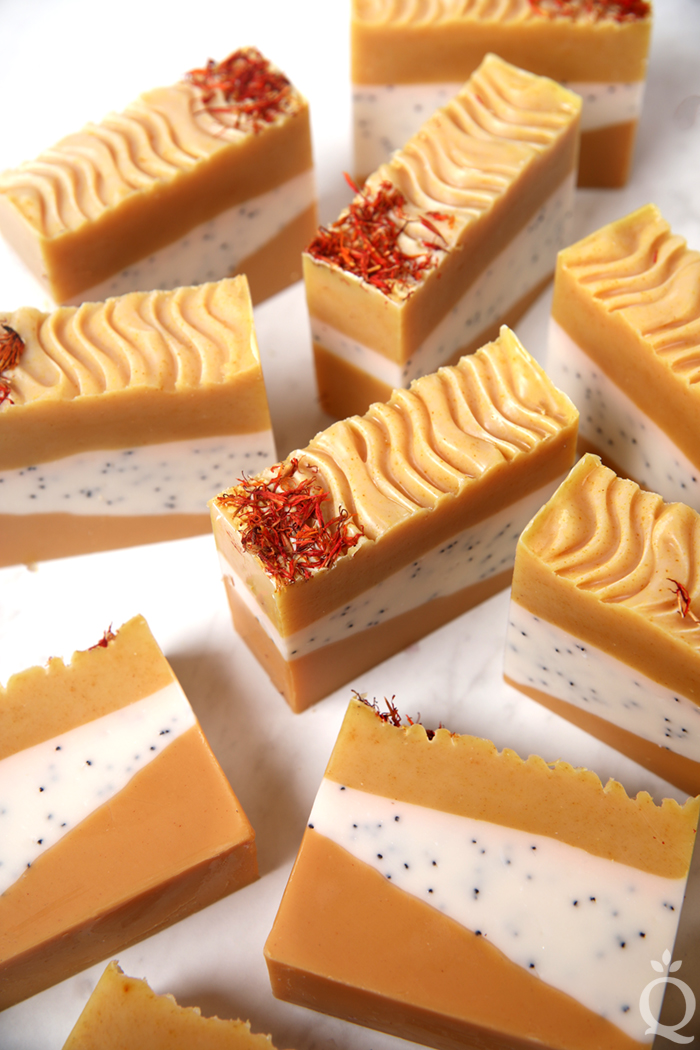
If you don’t have experience creating layers in cold process, we recommend getting a few basic layering recipes under your belt first. Good options include the Layered Handmade Soap Kit or the Pink Salt & Gold Cold Process Soap. Both have uneven layers, which are much easier to create. Even with lots of practice, we have a hard time making 100% straight layers – you’ll notice they’re not perfectly even in these bars.
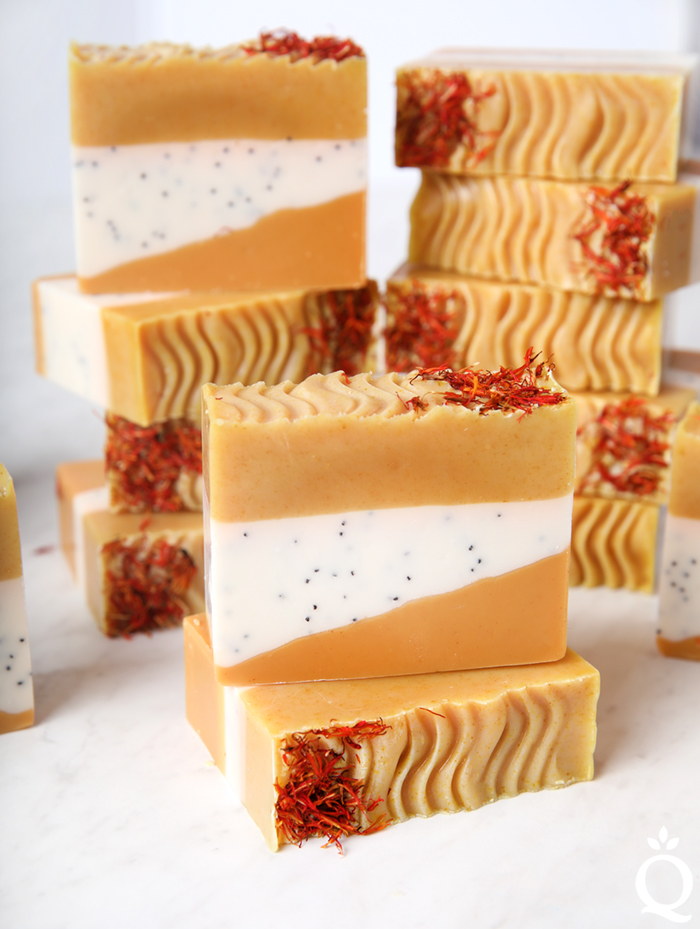
This recipe does contain a very small amount of ginger essential oil. Because it’s an expensive essential oil, we used the smallest amount possible while still being able to smell it in the final bar. The amount in this recipe does give a light ginger scent. If you want a stronger scent, feel free to use more according to the Bramble Berry Fragrance Calculator.
What You Need: Click below to add everything you need for this project to your Bramble Berry shopping cart!Safflower & Ginger Soap Tutorial
5 Pound Mold with Sliding Bottom
Silicone Liner for 5 lb. Wood Mold
12.8 oz. Babassu Oil (25%)
10.2 oz. Coconut Oil (20%)
15.3 oz. Olive Oil (30%)
2.6 oz. Shea Butter (5%)
10.2 oz. Sunflower Oil (20%)
7.4 oz. Sodium Hydroxide Lye
15.2 oz. Distilled Water (10% water discount)
1 oz. Ginger Essential Oil
Yellow Brazilian Clay
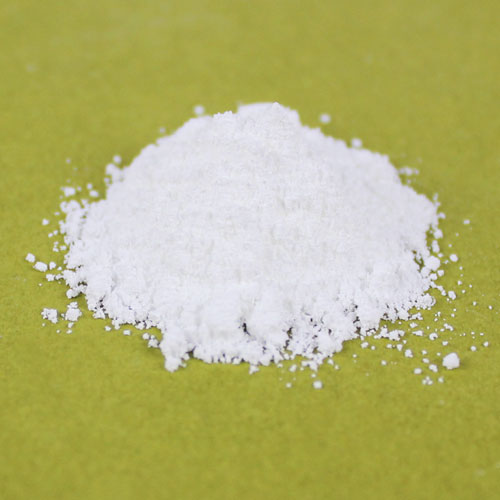
Titanium Dioxide
Safflower Powder
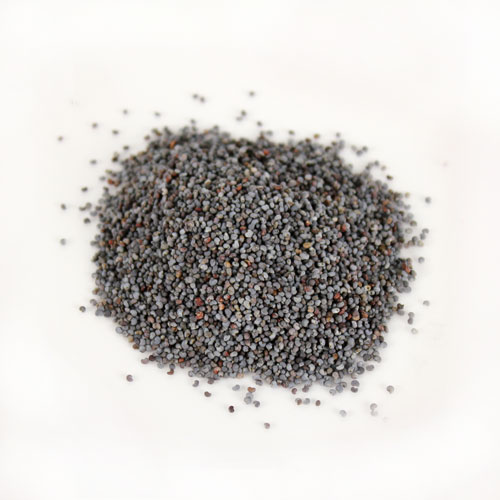
Poppy Seeds
Safflower Petals
If you’ve never made cold process soap before, stop here. We highly recommend checking out our FREE four part SoapQueen.tv series on cold process soapmaking, especially the episode on lye safety. And if you’d rather do some reading, Bramble Berry carries a wide range of books on the topic, including Pure Soapmaking. You can also check out the digital downloads for that instant gratification factor.
FRAGRANCE PREP: Measure 1 ounce of ginger essential oil into a small glass container and set aside.
COLORANT PREP: Disperse 1 teaspoon of the titanium dioxide into 1 tablespoon of sunflower or sweet almond oil (or any other liquid oil). Use a mini mixer to get rid of any clumps. In separate containers, mix 2 teaspoons of safflower powder into 1 tablespoon lightweight liquid oil. Finally, mix 2 teaspoons of yellow Brazilian clay into 2 tablespoons of distilled water. Use a mini mixer to get rid of any clumps. Have poppy seeds and safflower petals nearby.
Optional: To ensure the titanium dioxide blends smoothly into the soap batter, we recommend micronizing it before dispersing it in oil. Use a coffee grinder to break up any clumps of color and prevent streaks of white from showing in the final soap. We like to use a coffee grinder that has a removable stainless steel mixing area for easy cleaning.
SAFETY FIRST: Suit up for safe handling practices. That means goggles, gloves, and long sleeves. Make sure kids, pets, other distractions, and tripping hazards are out of the house or don’t have access to your soaping space. Always soap in a well-ventilated area.
ONE: Slowly and carefully add 7.4 ounces of lye to 15.2 ounces of water and gently stir until the lye has fully dissolved and the liquid is clear. Set aside to cool. If you’d like a harder bar of soap that releases faster from the mold, you can add sodium lactate to the cooled lye water. Use 1 teaspoon of sodium lactate per pound of oils in the recipe. For this recipe, you’d add 3 teaspoons sodium lactate.
TWO: In a large glass bowl, combine and melt the 10.2 ounces of coconut oil, 15.3 ounces of olive oil, 2.6 ounces of shea butter, 12.8 ounces of babassu oil, and 10.2 ounces of sunflower oil.
THREE: Once the lye water and the oils have cooled to 130 degrees F or below (and are ideally within 10 degrees of each other), add the lye water to the oils and stick blend until a very thin trace.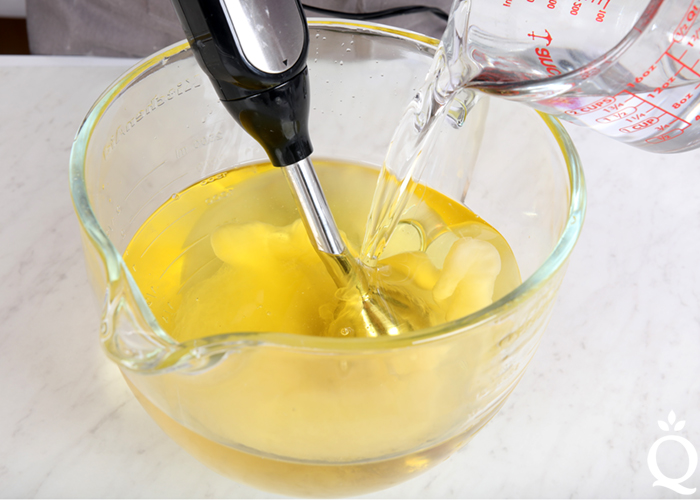
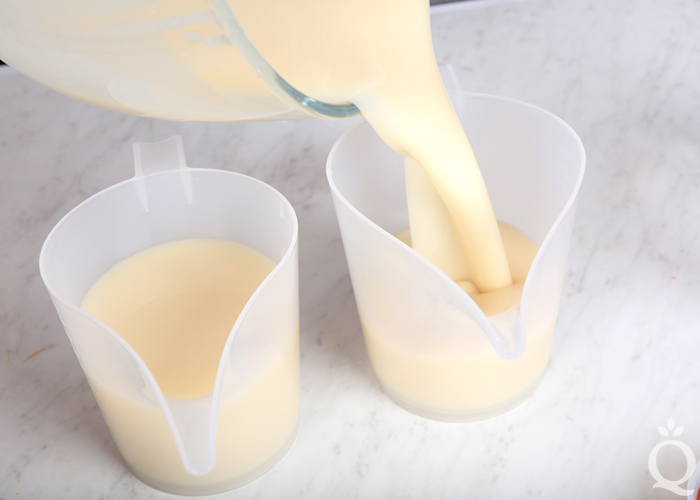
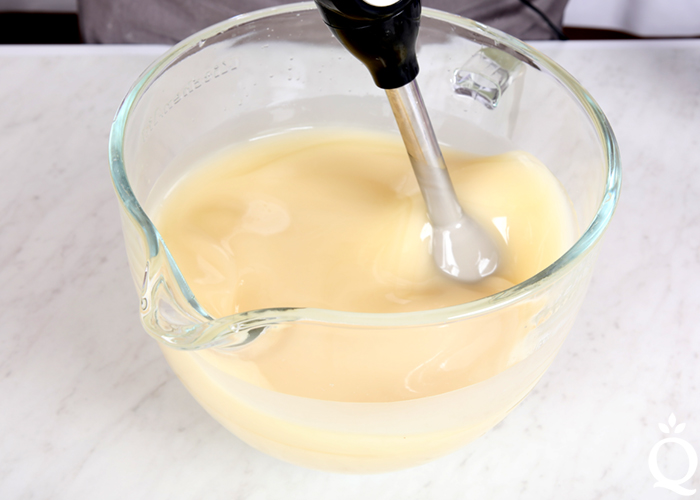 FOUR: Once the soap batter is at a thin trace, split off 600 mL into a separate container. Then, split the remaining soap evenly into two containers. They will hold about 750 mL each.
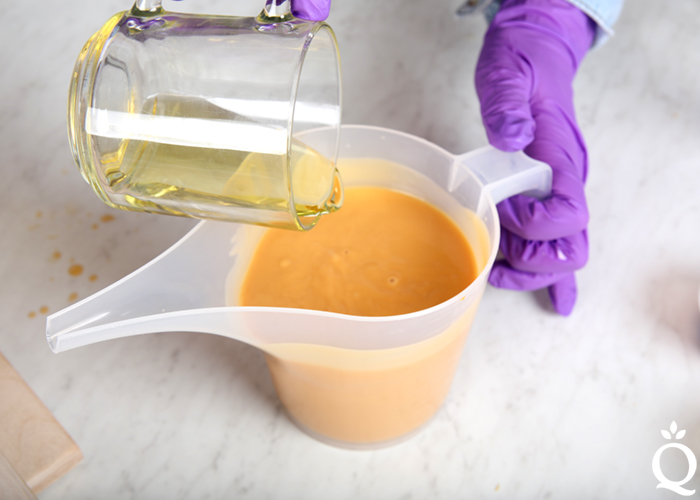
 FIVE: To the container with 600 mL of soap, add all of the dispersed yellow Brazilian clay and use a whisk to fully incorporate. Add 1/3 of the ginger essential oil (it’s okay to eyeball it). Whisk in.
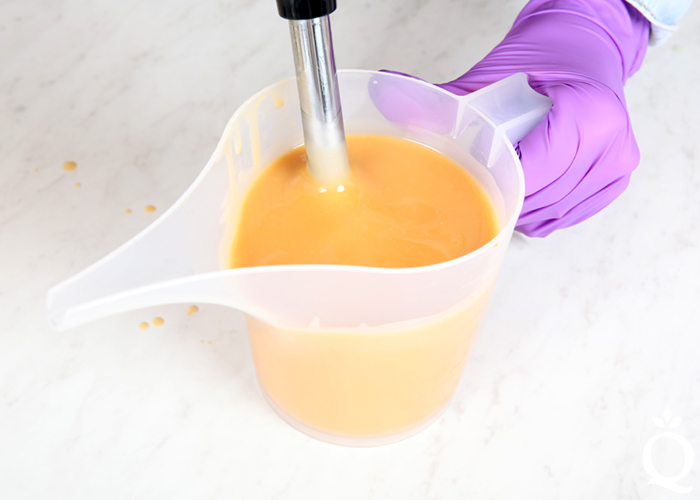
 SIX: If the mixture is still very thin, give it a few short bursts with the stick blender. The texture should be a thin-medium trace.
 SEVEN: The key to creating the diagonal layers is pouring the soap while the mold is slightly tilted. Set one side of the mold on an elevated surface to create an angle. We propped one side of the mold on the lid for the Tall Narrow Wood Loaf Mold. You can set the mold on any tool that gives it a slight angle and keeps it steady – towels work well.
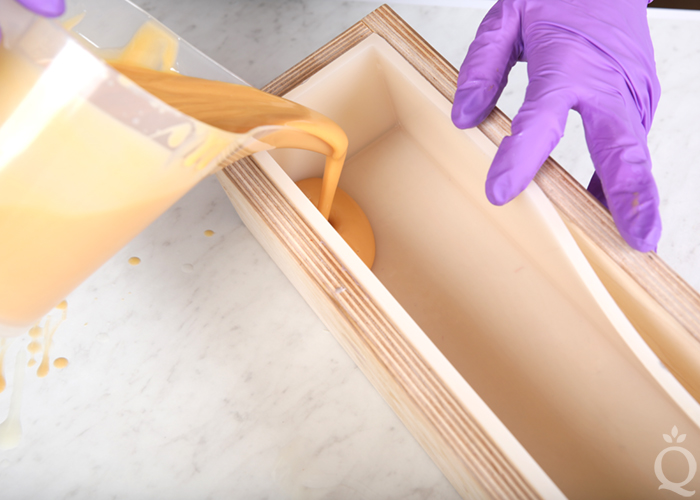
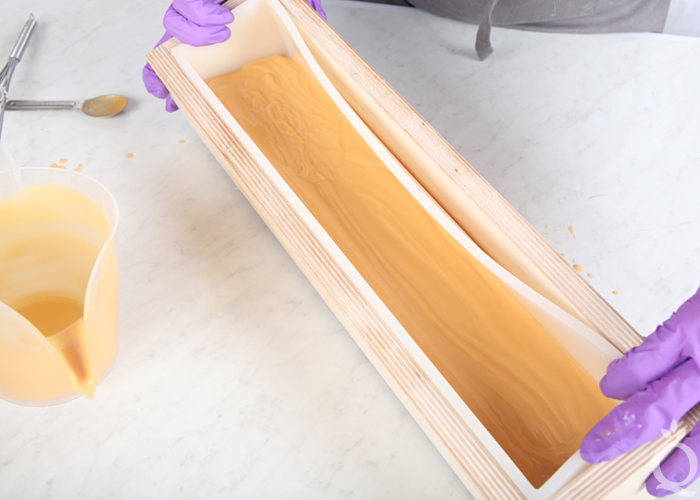
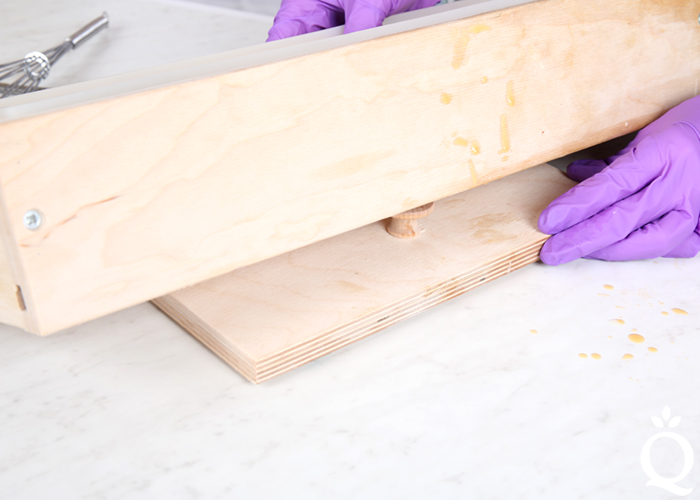 EIGHT: Pour all of the yellow soap into the mold into the bottom corner. Tap the mold on the counter to help settle the soap evenly, and use the back of a spoon to even out any ripples.
 NINE: Whisk in all of the dispersed titanium dioxide and 2 teaspoons of poppy seeds to one of the remaining containers of soap. Add all of the dispersed safflower powder to the other container.
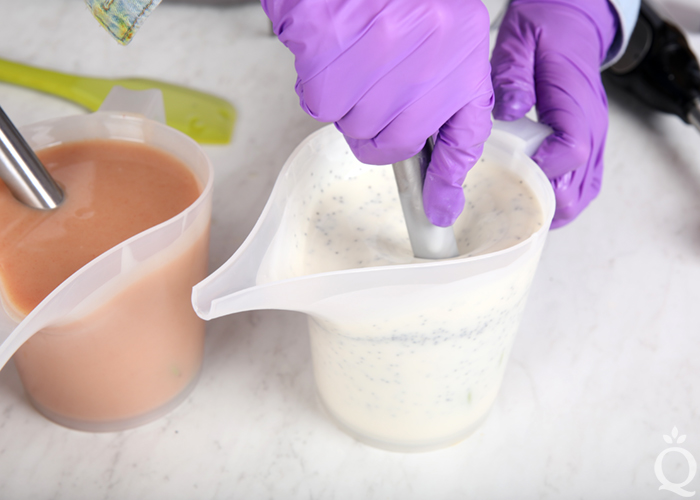 TEN: The bottom layer of soap needs to sit and harden for several minutes before pouring the white soap on top. It needs to be firm enough that when the mold is set evenly on the counter, it does not move. This can take several minutes. Once it’s firm enough, whisk in about 1/3 of the ginger essential oil to the white soap (it’s okay to eyeball it).
ELEVEN: Remove the lid and carefully set the mold on the flat work surface. Very carefully, pour the white soap over a spatula and on top of the bottom diagonal layer. Gently tap and wiggle the mold to help the white layer settle and evenly disperse.
TIP: Slowly pouring the soap over a flat tool like a spatula is referred to as “flooding.” This makes the pour less direct and prevents the soap from disrupting the layer below. We recommend the flooding technique when pouring the layers in this soap.
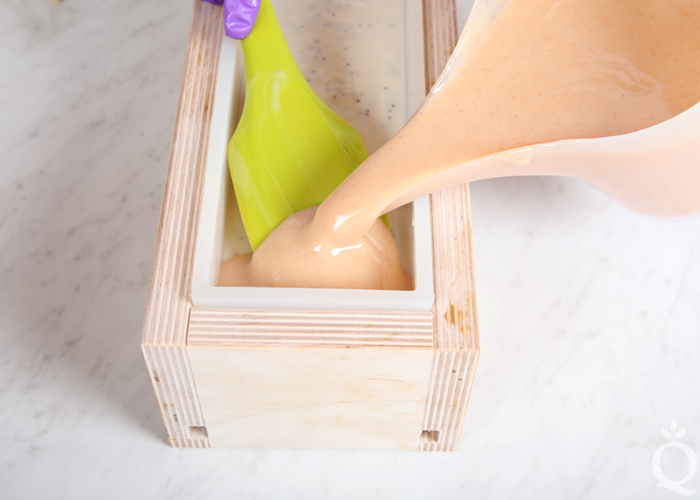
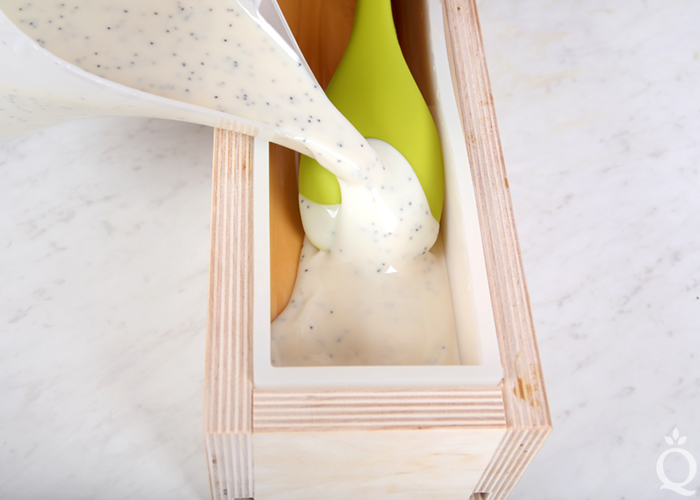 TWELVE: Allow the white soap to harden for several minutes. While it hardens, slowly whisk the remaining container of soap to help keep it fluid. Test the white layer by gently wiggling the mold. When the white layer has hardened and jiggles only very slightly, whisk the rest of the ginger essential oil into to the last container and slowly pour the remaining soap over a spatula and into the mold. Once all the soap has been poured into the mold, gently tap the mold on the counter to help disperse soap and get rid of bubbles.
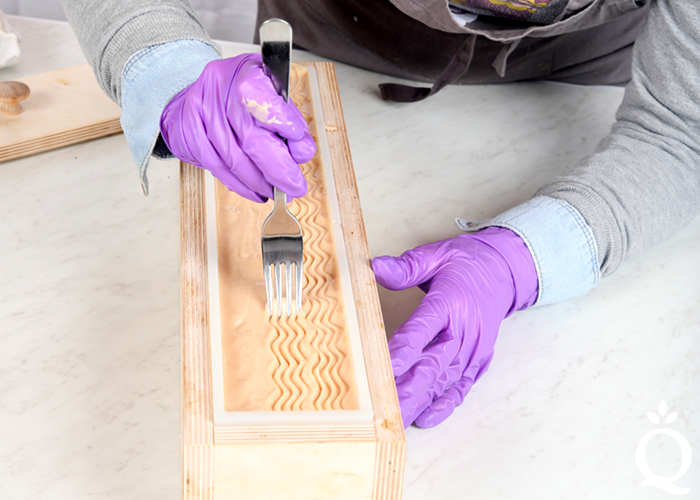
 THIRTEEN: Allow the soap to sit and harden in the mold for several minutes. It needs to be firm enough to create texture on top. Once it’s ready, use a fork to create waves on the very top of the soap, down the length of the mold. There is no right or wrong way to do this, just have fun with it. Watch us create the texture in this soap here.
 FOURTEEN: Once you’re happy with the top, place a strip of safflower petals down the length of the mold. We placed the safflower petals on one side to allow the wavy texture to show through. With gloved fingers, gently press the petals into the soap to help them stick.
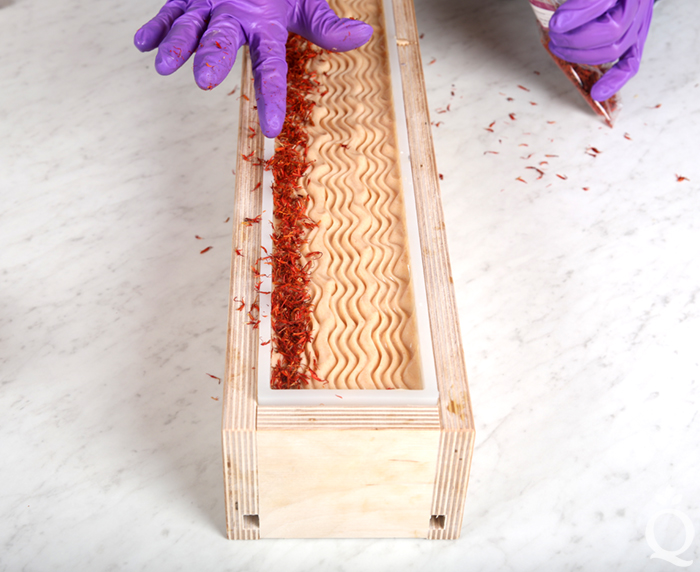 FIFTEEN: Spritz the top with 99% isopropyl alcohol to help prevent soda ash. Cover the top of the mold to help promote gel phase. If the soap does not go through gel phase that’s fine, but it helps the safflower powder become more vibrant. Allow the soap to stay in the mold for 1-2 days (soap umolds faster when it goes through gel phase). Unmold the soap and cut into bars. Allow them to cure for 4-6 weeks and enjoy.
- 5 Pound Mold with Sliding Bottom
- Silicone Liner for 5 lb. Wood Mold
- 12.8 oz. Babassu Oil (25%)
- 10.2 oz. Coconut Oil (20%)
- 15.3 oz. Olive Oil (30%)
- 2.6 oz. Shea Butter (5%)
- 10.2 oz. Sunflower Oil (20%)
- 7.4 oz. Sodium Hydroxide Lye
- 15.2 oz. Distilled Water (10% water discount)
- 1 oz. Ginger Essential Oil
- Yellow Brazilian Clay
- Titanium Dioxide
- Safflower Powder
- Poppy Seeds
- Safflower Petals
- Slowly and carefully add 7.4 ounces of lye to 15.2 ounces of water and gently stir until the lye has fully dissolved and the liquid is clear. Set aside to cool. If you’d like a harder bar of soap that releases faster from the mold, you can add sodium lactate to the cooled lye water. Use 1 teaspoon of sodium lactate per pound of oils in the recipe. For this recipe, you’d add 3 teaspoons sodium lactate.
- In a large glass bowl, combine and melt the 10.2 ounces of coconut oil, 15.3 ounces of olive oil, 2.6 ounces of shea butter, 12.8 ounces of babassu oil, and 10.2 ounces of sunflower oil.
- Once the lye water and the oils have cooled to 130 degrees F or below (and are ideally within 10 degrees of each other), add the lye water to the oils and stick blend until a very thin trace.
- Once the soap batter is at a thin trace, split off 600 mL into a separate container. Then, split the remaining soap evenly into two containers. They will hold about 750 mL each.
- To the container with 600 mL of soap, add all of the dispersed yellow Brazilian clay and use a whisk to fully incorporate. Then add about ⅓ of the ginger essential oil (it’s okay to eyeball it). Whisk in.
- If the mixture is still very thin, give it a few short bursts with the stick blender. The texture should be a thin-medium trace.
- The key to creating the diagonal layers is pouring the soap while the mold is slightly tilted. Set one side of the mold on an elevated surface to create an angle. We propped one side of the mold on the lid for the Tall Narrow Wood Loaf Mold. You can set the mold on any tool that gives it a slight angle and keeps it steady – towels work well.
- Pour all of the yellow soap into the mold into the “bottom” corner. Tap the mold on the counter to help settle the soap evenly, and use the back of a spoon to even out any ripples.
- Whisk in all of the dispersed titanium dioxide and 2 teaspoons of poppy seeds to one of the remaining containers of soap. Add all of the dispersed safflower powder to the other container.
- The bottom layer of soap needs to sit and harden for several minutes before pouring the white soap on top. It needs to be firm enough that when the mold is set evenly on the counter, it does not move. This can take several minutes. Once it’s firm enough, whisk in about ⅓ of the ginger essential oil to the white soap (it’s okay to eyeball it).
- Remove the lid and carefully set the mold on the flat work surface. Very carefully, pour the white soap over a spatula and on top of the bottom diagonal layer. Gently tap and wiggle the mold to help the white layer settle and evenly disperse. Slowly pouring the soap over a flat tool like a spatula is referred to as “flooding.” This makes the pour less direct and prevents the soap from disrupting the layer below. We recommend the flooding technique when pouring the layers in this soap.
- Allow the white soap to harden for several minutes. While it hardens, slowly whisk the remaining container of soap to help keep it fluid. Test the white layer by gently wiggling the mold. When the white layer has hardened and jiggles only very slightly, whisk the rest of the ginger essential oil into the last container and slowly pour the remaining soap over a spatula and into the mold. Once all the soap has been poured into the mold, gently tap the mold on the counter to help disperse soap and get rid of bubbles.
- Allow the soap to sit and harden in the mold for several minutes. It needs to be firm enough to create texture on top. Once it’s ready, use a fork to create waves on the very top of the soap, down the length of the mold. There is no right or wrong way to do this, just have fun with it.
- Once you’re happy with the top, place a strip of safflower petals down the length of the mold. We placed the safflower petals on one side to allow the wavy texture to show through. With gloved fingers, gently press the petals into the soap to help them stick.
- Spritz the top with 99% isopropyl alcohol to help prevent soda ash. Cover the top of the mold to help promote gel phase. If the soap does not go through gel phase that’s fine, but it helps the safflower powder become more vibrant. Allow the soap to stay in the mold for 1-2 days (soap umolds faster when it goes through gel phase). Unmold the soap and cut into bars. Allow them to cure for 4-6 weeks and enjoy.


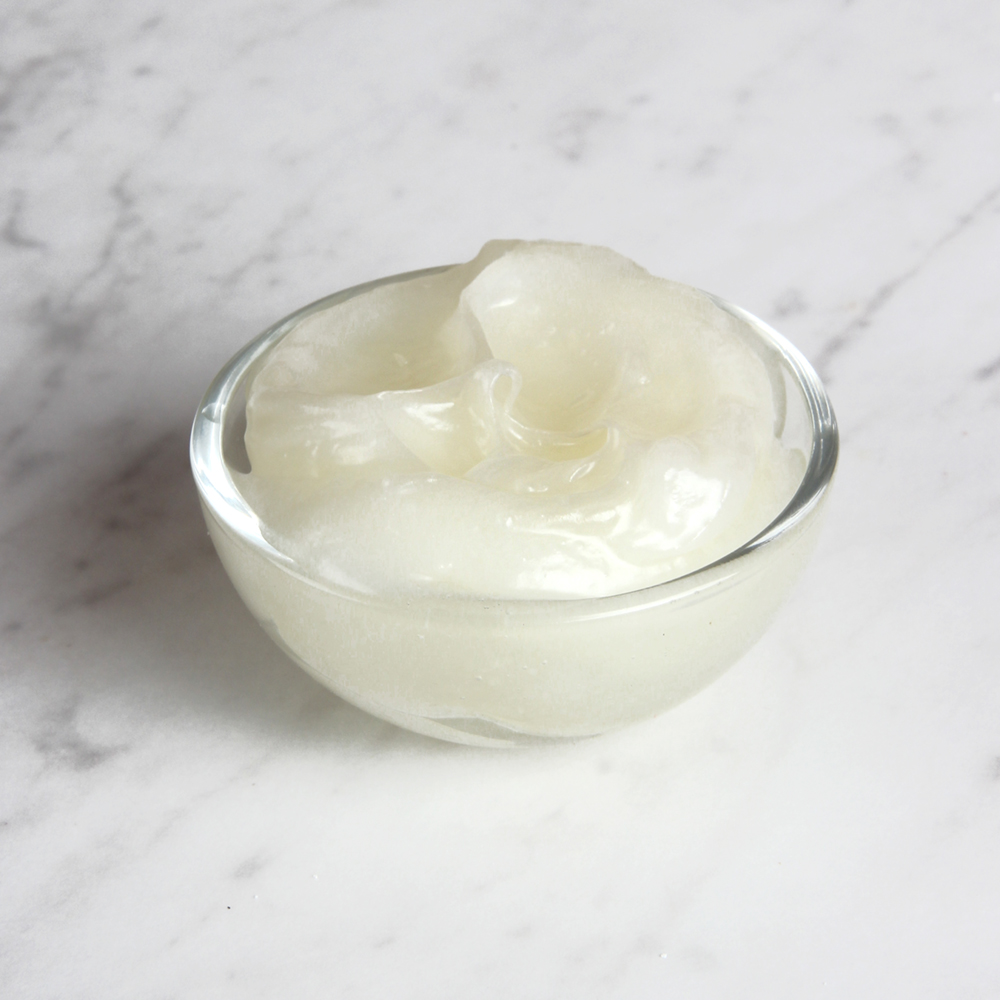
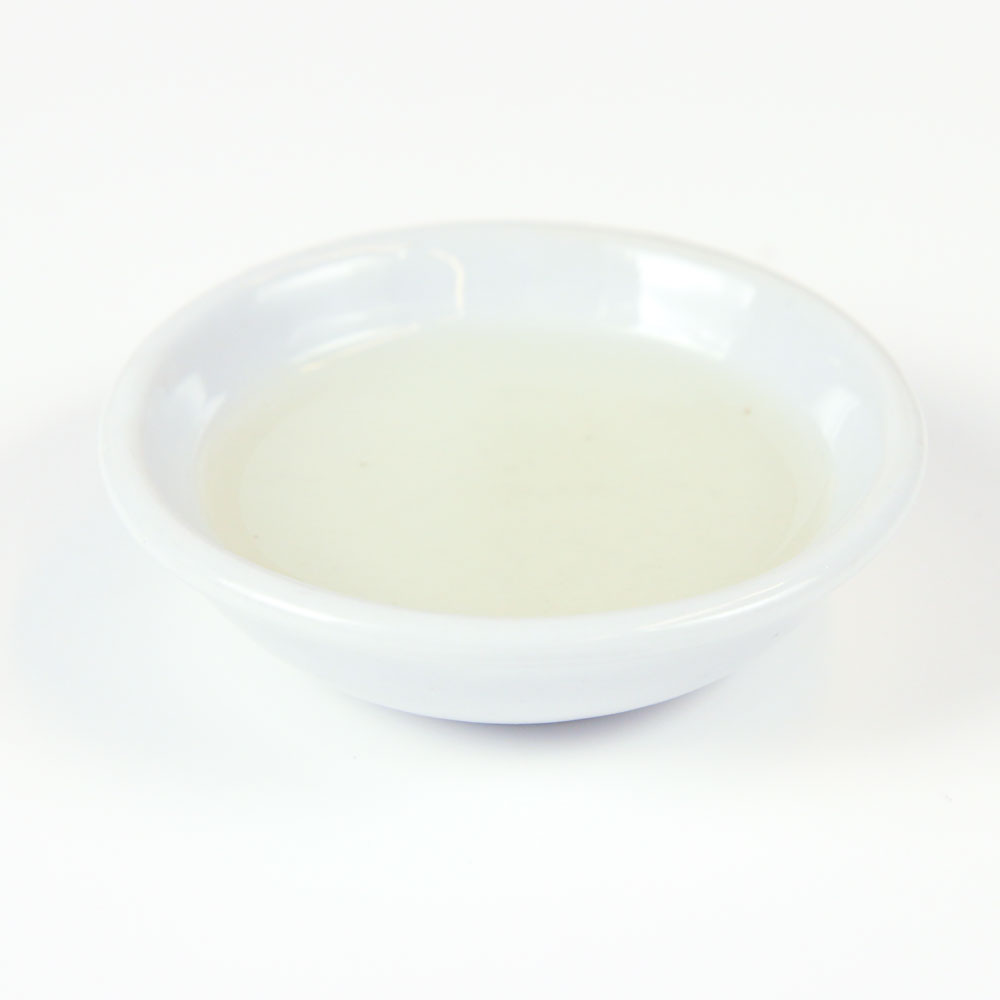
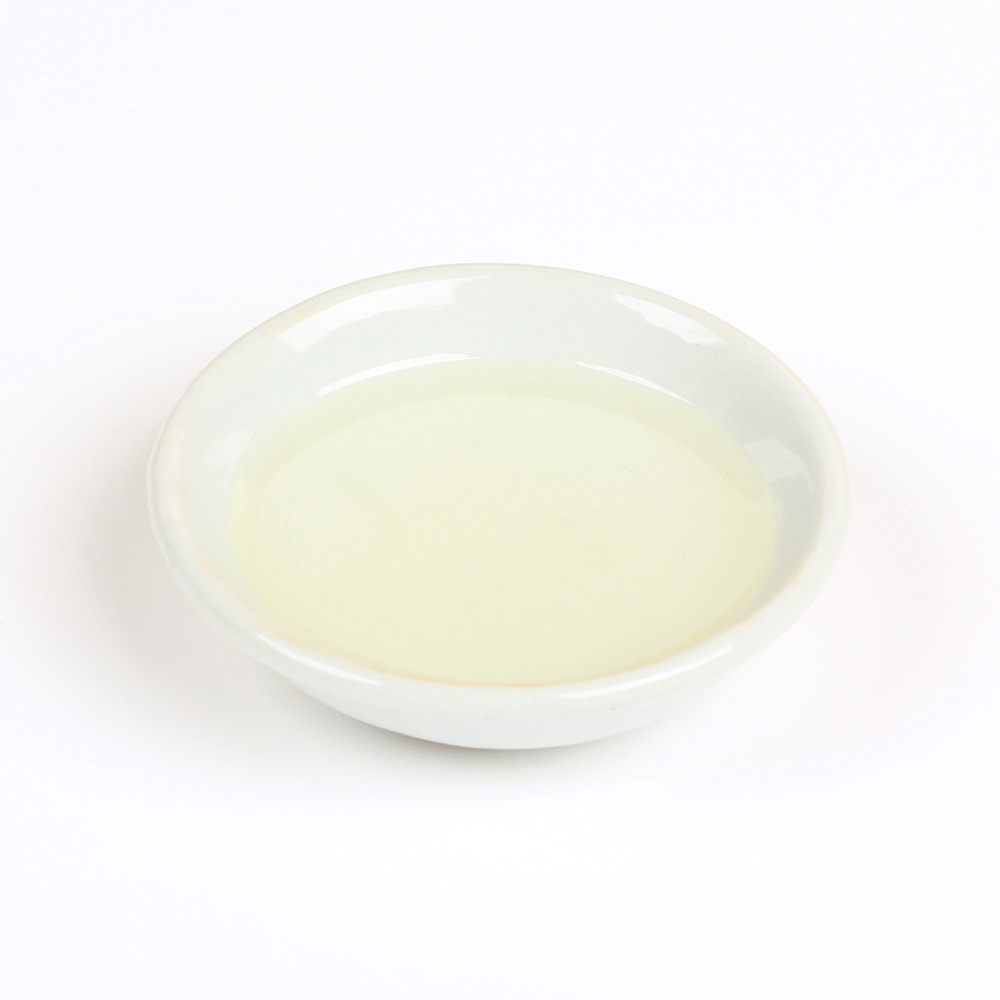
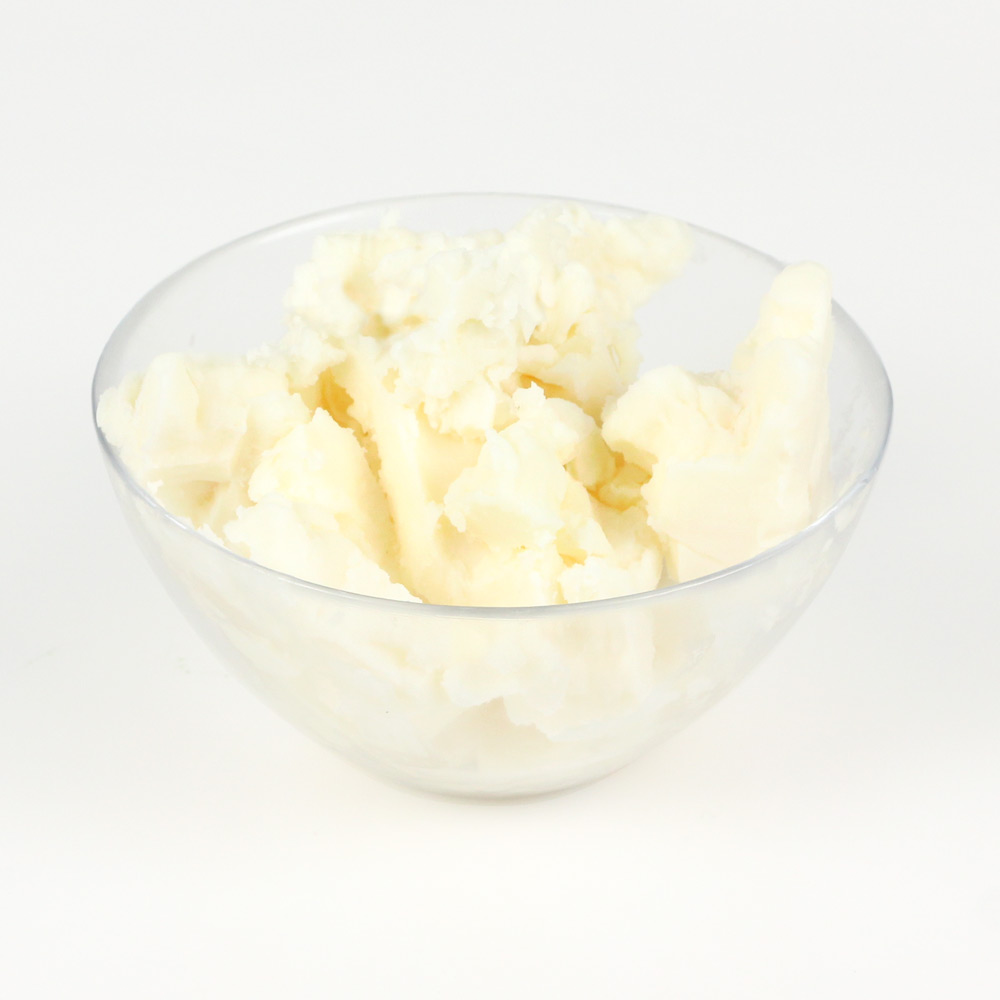



25% Babassu and 20% Coconut oil? That’s going to make one heck of a cleansing bar consider Babassu Oil is usually a substitute for Coconut oil. Is this a typo or did you mean to use Babassu at 25% and instead of coconut @20% maybe Palm oil &20%. Just curious.
Yes, those are the correct amounts. We used the babassu as a palm oil replacement and we find the bars feel cleansing but not too harsh on the skin. If you prefer a more moisturizing bar, you can reduce the coconut and babassu and add more olive oil.
Can we remove the coconut oil completely and just use 45% babassu oil? I have sensitivities to coconut oil and are looking to create recipes without it.
We don’t typically recommend babassu any higher than 1/3 total of the recipe. I would more recommend substituting Palm Oil or a mix between more Babassu and Olive instead.
Hi
If I don’t have Babassu oil what is the substitution for this oil?
Thank you
RosyBlanco
You can use tallow, lard, or palm oil in place of babassu: https://www.brambleberry.com/Palm-Oil-P3210.aspx
Remember to run that recipe through the Lye Calculator after any substitutions: https://www.brambleberry.com/Pages/Lye-Calculator.aspx
It’s always good to see a new soap and recipe. Even if I don’t follow it exactly, I get ideas here and I always give soapqueen credit. One tip for even lines in cold process layers with a tilted mold: do separate batches. You have essentially 3 soaps here so do 3 separate batches. The bottom layer is a batch and pour it thin so it has a smooth surface. While that is setting up, mix your lye and heat your oils for layer 2. While they cool, the bottom layer will harden smoothly and accept layer 2. Do the same for the top. I have done that many times for layers that look more like the sharp lines in melt and pour. Keep the same recipe and the layers will adhere to each other with no other actions needed. Thanks for the ideas!
Works for me, too! Or to save measuring time, once I have all my oils measured/melted and lye water cooled, I just divide them into two or three parts each (depending on the number of layers you want)….by weight, not volume, to be sure they are exactly divided. I mix one part, pour and shape as desired. Once it has nicely set up, I mix and pour the next portion, etc. Works well for crisp lines or intentionally uneven ones, such as a “sand” layer at the bottom of a beach themed
loaf.
Thanks for the tips Lee and Eric, that’s definitely an option for crisp layers.