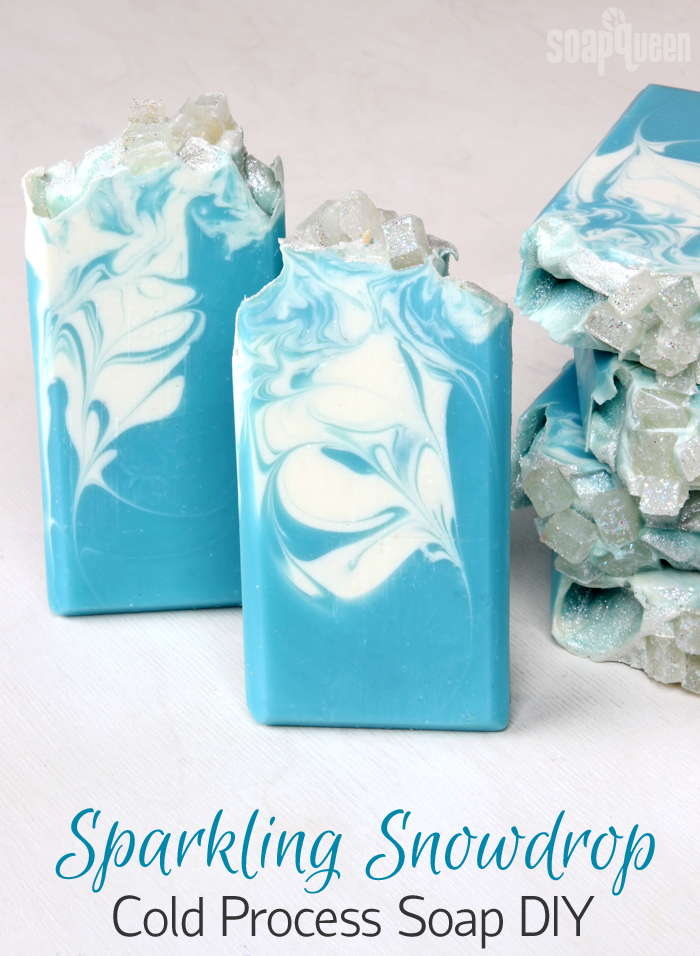
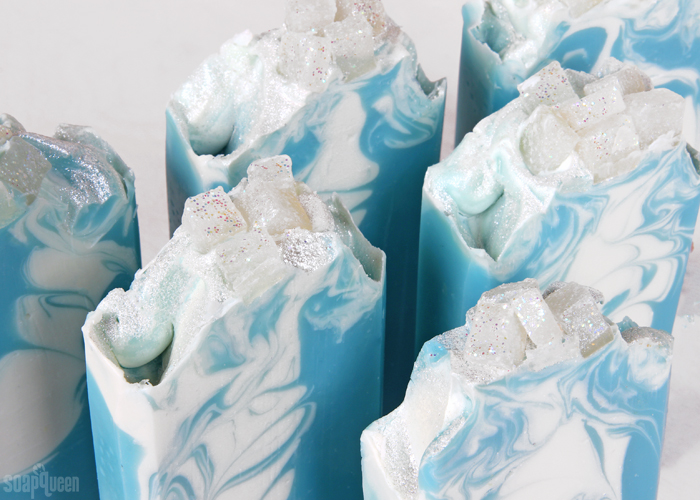
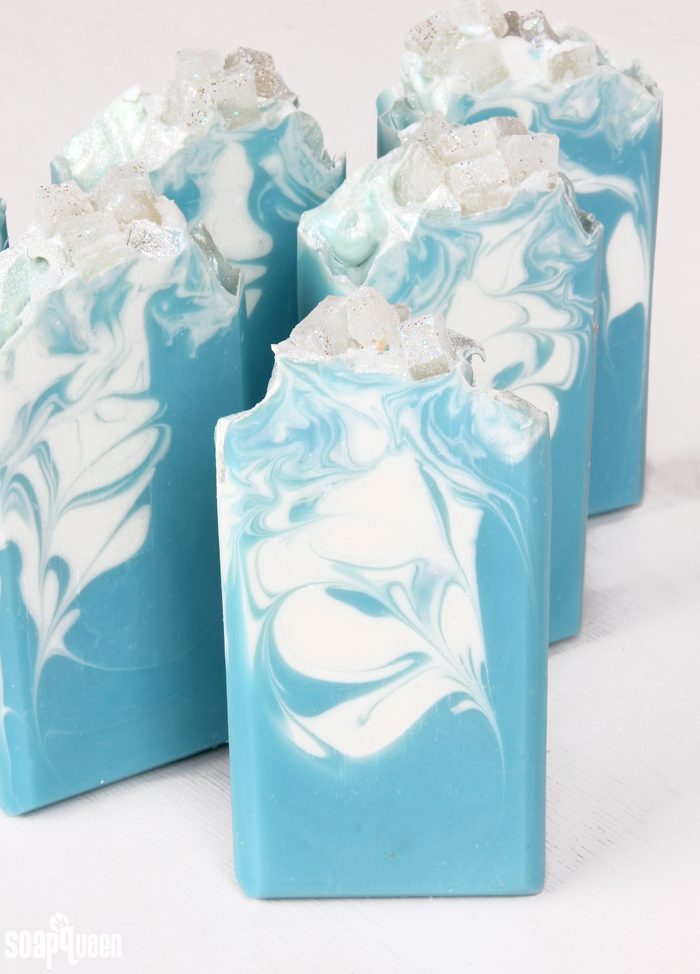
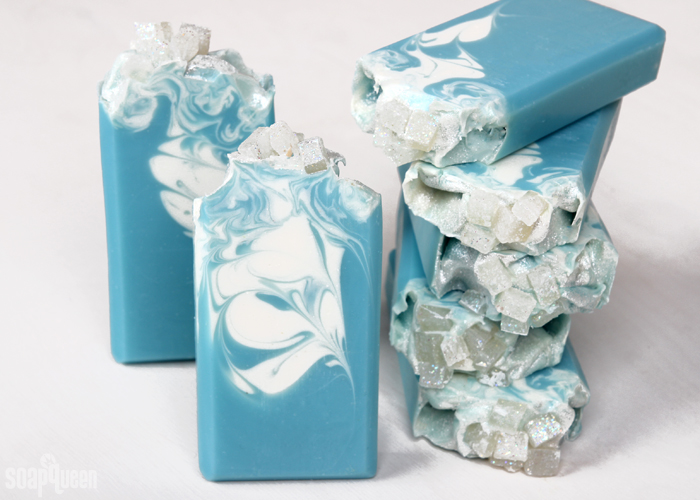
Remember when the movie Frozen was everywhere? If you have young children, it still may be a huge part of your life! =) These Sparkling Snowdrop Soaps remind me of an ice princess, à la Elsa from Frozen. They are made in the Tall Narrow Wood Loaf Mold to create the skinny shape. The design is created with a mixture of the drop swirl technique and the butterfly swirl made popular by Zahida from Handmade in Florida and Soaps From Home. The top is sprinkled with Snowflake Sparkle Mica and melt and pour embeds for an icy look.
This project does involve advanced techniques and a keen understanding of trace. If the trace is too thin, the colors will muddle together. If the trace is too thick, the white and blue will not swirl properly. The new Sparkling Snowdrop Fragrance Oil does accelerate soap slightly. Add it to the batter at the very last second to avoid a trace that’s too thick. If you’d like to learn more about trace and how to manipulate it, click here.
What You’ll Need:
Embeds:
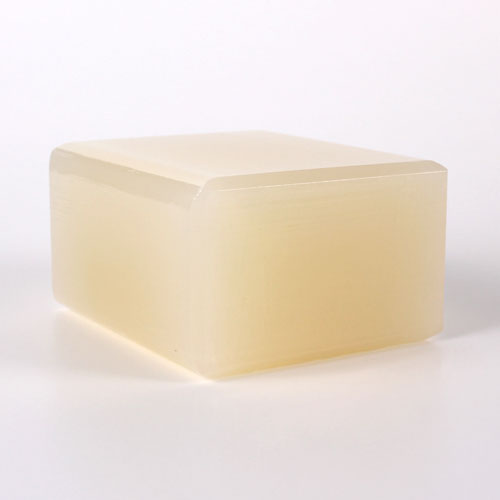
6 oz. LCP Clear Melt and Pour
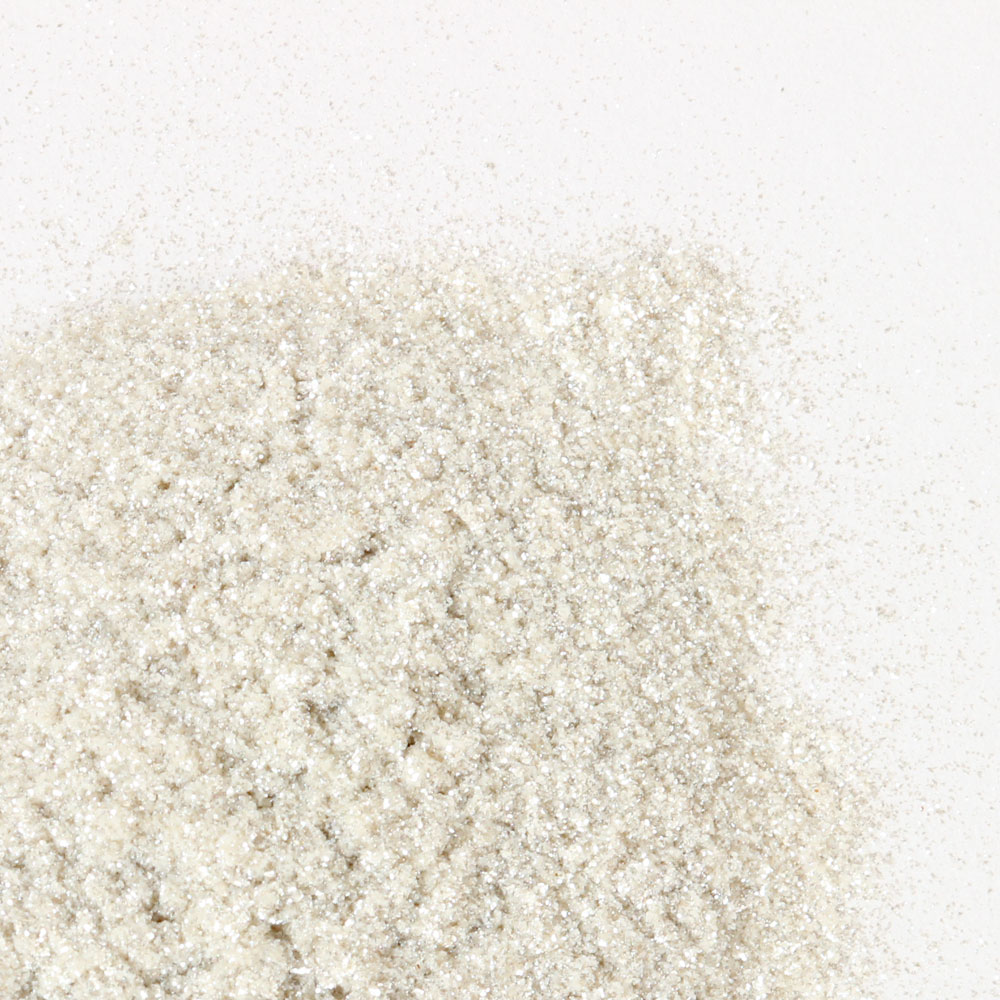
Snowflake Sparkle Mica
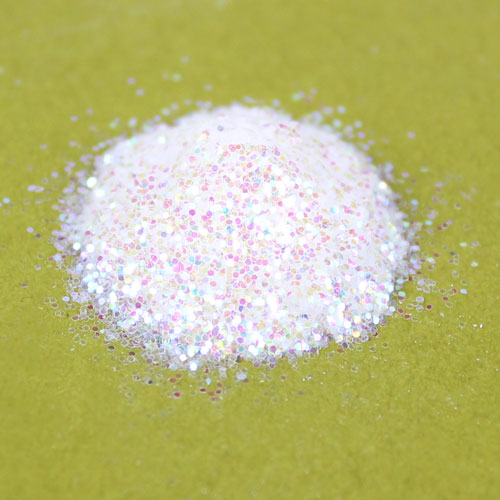
Iridescent Glitter
*Mold of choice (I used 4″ Silicone Loaf Mold)
Base:
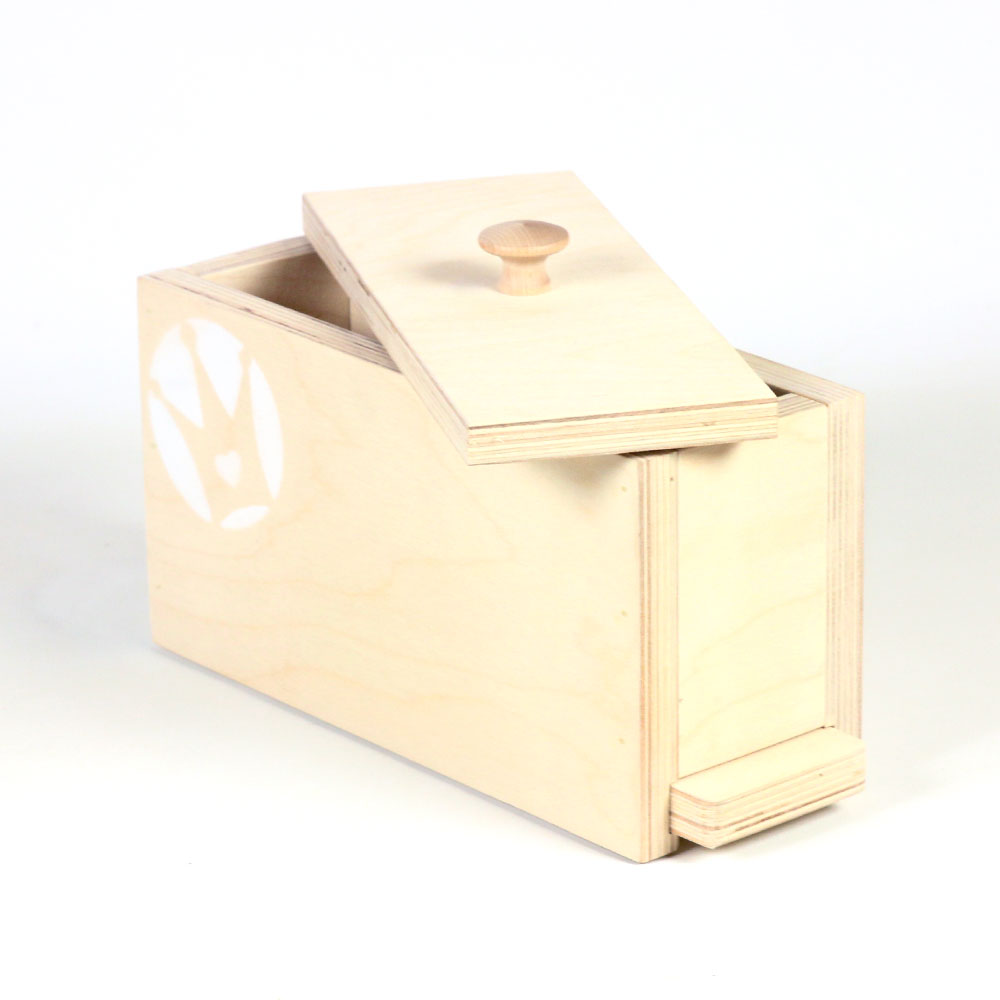
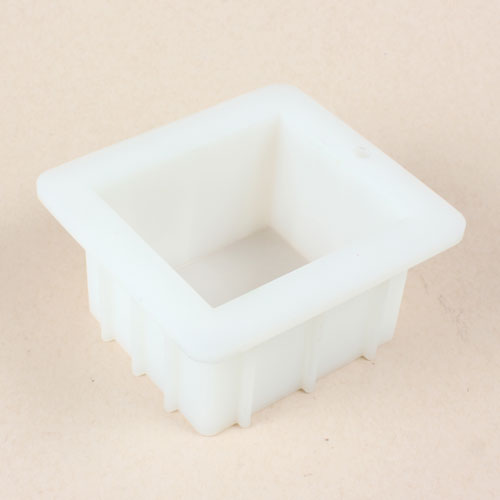
Tall Narrow Wood Loaf Mold
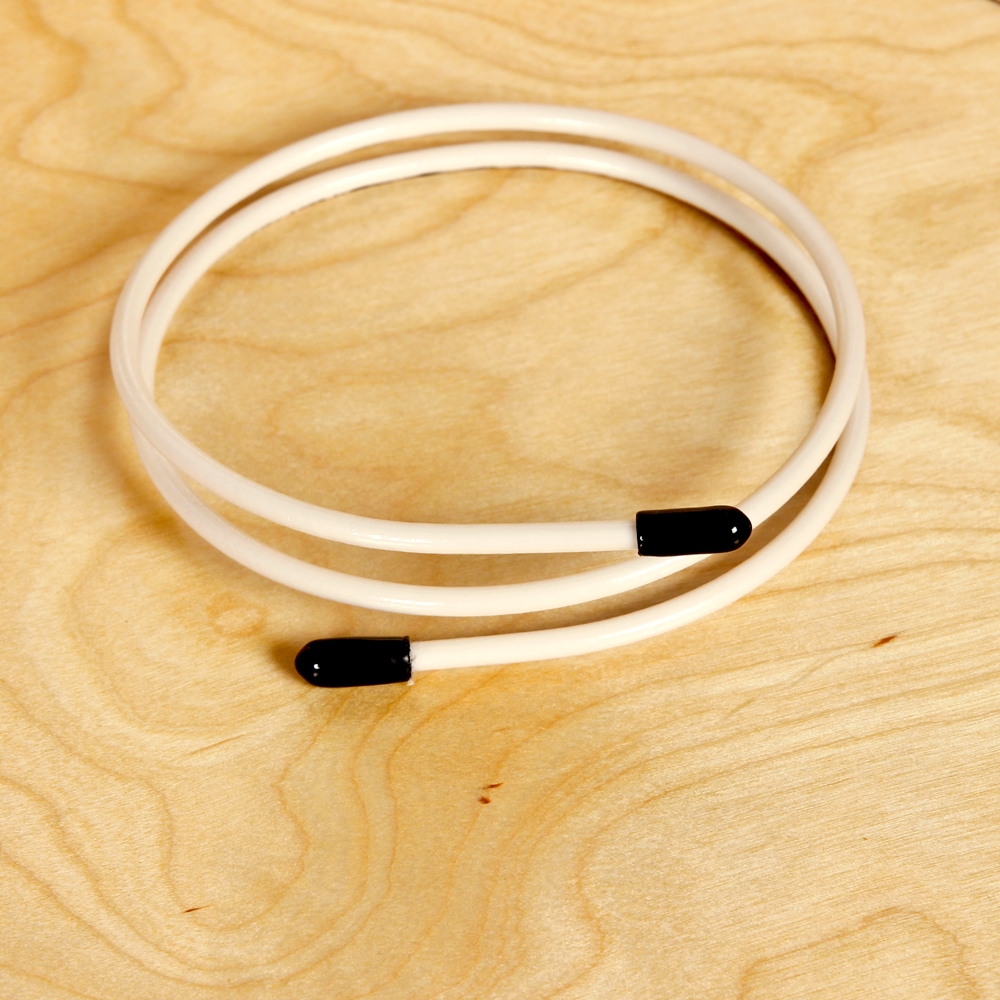
Hanger Swirl Tool
45 oz. Swirl Quick Mix
6.2 oz. Sodium Hydroxide Lye
14 oz. Distilled Water
2 oz. Sparkling Snowdrop Fragrance Oil
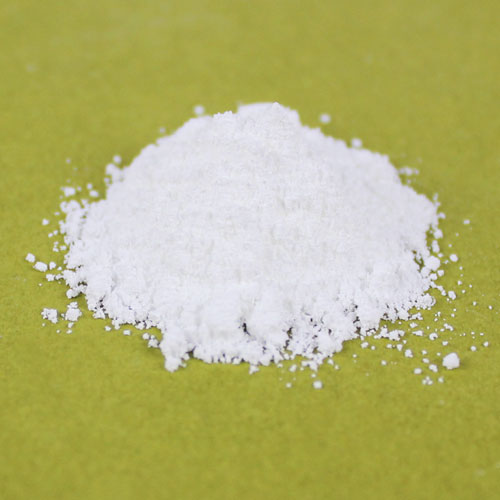
Titanium Dioxide
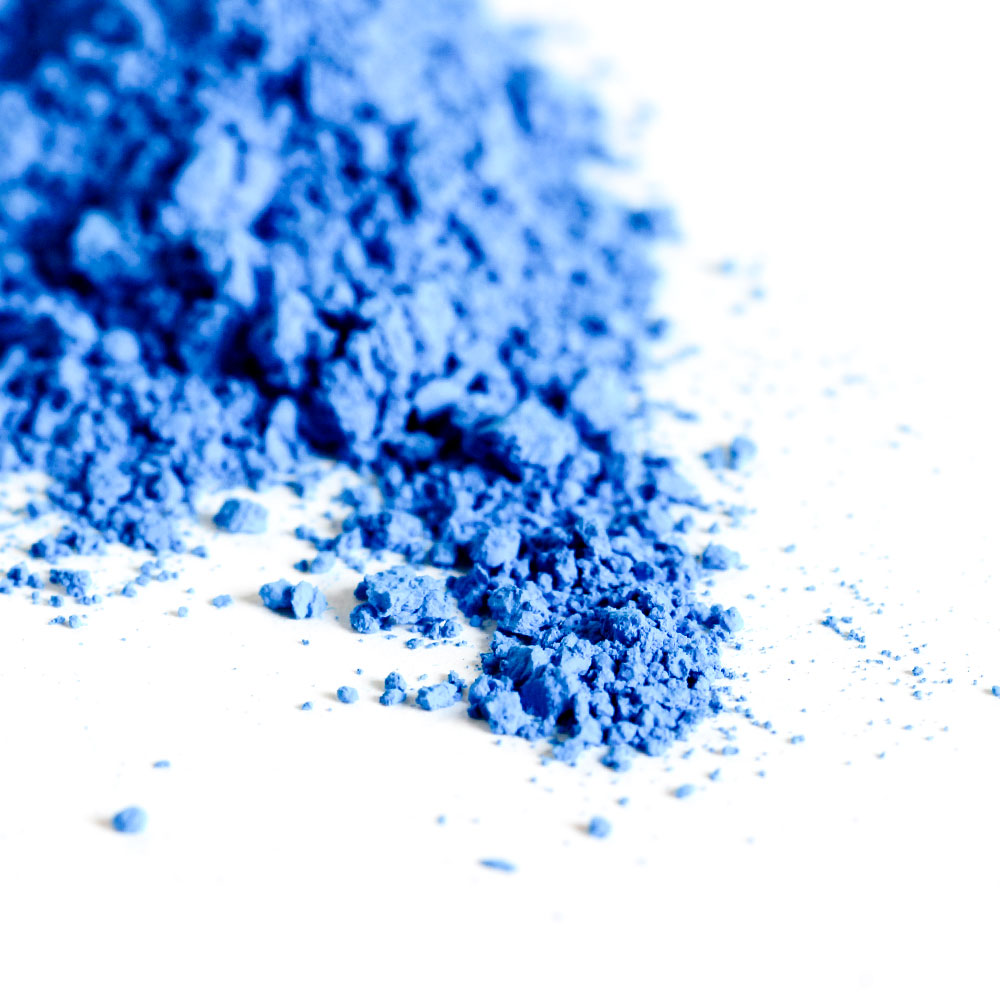
Zippy Blue Pigment
Snowflake Sparkle Mica

Click here to add everything you need for this project to your Bramble Berry shopping cart!
Make the Embeds:
ONE: Chop and melt 6 ounces of LCP Clear Melt and Pour Soap in the microwave using 10 second bursts. Pour into a small, flat mold. I used the 4″ Silicone Loaf Mold, but you can use whatever you have on hand. Other good options would be the 6″ Silicone Slab Mold or cavities in the 12 Bar Square Silicone Mold. Allow to fully cool and harden.
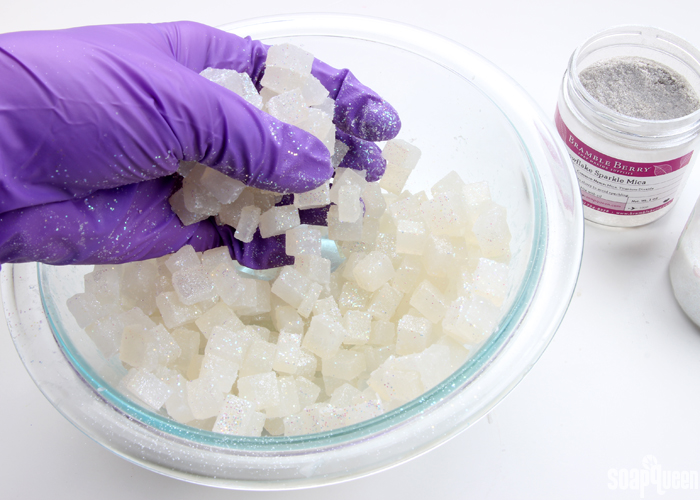
TWO: Once the melt and pour has fully cooled and hardened, remove from the mold and chop into small squares. Cover them in Snowflake Sparkle Mica and Iridescent Glitter until you’re happy with the amount of sparkle. Set the embeds aside and prep the cold process soap.
Make the Base:
If you’ve never made Cold Process soap before, stop here! I highly recommend checking out our FREE four part SoapQueen.tv series on Cold Process Soapmaking, especially the episode on lye safety. And if you’d rather do some reading, Bramble Berry carries a wide range of books on the topic, including my newest book, Pure Soapmaking. You can also checkout the digital downloads for that instant gratification factor.
SAFETY FIRST: Suit up for safe handling practices! That means goggles, gloves and long sleeves. Make sure kids, pets, and other distractions and tripping hazards are out of the house or don’t have access to your soaping space. Always soap in a well-ventilated area.
COLOR PREP: To ensure that the Titanium Dioxide blends smoothly into the soap batter, we recommend micronizing it before dispersing it in oil. Please note this is an optional tip but it does help with the titanium dioxide clumping in the soap. To micronize colorant, simply use a coffee grinder to blend the colorant to break up any clumps of color and prevent streaks of white from showing in the final soap. We like to use a coffee grinder that has a removable, stainless steel mixing area for easy cleaning. Then, disperse 1 teaspoons of the colorant into 1 tablespoons of sunflower or sweet almond oil (or any other liquid oil). Then in a separate container, disperse 1/2 teaspoon Zippy Blue Pigment into 1/2 tablespoon lightweight liquid oil. Use a mini mixer to help get rid of any clumps.
FRAGRANCE PREP: Measure 2 ounces of Sparkling Snowdrop Fragrance Oil into a glass, fragrance oil safe container. Set aside.
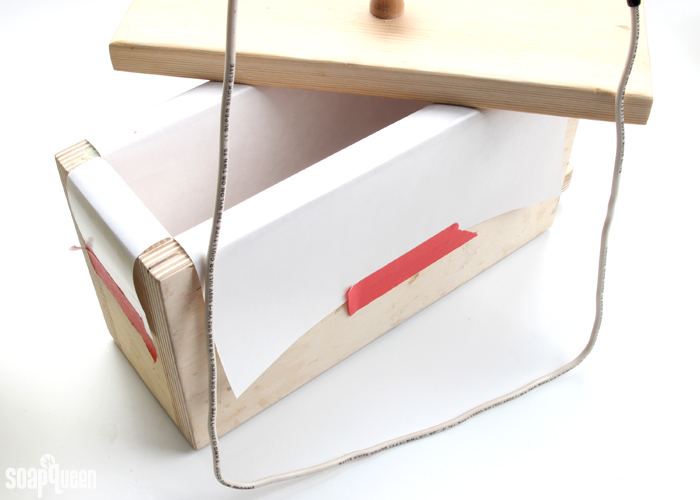
MOLD & TOOL PREP: Line the Tall Narrow Wood Loaf Mold with freezer paper with the shiny side up. For tips on how to line the mold, click here. Bend your Hanger Tool so it fits the mold perfectly by length.
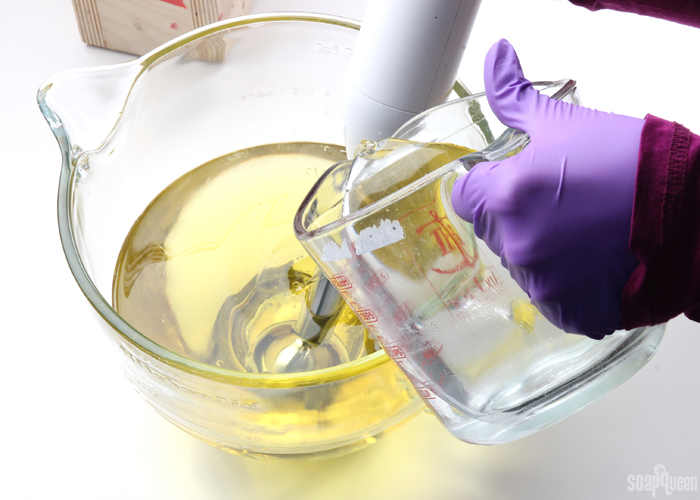
 ONE: Slowly and carefully add the lye to the water and gently stir until the lye has fully dissolved and the liquid is clear. Set aside to cool.
TWO: Fully melt the entire bag of Swirl Recipe Quick mix until completely clear and there is no cloudiness. Shake the bag to mix up all the oils. Measure 45 oz. into your soaping bowl. Once the lye water and the oils have cooled to 130 degrees or below (and are ideally within 10 degrees of each other), add the lye water to the oils and stick blend until thin trace. If you’d like a harder bar of soap that releases faster from the mold, you can add sodium lactate to the cooled lye water. Use 1 teaspoon of sodium lactate per pound of oils in the recipe. For this recipe, you’d add about 2.5 tsp. sodium lactate.
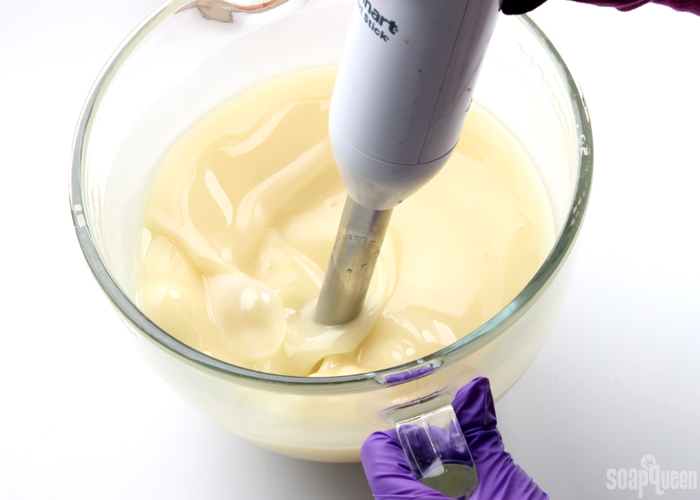
THREE: Once you have a thin trace, split off 400 mL of soap into a separate container. Add all the dispersed titanium dioxide. Use a whisk to mix in the colorant, and give it a short burst or two with the stick blender to help break up any chunks of colorant.
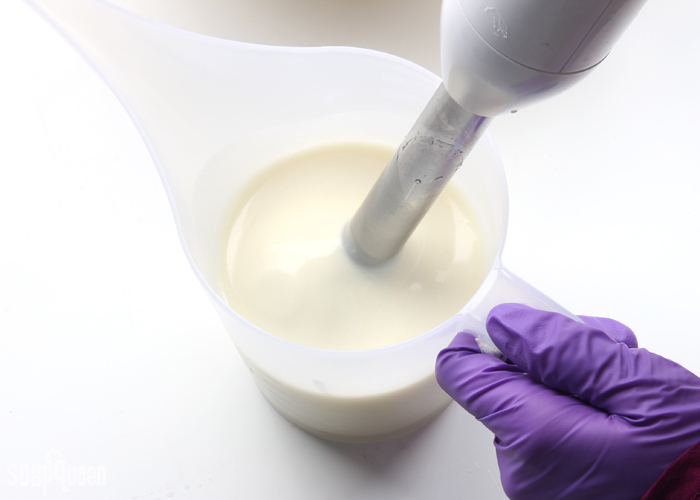 FOUR: To the remaining soap, add 1 teaspoon of dispersed Zippy Blue Pigment. Mix in with a whisk. Give the mixture a few short bursts with the stick blender to fully mix in and develop trace.
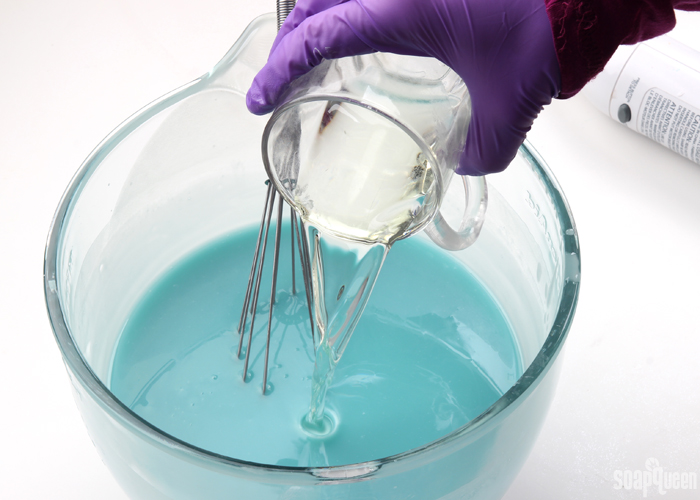
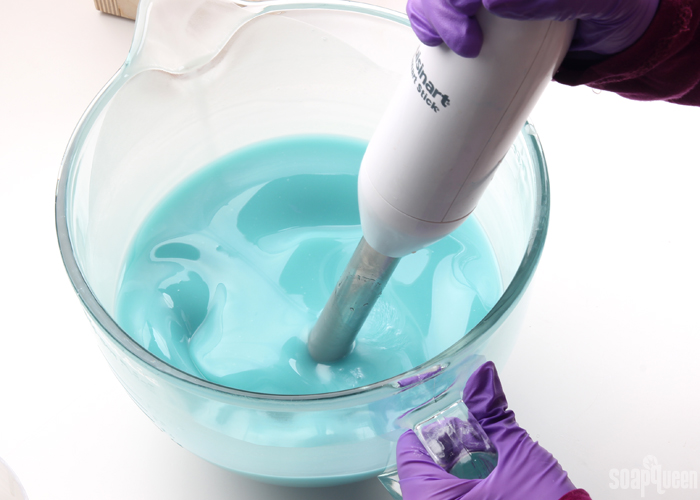 FIVE: Add the Sparkling Snowdrop Fragrance Oil to each container proportionally. It’s okay to eyeball it. Use a whisk to fully mix in the fragrance oil. At this point, the trace should be thin to medium. If it’s still extremely thin, give the blue soap a few short bursts with the stick blender.
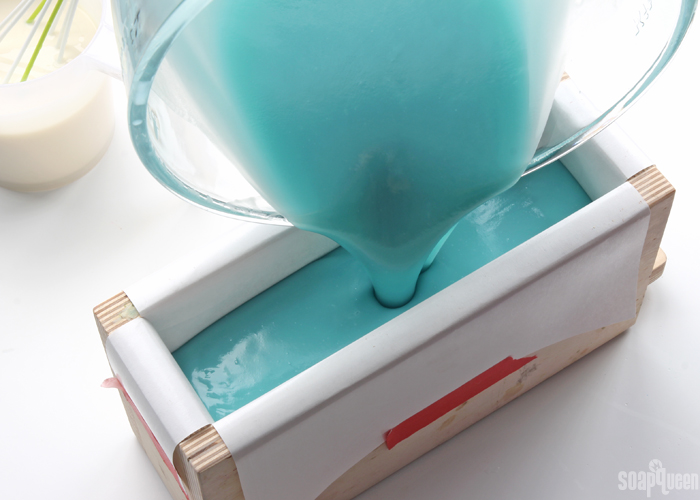
 SIX: Pour the blue soap into the mold. Tap the mold firmly on the counter to help get rid of air bubbles and settle the soap.
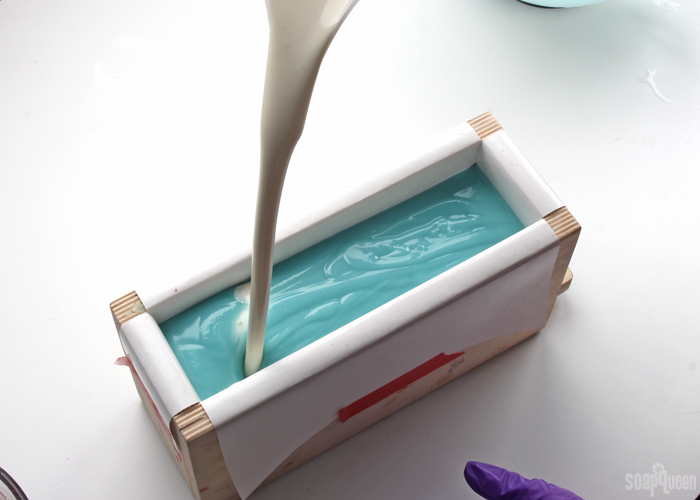
 SEVEN: Now, it’s time for the drop swirl! Pour the white soap down the length of the mold while holding it about 10 inches above the mold. Pouring from high up helps the white soap break into the blue and drop into various areas in the mold. Pouring from various heights will give the swirl further interest. Continue pouring down the length of the mold at various heights until all the white soap has been poured.
 EIGHT: Give the mold a firm tap on the counter. Insert the Hanger Swirl Tool into one side of the mold, and begin making loops in the center of the mold with the tool. Continue the loop-de-loop motion at varying heights within the mold. This technique is not an exact science. I “looped” the Hanger Swirl Tool about 6-8 times within the mold. If you like more whispy swirls, feel free to do more loops! This technique is known as the Butterfly Swirl and was created by Zahida of Handmade in Florida. See her video here to get a better idea of what the swirling motion looks like. Remove the Hanger Swirl Tool by pulling up and out along one side of the mold.
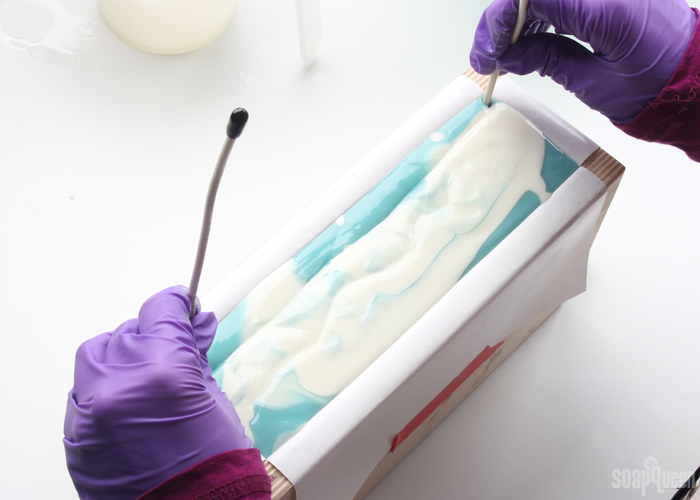
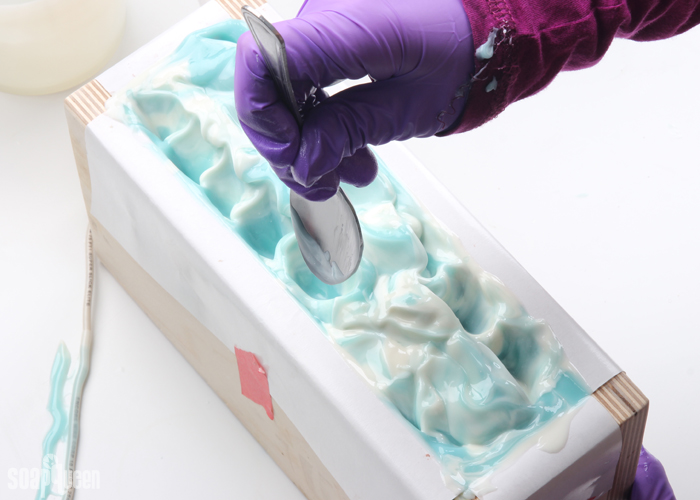
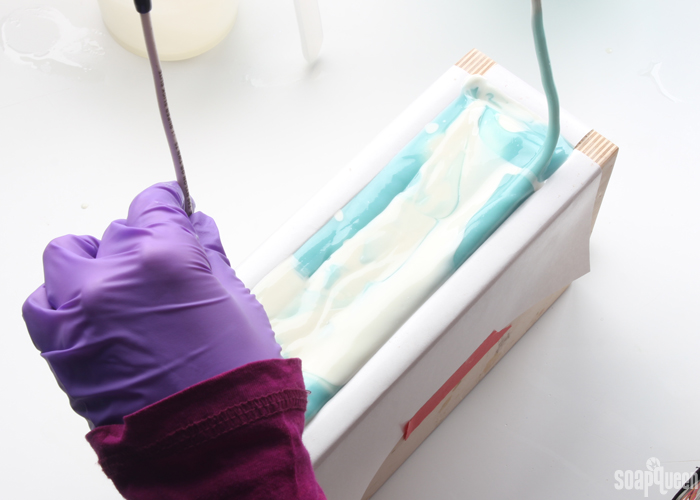 NINE: Firmly tap the mold on the counter to help get rid of air bubbles. If the soap is still quite thin, white 3-5 minutes until it’s firm enough to hold a shape. The melt and pour embeds will later be placed on top, so the soap needs to be firm enough to support them. Once the soap is firm enough, use a spoon to create a peak in the center. There is no right or wrong way to create texture, so have fun with it!
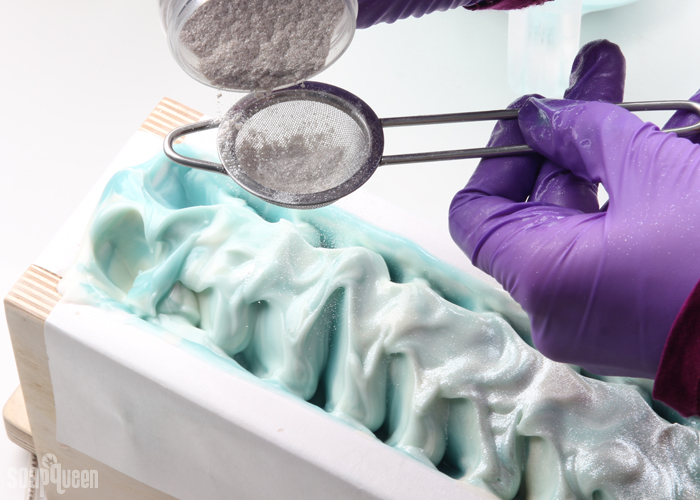
 TEN: Once you’re happy with the look of the top, sprinkle a thin layer of Snowflake Sparkle Mica on the top of the soap. Using the powder duster helps give an even layer.
 ELEVEN: Begin adding the sparkly melt and pour cube embeds on the top of the soap in the center. Add as many or as few embeds as you like. I recommend adding a little more, as some embeds can fall off when the soap is cut. Gently press the embeds into the soap to help them stick better.
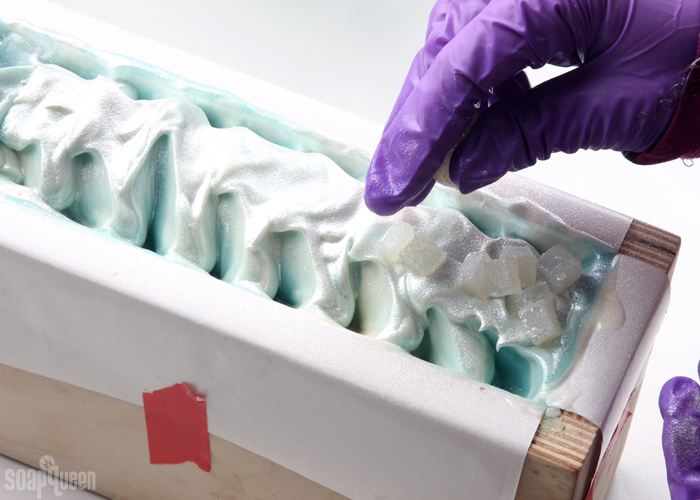 TWELVE: Spritz the top with 99% isopropyl alcohol to help avoid soda ash. Do not cover the soap, or it may squish the top. This soap does not need to be insulated. You don’t want it to become overheated, because it could melt and melt and pour embeds. Allow the soap to stay in the mold for 2-3 days, and unmold. Cut into bars, and allow them to cure for 4-6 weeks. Enjoy!
- 6 oz. LCP Clear Melt and Pour
- Snowflake Sparkle Mica
- Iridescent Glitter
- *Mold of choice (I used 4″ Silicone Loaf Mold)
- Tall Narrow Wood Loaf Mold
- Hanger Swirl Tool
- 45 oz. Swirl Quick Mix
- 6.2 oz. Sodium Hydroxide Lye
- 14 oz. Distilled Water
- 2 oz. Sparkling Snowdrop Fragrance Oil
- Titanium Dioxide
- Zippy Blue Pigment
- Snowflake Sparkle Mica
- Chop and melt 6 ounces of LCP Clear Melt and Pour Soap in the microwave using 10 second bursts. Pour into a small, flat mold. I used the 4″ Silicone Loaf Mold, but you can use whatever you have on hand. Other good options would be the 6″ Silicone Slab Mold or cavities in the 12 Bar Square Silicone Mold. Allow to fully cool and harden.
- Once the melt and pour has fully cooled and hardened, remove from the mold and chop into small squares. Cover them in Snowflake Sparkle Mica and Iridescent Glitter until you’re happy with the amount of sparkle. Set the embeds aside and prep the cold process soap.
- Slowly and carefully add the lye to the water and gently stir until the lye has fully dissolved and the liquid is clear. Set aside to cool.
- Fully melt the entire bag of Swirl Recipe Quick mix until completely clear and there is no cloudiness. Shake the bag to mix up all the oils. Measure 45 oz. into your soaping bowl. Once the lye water and the oils have cooled to 130 degrees or below (and are ideally within 10 degrees of each other), add the lye water to the oils and stick blend until thin trace. If you’d like a harder bar of soap that releases faster from the mold, you can add sodium lactate to the cooled lye water. Use 1 teaspoon of sodium lactate per pound of oils in the recipe. For this recipe, you’d add about 2.5 tsp. sodium lactate.
- Once you have a thin trace, split off 400 mL of soap into a separate container. Add all the dispersed titanium dioxide. Use a whisk to mix in the colorant, and give it a short burst or two with the stick blender to help break up any chunks of colorant.
- To the remaining soap, add 1 teaspoon of dispersed Zippy Blue Pigment. Mix in with a whisk. Give the mixture a few short bursts with the stick blender to fully mix in and develop trace.
- Add the Sparkling Snowdrop Fragrance Oil to each container proportionally. It’s okay to eyeball it. Use a whisk to fully mix in the fragrance oil. At this point, the trace should be thin to medium. If it’s still extremely thin, give the blue soap a few short bursts with the stick blender.
- Pour the blue soap into the mold. Tap the mold firmly on the counter to help get rid of air bubbles and settle the soap.
- Now, it's time for the drop swirl! Pour the white soap down the length of the mold while holding it about 10 inches above the mold. Pouring from high up helps the white soap break into the blue and drop into various areas in the mold. Pouring from various heights will give the swirl further interest. Continue pouring down the length of the mold at various heights until all the white soap has been poured.
- Give the mold a firm tap on the counter. Insert the Hanger Swirl Tool into one side of the mold, and begin making loops in the center of the mold with the tool. Continue the loop-de-loop motion at varying heights within the mold. This technique is not an exact science. I “looped” the Hanger Swirl Tool about 6-8 times within the mold. If you like more whispy swirls, feel free to do more loops! This technique is known as the Butterfly Swirl and was created by Zahida of Handmade in Florida. See her video here to get a better idea of what the swirling motion looks like. Remove the Hanger Swirl Tool by pulling up and out along one side of the mold.
- Firmly tap the mold on the counter to help get rid of air bubbles. If the soap is still quite thin, white 3-5 minutes until it’s firm enough to hold a shape. The melt and pour embeds will later be placed on top, so the soap needs to be firm enough to support them. Once the soap is firm enough, use a spoon to create a peak in the center. There is no right or wrong way to create texture, so have fun with it!
- Once you’re happy with the look of the top, sprinkle a thin layer of Snowflake Sparkle Mica on the top of the soap. Using the powder duster helps give an even layer.
- Begin adding the sparkly melt and pour cube embeds on the top of the soap in the center. Add as many or as few embeds as you like. I recommend adding a little more, as some embeds can fall off when the soap is cut. Gently press the embeds into the soap to help them stick better.
- Spritz the top with 99% isopropyl alcohol to help avoid soda ash. Do not cover the soap, or it may squish the top. This soap does not need to be insulated. You don’t want it to become overheated, because it could melt and melt and pour embeds. Allow the soap to stay in the mold for 2-3 days, and unmold. Cut into bars, and allow them to cure for 4-6 weeks. Enjoy!




So I attempted this recipe today and it was looking beautiful…until it started to erupt line volcano. I normally soap around 110 degrees. I waited for the oils to be less than 130 degrees and the lye mixture was about 120 degrees. It clearly became too hot as the melt and pour soap cubes literally melted. I’ll be curious to see if it’s salvageable. The fragrance smells nice and the soap on the tutorial look beautiful. I definitely learned about soaping too hot.
I’m surprised the soap volcanoed because temperatures of around 120F aren’t usually hot enough to cause that! Did you add any other ingredients with natural sugar like honey? Did the soap start to volcano when you were making it or when it was in the mold? How were you storing the soap? Let me know and I can help you troubleshoot. 🙂
-Kelsey with Bramble Berry
Is there an outline drawing of the butterfly swirl somewhere? I’ve tried it but can’t seem to make a decent butterfly. I’ve viewed Zahida’s video a dozen times and can’t really figure out what’s going on inside the batter when she’s swirling. I know I’m not doing it the way she’s doing it. To me it’s not as simple as it looks if you’re going for the butterfly and not just a pretty swirl.
Soap Making Essentials has a great illustration that’s really helpful! You can find it here: http://www.soap-making-essentials.com/butterfly-swirl-soap.html
-Kelsey with Bramble Berry
Thank you!
You’re welcome!
Just made a version of this with Sparkling Snowflake. Such a lovely scent. I had no acceleration with my recipe and room temperature oils and lye. It turned out beautiful!
So glad to hear it turned out well Toni! Enjoy. The bars feel lovely on the skin. 🙂
-Kelsey with Bramble Berry
OMG. Your going to live a long time. I am sitting here planning a similar soap. I just happen to go to your site to get information on something else and found this. You’re great. Loved the info about the TD. This helps me with my project. Thanks so much!
You’re welcome Barbara, so glad this helped you with your project! 🙂
-Kelsey with Bramble Berry
I’m a bit confused are you discontinuing the fragrances or just the option to buy them as a quartet. Thanks I can’t wait to make this soap.
The fragrances will be a permanent part of our line! After Sept. 30th, they won’t be available as a discounted kit, but you can still purchase them individually. 🙂
-Kelsey with Bramble Berry
Hi, Amanda!
When I click on the 45 oz quick mix, it takes me to a list of quick mixes but there isn’t a choice for 45 oz. Should it be the 54 oz option?
Thanks, Jo
Hi Jo!
That is correct! The 54 ounce option is the closest to the 45 ounces. You can also do two 33 ounce options if you want more quick mix. 🙂
Swirl Quick Mix: https://www.brambleberry.com/Swirl-Recipe-Quick-Mix-P5526.aspx
-Kelsey with Bramble Berry
So gorgeous! Stunning swirl, and the colors are perfect. Can’t wait to try this fragrance!
Thank you so much Lisa! The Sparkling Snowdrop Fragrance Oil smells fresh and crisp. 🙂
-Kelsey with Bramble Berry
Nice soap and tutorial; however the original designer for the hanger swirl / gear tie butterfly swirl is Soaps From Home. You can see her dates pre-date anyone else. Please give credit where credit is due, with respect to the less well known soap artists.
http://val1950magirl.blogspot.com/2013/09/gear-tie.html
Hi Mike!
We always try our best to give credit to soapers when it’s due, but it can be tricky to track down the origin of all the techniques :). We were made aware of the Butterfly Swirl via Zahida of Handmade in Florida when she shared the technique on the Soap Challenge Club via Great Cakes Soapworks. I would be happy to add a link to this post as well :).
-Amanda with Bramble Berry
Hi Amanda,
Actually I tried to comment on a different thread but it wouldn’t allow me.
I have a question on CPHP and saw the tutorial where you add the mica color “to the soap”. Does that mean you spoon some soap out in a container and mix the colorant to it? And when exactly do you add the colorant mix to the entire soap??
I do a CPHP if I am in a pinch for soap within a 10 day period and I love to color my soap. Would the liquid colorants be better and does Brambleberry have a liquid colorant??
Thank you for your time.
Kathie
Hi Kathie!
We like to mix the color at a rate of 1 teaspoon powder to 1 tablespoon of oil (you can double or triple that for larger batches). Then, add 1 dispersed teaspoon of color at a time until you get a color you like. Then, add that at the end of the cook. The oil helps the colors mix in smoothly. 🙂
Learn more in this hot process video: https://www.youtube.com/watch?v=mxTXwxbpzLM
We also have LabColors, which are a liquid colorant! Learn how to use them here: http://www.soapqueen.com/bath-and-body-tutorials/tips-and-tricks/diluting-bramble-berry-labcolors/
-Kelsey with Bramble Berry
Beautiful! I love the drop swirl because it’s easy and you get a uniquely different bar each time. Easy and gorgeous: it doesn’t get much better! I do have a question related to all soaping in general: how do you determine a pound of batter? I know there is a 5 lb mold, a 3 lb mold, etc, but if I have a custom mixture, how do I determine the total pounds in the soap? Is this the weight of just the oils, or the total weight of the batter? Thanks everybody!
Hi Eric!
I totally agree, the drop swirl is one of my favorite techniques as well! To find out the total weight of our mixture, we use our Lye Calculator. All of our molds at Bramble Berry refer to the amount of total yield (oils+lye+water), rather than just the oil weight itself. For example, if you put 16 ounces of olive oil into the Lye Calculator with a 5% superfat, the recipe will look like this:
16 oz. Olive Oil Pure
2.04 oz. Lye
5.28 oz. Sodium Hydroxide
Total Batch Yield: 23.32 oz.
While this soap only contains 1 pound of oil, the total weight of the batch is about 1.5 pounds because 23.32 divided by 16 equals 1.45. I hope that makes sense! Let me know if you have any more questions 🙂
Lye Calculator: https://www.brambleberry.com/Pages/Lye-Calculator.aspx
-Amanda with Bramble Berry
I am not comfortable with lye.
I want to use only melt and pour style of making soap…may I get the help?
Hi. I learnt everything i know so far from soap queen tv on you tube. There are plenty of the melt a pour tutorials there too.
Hi Anjana!
I completely understand being uncomfortable with using lye. In fact, Anne-Marie just wrote a blog post on this very topic a few days ago! I’ve linked to it below if you’d like to read it :).
Afraid of Using Sodium Hydroxide Lye to Make Soap?:
https://www.soapqueen.com/bath-and-body-tutorials/tips-and-tricks/afraid-of-using-sodium-hyroxide-lye/
Kelley is right, there are lots of great resources on YouTube. We have a YouTube channel called Soap Queen TV, where we have an entire series and plenty of melt and pour videos that go over the basics and more advanced techniques. I’ve linked to our Melt and Pour Series on YouTube below. I’ve also included several blog posts that you may find helpful. They are full of melt and pour soaping tips and inspiration!
Basics of Melt and Pour Soapmaking on YouTube:
https://www.youtube.com/playlist?list=PL05E2F1EF0838281A
Free Beginner’s Guide to Melt and Pour:
https://www.soapqueen.com/bath-and-body-tutorials/melt-and-pour-soap/free-beginners-guide-to-soapmaking-melt-and-pour/
Talk it Out Tuesday: Melt and Pour: http://www.soapqueen.com/bath-and-body-tutorials/melt-and-pour-soap/talk-it-out-tuesday-melt-and-pour-soap/
Spotlight on Melt and Pour Bases:
https://www.soapqueen.com/bath-and-body-tutorials/tips-and-tricks/sunday-night-spotlight-melt-and-pour-bases/
I hope this helps! 🙂
-Amanda with Bramble Berry