In this Soap Guild 2014 recap post, guest blogger Jodi Chen walks us through the ins and outs of creating your own nail polish. The session was presented by Christina Rose, owner and creative director of KBShimmer Bath and Body. Read on to learn all about creating an awesome nail polish that will stand the test of time. — A.M.
Walking into the conference room set up for Christina Rose’s presentation on handmade nail polish was a bit like walking into a candy store. An enticing array of glitters, micas, and pigments were laid out on a table, shimmering in the light. Bottles of nail polish base sat in tidy rows, beckoning like tiny blank canvases awaiting a creative touch.
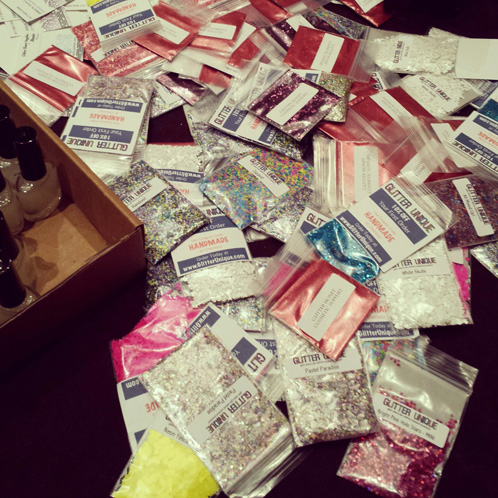
Christina brought so many fun glitters to experiment with.
She began her presentation by introducing us to some nail polish terminology. I had never fully realized the difference between “indie” and “franken” polishes. She explained that the term “indie” is a shortened form of “independent”, and is used to describe polishes that are handmade, whereas “franken” (short for Frankenstein) polishes are custom blends, made by mixing store bought polish.
I was particularly interested in the differences between 3 Free, 4 Free, and 5 Free nail polish bases. I can’t resist a good nail polish, but I also love being able to keep my products as natural and healthy as possible. Christina showed us that we can look for a base that is “3 Free”, that is, free of Dibutyl Phthalate, Toluene, and Formaldehyde. Four and 5 bases are also sold, and are free of Dibutyl Phthalate, Toluene, Formaldehyde, Formaldehyde Resin, and/or Camphor.
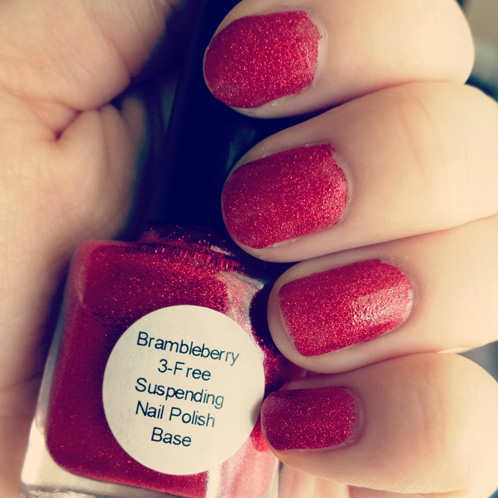
The Bramble Berry Nail Polish Base is free of free of Dibutyl Phthalate, Toluene, and Formaldehyde.
Next she taught us about the issues surrounding solvent bases, including safety. She recommends using a respirator when mixing polish – especially when making large batches. Solvents are very flammable, so avoiding sources of heat & flame while working with polish is a must. Working with nail polish requires solvent resistant containers and tools. Stainless steel is a good choice!
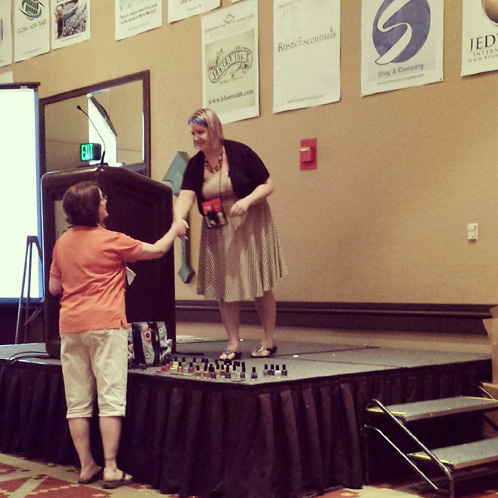
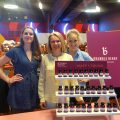
Christina shakes an attendee’s hand.
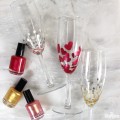
Additives must be solvent resistant, as well. Glitters can bleed color, curl (“taco” glitter), or melt away altogether if they aren’t resistant to strong solvents! Even large manufacturers can have problems with glitter – she showed us a picture of OPI polish with a bad case of “taco” glitter! It’s always important to test glitters & micas before mixing in large batches. Even glitters that have worked fine in the past may react differently if using a new nail polish base, so test every time you change your recipe.
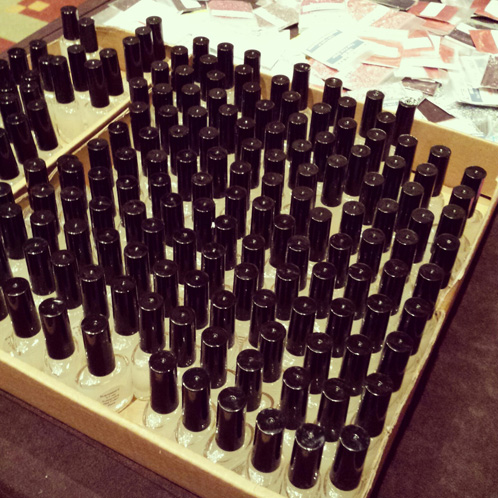
So much polish!
To test if an additive is solvent resistant, Christina advised us to mix our glitter in our base of choice, shake well, and let it sit. After 24 hours, it should be checked for any changes, and again at 2 weeks, 2 months, 6 months, and even up to 1 year. Some glitters can be stable for months before they break down enough to start bleeding color or dissolving. To reduce the chances of this happening, she said to look for glitters that have specifically been tested for use in nail polish, versus using just any glitter you may have laying around.
After she’d finished addressing the technicalities of making nail polish, she gave a run down of supplies we’d need to mix our own custom blends. Polish should always be stored in glass polish bottles, and only stainless steel mixing balls should be used. Funnels & syringes can aid in filling bottles and adding glitters & micas. She recommends a gram scale for measuring polish base and additives.
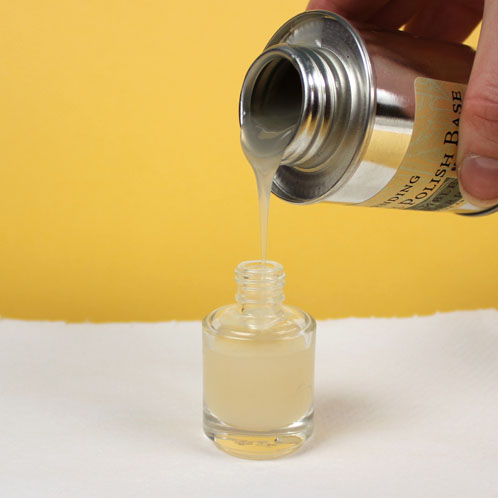
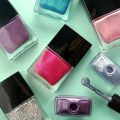
Bramble Berry’s Suspending Nail Polish Base has been specifically formulated to work with a variety of glitters and micas.
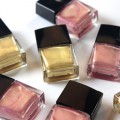
She gave us the following recipe to try: Fill polish bottle ¾ full of base, add in 5 grams of mica. Then fill the bottle with more base, leaving a dime size bubble in the top, and shake well to combine! It’s important to test the amount of mica or glitter you use. Too much, and the nail polish will dry to a dull, matte finish, instead of a smooth gloss (I’ll admit I had this problem with my take home supplies!! The mica was so enticing, that I got carried away, and added too much. Sure enough – it dries very matte…lesson learned!).
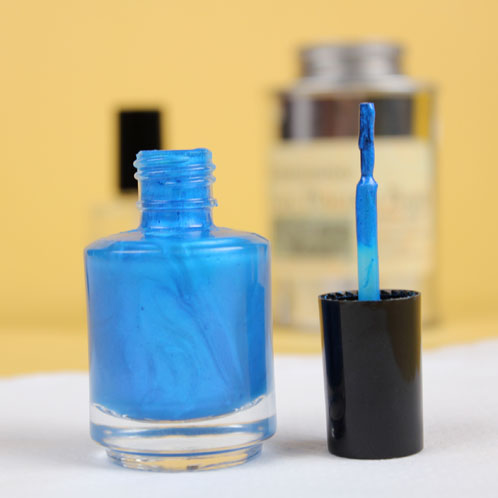
Look for a true matte nail polish? There’s a tutorial for that!
Christina summarized her presentation by reiterating that proper testing is very important to ensure long term success for your custom blends. She also encouraged us to have fun and experiment, as the possibilities are endless with the array of pigments, glitters, and colorants available today! We were all sent home with sample bags of mica & glitter, as well as two different kinds of nail polish base (including the Bramble Berry Suspending Nail Polish Base). I left feeling very inspired. After all, what could possibly be more fun than playing with glitters and shimmers?! I’d highly recommend giving indie nail polish a try. Thanks to Christina, it’s no longer an intimidating process!
