When I post a new tutorial, I’m often asked if it can be made with melt and pour or cold process soap instead. The answer depends entirely on the design and technique of the project. Simply put, some cold process techniques can be recreated with melt and pour and some cannot, and vice versa. This is because the texture and behavior of cold process and melt and pour is extremely different. Below, I go over a few cold process soap techniques that can and cannot be created with melt and pour soap, and what to consider when recreating a cold process recipe with melt and pour soap.
Creating Swirls with Melt and Pour vs. Cold Process
Cold process soap batter is fluid for much longer than melt and pour. It can be manipulated to be thick and pudding-like, or thin and liquidy. Melt and pour soap is always thin, and begins to cool and harden quite quickly. Unfortunately, this means creating some cold process swirls with melt and pour soap is very difficult (if not impossible). Swirl techniques like the linear swirl, spin swirl and hanger swirl require time swirl the soap batter. Techniques that require lots of pouring like the funnel pour or column pour also require several minutes to work with the soap. These techniques cannot be recreated with melt and pour soap because it hardens too quickly.
Once melted, melt and pour soap immediately begins to cool down. It begins to harden around 120 degrees. As it cools, it becomes thick and a skin forms on top. The time it takes for melt and pour soap to begin to harden from its melted, liquid state is about 60-90 seconds. On the other hand, cold process soap can stay liquid for 5 minutes or more, depending on the recipe, fragrance oil and how the stick blender is used.
Simply put, the nature of melt and pour soap doesn’t give enough time to create the same swirls as cold process. As it hardens, it also thickens and becomes a little “gloopy.” This texture just doesn’t work well for swirls. The other problem with creating swirls with melt and pour is the thin texture makes it difficult to keep colors separate from each other. For example, linear swirls are created by layering strips of cold process soap beside and on top of each other, as shown here and in the photo below. Because the texture of melt and pour is so thin, the soap spreads out instead of keeping distinct lines of color. Long story short? Many swirl techniques can only be created with cold process soap.
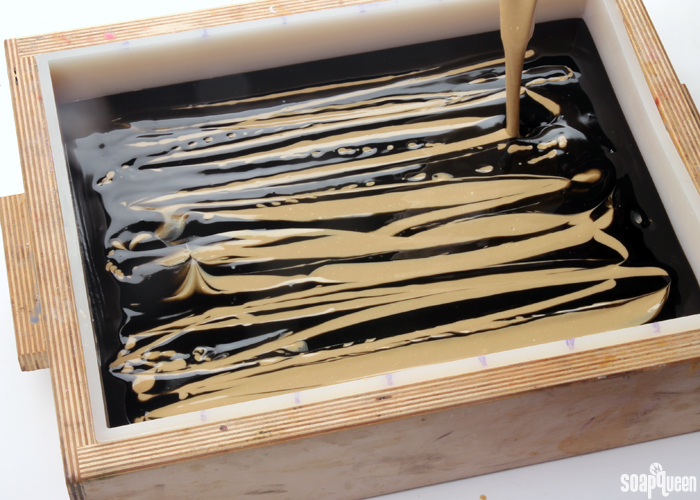 The texture of cold process soap allows you to pour distinct lines that hold their shape, as shown above. Melt and pour soap does not behave the same way.
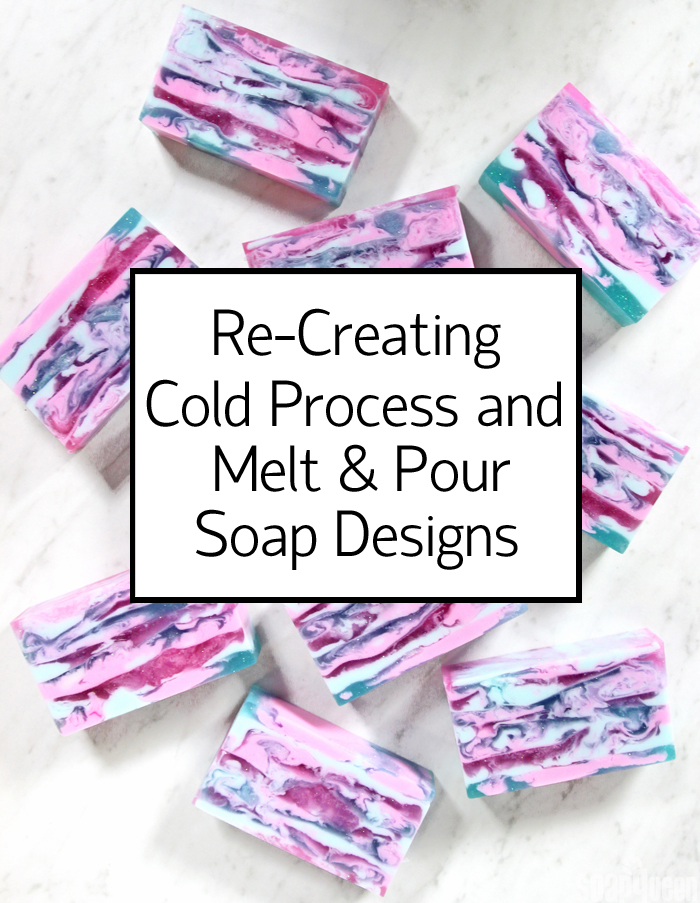
That being said, it’s not impossible to create swirls with melt and pour. They just look very different from the swirls you can make with cold process soap. For example, in the Cosmic Cotton Candy Soap Tutorial, various colors of melt and pour soap are poured together in layers. The final bars are full of swirls, texture and movement. It looks beautiful, but very different from cold process swirls. For tips on swirling melt and pour soap, check out this post.
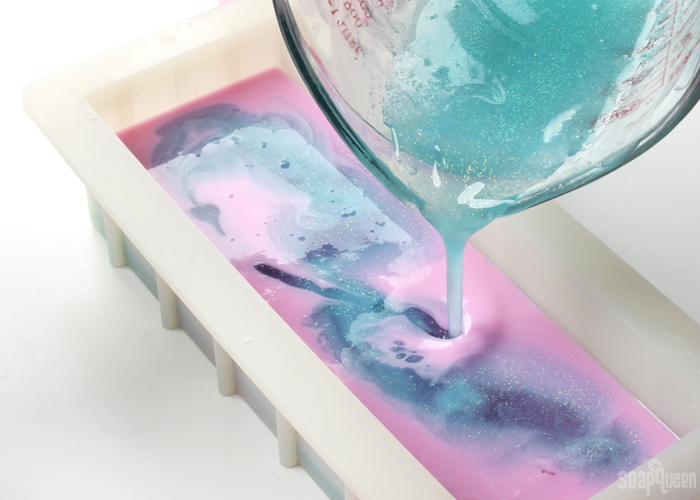 Swirls are not impossible with melt and pour soap, but they just won’t look like cold process swirls.
Creating Layers with Melt and Pour Soap vs. Cold Process
Some swirl techniques might not be possible with melt and pour soap, but layers are a different story! Creating straight and clean layers with melt and pour soap may be easier than creating layers with cold process soap. Melt and pour layers can be poured with a long time period in between. This allows the bottom layer to harden and support the layer above. You do need to be careful with temperature, because if the top layer of soap is too hot it can melt the layer below. The hardest part about creating layers in melt and pour soap may be the patience it requires! For more tips on layering melt and pour soap, check out this post.
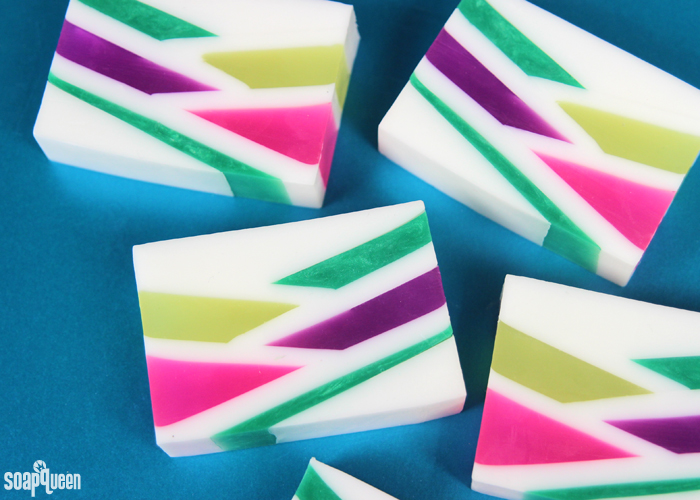
Cold process soap can be made and poured in batches, but it does involve more prep work. It’s also possible to create straight lines with cold process all in one batch, but it’s an advanced technique that involves a good understanding of trace. If, for example, the bottom layer of soap is thin trace, a thick layer on top may fall into the bottom layer.
If you want to create layers that are not perfectly straight, cold process soap is the way to go. You can find examples of this in the Violet Confetti Cold Process Soap Tutorial, Watermelon Cold Process Soap Tutorial, and the Natural Colorant Rainbow Cold Process Soap. Melt and pour soap does not hold its shape like cold process soap, because it can not be manipulated to a pudding texture.
Textured Tops in Melt and Pour Soap vs. Cold Process
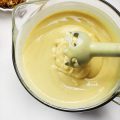
If the cold process project you’d like to re-create with melt and pour has a textured top, I’ve got some bad news. The thin, liquid texture of melted melt and pour soap can not be manipulated to create a textured top, like cold process. Cold process soap batter with a medium to thick trace has a texture similar to pudding. You can use a spoon or spatula to move the soap around to create peaks and divots, and it will keep its shape. In the video below, once the soap is poured into the mold, a spoon is used to mound the soap up in the center. Unfortunately, this texture cannot be achieved with plain melt and pour soap.
That being said, you can add some ingredients to melt and pour soap to create a texture that is more similar to cold process. One example is shown in the Reimagining Honey Ale Melt and Pour Soap. Melt and pour soap base is whipped together with liquid soap, giving it a more “foamy” look. A similar technique is used in the Soap Cupcakes with Whipped Frosting video below. It won’t behave in the same way as thick cold process soap, but it’s a little bit closer!
Coloring and Fragrancing Melt and Pour Soap vs. Cold Process
If you’re recreating a cold process design with melt and pour (or the other way around), it’s important to consider the type of colorant used in the recipe. Some colorants work better for cold process soap than melt and pour, and vice versa. For example, pigments and oxides are great in cold process soap, but not all micas work well in the high pH environment. For melt and pour soap, micas work great and oxides and pigments can be a little trickier to incorporate. Click here to learn about the different types of soap colorants, and which work best for cold process versus melt and pour.
How colorants are added to the cold process soap and melt and pour varies as well. For example, pigments and oxides need to be dispersed in oil before being added to cold process soap. This helps avoids clumps. Learn how to prep colorants for cold process soap here. For melt and pour soap, colorants are best dispersed in 99% isopropyl alcohol or a small amount of glycerin. Adding extra oil to melt and pour soap can inhibit the lather and affect the texture. The amount of colorant needed for the project will most likely change as well.
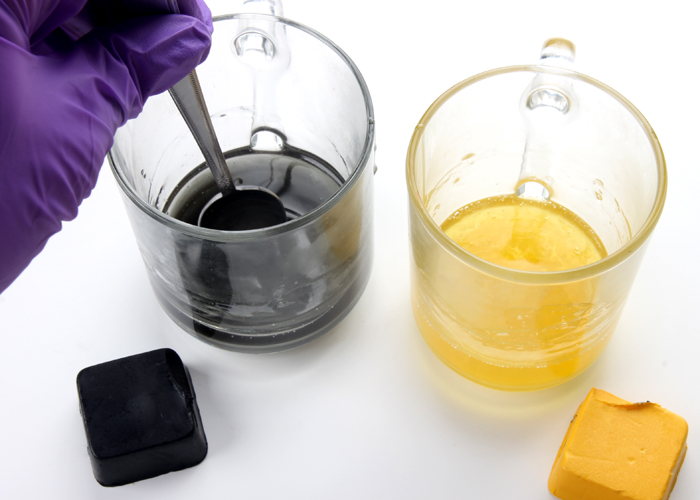
Color Blocks are specifically designed to color melt and pour soap, but don’t work well in cold process.
When it comes to fragrance oils in melt and pour versus cold process soap, almost all fragrance oils at Bramble Berry are appropriate for both projects. But, some fragrances oils cause interesting effects in cold process soap, like ricing or acceleration. When working with melt and pour soap, you don’t have to worry about these things. Fragrance oils can also discolor soap brown if it contains a lot of vanillin. If a fragrance oil discolors, you can use Vanilla Color Stabilizer in melt and pour soap to prevent the discoloration. Unfortunately, Vanilla Color Stabilizer is not reliable in cold process soap. Learn more about vanilla discoloration here.
If you’re taking a project from cold process to melt and pour (or vice versa), just remember to always use the Fragrance Calculator to recalculate the amount of fragrance needed for your recipe. Cold process and melt and pour soap have very different fragrance usage rates. =)
What About the Mold?
There are a variety of different types of soapmaking molds including silicone, wood and plastic. Some molds are better for cold process soap or melt and pour. For example, silicone molds are great for both cold process soap and melt and pour soap. But, plastic molds don’t work as well for cold process soap. When recreating a recipe, take the type of mold into consideration. Learn more about different types of molds and their pros and cons here.
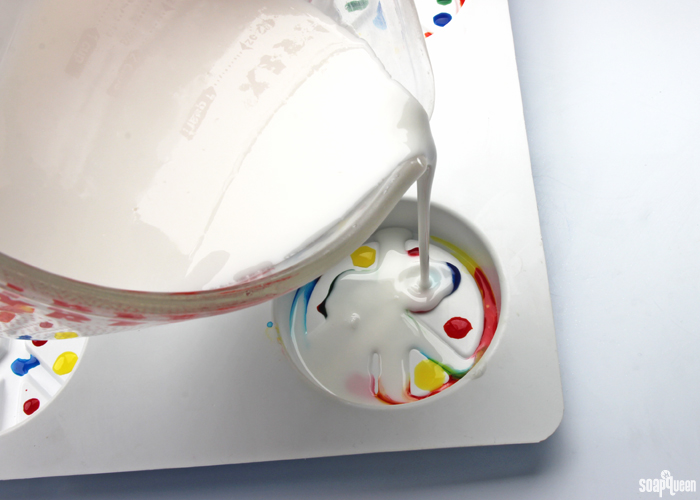 Plastic molds work better for melt and pour soap than cold process soap.
Phew! As you can see, there are a lot of factors to take into consideration when recreating a cold process soap with melt and pour, or vice versa. Some projects are easy, and just need a few ingredient swaps. Others cold process projects like swirls and textured tops are really hard to re-create with melt and pour soap.

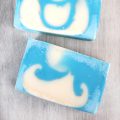
I have done a number of swirls in melt and pour soap. They are not as elaborate as CP of course but its possible to do it. It works best in individual cavity molds and temperature and consistency and pouring technique is vital.
Absolutely, temperatures are key to getting good melt and pour swirls! 🙂
-Kelsey with Bramble Berry
Swirls may be difficult with melt and pour, but you ROCKED with the cotton candy one pictured here! That is awesome!
Oh thank you for the lovely compliment Eric! We were really happy with how that soap turned out. 🙂
-Kelsey with Bramble Berry