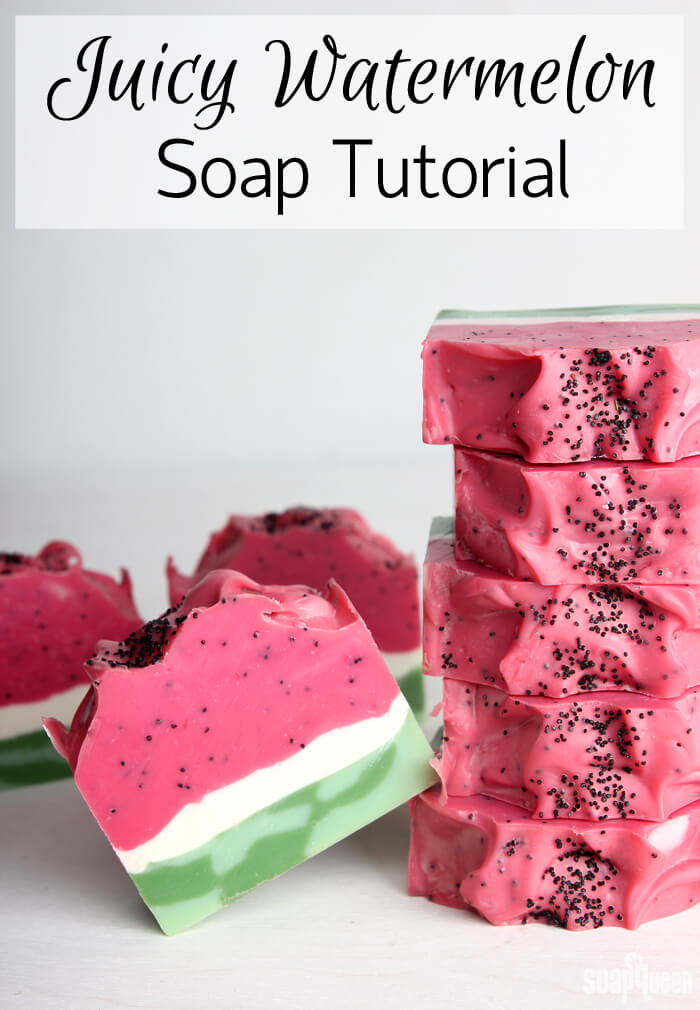
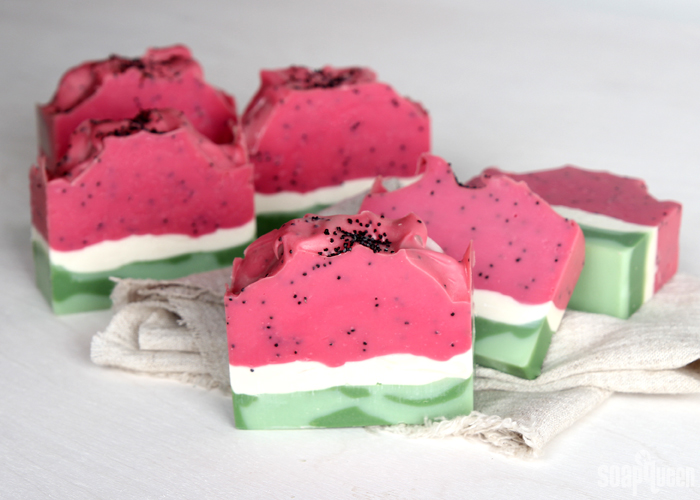
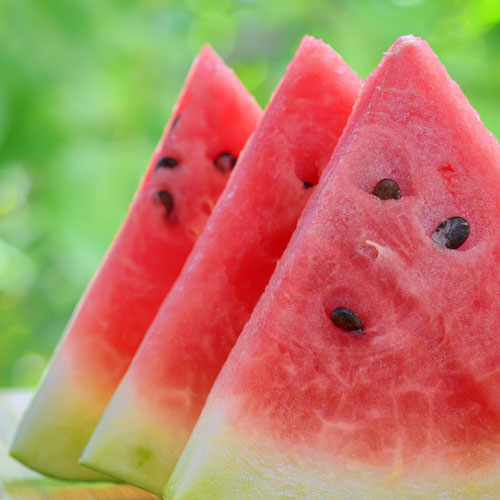
Watermelon is one of my favorite summer fruits. It’s refreshing, light and delicious! With watermelon coming into season, I was inspired to create this fruity soap (of course!). The natural green, white and pink layers of watermelon are surprisingly simple to recreate with thick soap batter. This recipe is formulated with mango butter, coconut oil and olive oil pomace to help create a thick trace that’s easy to layer. The recipe also contains a 12% water discount to prevent glycerin rivers.
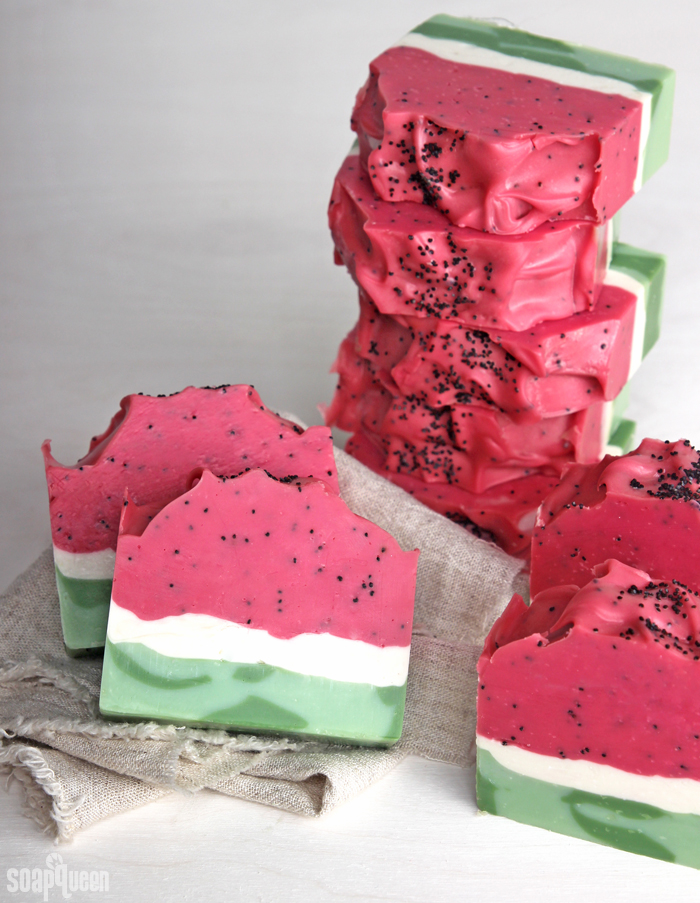
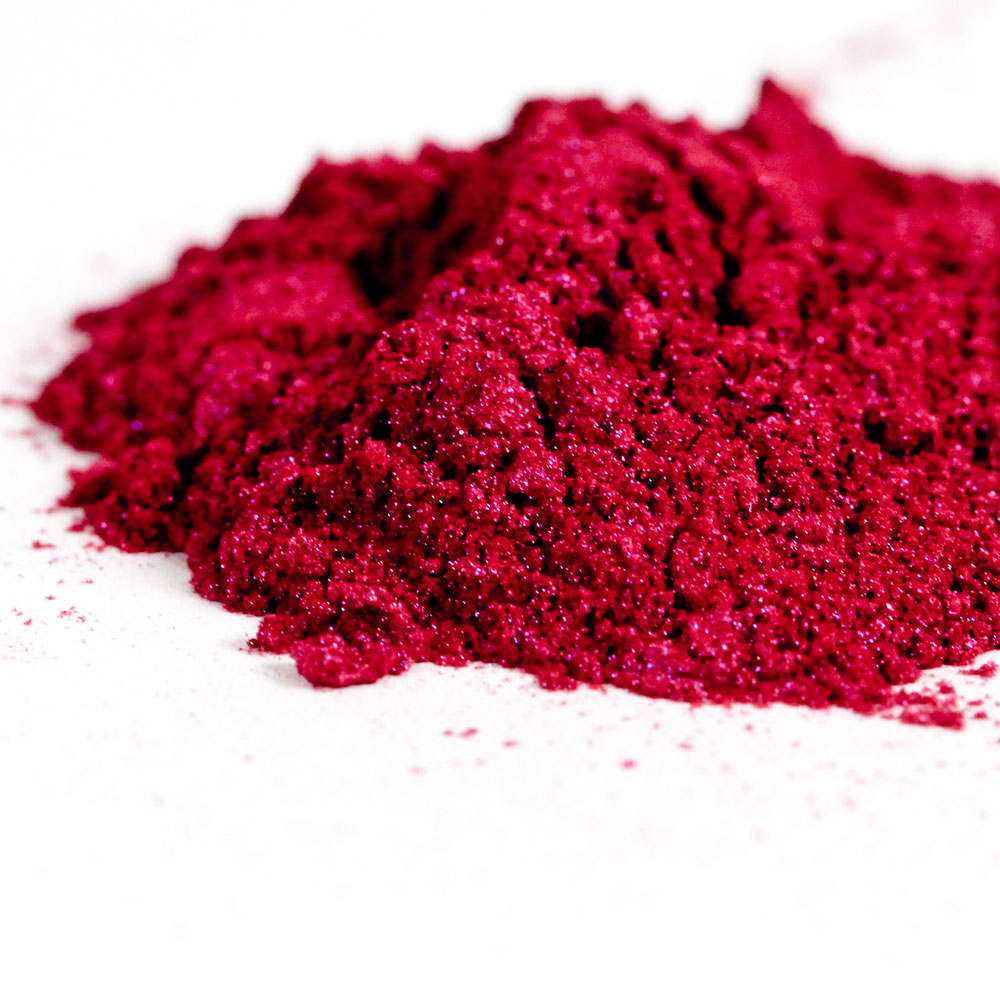
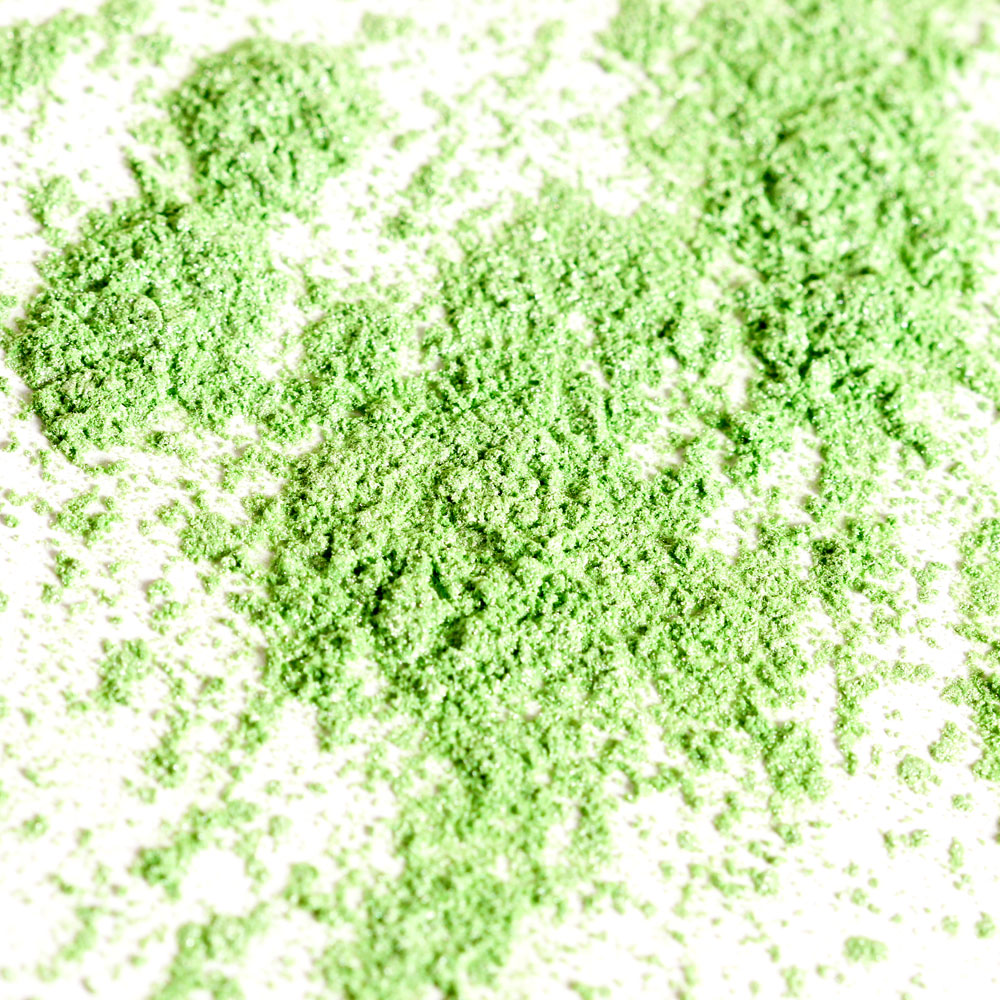
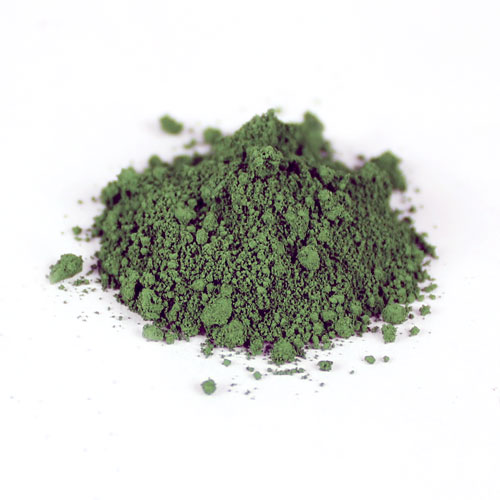
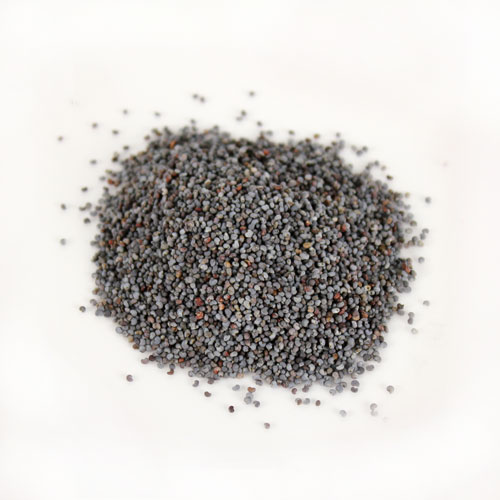
To create the perfect watermelon rind, I used a combination of Kermit Green Mica and Green Chrome Oxide Pigment. The two green shades are poured into the mold in strips, which create a realistic look once cut. The new Magenta Mica is the perfect pinkish-red watermelon color, and poppy seeds look like tiny watermelon seeds. They also add a nice amount of exfoliation to the bars.
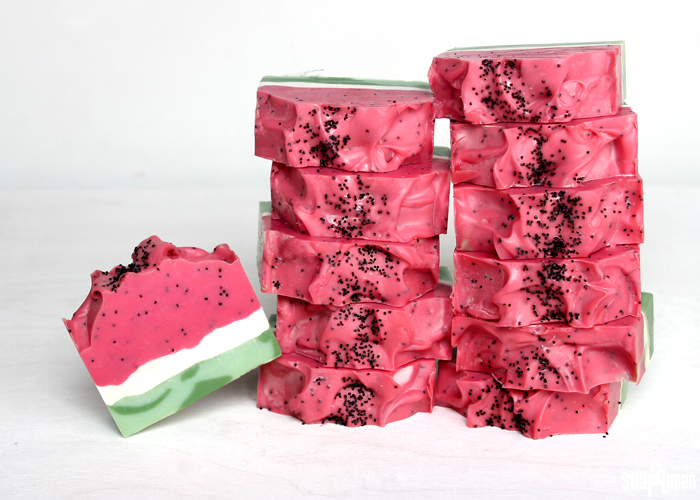
For this project, I used both Summer Melon Spritzer Fragrance Oil and Watermelon Fragrance Oil. The Summer Melon Spritzer has notes of watermelon which really come through in the soap. The Watermelon Fragrance Oil tends to fade in cold process soap, but the Summer Melon Spritzer Fragrance Oil helps give it a boost. It smells so juicy and fruity; I have a bar on my desk and can’t stop smelling it!
What You’ll Need:
5 Pound Wood Mold with Sliding Bottom
Silicone Liner for 5 Pound Wood Mold
5.5 oz. Avocado Oil (10%)
1.7 oz. Castor Oil (3%)
13.8 oz. Coconut Oil (25%)
3.9 oz. Mango Butter (7%)
16.5 oz. Olive Oil Pomace (30%)
13.8 oz. Palm Oil (25%)
16 oz. Distilled Water (12% Water Discount)
7.7 oz. Sodium Hydroxide Lye
2 oz. Summer Melon Spritzer Fragrance Oil
1 oz. Watermelon Fragrance Oil
Magenta Mica
Titanium Dioxide
Green Chrome Oxide Pigment
Kermit Green Mica
Poppy Seeds

Click here to add everything you need for this project to your Bramble Berry shopping cart!
If you’ve never made Cold Process soap before, stop here! I highly recommend checking out our FREE four part SoapQueen.tv series on Cold Process Soapmaking, especially the episode on lye safety. And if you’d rather do some reading, Bramble Berry carries a wide range of books on the topic, including my newest book, Pure Soapmaking. You can also check out the digital downloads for that instant gratification factor.
SAFETY FIRST: Suit up for safe handling practices! That means goggles, gloves and long sleeves. Make sure kids, pets, and other distractions and tripping hazards are out of the house or don’t have access to your soaping space. Always soap in a well-ventilated area.
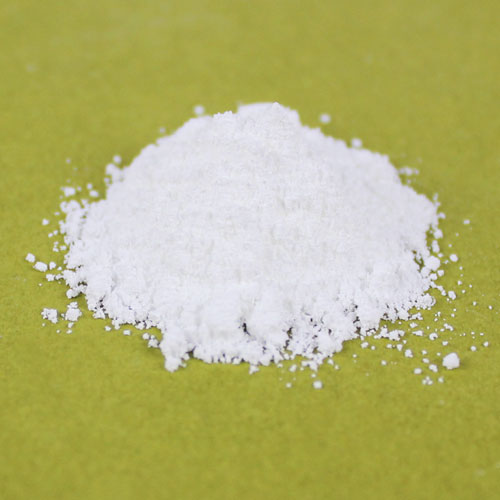
COLOR PREP: To ensure that the Titanium Dioxide blends smoothly into the soap batter, we recommend micronizing it before dispersing it in oil. Please note this is an optional tip but it does help with the titanium dioxide clumping in the soap. =) To micronize colorant, simply use a coffee grinder to blend the colorant to break up any clumps of color and prevent streaks of white from showing in the final soap. We like to use a coffee grinder that has a removable, stainless steel mixing area for easy cleaning. Then, disperse 2 teaspoons of the colorant into 2 tablespoons of sunflower or sweet almond oil (or any other liquid oil). Then disperse 2 teaspoons Magenta Mica into 2 tablespoons of oil. Finally, disperse 1 teaspoon of the Chrome Green Oxide Pigment and Kermit Green Mica each into a 1 tablespoon of oil. Use a mini mixer to get rid of any clumps.
FRAGRANCE OIL PREP: Measure 2 ounces of the Summer Melon Spritzer Fragrance Oil and 1 ounce of the Watermelon Fragrance Oil in a glass, fragrance oil safe container. Set aside.
ONE: Slowly and carefully add the lye to the water and gently stir until the lye has fully dissolved and the liquid is clear. Set aside to cool.
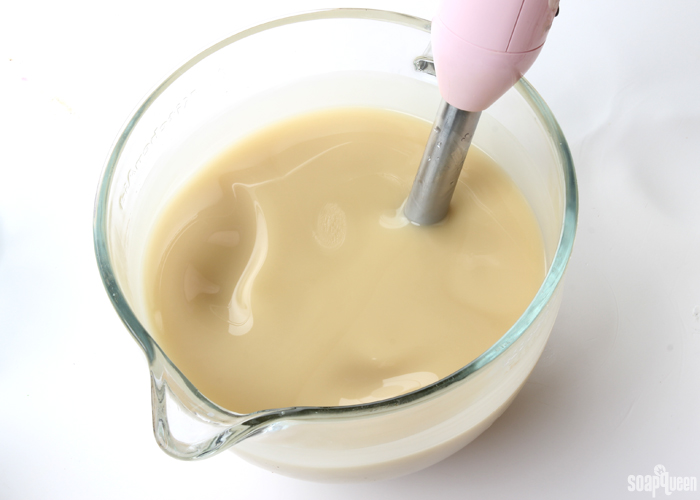
TWO: Melt and combine the avocado oil, castor oil, coconut oil, mango butter, olive oil pomace and palm oil (don’t forget to melt the entire container of palm until completely clear). Once the lye water and the oils have cooled to 110-120 F degrees or below (and are ideally within 10 degrees of each other), add the lye water to the oils and stick blend until thin trace. If you’d like a harder bar of soap that releases faster from the mold, you can add sodium lactate to the cooled lye water. Use 1 teaspoon of sodium lactate per pound of oils in the recipe. For this recipe, you’d add about 3.5 teaspoons sodium lactate.
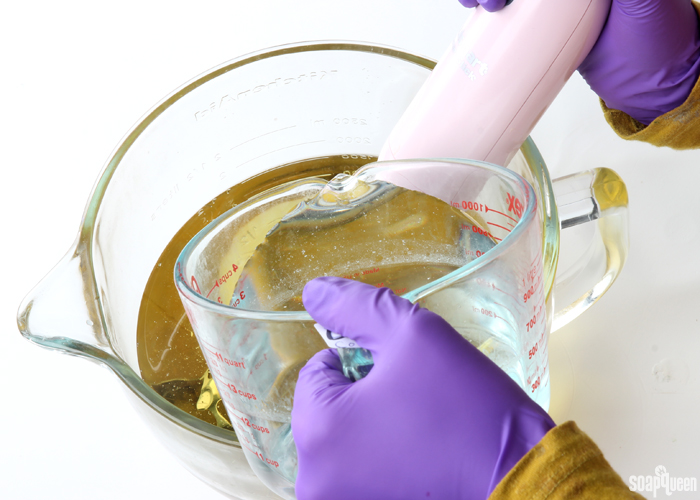
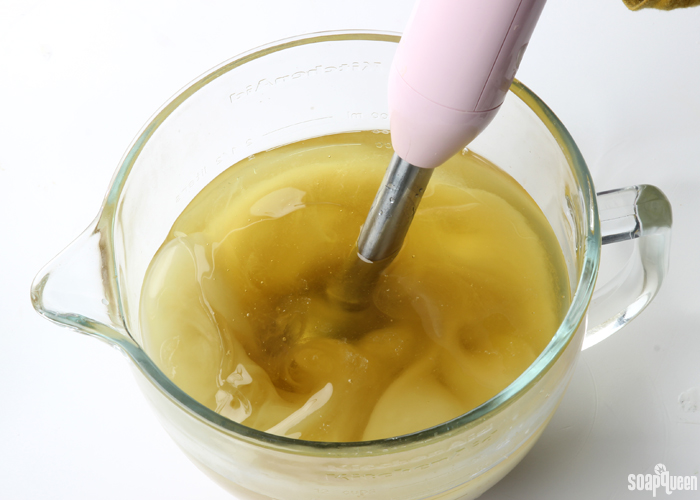 THREE: Once the soap has reached a thin trace, split off three containers with 350 mL each.
FOUR: To one of the small containers, add 2 teaspoons of dispersed Kermit Green Mica. To one of the other small containers, add 1 teaspoon of the dispersed Chrome Green Oxide. Use a whisk to mix in both colorants completely.
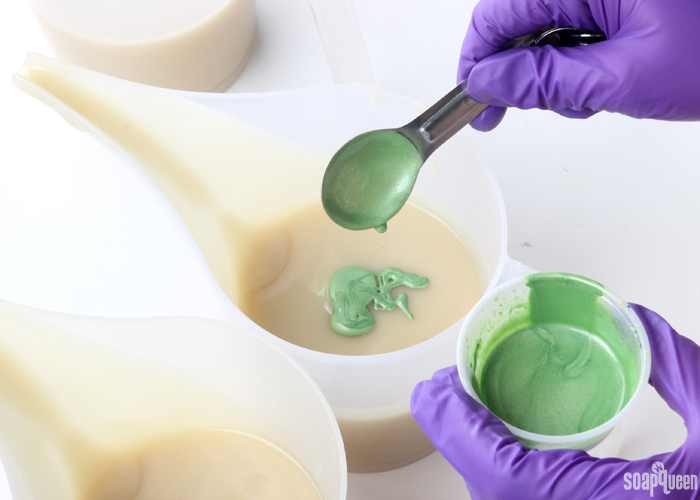 FIVE: Add a small amount of the fragrance oil blend into both green containers, and use a whisk to completely mix in. Give the large soap container a whisk to help keep it fluid.
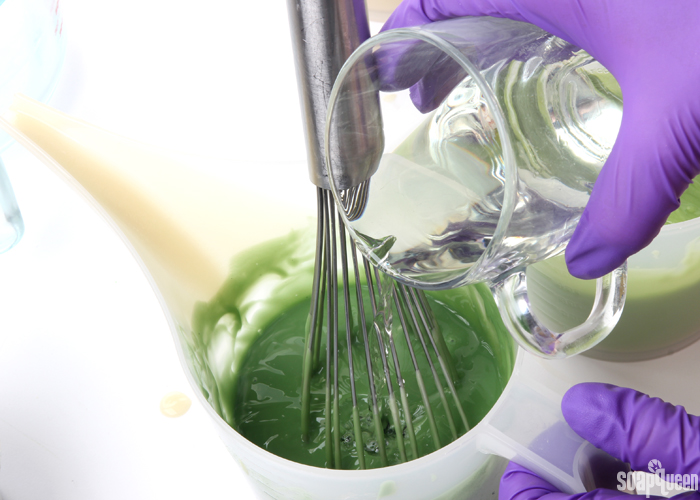 SIX: If your green soap batter is still quite thin, stick blend each container until it’s a medium to thick trace. Pour about 1/3 of green soap down the length of the mold. Then pour about 1/3 of the light green soap down the length of the mold, next to the dark green. Continue pouring strips of each color down the length of the mold. Don’t worry about making them perfectly straight or even.
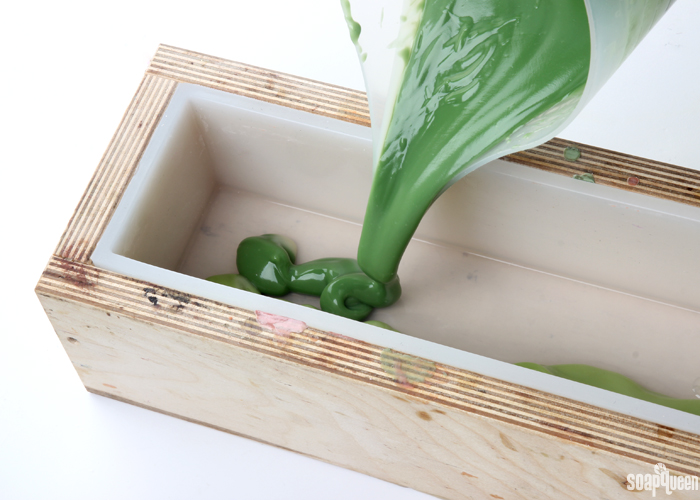
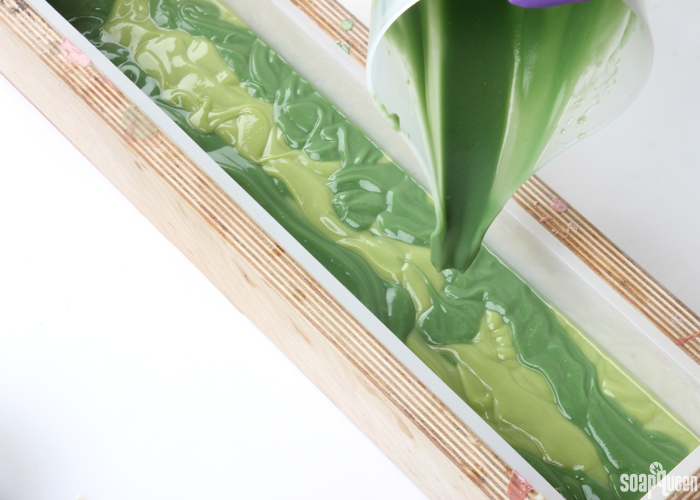 SEVEN: Once both colors have been poured into the mold, use a spoon to smooth out soap. Tap firmly on the counter to help eliminate bubbles.
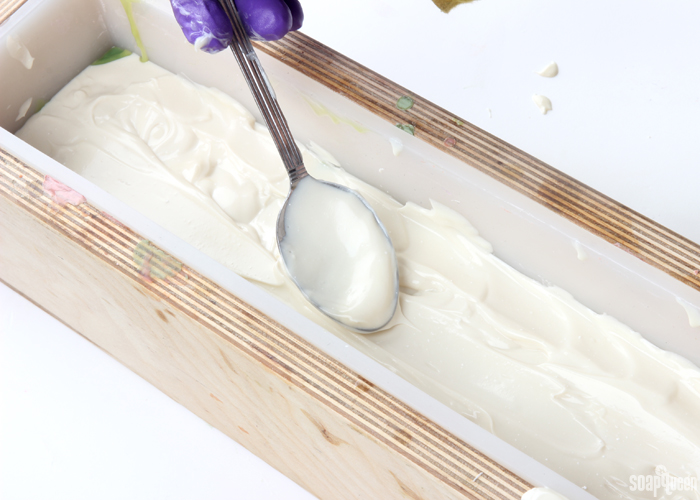
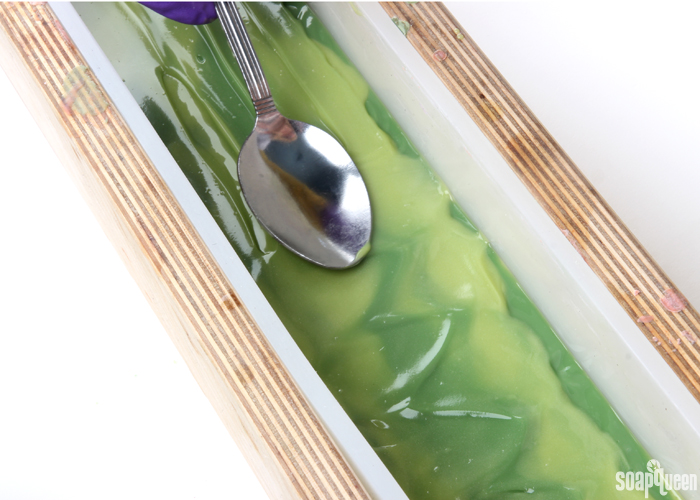 EIGHT: To the last small container, add all of the dispersed titanium dioxide and use a whisk or spoon to thoroughly mix in. Pour all of the white soap into the mold, and use a spoon to spread it evenly. Tap firmly on the counter to help eliminate bubbles.
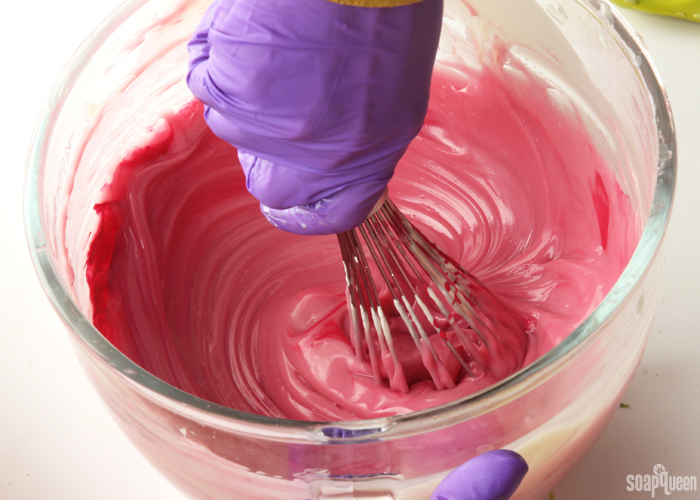
 NINE: To the large container of soap, add all of the dispersed Magenta Mica and use a whisk to stir in. Then, add the remaining fragrance oil blend and use a whisk to completely mix in.
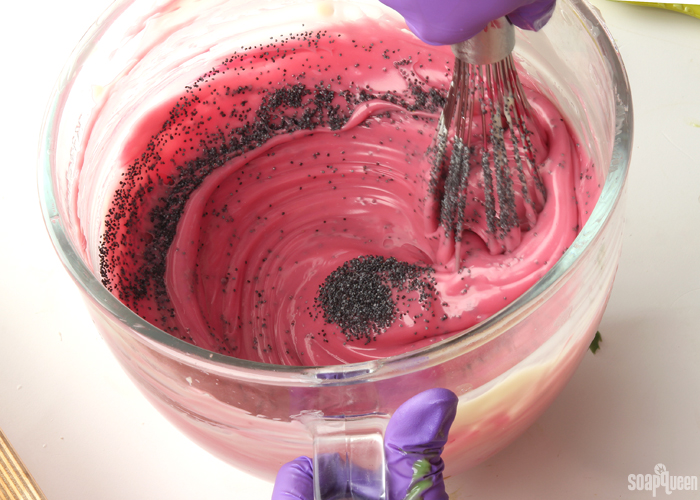
 TEN: Add 1 heaping tablespoon of poppy seeds into the soap, and mix in. If you prefer more poppy seeds, feel free to add more.
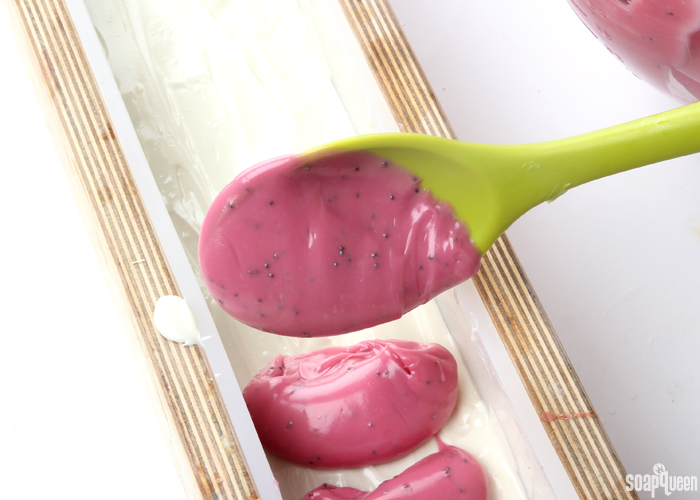
 ELEVEN: Place the pink soap on top of the white evenly throughout the mold. Tap the mold firmly on the counter to help get rid of bubbles and disperse the batter.
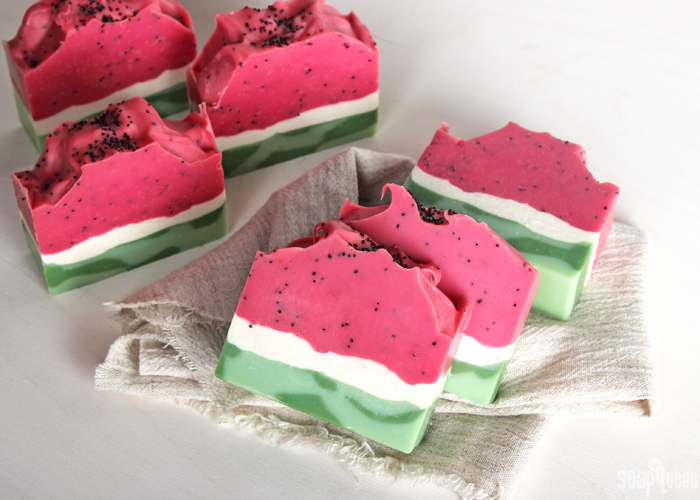
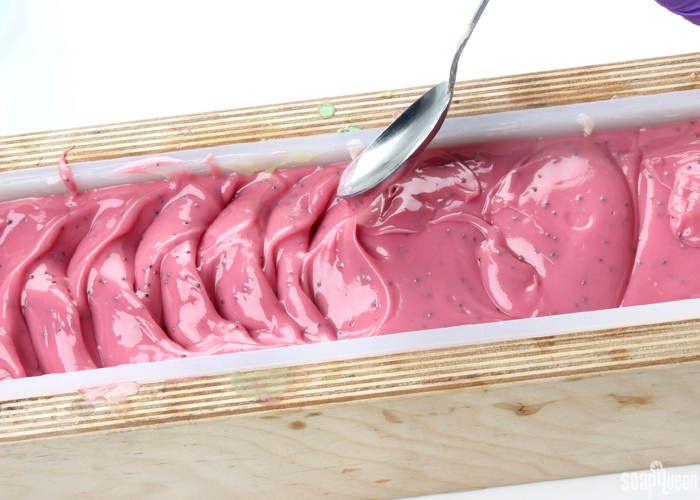
 TWELVE: Use a spoon to create peaks and texture on top of the soap. There is no right or wrong way to do this, just keep manipulating the soap until you’re happy with the look. Sprinkle poppy seeds on top, concentrating them towards the center. Spritz the top of the soap with 99% isopropyl alcohol to help prevent soda ash. Cover the soap to insulate and help promote gel phase. Allow it to insulate overnight. Allow the soap to stay in the mold for about 3-5 days. Unmold, and allow to cure for 4-6 weeks.
Are you already making summer inspired projects? It feels early…but summer will be here in no time!
Click to View the Recipe
- 5 Pound Wood Mold with Sliding Bottom
- Silicone Liner for 5 Pound Wood Mold
- 5.5 oz. Avocado Oil
- 1.7 oz. Castor Oil
- 13.8 oz. Coconut Oil
- 3.9 oz. Mango Butter
- 16.5 oz. Olive Oil Pomace
- 13.8 oz. Palm Oil
- 16 oz. Distilled Water
- 7.7 oz. Sodium Hydroxide Lye
- 2 oz. Summer Melon Spritzer Fragrance Oil
- 1 oz. Watermelon Fragrance Oil
- Magenta Mica
- Titanium Dioxide
- Green Chrome Oxide Pigment
- Kermit Green Mica
- Poppy Seeds
- Slowly and carefully add the lye to the water and gently stir until the lye has fully dissolved and the liquid is clear. Set aside to cool.
- Melt and combine the avocado oil, castor oil, coconut oil, mango butter, olive oil pomace and palm oil (don't forget to completely melt the entire container of palm oil until completely clear). Once the lye water and the oils have cooled to 110-120 F degrees or below (and are ideally within 10 degrees of each other), add the lye water to the oils and stick blend until thin trace. If you’d like a harder bar of soap that releases faster from the mold, you can add sodium lactate to the cooled lye water. Use 1 teaspoon of sodium lactate per pound of oils in the recipe. For this recipe, you’d add about 3.5 teaspoons sodium lactate.
- Once the soap has reached a thin trace, split off three containers with 350 mL each.
- To one of the small containers, add 2 teaspoons of dispersed Kermit Green Mica. To one of the other small containers, add 1 teaspoon of the dispersed Chrome Green Oxide. Use a whisk to mix in both colorants completely.
- Add a small amount of the fragrance oil blend into both green containers, and use a whisk to completely mix in. Give the large soap container a whisk to help keep it fluid.
- If your green soap batter is still quite thin, stick blend each container until its a medium to thick trace. Pour about ⅓ of green soap down the length of the mold. Then pour about ⅓ of the light green soap down the length of the mold, next to the dark green. Continue pouring strips of each color down the length of the mold. Don’t worry about making them perfectly straight or even.
- Once both colors have been poured into the mold, use a spoon to smooth out soap. Tap firmly on the counter to help eliminate bubbles.
- To the last small container, add all of the dispersed titanium dioxide and use a whisk or spoon to thoroughly mix in. Pour all of the white soap into the mold, and use a spoon to spread it evenly. Tap firmly on the counter to help eliminate bubbles.
- To the large container of soap, add all of the dispersed Magenta Mica and use a whisk to stir in. Then, add the remaining fragrance oil blend and use a whisk to completely mix in.
- Add one heaping tablespoon of poppy seeds into the soap, and mix in. If you prefer more poppy seeds, feel free to add more.
- Place the pink soap on top of the white evenly throughout the mold. Tap the mold firmly on the counter to help get rid of bubbles and disperse the batter.
- Use a spoon to create peaks and texture on top of the soap. There is no right or wrong way to do this, just keep manipulating the soap until you’re happy with the look. Sprinkle poppy seeds on top, concentrating them towards the center. Spritz the top of the soap with 99% isopropyl alcohol to help avoid soda ash. Cover the soap to insulate and help promote gel phase. Allow it to insulate overnight. Allow the soap to stay in the mold for about 3-5 days. Unmold, and allow to cure for 4-6 weeks.





Hi what can be a good substitute of poppy seeds?
Strawberry, cranberry, or broccoli seeds will work in this recipe.
Strawberry seeds: https://www.brambleberry.com/Strawberry-Seeds-P4091.aspx
Cranberry seeds: https://www.brambleberry.com/Cranberry-Seeds-P4089.aspx
Broccoli seeds: https://www.brambleberry.com/Broccoli-Seeds-P6812.aspx
The first time I made this recipe everything went GREAT! Everyone loved it so I decided to make two more batches! Both of the last two got a lot of soda ash while curing and they are cracking at the bottom!!! HELP!!
Where the soap is cracking, does it have ash around it? Sometimes the soda ash can be deeper, which causes that cracking.
How would I go about adjusting this recipe down to fit the 10″ silicone mold?
You can use our Lye Calculator to resize that recipe. This post shows you how: https://www.soapqueen.com/bath-and-body-tutorials/tips-and-tricks/how-to-resize-cold-process-soap-recipes/
That post was made before our website update so it does look a bit different. However, the steps are still the same with the new calculator. 🙂
Lye Calculator: https://www.brambleberry.com/Pages/Lye-Calculator.aspx
-Kelsey with Bramble Berry
Thank you so much!
Hello, o have a question. I’ve been incorporating Beer into some of my soap recipes and I found a watermelon lager, it’s not very dark but more of a tan color. I already boiled and froze into cubes. I’m about to start to make this recipe but do you think I should freeze the soap instead of letting in go through gel phase because of the beer? Thank you for any helpful hints. I’m thinking of doing s full beer sub for water at a 2:1 beer to lye ratio? What do you think?
I think freezing it instead of gelling it would be a good idea! If beer soap gets hot, it can discolor a bit. The cooler it is the less discoloration you get. Even cooler, the beer may affect the color – we’ve found it usually discolors brownish. You may want to color your whole batch with titanium dioxide to make it a more neutral color. You can also use a mixture of beer and water to prevent that discoloration as well. 🙂
Learn more about working with beer here: https://www.soapqueen.com/bath-and-body-tutorials/tips-and-tricks/how-to-use-alcoholic-beverages-in-cold-process-soap/
-Kelsey with Bramble Berry
Thank you. Also, one more question (sorry) 25% CO, I’ve never gone over 2o% due to drying my skin. Do you think s combo PKO and CO would help?
No worries, I’m happy to help! If you find too much coconut oil drying, you can definitely do a mix of coconut oil and palm kernel oil. Remember to run the recipe through the Lye Calculator after any substitutions. 🙂
Lye Calculator: https://www.brambleberry.com/Pages/Lye-Calculator.aspx
-Kelsey with Bramble Berry
Love, love , love this can’t wait to make it.
I’ve scaled ithe recipe down to a 10″ silicone mould using the bramble berry calc….my question is when separating the soap it into the 3 jugs for colour mixing how much will I put in each please??
Thank you 🙂
I would recommend doing the three containers with 100 mL to start with. If you notice that seems a bit small, you can add another 50 mL or so. That should give you enough for the rind. Have fun Erin! 🙂
-Kelsey with Bramble Berry
Hi guys!
I’ve been working with M&P for a while and found it not terribly challenging and the bases quite drying – so I attempted this CP soap for my first ever go at it! Suffice to say, it came out *brilliantly* and set really quickly. I’ve sliced off a portion now to check layers and I love it. Going back in the mould for a little more setting time though!
(Picture here! https://drive.google.com/open?id=0B_9x25tObcA5NXlyZThPUWllQ3c)
Oh that looks amazing Anna! I especially love the texture you created on top. 🙂
-Kelsey with Bramble Berry
Thank you Kelsey! It was mostly me going ‘Hmmm.’ and messing around with the back of a spoon! 😀
Ha, that’s awesome! That’s usually how it goes for me too. 😉
-Kelsey with Bramble Berry
I loved making this soap and it smells fantastic! I did get a bit of ash on the top, but know I can easily wash this away prior to gifting. One question I have is that I made this soap on June 17th and it is still showing high ph even after 6 weeks. Do you have a recommend curing time or did I do something wrong? Thanks!
Hmm, that pH should be normal (9-10) after about 5 days. What level is it at now? Let me know and I’ll help you troubleshoot! 🙂
-Kelsey with Bramble Berry
Insert a smile, my PH is between a 8-9. I have two tester types of strips, one that goes from 1-6 and then one from 1-13, the first one was reading at a 6 and the second after checking is between 8-9! Lesson learned, make sure to read strips right. Now I get to enjoy this soap, at first suds it is very smooth and silky on the skin. Love it already!
Oh that’s awesome! Perfect pH level. Enjoy Erin. 🙂
-Kelsey with Bramble Berry
so beautiful .
Thank you so much Moh, glad you like the soap! 🙂
-Kelsey with Bramble Berry
Hi, I made this soap with my kids earlier in the week and just unmolded it today. One thing I did was rescale it to fit my smaller 10″ silicone mold, but I forgot to scale down the amounts of green so my watermelon had too much rind. But, my question is this: the soap is really soft; a lot softer than other soap I’ve made. Is this recipe softer than other bars? I’m thinking specifically of the Sahara Sunset soap, which was the last one I made, which was much harder. Any thoughts? I am about to order more oil so I can try this one again and get the rind-fruit ratio correct, but this one was a lot of fun.
Both this recipe and the Sahara Sunset have similar hard oil contents! However, the Sahara Sunset Soap did have an accelerating essential oil and is thicker when it’s layered in. If your watermelon soap was cooler it may be a bit softer as well! A really hot gel phase helps the soap harden more quickly. However, it should harden in the next couple days so you can unmold, cut and start curing. 🙂
Read more about gel phase here: http://www.soapqueen.com/bath-and-body-tutorials/tips-and-tricks/gel-phase/
If you’re not already, we recommend using sodium lactate! Adding 1 teaspoon per pound of oils
to your cooled lye water helps that soap unmold more easily!
Read more about sodium lactate here: http://www.soapqueen.com/bramble-berry-news/sunday-night-spotlight-sodium-lactate/
-Kelsey with Bramble Berry
Sahara Sunset Cold Process Soap Tutorial: https://www.soapqueen.com/bath-and-body-tutorials/cold-process-soap/sahara-sunset-cold-process-soap-tutorial/
hi beauty. Are they US Ounces or UK Ounces ? i wanna try to make it..
These are in U.S. ounces! To convert them to U.K. units, you can use a search engine like Google. Type in “5.5 ounces in grams” and it will give you the correct measurement. 🙂
-Kelsey with Bramble Berry
I purchased this kit, it turn out great. But it started to have ash on top, I followed your instruction to the tee and sprayed it the correct alcohol. Please tell me how to fix it.
So glad the soap turned out well! Sorry about that soda ash. Sometimes even with alcohol it can form. It helps to soap a little warmer (around 120-130F). It also helps to pour the soap when it’s thicker and force gel phase! If you took all those steps already and it’s still there, don’t worry! You can get rid of soda ash with steam or an old nylon. 🙂
Learn how to wash away soda ash in this post: http://www.soapqueen.com/bath-and-body-tutorials/tips-and-tricks/explaining-and-preventing-soda-ash/
This post has more information on gel phase: http://www.soapqueen.com/bath-and-body-tutorials/tips-and-tricks/gel-phase/
-Kelsey with Bramble Berry
Im trying to make this one 🙂
but i dont have the Magenta Mica, if i use Raspberry Mica is it going to work ?
🙂
Hi Nasser!
Raspberry Mica would look beautiful as well! The color will be slightly different, but I still think it would be a beautiful watermelon hue 🙂
-Amanda with Bramble Berry
Hi there! Can this wood mold go into the oven for CPOP? Thanks!!
We don’t recommend using this mold for CPOP. It’s held together with glue, which can melt in the oven and cause your mold to fall apart. You can use the 2 or 4 pound wood mold though! They’re held together with wingnuts and work well for CPOP. 🙂
2 lb. Wood Loaf Mold: https://www.brambleberry.com/2-lb-Wood-Loaf-Mold-P5239.aspx
4 lb. Wood Loaf Mold: https://www.brambleberry.com/ELF-4-lb-Wood-Loaf-Mold-P5240.aspx
Learn more about CPOP here: https://www.soapqueen.com/bath-and-body-tutorials/cold-process-soap/hot-process-series-cpop-swirls/
And this post shows you how to resize the recipe for smaller molds: https://www.soapqueen.com/bath-and-body-tutorials/tips-and-tricks/how-to-resize-cold-process-soap-recipes/
We have updated the Lye Calculator since that post, so it does look a bit different. It still works the same though! 🙂
-Kelsey with Bramble Berry
I just ordered the kit for this last week and I can’t wait to try it. One question though, how much titanium dioxide do you use? If I’m reading correctly, it’s 2 tsp. Is that correct?
Hi Cheryl!
That is correct! For this recipe, you’ll mix in 2 teaspoons of the titanium dioxide into 2 tablespoons of a lightweight liquid oil like sweet almond. Then, you’ll add all of that colorant to the soap.
Thanks so much for your order! Have fun giving this soap a try, and let us know how it goes. 🙂
-Kelsey with Bramble Berry
I’m brand new to soap making and still trying to learn all the ins and outs of the process. In this recipe it mentions a water discount and gel phase. I’ve read the articles regarding gel phase, but I’m still confused. Other than color effect, what is the significance, and when is it appropriate to allow gelling? What do you cover the soap with to promote gel phase (towel, paper, etc?).
As for water discount, what is this used for and how do you calculate for new recipes?
Thanks so much for the help!
Hi Caitlin!
Whether you gel your soap is mostly personal preference! Both gelled and ungelled soaps feel the same, it’s mostly aesthetic. Gelled soaps have a brighter, slightly shiny appearance some people really love. The gel phase also helps speed up the saponification process slightly, so you can generally unmold your soap more quickly.
Whether you gel your soap is up to you! I would recommend trying both ways. If you want to keep the soap cool and prevent partial gel phase (which looks like a darker ring on the inside of the soap), you can leave it in a cool part of your house or in the fridge or freezer for 5-24 hours. To gel the soap, pop a piece of cardboard or a cutting board on top and wrap with a towel or blanket. You can also put it on a heating pad for 20 minutes on medium.
Read more about gel phase here: http://www.soapqueen.com/bath-and-body-tutorials/tips-and-tricks/gel-phase/
And when to insulate your soap here: http://www.soapqueen.com/bath-and-body-tutorials/tips-and-tricks/when-to-insulate-handmade-soap/
Water discounting helps the soap harden and cure more quickly, as there is less water in the recipe to evaporate. It’s great to use if you have a softer recipe you want to cure more quickly. It’s also great if you’re using an additive that has extra water, like fruit puree. 🙂
This post talks about water discounting and how to calculate it for your recipe: http://www.soapqueen.com/bath-and-body-tutorials/tips-and-tricks/water-discounting-cold-process-soap-how-why/
-Kelsey with Bramble Berry
Thanks Kelsey! That helps a lot!
You’re welcome! 🙂
I made this soap today. I’ll post pictures after it’s cut. I didn’t have any poppy seeds, but I think chia seeds worked just as well! Also, made this soap in two parts, which made it easier and less rushed–the bottom two layers yesterday and the pink top today. Can’t wait to unmold it. Thanks for the recipe!
That’s awesome, glad your soapmaking session went well! Can’t wait to see the pictures. 🙂
-Kelsey with Bramble Berry
Thanks for the chia seed idea. I used the same colors as this tutorial, but I work at lower temperatures, so my soap never gelled. The result is more pastel, but people’s reaction has been great. This is a keeper. https://m.facebook.com/innersunsoap/photos/a.763967380309668.1073741828.762883177084755/1176087565764312/?type=3&source=48
Oh wow, those bars look amazing Amanda! I love the shimmery golden stamp too. 🙂
-Kelsey with Bramble Berry
I would love to try this! Since I’m newer to soap making I would like to try this in a smaller mold. How would I reformulate the recipe to fit a mold like the 10 inch silicone mold? This looks PERFECT for summer!
Just use 33 oz of oil and enter all the same percentages as in the above recipe. That will give you 3 lbs of soap that fit in their 10 inch silicone mold. HTH
Hello,
I am fairly new to soapmaking too and I would like to make this in a 2 lb loaf…I still don’t quite know how to re-figure a recipe like this in a 5-lb mold to making it in a 2lb mold.
Sorry!! Still trying to figure this out.
Tresa
Hi Chelsea and Tresa!
You can resize recipes easily using our Lye Calculator! It involves plugging in the percentages to find out how much oil to use. This post shows you how to do that step by step: https://www.soapqueen.com/bath-and-body-tutorials/tips-and-tricks/how-to-resize-cold-process-soap-recipes/
We have updated our website since then, so the Lye Calculator does look a bit different. However, it still works the same as in the pictures. 🙂
Lye Calculator: http://www.brambleberry.com/Pages/Lye-Calculator.aspx
-Kelsey with Bramble Berry
This looked too much fun not to try! I used some pink clay instead of the red mica and because I did not have a watermelon scent , I blended some Cucumber Melon with Pearberry and got real close to a watermelon with a twist 😉
Turned out amazing!
Thank you so much!!!
That’s awesome, the blend sounds super fruity and perfect for summer! If you have a picture of the bars we’d love to see them on our Facebook page. 🙂
Bramble Berry Facebook: https://www.facebook.com/BrambleBerry/
-Kelsey with Bramble Berry
Cucumber Melon Fragrance Oil: https://www.brambleberry.com/Cucumber-Melon-Fragrance-Oil-P3857.aspx
Pearberry Fragrance Oil: https://www.brambleberry.com/Pearberry-Fragrance-Oil-P3929.aspx
Sweet
Thank you, glad you like the tutorial!
-Kelsey with Bramble Berry
This soap looks amazing! I can’t wait to try this one 😀
Question: The colorants I use disperse in water. Do I use the water from the recipe to mix my colorants, OR add an additional amount of water to mix the colorants?
I.e. 16oz water minus 2 tablespoons for each colorant
or
16oz water plus 2 tablespoons for each colorant
Hi Troy!
With a small amount of water like a couple tablespoons, we don’t usually water discount! However, if you’re adding an ounce or more of extra water, I would recommend discounting that from the main water amount. That way the soap doesn’t get too wet.
Have fun making watermelon soap! 🙂
-Kelsey with Bramble Berry
What an amazing bar of soap! I am new to Soapmaking, and am amazed at the beautiful soaps from Brambleberry!
Thank you so much for saying so Kimberly! It means a lot to us. 🙂
-Kelsey with Bramble Berry
Dulce, lindo, un jabón de verano!
Thank you so much Marcela! 🙂
-Kelsey with Bramble Berry
Could I make this with fresh goats milk?
Would I need to replace the mica colors with pigments? I don’t let my milk soaps go through gel?
If so which colors?
Thank you!
Hi Malissa!
You can definitely make this soap with goat milk! It will add a nice creamy feeling to the bars. You can use the same colors for this recipe as well. They may not be quite as bright because they won’t go through gel phase, but they’ll still look really nice. 🙂
Learn more about working with milk here: http://www.soapqueen.com/bath-and-body-tutorials/tips-and-tricks/how-to-add-lye-to-milk-for-cold-process-soap/
-Kelsey with Bramble Berry
Beautiful!
Thanks for your sweet comment Natalie! 🙂
-Kelsey
I agree with Jackie, it looks awesome!!! 🙂
Thank you Martina! 🙂
-Kelsey with Bramble Berry
I love this soap! It looks so incredible. As soon as I get the mica and fragrance, I’ll be giving this a try!
So glad you love this soap Jackie! Have fun making it. Your soaping area will smell amazing. 🙂
-Kelsey with Bramble Berry