Spring is the perfect time to create projects inspired by nature. The outdoors become filled with blooming flowers, ripe produce and fresh scents. This time of year translates perfectly into bath and body projects with bright color palettes, botanicals and floral fragrances. If you are looking for spring inspired projects, I’ve got you covered! If you’re brand new to creating your own bath and body products, I’ve written a handy guide to starting out. You can find this free guide here.
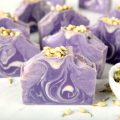
Dried herbs and flowers are a great way to add the look of spring to soap. In the Juicy Orange and Sweet Rose Cold Process Soap, rose petals and dried orange peels accent an orange in-the-pot swirl. Chamomile herbs add texture to the cheery Yellow Chamomile Cold Process Tutorial. Floral fragrances are also a fantastic way to celebrate spring. In the Modern Cherry Blossom Tutorial, the soft Cherry Blossom Fragrance Oil gives a soft feminine scent. If you love the powdery and light scent of lilac, the Layered Lilac Loofah Cold Process smells incredibly realistic. If you’re new to soapmaking, here’s a FREE Beginners Guide to Soapmaking.
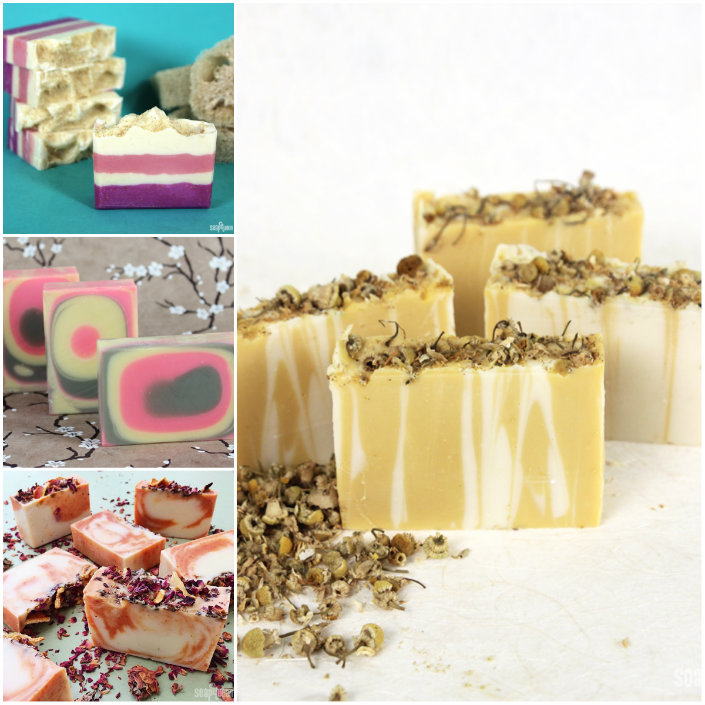 Top left, clockwise: Layered Lilac Loofah Cold Process, Yellow Chamomile Cold Process, Juicy Orange & Sweet Rose Cold Process, Modern Cherry Blossom
Did you know it was easy and inexpensive to make your own bath fizzies? It is! Here are some perfect spring tutorials just for you. Dried flowers are also the perfect addition to bath bombs and teas. In the Lavender & Clay Mondo Bath Fizzy, dried lavender and lavender essential oil create a calming bath experience. Looking for a tropical getaway? The Pikake Flower Bath Bombs smell of traditional Hawaiian leis. Fresh herbs infused with essential oils add scent and moisture in the Mother’s Day Bath Tea Tutorial.
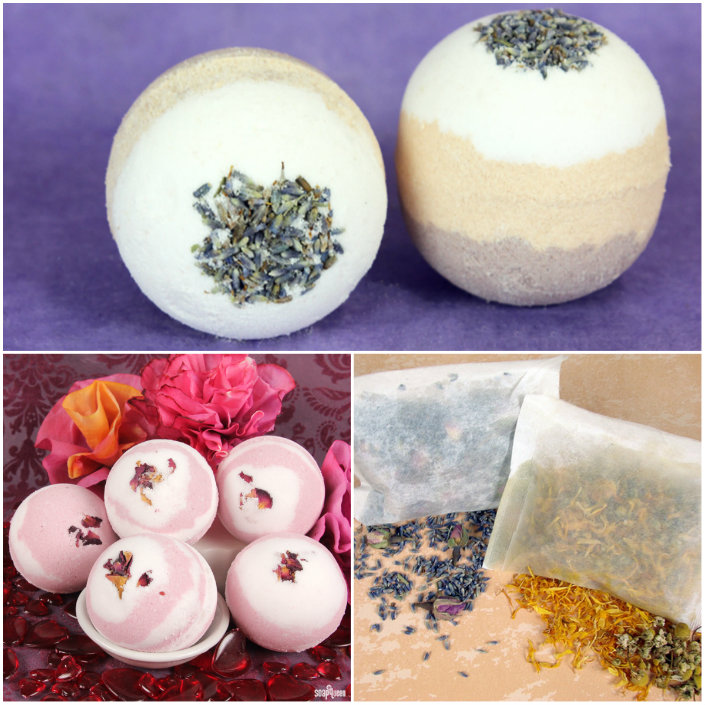 Top row: Lavender & Clay Mondo Bath Fizzy
Bottom Row: Pikake Flower Bath Bombs, Mother’s Day Bath Tea
If you’re looking for more projects to show mom your love this Mother’s Day (it is coming up soon, my friends), the Gentle Gel Serum is incredibly luxurious. Made with Carrot Seed Essential Oil, the serum is great for mature skin. The Pink Salt and Shea Bath Bars uses pink sea salt and a fresh floral scent to create a wonderfully feminine melt and pour soap. If your mom enjoys cosmetics, the soft and shiny Rosy Red Lip Gloss gives a sheer tint inspired by fresh roses.
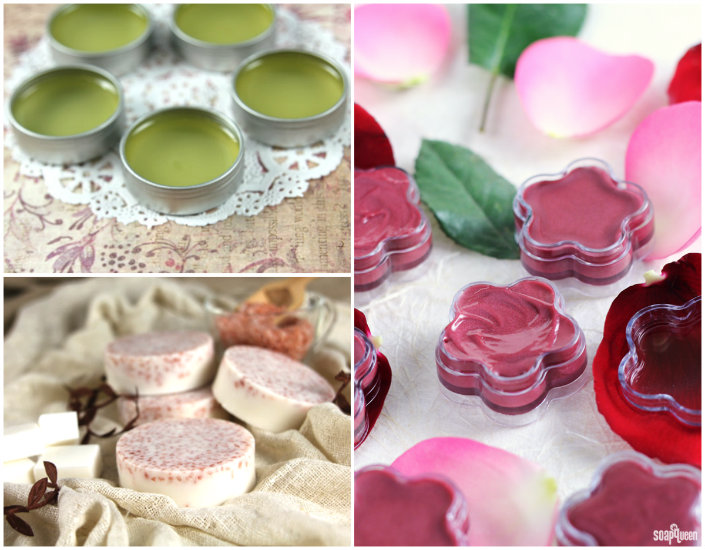 Top left to right, clockwise: Gentle Gel Serum, Rosy Red Lip Gloss, Pink Salt and Shea Bath Bars
With fresh blooms comes gardening! If you are a gardener, your hands may be in need of some extra TLC. Scrubby soap is perfect for removing dirt and dead skin build up from working outside. The Handmade Soap for Gardeners made with coffee grounds is super exfoliating. If you prefer gentle exfoliation and a beginners DIY project, the Minty Clay Melt and Pour Bar, made with poppy seeds and peppermint essential oil leaves skin soft and fresh smelling. Love a minty scent? The Cranberry Seed Foot Scrub is perfect for both feet and hands. If you’re new to melt and pour soapmaking, here’s a FREE Beginners Guide to Melt and Pour soapmaking.
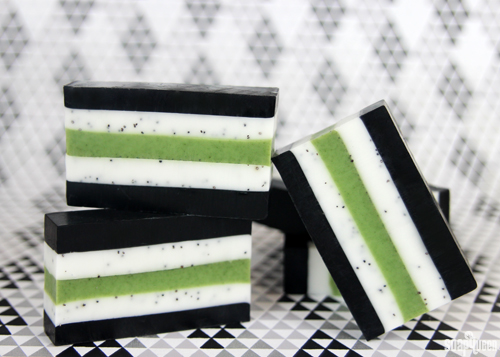
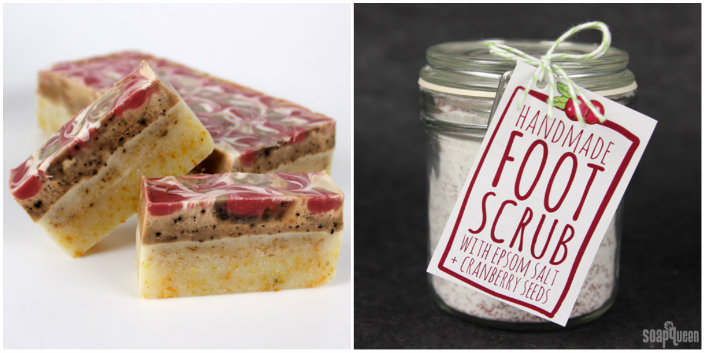 Top Row: Minty Clay Melt and Pour Bars
Bottom Row: Handmade Soap for Gardeners, Cranberry Seed Foot Scrub
What kind of spring inspired projects are you making? I would love to see your photos on the Bramble Berry Facebook page!
Hi! I am new to the soapmaking world, did a MP soap and a CP soap and the last one volcanoed like crazy, too hot and mi kitchen too cold since I had opened the window and it was a chilli night. The thing is I search in your webpage and found the rebatch way to fix it, but I think I used way too much water and now it’s been three days since I unmolded and the soap Is really soft and moistured. Can I put it in the oven to speed up the drying process? Please help, I’m starting to think not doing CP again 🙁
Hi Victoria!
Oh no! I have definitely had a soap get too hot on me. Soaping around 100-130F and putting your soap in the fridge or freezer after it’s in the mold helps prevent soap volcanoes. Read more in the Soap Behaving Badly post: http://www.soapqueen.com/bath-and-body-tutorials/tips-and-tricks/soap-behaving-badly/
Also, the excess water will eventually evaporate, making your bars nice and firm! It may just take a bit of waiting. I would recommend leaving it in a cool, dark place with good air flow for another week or two. After that time, it should be ready to use!
If you do put it in the oven, I would recommend having it at 170F or lower. Any hotter than that and the soap may start to melt.
Definitely don’t give up! We have all had our share of soapy mishaps. However, each one helps you learn more for the next time you make soap. 🙂
-Kelsey with Bramble Berry