Milk soap involves replacing all, or part, of the water in a cold process recipe with milk. Milk options include (but are not limited to) cow milk, goat milk, almond milk, soy milk and milk powders. Soap made with milk is known for its luxurious feel and creamy lather. In particular, people with sensitive skin love milk soap due to its gentle nature.
The only downfall of milk soap? It’s trickier to make than soap made with water. When adding lye to any soap making liquid, the temperature of the liquid can reach up to 200°F. Milks contain natural sugars, and when these sugars reach high temperatures, the milk will scorch. Scorched milk does not smell pleasant, and the milk turns from a creamy white to a golden yellow. Making soap with a scorched lye/milk mixture will not ruin your soap. But, the dark color of the milk may alter the colors in your soap. The smell of the scorched milk may also give your soap an unpleasant, ammonia-like smell for up to 10 days after the soap is made. To see an example of scorched milk, check out the Goat Milk Soap Tutorial on Soap Queen TV.
There are a few different ways to deal with this (everything from water discounting and adding the milk at the end, doing half milk and half water and more). But my favorite method has to do with temperature. The key to making soap with milk is to keep temperatures low by freezing the milk beforehand. To do this, measure out the amount of milk that you’ll need for your recipe. If using a milk powder, measure out your distilled water and add the appropriate amount of powder and stir until fully incorporated. If you are using Bramble Berry’s goat milk or coconut milk powder, we recommend 1 oz. of powder per 8 oz. of distilled water.
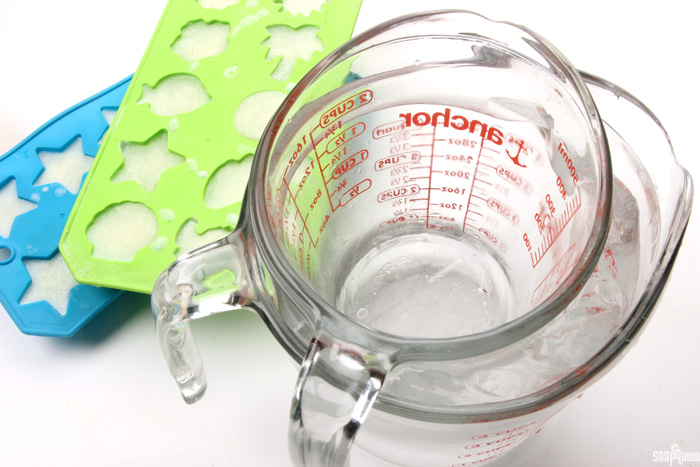
Pour the measured milk into ice cube trays, and place in the freezer. Allow the milk to fully freeze. Once you’re ready to make your soap, measure the amount of lye needed for your recipe. Place a mixing container that is large enough to comfortably fit the milk ice cubes into an ice bath. Place the milk ice cubes into the container resting in the ice bath.
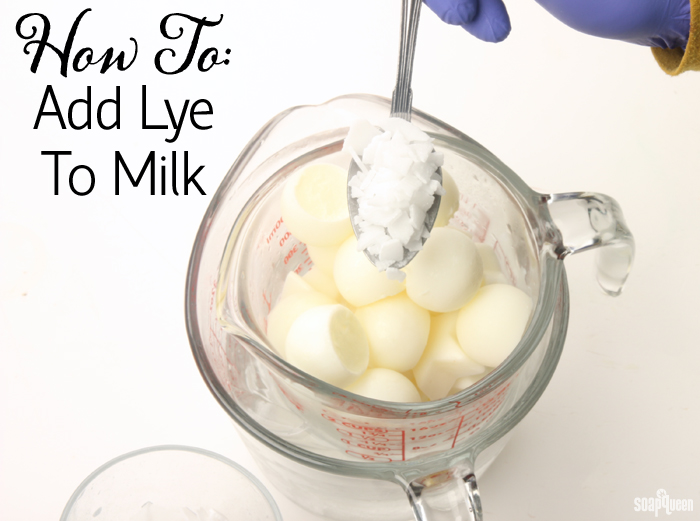
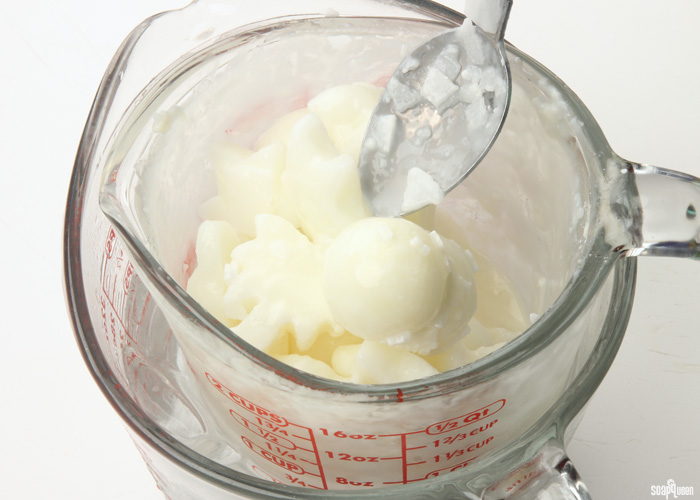
 Add one spoonful of the measured lye onto the milk ice cubes. Stir the lye flakes with the ice cubes. Continue to slowly add the lye into the frozen milk, and continue to stir.
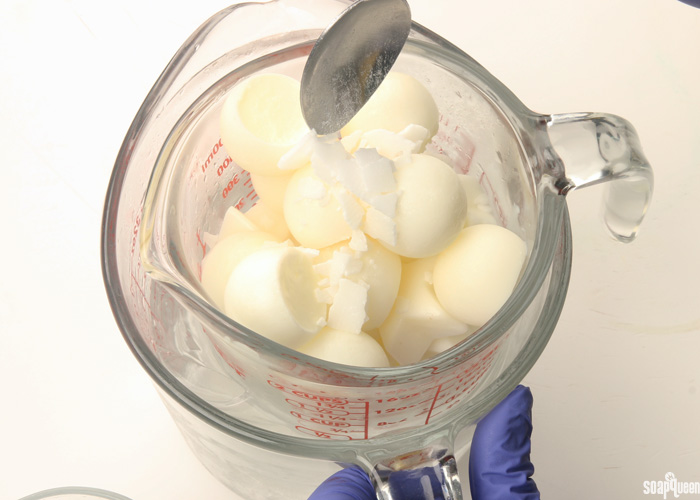 Keep stirring! The process of adding the lye flakes into the frozen milk will take about 10 minutes. Adding the lye slowly and stirring in between each addition will help keep the temperatures low. If you were to add the lye all at once, the temperature of the milk would rise very quickly.
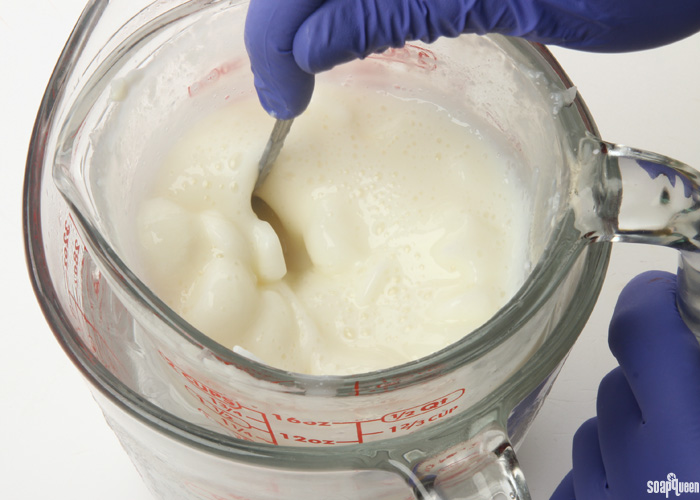
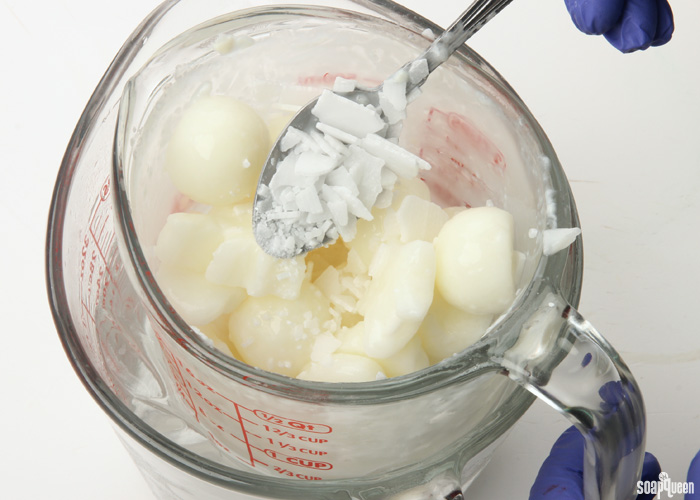 You will begin to notice the milk slowly melting. Continue to add the lye in small amounts, and stir, stir stir!
 Once all the lye has been added, continue to stir until you are 120% sure that all the lye flakes have dissolved. Because the frozen milk keeps the mixture cold, the lye takes a while t dissolve. Patience is key! Any undissolved lye in your soap could cause skin irritation, or even lye burns.
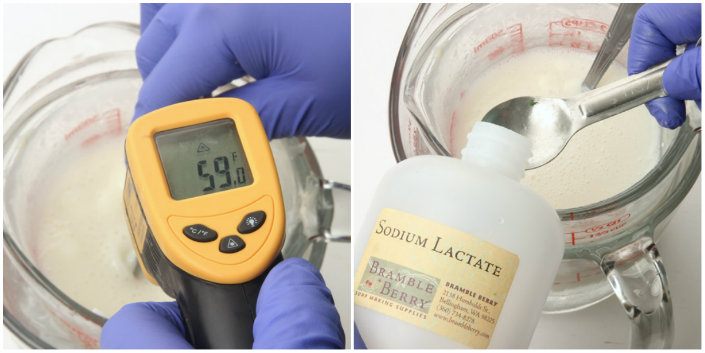
 Once lye has completely dissolved, the milk should be around 50-65° F. If you’d like, add sodium lactate to the lye mixture at a rate of 1 tsp. per pound of oils. It helps the soap pop out of the mold faster, and creates a harder, longer-lasting bar of soap. Stir thoroughly to mix in the sodium lactate.
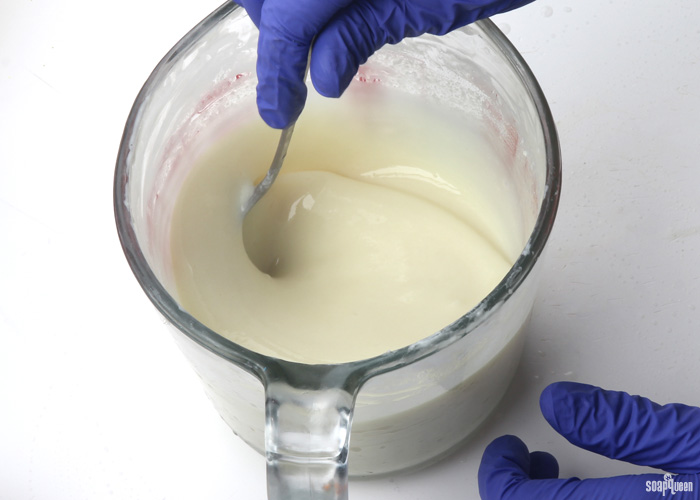
 Your milk is now ready to use! Ideally, your lye and milk mixture should be around 70° F. Much hotter than this, and your milk may begin to scorch. Add the milk to your hot oils and butters like normal, and proceed with your recipe as usual. Soap made with milk should not go through gel phase, as this will scorch the milk. To prevent gel phase, many soapers like to place their soap immediately into the freezer or fridge for 24 hours after pouring into the mold.
Have you ever made soap with milk before? What was your experience like? If you have any milk soap tips, I’d love to hear them!
