Temperature plays a very important part in soaping. It can affect the trace, color, texture and scent of your final soap. In general, we recommend soaping at around 120-130 ° F. This means that both the lye and oil are this temperature range immediately before the two are combined and the saponification process begins.
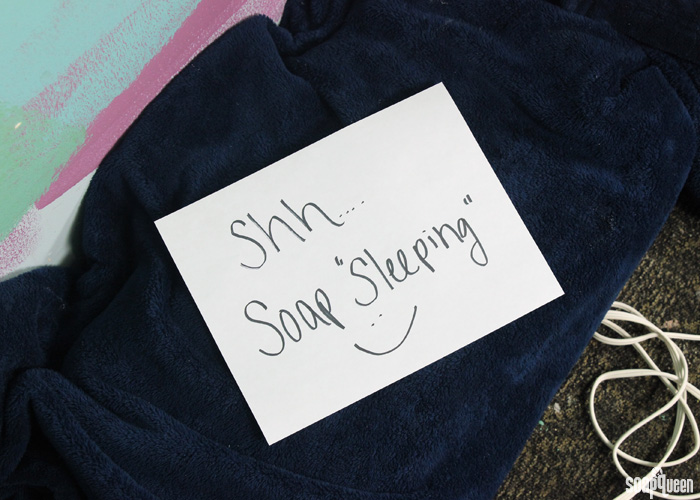
An important factor that affects the temperature of your cold process soap is insulating it after it has been poured into the mold. Insulating the soap involves covering the mold with a lid or homemade device (we often use cardboard) to keep the soap warm. In addition to covering the soap with a lid or cardboard, you can also wrap the mold in a blanket to insulate. For soap that has a textured top, I recommend creating a “tent” with cardboard and cover with a blanket to ensure the top of your soap is not smashed. Below is a soap covered in cardboard and wrapped in a blanket. I always write a little note so people don’t disturb the soap =)
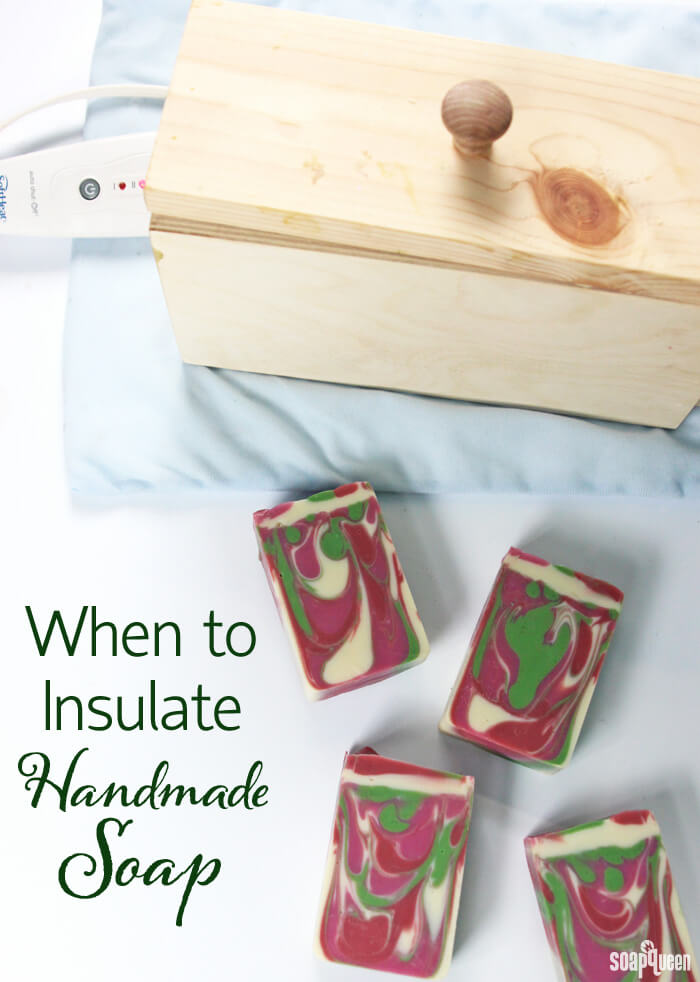
 Above, soap is being insulated with a lid and cardboard to promote gel phase.
Insulating cold process soap keeps temperatures warm while the soap hardens in the mold. The primary reason for insulating cold process soap is to promote gel phase. The term “gel phase” refers to a part of the saponifacation process where the soap becomes very warm in the mold – up to 180 ° F. Gelled soap also has a more translucent, shiny look than non-gelled soap. Gel phase is purely an aesthetic quality, and does not affect the quality of the soap. Click here to read more about gel phase, including photo examples.
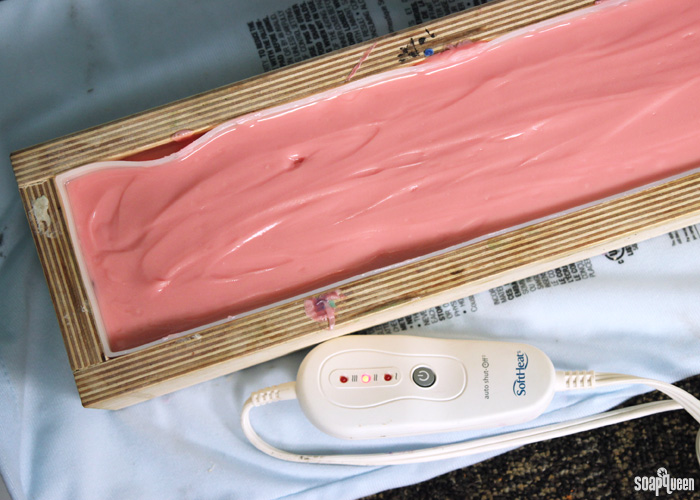
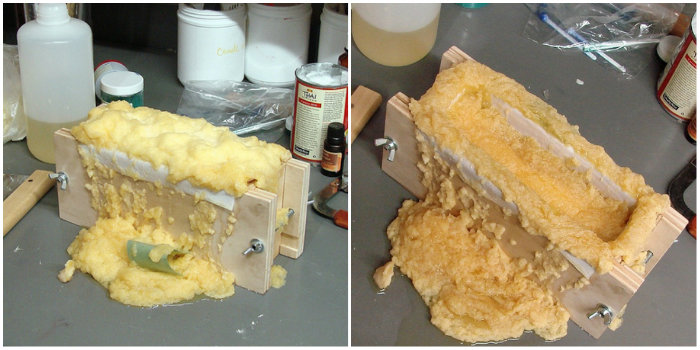
To ensure the soap goes through a complete gel phase, we like to place our soap on a heating pad for about 20 minutes on low/medium heat in addition to insulating. The hottest part of the soap is the center, and the heating pad gives the soap an extra heat boost that helps the entire soap (not just the center) reach gel phase. Below, are photos of a soap that was placed on a heating pad and covered with cardboard for about 20 minutes. You can see it’s going through a nice and hot gel phase!
 I like to gel the majority of my projects. The heat from gel phase really helps colors to pop. This is especially true for LabColors. If working with LabColors, I thoroughly recommend insulating your cold process soap with a lid and blanket to promote gel phase. Of course colors are a personal preference, but gel phase helps the LabColors to look bright and vibrant. Click here to read more about LabColors and gel phase in this blog post.
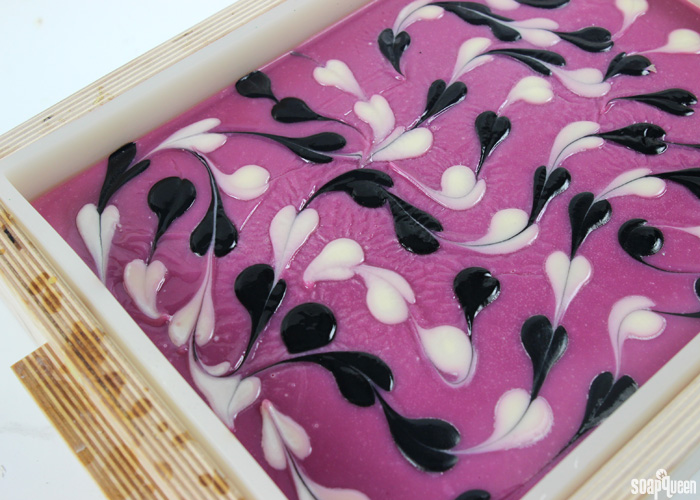
 Above is cold process soap that has gone through gel phase, notice the bright colors. Click here to learn more!
If you want your soap to go through gel phase, insulating is important. But, why else would you insulate cold process soap? Insulating cold process soap prevents soda ash from forming on the surface of your soap. Soda ash forms when unsaponified lye reacts with naturally occurring carbon dioxide in the air. Soda ash is completely harmless, but is an aesthetic issue. Soda ash usually occurs when soaping cold, when lye and oils are 100 ° F or below. Insulating cold process soap helps prevent soda ash by increasing the internal temperature of soap. Click here to read more about soda ash and how to prevent it.
If you choose to insulate your soap, it’s important to not let it get too hot. If cold process soap gets extremely hot, it can form “Alien Brain,” on top. Below is an example of Alien Brain; notice the wavy brain-like texture and complete gel phase throughout the soap. Alien Brain is a cosmetic issue, and does not affect the quality of the soap.
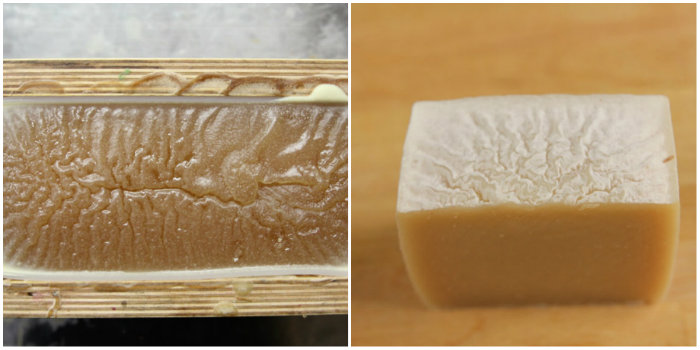
Soap can overheat for several reasons, including insulation, fragrance oils, a hot room temperature, additional sugars in your recipe, or hot lye and oils. Usually, when soap overheats it’s a combination of more than one factor! In the photos above, the soap overheated due to a fragrance oil that did not behave well in cold process soap. In the photo below, the soap overheated due to a combination of placing the soap on a heating pad, insulating and a warm room temperature. In the Soap Lab, it’s common for most soap to be placed on a heating pad and insulated to help promote gel phase. But now that the room temperature of the Soap Lab is rising, it appears the heating pad may not be necessary anymore! The great thing about the soap below is that it was created with LabColors, and the intense gel phase really made the colors pop! =)
If you live in a warm climate, you may never need to use a heating pad or insulate soap to promote gel phase. This is especially true if you choose to soap above 120 ° F. Extra warm soaping oils combined with a hot room can be enough to promote gel phase without insulation. It’s all about finding the right balance!
Your mold and fragrance oil are other factors to consider when deciding to insulate your soap. Large slab and loaf molds hold on to heat better than small individual cavity molds. If you are using a mold with individual cavities such as the 12 Bar Round Silicone Mold or the 12 Bar Oval Silicone Mold, the soap loses temperature quickly because of the small amount of soap. Soap molds such as the 12 Bar Square Silicone Mold hold heat slightly better, because there is not as much space between the individual bars. When using these molds, I usually place the mold on a heating pad and insulate to prevent soda ash. Some fragrance oils can naturally increase the temperature of freshly poured soap. In particular, fragrances containing spicy notes, such as clove or cinnamon, tend to naturally increase temperature.
On the flip side, there are scenarios when insulating your soap can cause adverse effects. Some soap recipes do not react well to heat and should be kept as cool as possible while in the mold. Soap made with milk is an example of this. When making soap with milk, it’s important to keep temperatures low so the natural sugars in the milk do not scorch. Scorched milk soap can have a mild unpleasant odor and an off-white color. To help keep temperatures low, some soapers like to place their milk soap in the fridge or freezer for several hours immediately after pouring the soap into the mold. If you’d like to learn more about soaping with milk, check out the tutorials below. Also, learn more about mixing lye with milk in this blog post.
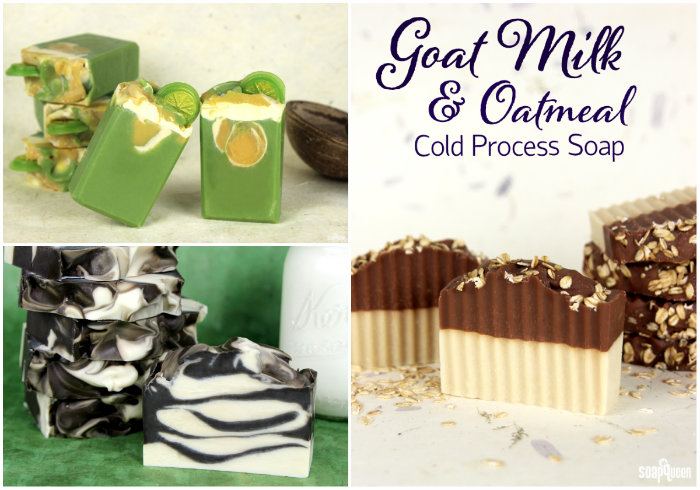 Top left to right, clockwise: Lime in the Coconut Milk Cold Process, Goat Milk and Oatmeal Cold Process, Creamy Cow Milk Cold Process
Other examples of cold process soap that may overheat include soap made with honey, juice, purees or any other ingredients that include sugar. Sugar naturally causes the temperature of soap to increase. Further promotion of heat via insulation can cause the soap to volcano, crack or alien brain. Just take a look at this soapy volcano that occurred when I created soap with coconut milk! Soap that contains melt and pour embeds or jojoba beads should also be kept fairly cool so the embeds and jojoba beads do not melt.
Choosing whether or not to insulate your soap is both a personal preference and a balancing act. First, you should consider whether or not you want your soap to go through gel phase. If you don’t want gel phase, do not insulate your soap (but be sure to spray with lots of 99% isopropyl alcohol to prevent soda ash!). You may even want to take precautions to prevent gel phase such as placing your soap in the fridge, because gel phase can sometimes occur without insulation. If you do want to promote gel phase, consider your soaping temperature, recipe and room temperature.
For example, if I’m soaping warm (around 130 ° F) and it’s hot inside and I added honey to my soap, I will not insulate my soap because the soap is already naturally warm and could overheat. But, if I’m soaping without honey around 130 ° F in a cold room, I will insulate my soap to keep temperatures warm. It’s all about balance, and yes…sometimes that balance can take a few batches to find =)
Do you insulate your soap, or not? I like to insulate just about all my recipes because I love the look of gel phase.
