The team and I get so many great soapy questions every day. They come to us on a wide variety of platforms, including the Soap Queen blog, Facebook, Instagram, Twitter and more. These questions have inspired many blog posts, like How to Substitute Oil in Cold Process Recipes and All About the Trace. I love giving soapers information, and helping them feel more confident in their craft. I love it so much that I wish that we could turn every question into a super in-depth blog post.
This is where “Soap Box Questions” comes in! From time to time, I will be covering interesting, fun and tough questions from around the web here on the blog. The first question comes from CJ on Facebook. CJ had some bath bomb troubleshooting questions, and wondered, “Can you add a small amount of melted shea butter soap to your bath bomb recipe?”
Such an interesting thought! I’ve never successfully experimented with adding melt and pour to bath fizzies, but was intrigued with the idea. My initial worry was adding the melt and pour soap to the bath bomb mixture would cause it to harden and clump up, making it difficult to form a smooth shape. It could also set off the fizzing reaction. Then I thought…’let’s try it and see‘!
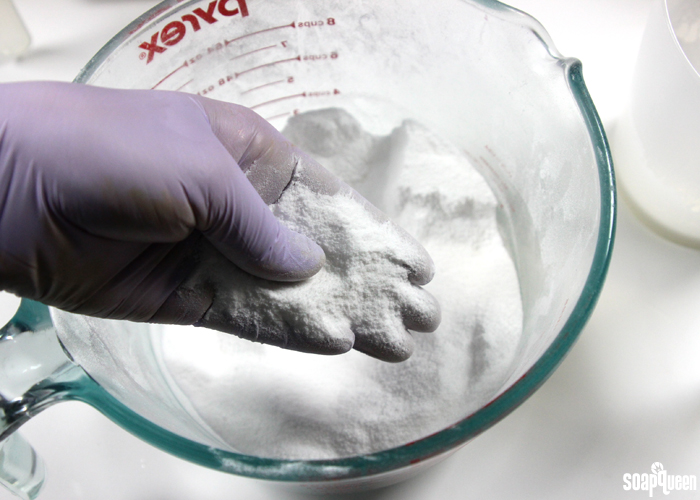
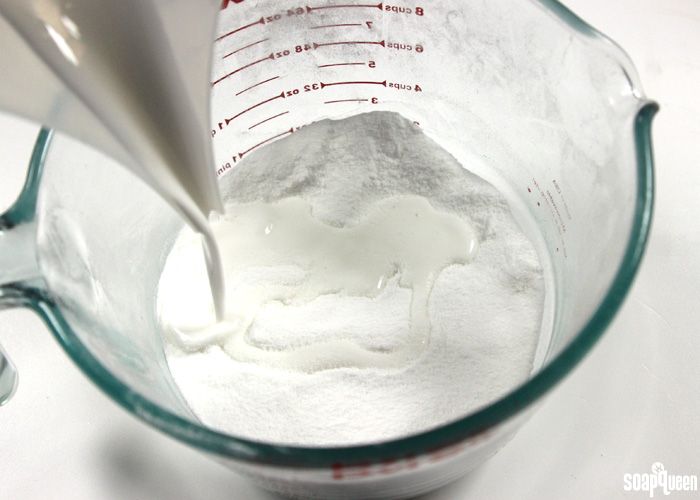
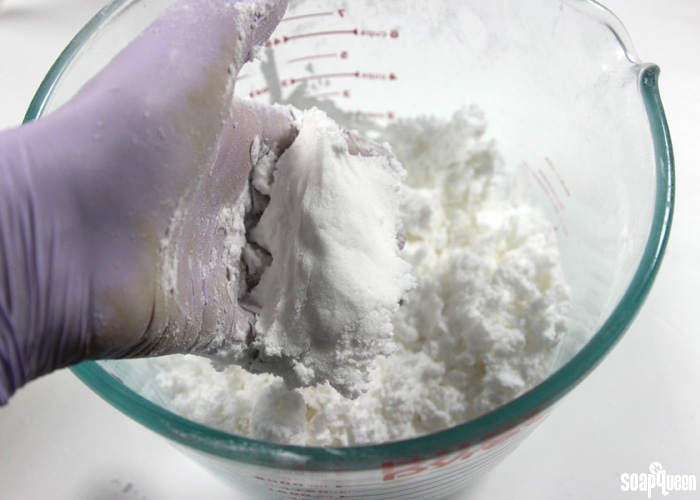
First, I made a basic bath bomb mixture consisting of 1 cup baking soda and 1/2 cup citric acid. Then I used my hands to get rid of any large clumps. Once my mixture was smooth I chopped and melted 2 oz. of White Melt and Pour Soap in the microwave using 15 second bursts.
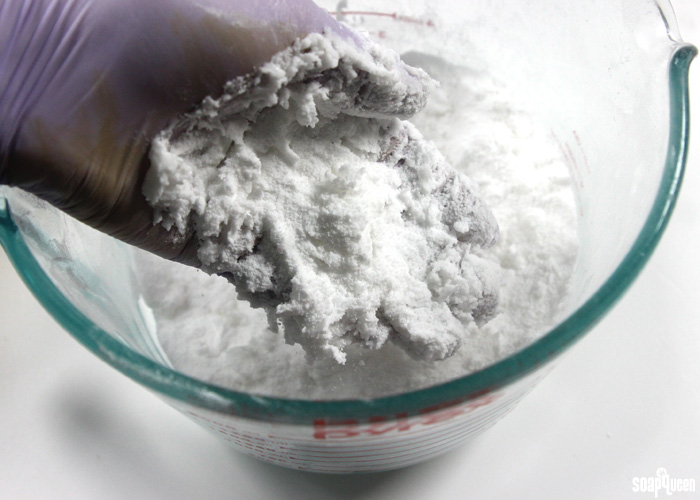
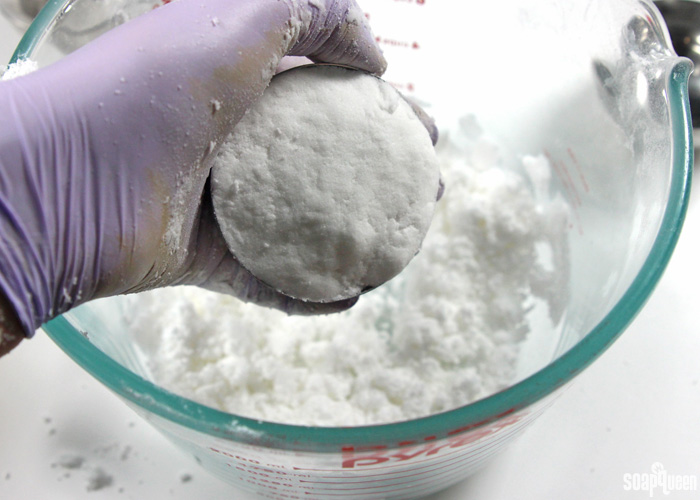
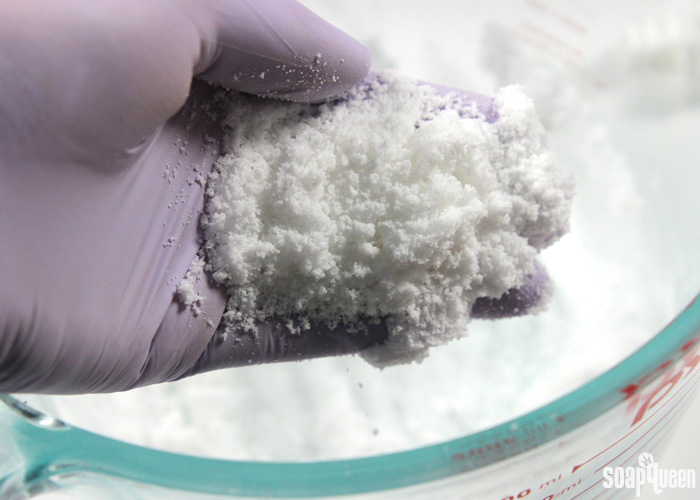
Then, I worked quickly to mix the melt and pour into the mixture using my hands. I was glad that I was wearing gloves, because the melt and pour was quite hot! I was a little surprised that the melt and pour stayed soft enough for me to thoroughly mixing it into the bath bomb mixture. I had expected little clumps of melt and pour, but it incorporated surprisingly well! In fact, it created a really interesting moldable texture, similar to a bubble bar.
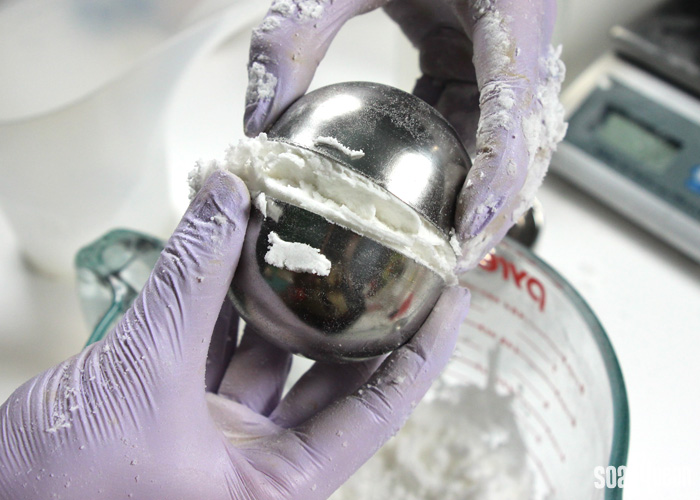
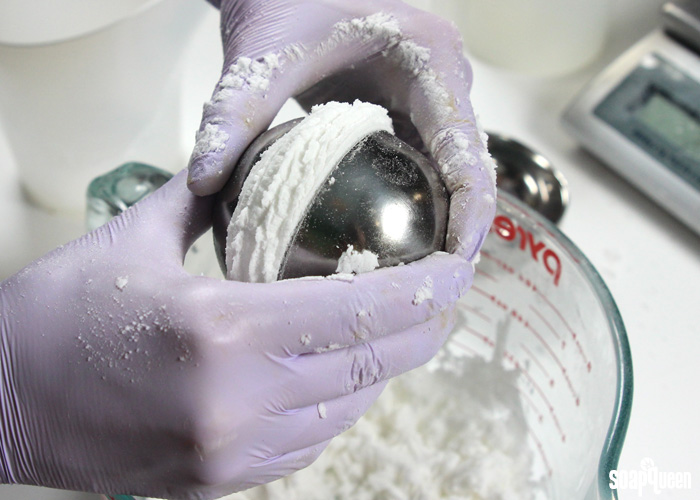
Then it came time to try to place the mixture into a mold. I grabbed the Stainless Steel Bath Bomb Molds and filled one half of the mold with the mixture. Then, I filled the other half. Here is when things got a little tricky. When I tried to place the two halves together, they would not adhere to each other. Additionally, the bath bomb mixture was slowly expanding, making it impossible to mold. I slightly under-filled a Bath Bomb Mold & Package and allowed the mixture to stay in the package overnight. This actually worked really well. After several hours the bath bomb hardened, but was still quite delicate.

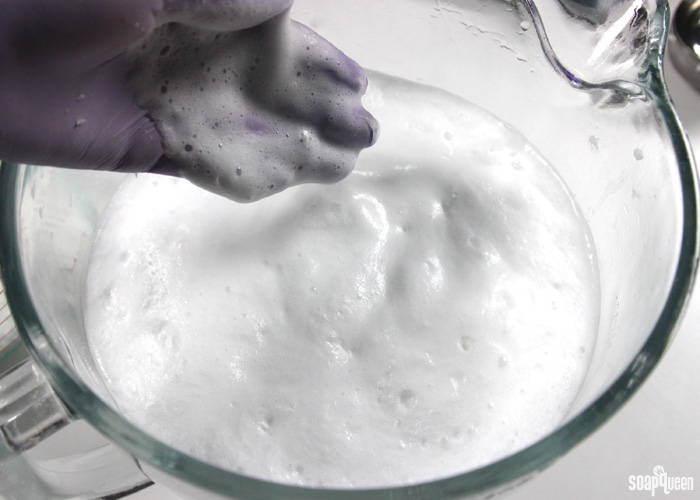
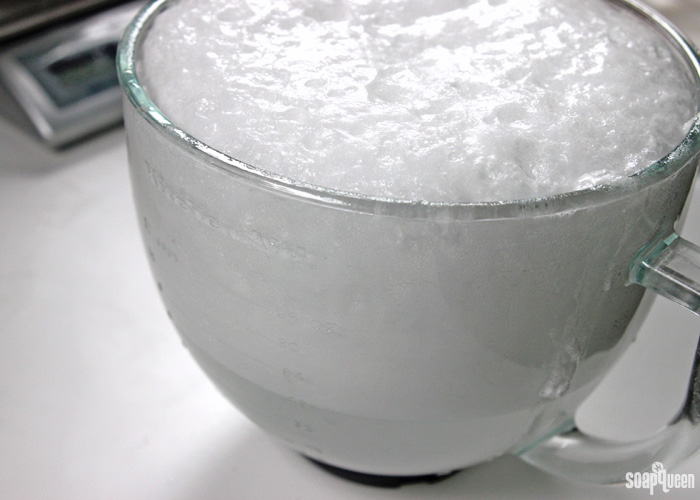
Then, it was time to test how the mixture reacted in the water. Are you ready for this? This mixture created crazy awesome bubbles! Immediately after dropping the mixture into the water, a light fizzing reaction occurred. Then, the bubbles began to grow. The lather that the bath fizzy/melt and pour mixture created was light, fluffy and extremely smooth. The bubbles continued to grow for about a minute…they almost overflowed out of the bowl. Check out the video below to see the bubbles in action.
After several minutes, the mixture did begin to dry up a little and become less moldable. But, the powder still created great bubbles. If you were to use this mixture in the tub, you would probably want to rinse off the bubbles after your bath. There is a little film that is left on the body because of the floating soap in the tub.
I’m really excited about how this experiment turned out! I did not expect the melted soap to mix into the dry bath bomb mixture as well as it did. Clearly the ratios matter; previous experiments that I have done with this were more of a 1:1 ratio and this latest ratio did the trick! Adding the mixture to water was also really fun…I could see my kids loving it!
The only downside is it tricky to create a classic bath bomb shape with the mixture. We are definitely going to play with the ratios of soap to bath bomb powders to see how that affects the texture, bubbles and moldability. In addition, the older these bath bombs are, the less fizzy reaction they have. This is because the moisture in the melt and pour will over time activate the fizzy reaction. Then once you add them to the tub, they will no longer fizz. I found that waiting several days after, they had little to no fizz. So if you want to try this project, I recommend using them as soon as possible! =)
Thanks for the great question CJ! If you give this experiment a try, let us know how it goes. I can’t wait to perfect this technique and share more tutorial ideas with you. =)