One of the questions we get asked all the time is, “Can I put cold process soap in your plastic molds?” The answer is yes, absolutely! However, the unmolding process is a little different compared to cold process in wood molds and silicone molds. The plastic molds are airtight. While your cold process soap is in the mold, no air is touching the soap inside. That means the soap has to stay in the mold longer. Never fear! There are several tricks to getting your soap out of the mold with all the beautiful details intact.
First and foremost, patience is key. While soap in silicone or wood molds is ready to unmold as early as 3-4 days, cold process soap in plastic molds can take up to 2 weeks. If your soap is still soft when you try to unmold it, it can leave drag marks or holes. Some of the details may be left in the mold as well. So, if your soap doesn’t want to come out of the mold, let it sit for another day or two.
The recipe you use plays a huge role in determining how long the soap needs to stay in the plastic mold. Soap with a lot soft oils – oils that are liquid at room temperature – takes longer to harden. Soap with mostly soft oils, like olive oil and sweet almond oil, can take even longer than 2 weeks to unmold. Also, some of the details may not be as clear. Recipes with a lot of hard oils – oils that are solid at room temperature – will pop out of the molds faster. Hard oils include coconut oil, palm oil, cocoa butter and shea butter. Read more about hard and soft oils in the Formulating Cold Process Recipes post.
Sodium lactate is incredibly helpful when unmolding cold process soap from plastic molds. Sodium lactate is the sodium salt of lactic acid. Adding 1 tsp. of sodium lactate per pound of oils to your cooled lye water speeds up the unmolding process. It also produces harder, longer-lasting bars of soap. I use it every time I make cold process soap in plastic molds. To learn more, click through the Sunday Night Spotlight: Sodium Lactate.
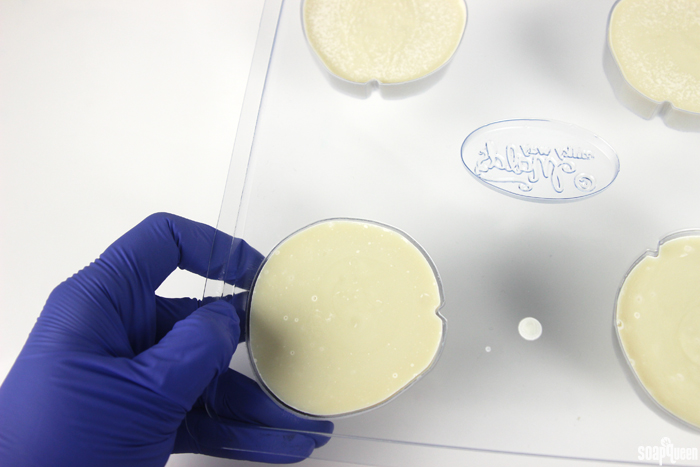
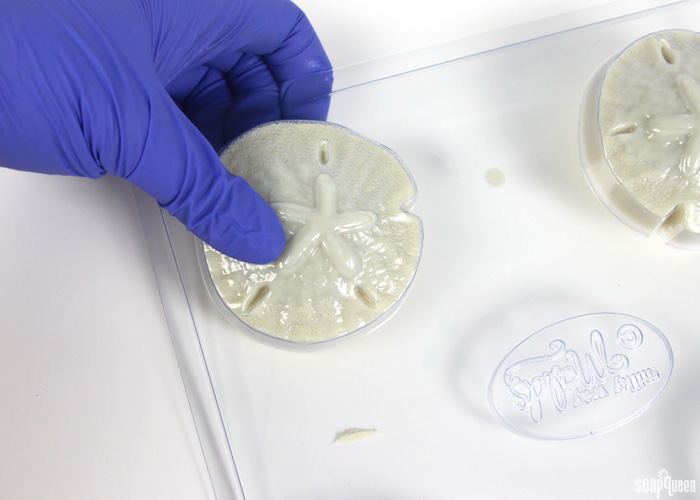
You’ve made a recipe with mostly hard oils. It’s been in the mold for at least a week, and it has sodium lactate. What now? To unmold, pull on the sides of the mold. This breaks the airlock. Then, flip the soap mold over and press gently on the back of the cavities with your thumb or the heel of your hand. If the soap doesn’t want to come out, pop it in the freezer for about 10-15 minutes. Don’t leave it in there too long, or the plastic can crack. If the soap still isn’t budging, let it sit in the mold another couple of days. Remember, patience is key!
To demonstrate how different recipes perform, two cold process recipes were made in the Sand Dollar Mold. One of the recipes consisted of 70% soft oils, and the other recipe consisted of 70% hard oils. We then tested the same two recipes, but the second time we added 1/4 tsp. of sodium lactate to the lye water.
Soft Oils Recipe
.5 oz. Coconut Oil (15%)
2.5 oz. Olive Oil (70%)
.5 oz. Palm Oil (15%)
.5 oz. Sodium Hydroxide Lye
1.2 oz. distilled water
Optional: 1/4 tsp. Sodium Lactate
Hard Oils Recipe
1 oz. Coconut Oil (30%)
1 oz. Olive Oil (30%)
1.4 oz. Palm Oil (40%)
.5 oz. Sodium Hydroxide Lye
1.2 oz. distilled water
Optional: 1/4 tsp. Sodium Lactate
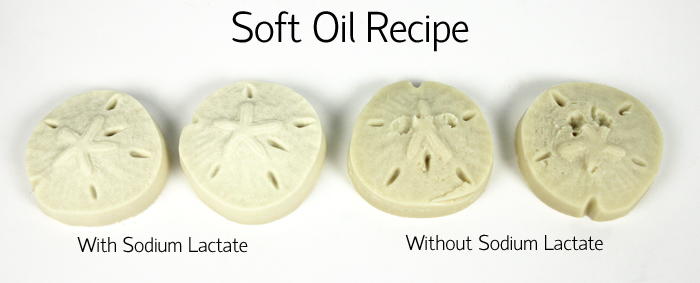
Soft Oil Recipe
When unmolding the soap made with sodium lactate (shown on the left), they actually fell out of the mold! The soap is nice and firm, and all the details stayed on the soap. The soap on the right, without sodium lactate, didn’t fare as well. As you can see, several of the details are missing from the soap. There are also drag marks and holes.
Hard Oil Recipe
Again, the soap made with sodium lactate (shown on the left) fell out of the mold. It is firm and beautifully detailed. While the soap without sodium lactate did a little better than the recipe with mostly soft oils, there are still holes. One of the soaps is also missing a part of the sand dollar.
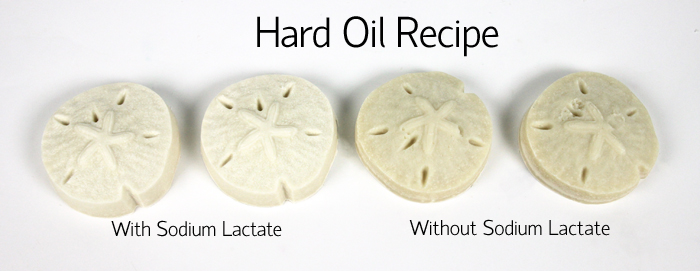
Experiment Results
The main takeaway from this experiment is sodium lactate is your friend when it comes to making soap in the plastic molds. With sodium lactate, both the hard and soft recipes came out of the mold easily after one week. The soft oil recipe without sodium lactate performed the worst – the most soap stuck to the mold and the design was extremely damaged. Soap made with hard oils and no sodium lactate did a little better, but the design was still damaged. If you choose not to use sodium lactate and want to use a plastic mold, be prepared to wait more than one week to successfully unmold your soap.
If you don’t have sodium lactate, you can use a salt water solution to harden your soap. To make the solution, mix 1 teaspoon of regular table salt into 1 ounce (by weight) of warm distilled water. Stir until the salt is fully dissolved. We recommend 1 teaspoon of salt in 1 ounce of water per pound of soap. Make sure to discount the salt water solution from your liquid amount. Then, add the solution at trace. The salt water solution was used in the Palm Free Vertical Twist Tutorial with great results.
We don’t recommend using any of our clear plastic molds for hot process soap. They can only withstand temperatures up to 145° F. Hotter temperatures can morph the plastic. The heavy duty molds can withstand temperatures up to 165° F, but may warp in the oven. The heavy duty molds work for rebatch, as seen in the How to Make Rebatch Soap video on Soap Queen TV. Because the molds are heat sensitive, we do not recommend gelling cold process soap in them. Instead, you can let your soap dry at room temperature.
Don’t feel like waiting? Melt and pour soap is a great option! It is ready to unmold a couple hours in the mold, or up to 12 hours. Check out these melt and pour recipes made with plastic molds:
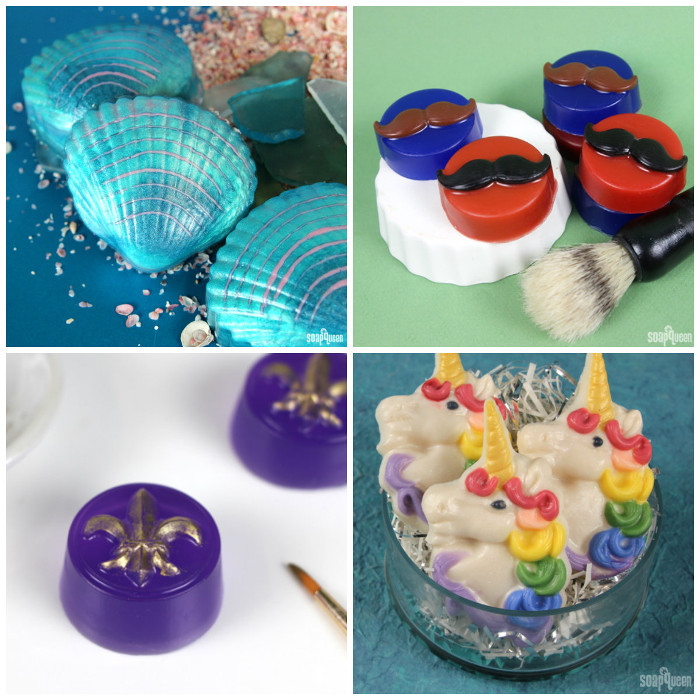
Top row, left to right: Mermaid Shell Melt and Pour, Movember Mustache Melt and Pour
Bottom row, left to right: Painting Soap with Mica Powder on Soap Queen TV, Rainbow Unicorn Melt and Pour
Do you use plastic molds for cold process soap? Do you have any tips for unmolding? I’d love to hear them!
