Materials:
• Snowflake 5 piece cookie cutter set
• 2-3 oz Bramble Berry white soap base
• 17 oz Bramble Berry clear soap base
• Super Pearly White Mica
• Iridescent Glitter
• Liquid Blue – non bleeding
• Fragrance of your choice – I used Bramble Berry’s Santa’s Spruce for this one.
• 2 cup capacity containers or glass microwave safe measuring cup
• 1 cup capacity pyrex containers or glass microwave safe measuring cup
(if you have two, 2 cup capacity pyrex containers that will work just fine!)
• 8 in. x 8 in. Glossy Silicone Square mold
• Scale that weighs to a tenth of an ounce
• Clean cutting surface
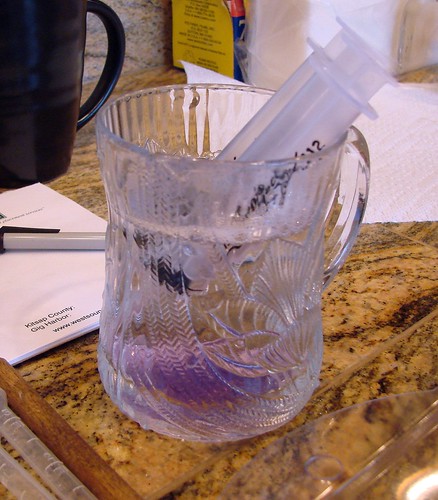
• 2 Plastic droppers – one for fragrance, one for soap
• 1/4 Teaspoon measuring spoon
• sprayer with rubbing alcohol
• food thermometer
• cup with just under boiling water
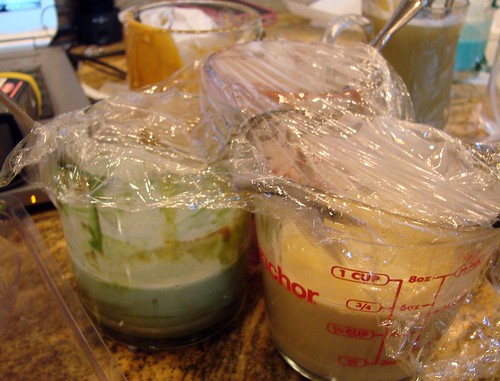
• plastic wrap
1) Melt 5 oz of clear soap in 2 cup microwave safe measuring cup – about 1 minute. Add about ¼ teaspoon of glitter and set aside.
2) Melt 1.5 oz of clear soap in 1 cup microwave safe measuring cup – 20-30 seconds. TIP: add a little white soap or more mica to make it more opaque! Add ¼ teaspoon of Super Pearly white Mica.
3) Pour clear soap with glitter into the bottom of the silicone cake pan – spray with rubbing alcohol to remove air bubbles.
4) Pour pearly soap over the clear soap in a thin horizontal and vertical lines about 1 inch apart. TIP:– make sure soap is not too hot at this point or your lines will bleed into each other and you will get a solid sheet of pearly soap.
5) Using your wooden skewer or toothpick start slowly at one corner creating swirls in the soap using long motions in a diagonal to the cake pan. Time permitting do lengthwise lines perpendicular to the cake pan as well. The soap will form a skin quickly so work as fast as possible. No matter what happens the swirls will be perfect! If you have air bubbles spray with rubbing alcohol. Let soap set at room temp for about 20 minutes.
6) Now that the first layer is all set up, we are ready for the second layer! Melt the remaining 12 oz of clear soap in a clean pyrex about 2.5 – 3 minutes
7) Mix 10 drops of BB liquid non bleed blue plus ¼ teaspoon of super pearly mica – you can add more or less blue to your liking but we want it dark so that there is nice contrast with the pretty swirls you just made. I like the non bleed blue here. After time a bleeding color will muddy up the swirls. Add 6 -8 ml of your fragrance oil. Really scent it well since the first layer is not scented.
8) Spray the first layer of soap thoroughly with rubbing alcohol and pour your blue soap over it – make sure the blue soap is not too hot, you can use the food thermometer to make sure it is about 120 degrees. We don’t want to melt the first layer! Spray with rubbing alcohol to remove air bubbles if necessary. Let that set up for another 20 minutes or so, until it is completely set up.
9) Yay! Our soap is ready for cutting – remove the soap from the cake pan by gently peeling it up starting at one corner, and pulling it away from the cake pan. Lay it on your cutting surface with the swirl side up.
10) Using the 4 inch (the one in the middle) snowflake cutter from the set cut out 4 snowflakes from the sheet. Press on all edges until the cutter is completely through the soap – a small plate works well to press the cutter into the soap.
11) Using the small detail cutter in the set cut six times on each of the six sides. You want the two pointed side of the cutter to be on the same plane as the first indent, and the single pointed side to be facing the center of the snowflake as shown TIP: use the wooded skewer to pop the tiny piece of soap out of the cutter! Do this for all 4 snowflakes.
12) Next fill in the cut outs with white soap. First lay out a piece of plastic wrap on your table and gently press the soap onto it, swirl side up. We want a tight seal between the bottom of the soap and the plastic wrap so that we don’t get bleeding on the back of the snowflake.
13) Melt the remaining 1 oz of soap. Lightly spray cut outs with rubbing alcohol.
14) Get the cup of hot water ready. Using a plastic dropper fill the cut outs with white soap. It is ok if you don’t fill them all the way – it looks pretty like that! If you get a little white soap on the face of the snowflake just wipe it away with your finger tip while the soap is still liquid. Make sure to clean the plastic dropper in your cup of hot water!
15) Spray with rubbing alcohol to remove air bubbles. Let set up and let the rubbing alcohol completely evaporate from the surface of the soap.
16) You are finally done – a what a lovely reward! They are pretty from the front and the back!
Save all of the leftover soap – you can use it in another project or re-melt it with a little more blue to use as the second layer of another sheet of snowflake soap!
Shrink Wrap or package in a poly bag with ribbon!
You can even use your wooden skewer to make a hole in the tip of one of the snowflake sides and string a ribbon through it for a pretty “soap ornament”!


