Halloween is coming soon! If you love to make Halloween as creepy as possible, or if you have a friend to play a prank on, this project is for you. As the soap is used, a white skeleton slowly emerges – like bones being found in a grave! Don’t worry – you don’t have to cut out these bones by hand. A great skeleton mold does all the work for you. You’ll just have to bury it in it’s final resting place!
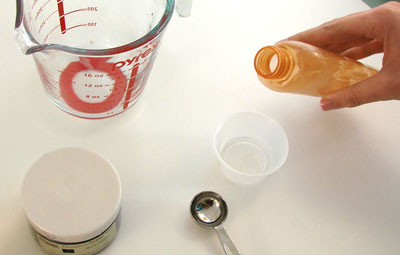
Materials for one bar:
2 ounces white melt and pour soap base
8 ounces clear melt and pour soap base
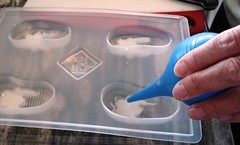
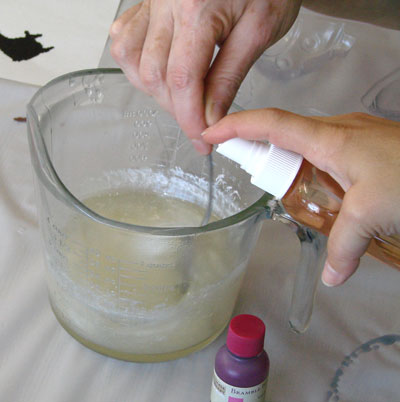
 1) Melt your white soap base. Using the injector tool, fill just the skeleton bones in the mold. Allow to harden.
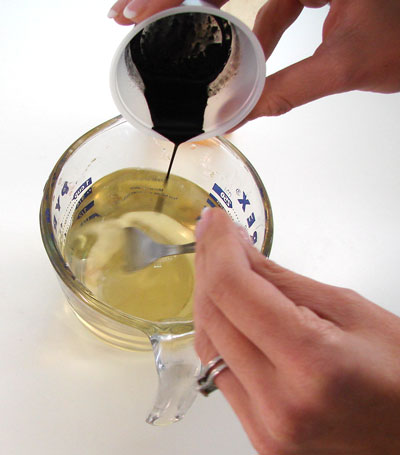
2) Meanwhile, melt your clear soap base, and color with brown and black oxide to get a nice dark soil color. Stir in 1/4 teaspoon fragrance oil. When white skeleton is set, spray with alcohol and fill mold 1/2 way with brown soap. Now pour a small amount of brown soap into one rectangle mold cavity, just enough to cover the surface. Allow skeleton soap to harden and unmold.
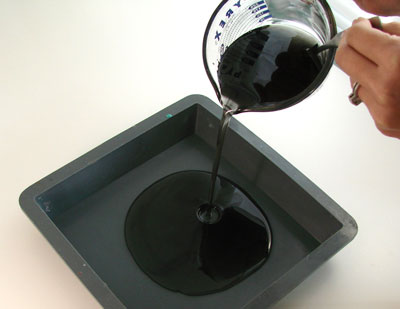
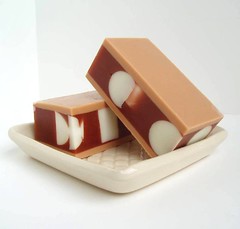
 3) Cut feet off of skeleton soap so it will fit inside the rectangle mold. Spray hardened brown soap in rectangle mold with alcohol and fill mold 1/3 way with brown soap. Place skeleton soap, face down, into brown soap. If necessary, add more brown soap to cover skeleton soap. Allow to harden and unmold.
This soap is cool the way it is since it’s a total mystery what lies inside. But if you’re feeling ambitious, you can also do this…
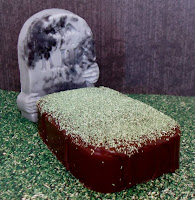
 Place your soap on a cooling rack, with a piece of waxed paper underneath. Melt your leftover brown soap. Pour soap over the bar (like icing or ganache on a cake), and quickly sprinkle ground green loofah over the top to resemble grass on a grave.
For the headstone, come back on Thursday to see how to make it look like aged stone. This makes a great little bathroom display for a Halloween party! Or a gift set for a special someone!
Until then…
Debbie, Soapylove