Search Results for: trace
Soap Intensive for One
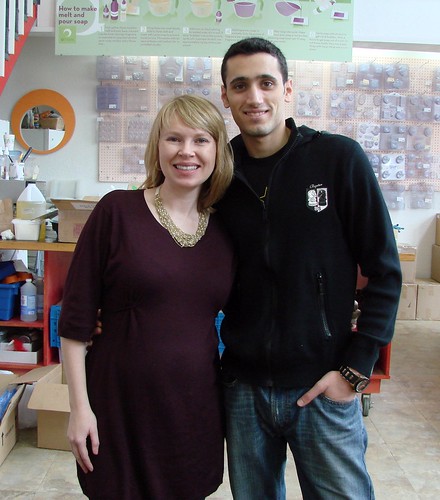 |
| Ralph, from Lebanon, after 3 fun days of soaping! |
We had a very special guest at Otion for a 3 Day Private Soapmaking Lesson. We were able to cram a lot of soaping into the class because Ralph was such a quick learner. He was a natural at soapmaking and covered all the types of soapmaking, all the types of molds he could use (including a nifty Vertical Mold that hasn’t even hit the Bramble Berry product line yet!), all the types of colors to use (including herbal infusions) and experienced a wide variety of soap situations (diluting Labcolors, seizing soap, accelerating trace soap to name a few).
 |
||||
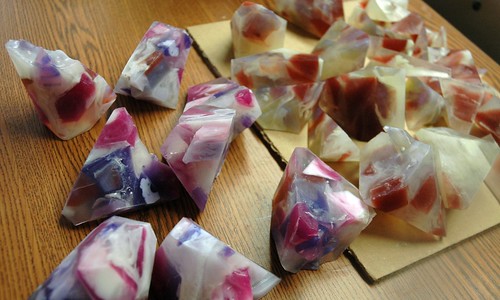
| Geode Soap from this tutorial |
Ralph spent almost an entire day on all of the ins and outs of melt and pour soapmaking, culminating with swirling and layering. But before we did that, we did the freeform Gem Soap. Both batches turned out great
.
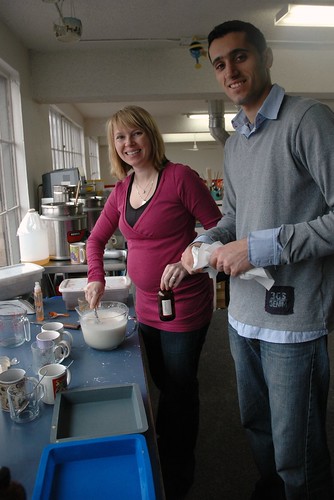 |
| Adding Fragrance (Cold Water) |
Ralph also learned how to make lotions from scratch and do Liquid Soap, from scratch. All of his bottles turned out perfectly and he and I both breathed a sigh of relief when none of his fragrance oils seperated or did anything funky in liquid soap (as they are prone to do). You can make your own liquid soap from scratch; we’ve got an ingredients + video + e-book tutorial here.
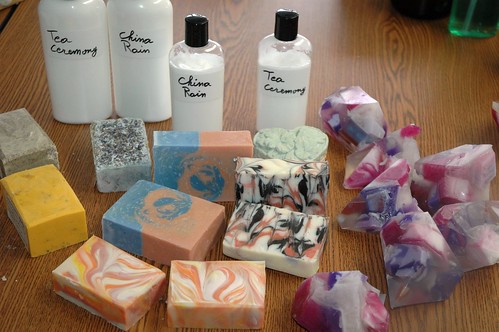 |
| Just a small sampling of the soap we made in 3 days |
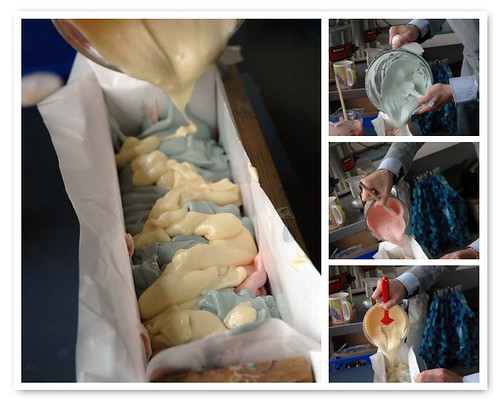 |
| Our whipped CP soap, in-process |
We had a really good time with Whipped Cold Process soap and everyone enjoyed the Cotton Candy Look of the project.
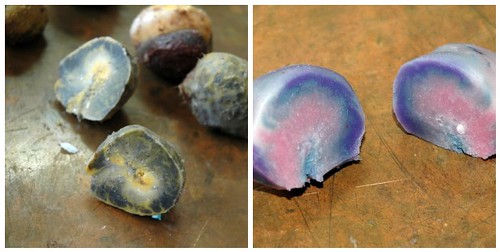 |
| Rock Soap |
 |
||
| The Birchwood Mold makes swirling a breeze! |
Thanks for visiting Ralph! We can’t wait to host you again and this time, take a day to explore the sites (skiing anyone?).
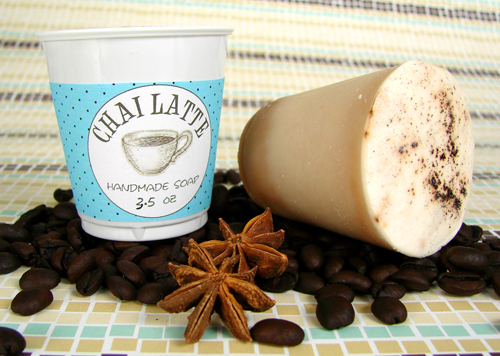
Chai Latte Love (CP Soap Tutorial)
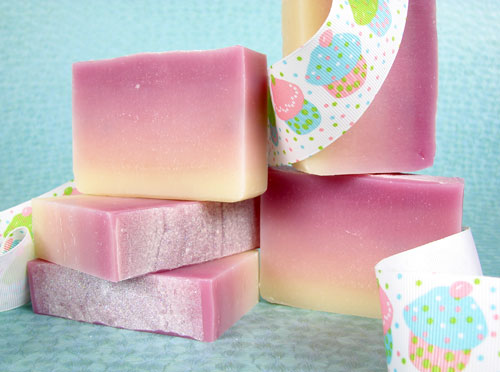
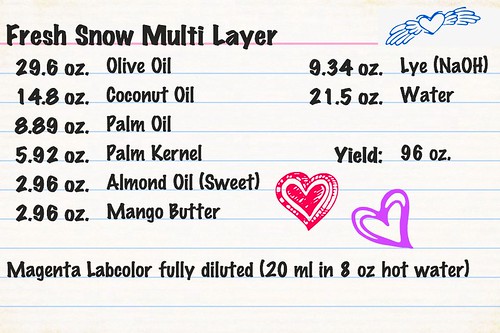
Let it Bleed: Cold Process Soap Color Gradation Tutorial
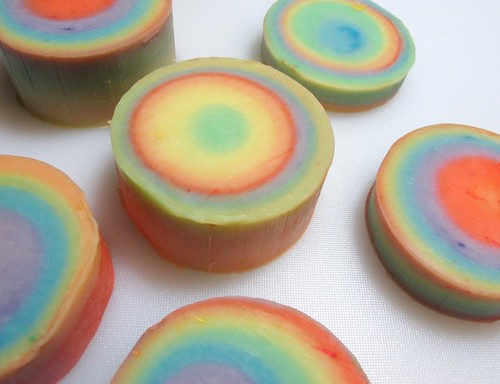
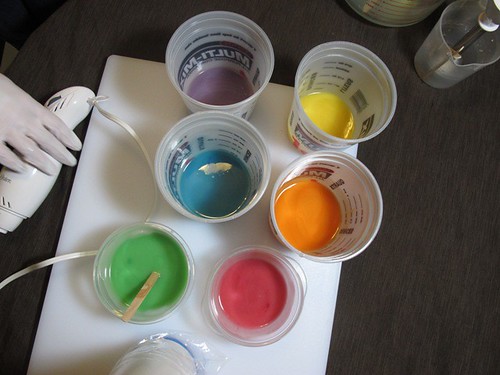
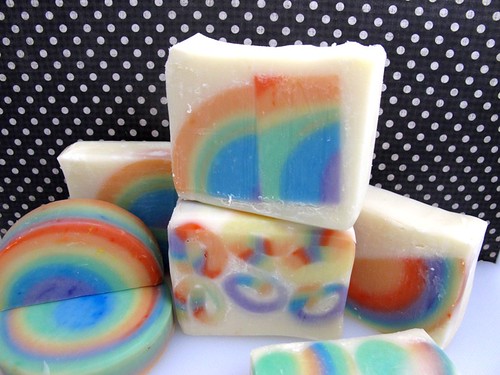
I’ve long been fascinated with how to make Labcolor’s inherent bleeding qualities work in a bar of soap. It does a great tie-dye look and the swirls are romantic and ephemeral. But, the idea of a sunset or a rainbow really drew me in. I started with a simple but sophisticated color graduation. It’s a very easy concept in theory but in practice, takes precision and weighing … and patience.
My husband and I are using this bar in our shower at home right now at home and it has fantastic lather and a great balance of bubbles with moisture and creaminess. Coupled with the absolutely exquisite scent and sophisticated color, it’s one of my favorite recipes I’ve made in a while. Read through all the instructions; it requires prep and precision.
Get everything you need with the click of a button.
Buy One, Get One Free (E-Zine Special)
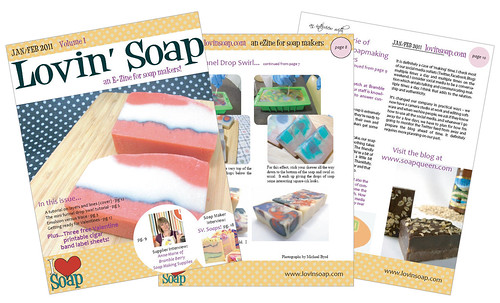
We’re absolutely a’twitter with our hearts a’flutter over these super cute soaps made by Amanda from Lovin’ Soap. What’s even cooler about these soaps is that she shares her technique to make them (and more!) in her brand new E-Zine, Lovin’ Soap.
Testing 1, 2, 3!
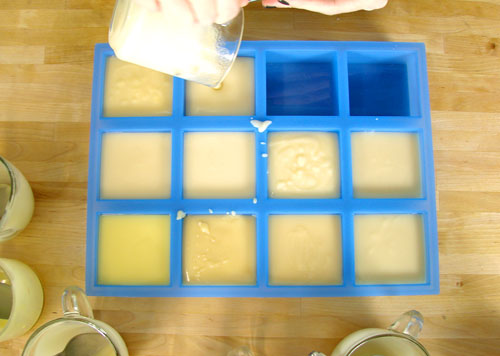
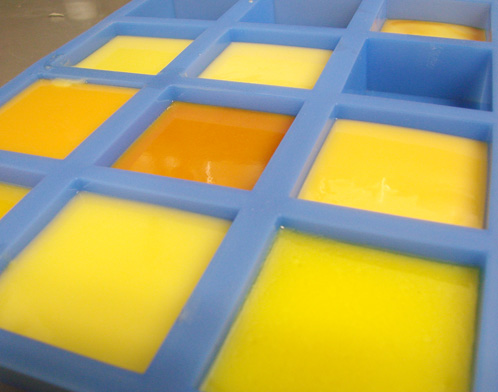
Yes, I know I’m always declaring that this or that is my favorite. But I really mean it this time. . . for now, anyway. I love our new 12 bar square silicone mold. It is so perfect for testing soaps but also makes 12 perfect bars of soap in a flash! We do a lot of soap testing to ensure that each fragrance we carry is safe for use in cold process soap. For every fragrance you see at Brambleberry.com, we’ve tested at least 100 more (really, I swear, that is not an exaggeration) that didn’t make the cut.
Rather than go over the basics of how to make cold process soap again, I’m just going to share my basic technique for testing fragrances. If you’ve never made cold process soap before please learn about the safety precautions and basic steps first. My series of 4 videos about how to make cold process soap would be a great place to start. Episode 1: Lye Safety, Episode 2: Basic Terms, Episode 3: Using Fragrances, and Episode 4: Using Colorants. And if I catch you making soap without goggles, may the Soap Fairies forever take away your soaping luck.
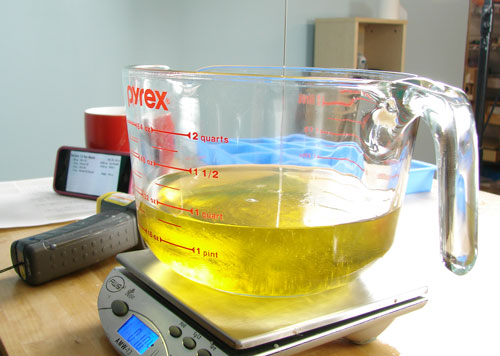
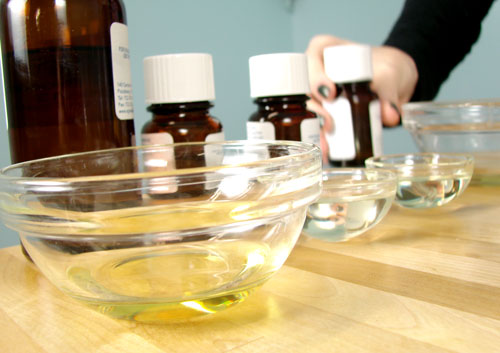
Next, I weigh out all of my fragrances. It is really important when testing fragrance oils, like I am here, that everything is accurately weighed so that you can duplicate your successes .And, when all the fragrances are weighed out, you can just do a quick ‘dump ‘n’ stir’ – you need 12 little dishes if you’re working on 12 individual fragrances.
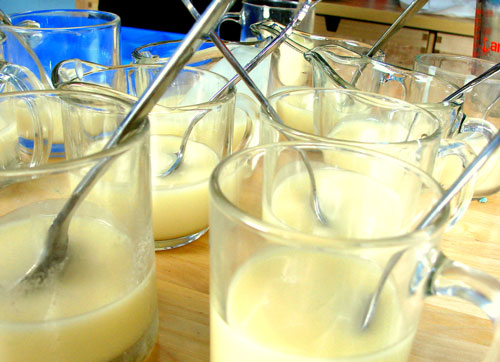
Next I mix my lye and oil and bring it to a very light light trace, after everything is prepped. Then I weigh out 4 ounces of soap batter into each container. I fill all 12 containers before moving on to the next step. You may have noticed that this recipe makes a little more than 48 oz. This is because you can never get every last drop of soap out of the pot, and with this recipe you are sure to have 4 full ounces for each bar.
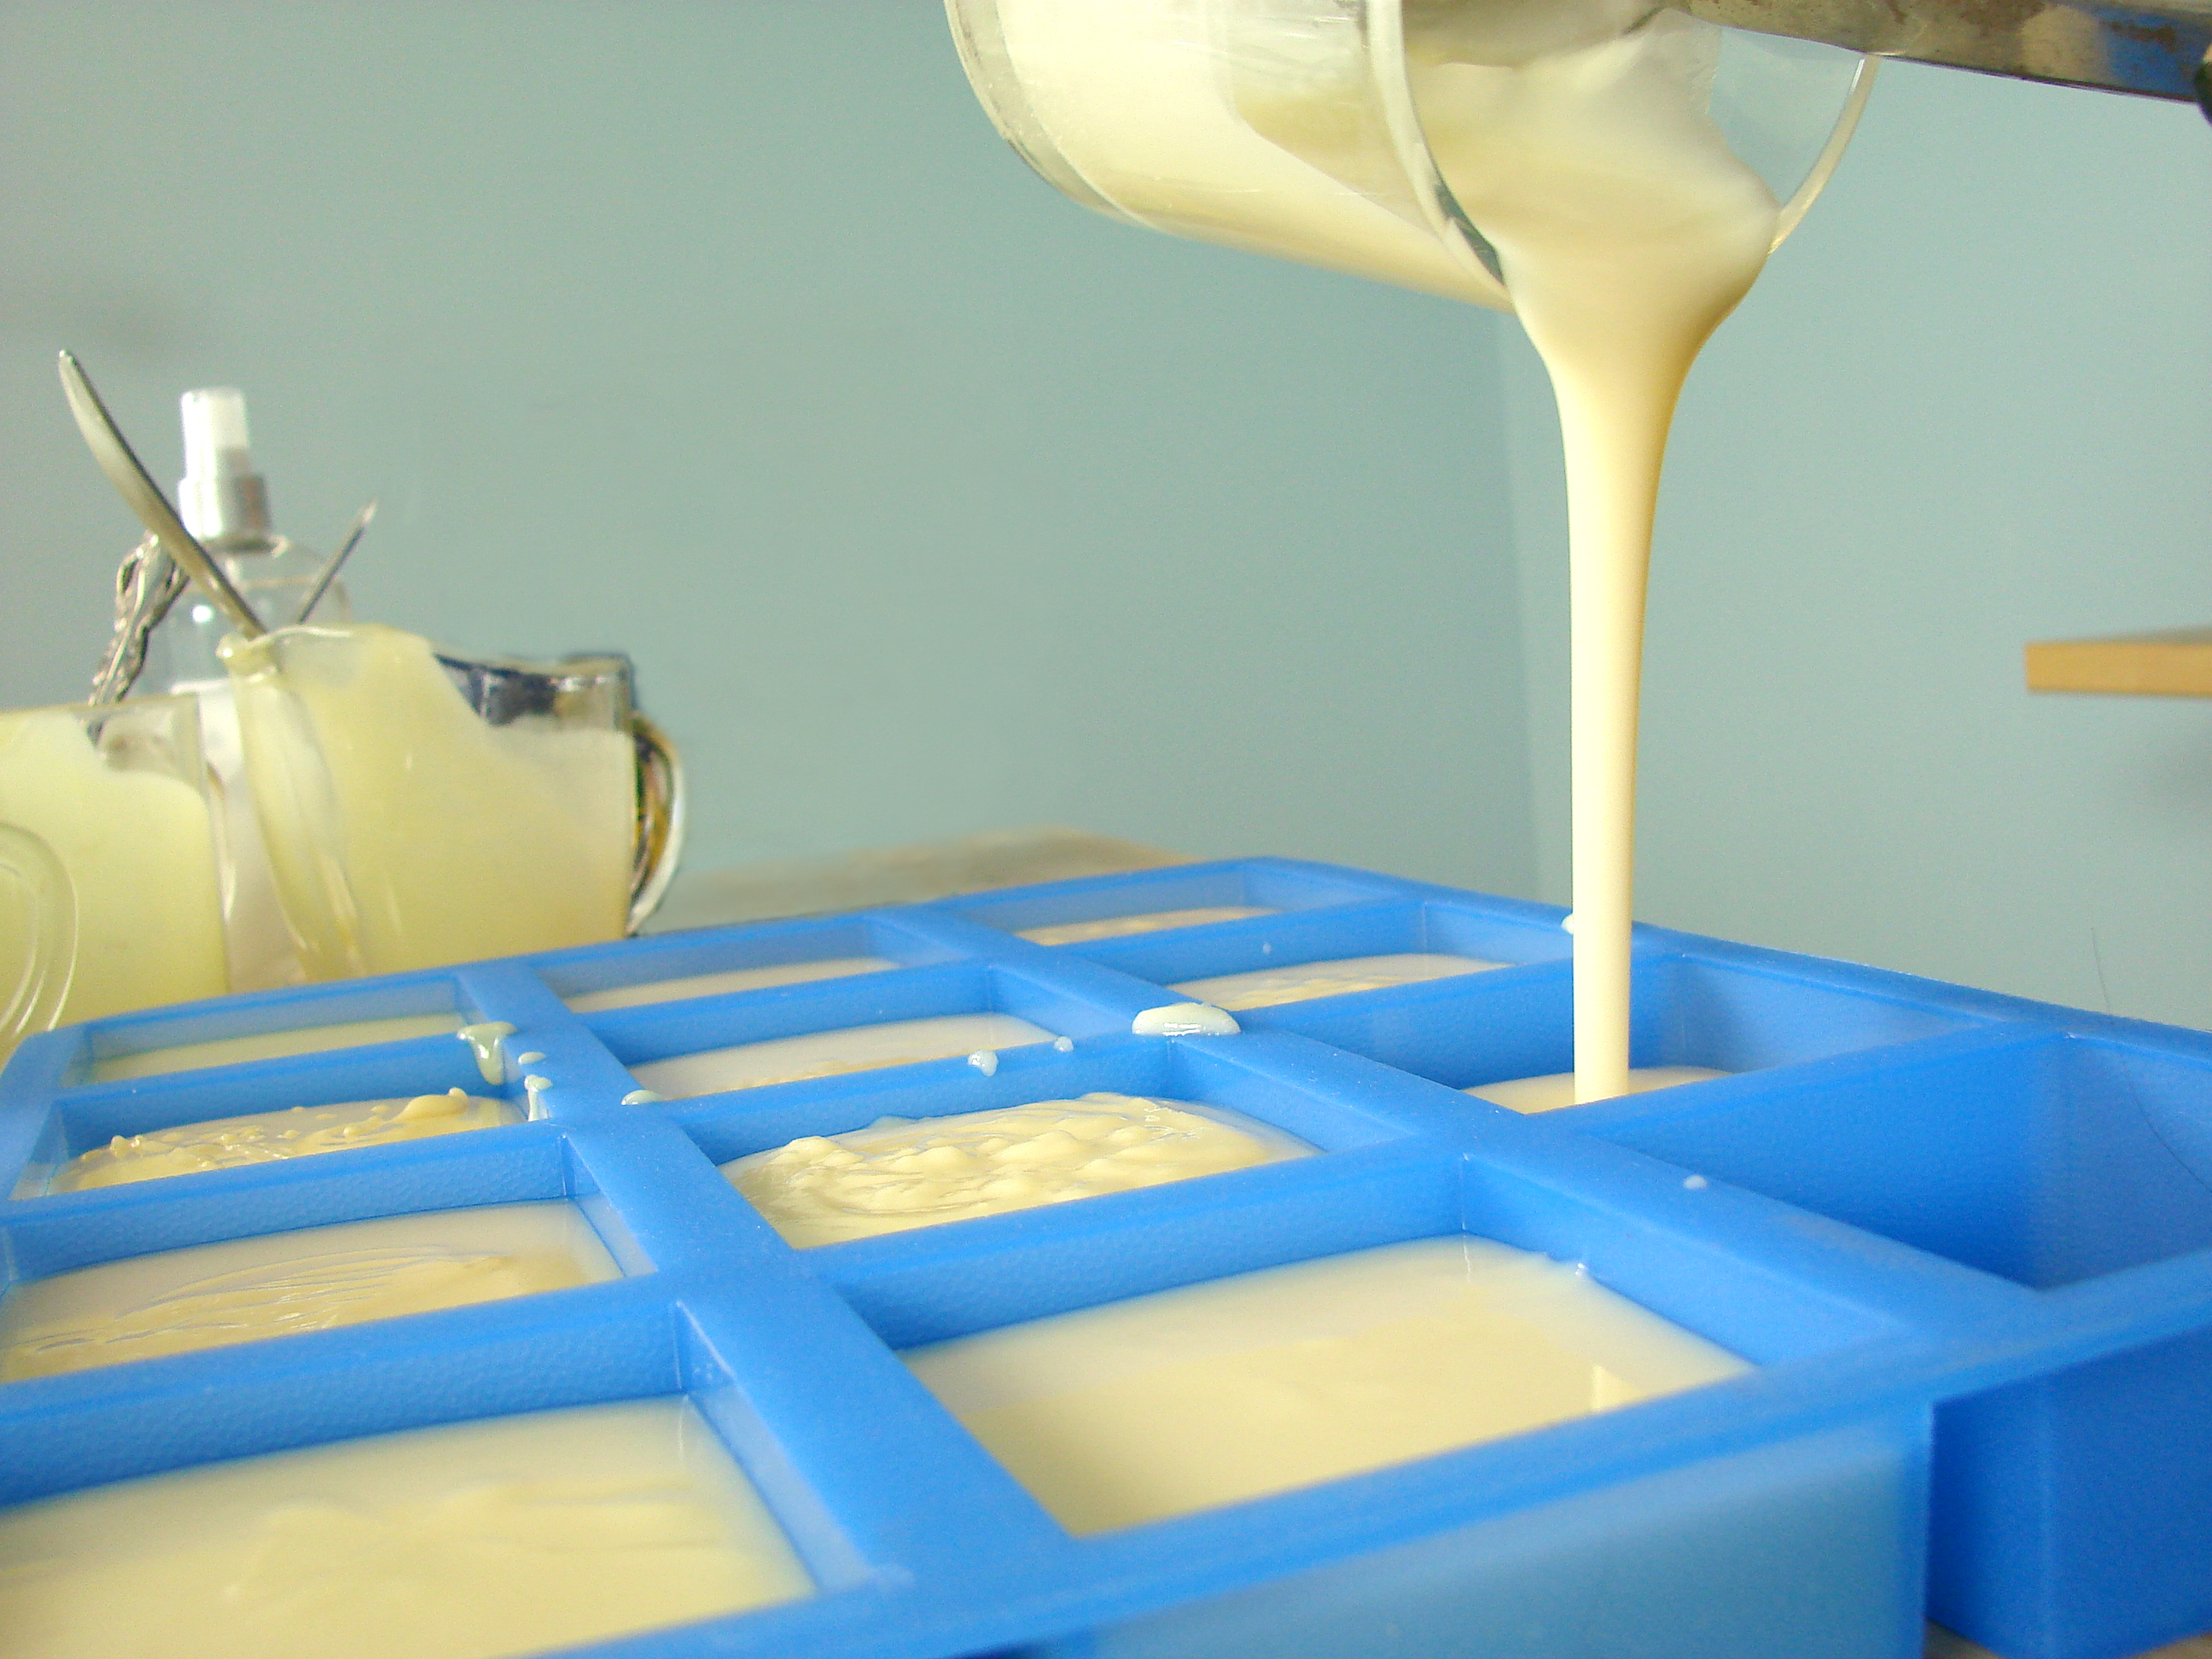
Finally, I thoroughly mix in the fragrance into one of the cups (by hand with a spoon) and pour it into the mold. Then move on and do the next one. I have 12 individual spoons waiting to go. It’s the only way to ensure no scent contamination.
For clean-up there are a couple of ways you can tackle the job. You can wipe out the wet soap with a paper towel and then immediately run very hot water into the cups to wash the oily mess down the drain. Or you can wait a couple of days and wash the fresh soap out the cups. The waiting method is easier – but it only works if you have the space and enough containers that you don’t need them for a few days!
Do you have other testing tips and techniques? I’d love to hear them!
Cold Process …. With a Twist!

Add elaborate details to your Cold Process soap easily with fun melt & pour soap pieces. In the bars above, I embedded a basic brown and black layered melt & pour loaf and some experimental marbliezed soap in green and white cold process soap.
Tip: To ensure your melt and pour does not ‘sweat’ in the CP soap, let it sit out for 24 hours under a running fan before embedding into your CP soap recipe.
What You’ll Need
32 oz. Apricot Kernel Oil
20 oz. Palm Oil
18 oz. Coconut Oil
4 oz. Castor Oil
1.90 oz. Jojoba Oil
10.7 oz. Lye
25 oz. Distilled Water
4 oz. Hungarian Lavender
Tools:
Stainless steel or glass mixing bowls
Scale
Heat safe mixing spoon
Electric Stick Blender
Vinegar (in case of splashes)
Gloves, goggles and long sleeve shirt
Cardboard box lined with freezer paper or Bramble Berry Wooden Loaf Mold

Step 1: Gather all of your ingredients and tools. Weigh your oils and have all of your containers and molds ready before you even look at the lye. Also, plan out your embedds and make sure they fit in your mold the way you want.
Tip: You don’t need to invest in expensive molds to start making soap! We just used a sturdy cardboard box and lined it with freezer paper. To figure out how much soap your mold will hold, use this formula: Length x width x height x .55 = approximate soap in ounces. When calculating your height you don’t want to fill your box all the way to the top – so just put in the height you want your soap to be.
Step 2: SUIT UP! Put on your gloves, long sleeves, and eye protection.
Step 3: Wearing your full safety protection, mix your pre-measured lye into your water. Once it has cooled to between 120F to 130F, gently mix the lye water into your melted oils.
Step 4: Once your soap has reached light trace, add the Lavender essential oil and colorant(s) of your choice.
Step 5: Divide your soap into different bowls if you are making multiple colors.
Step 5: Pour about an inch of soap into your mold – if you are using multiple colors, pour both colors and give it a gentle swirl.
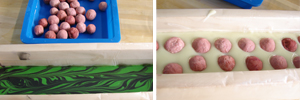
Step 7: Place your soap embeds in the CP soap. Wiggle them down a little (your gloves should still be on) to make sure no air bubbles are trapped.
Step 8: Pour more CP soap over the top to cover the embeds.
Step 9: Wait a minimum of 48 hours before attempting to cut. Remember, Cold Process Soap requires a full 4 to 6 weeks of cure and dry time before using.
Have a question about this blog post? Come join us at Bramble Berry’s Facebook page and we can help you out with any of your soapy questions!
Cheery Holiday Cold Process Soap Tutorial
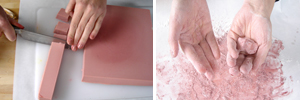
Two days ahead of time, make your cranberry embeds This is an unscented batch of soft soap that is almost play dough like in its consistency. The batch is a small 45 oz. size and is meant to fit into our Silicone Pans.
Wearing full safety gear and following basic CP principles (unsure about CP soap? Watch the FREE SoapQueen.TV tutorials on CP soap here), make your soap.
Add Burgundy Oxide and Merlot mica at thin trace and stick blend in. If you want to ensure no clumps at all, pre-mix color with 2 tsp of oil. Pour your soap and do not insulate. To keep the soap softer and more pliable, not going through gel phase is essential.
After the soap has set-up for just one day, use a melon baller, a cookie dough batter tool or just cut into squares and round off the corners and form with your hands. If the soap is too sticky, mix a little flour with Merlot Mica and apply to your hands to keep your hands from getting sticking to the soap.
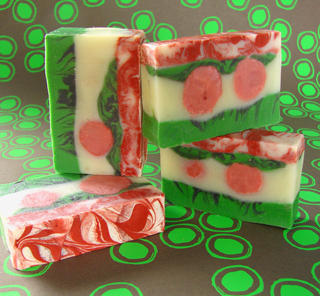
Next make layers 1, 2 and 3: Get your soap to thin trace then, separate it into three batches. This recipe is designed to give a good amount of working time for multiple swirls and layers.
Green Soap: 20 oz soap batter with Emerald Labcolor and Green Chrome Oxide. Add approximately 1 oz fragrance.
White Soap Mix: 20 oz soap batter with Super Pearly White. Add approximately 1 oz fragrance.
Black Soap Mix: 12 oz soap batter with Black Iron Oxide and Vintage Gray Mica. Add approximately 3/4 oz fragrance.
Add the fragrance right before you pour so that if your fragrance accelerates trace you will still have time to embed your cranberry inclusions.
Fragrance the white layer of soap. Pour a thin layer of white soap over the black/green mixture. Add the Cranberry Inclusions, two by two, spacing evenly along projected bar cut lines. Pour the rest of the white soap.
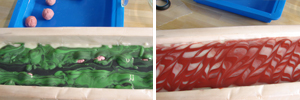
Spoon or pour the remainder of the black and green swirl over the Cranberry Inclusions/White layer.
For the last layer: Split the batch into two containers.
Red Soap: 7 oz soap batter blended with Burgundy Oxide and Merlot Mica. Approximately 1/2 oz fragrance blend.
Uncolored Soap: 11 oz soap batter with approximately 3/4 oz fragrance oil.
Swirl the colored soap and white soap together. Pour over the Green/Black layer.
Insulate well and allow to harden for a minimum of 2 days before cutting. To ensure your soap is mild and hard, be sure to make your soap by November 15th so it can dry for a full 4-6 weeks before the big day!
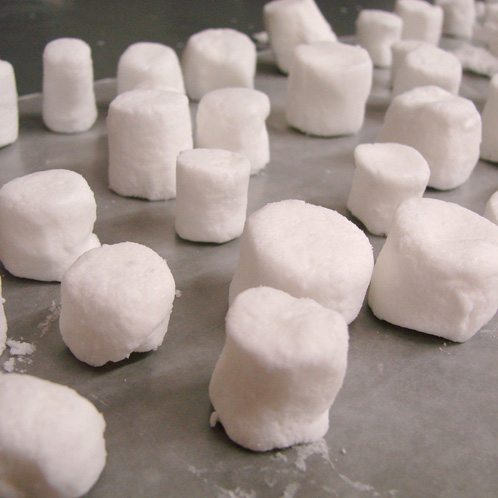
Soap Puffed Marshmallows
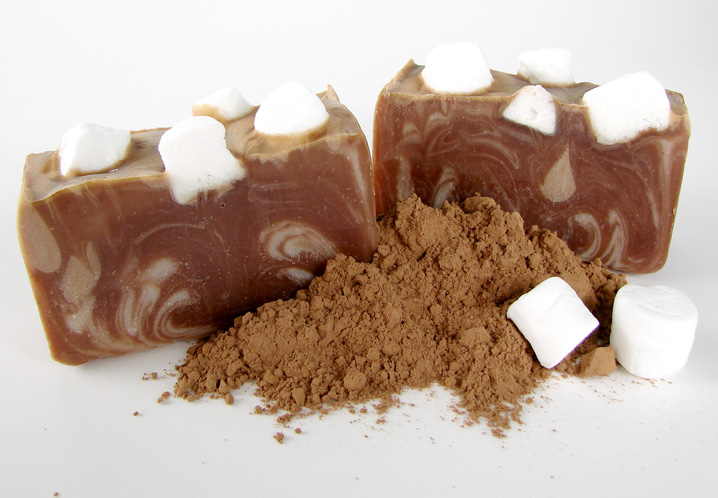
As promised (on Facebook; what, you’re not reading our Facebook fan page obsessively? Shame. Shame), my Hot Cocoa Soap recipe in all of its chocolaty goodness! I used an advanced technique called ‘In the Pot Swirl’. Basically, you split up your batch into two different colors and pour 1 color into the second pot in various places. The soap batter naturally swirls the colors together when you pour the soap into the mold (I used the 5 lb Wooden Log Mold). I also used real cocoa powder as my brown colorant then mixed in Super Pearly White Mica (in about 12 ounces of soap batter) for the swirling color. Swirling a thin layer on top adds a nice touch so save a little extra of the Super Pearly White soap. You can use any swirl technique that you want though. If you want to see exactly how the ‘In The Pot Swirl’ technique is done, check out this video to watch the step by step process.
I do have to admit that I made this recipe to test a new fragrance called Hot Cocoa that Bramble Berry is bringing in for the holidays. It’s pure chocolate bliss and passed the cold process test with flying colors. I’ve already ordered it so keep your eyes peeled on the Bramble Berry site. In the mean time, I would suggest a combination of Dark Rich Chocolate and Vanilla Select.
THREE:Pop them on top of your CP soap at thin trace for a sweet accent!
Did You Already Eat That? (Guest Post)
Report from DC – Education Matters
Hi from DC! It’s been a jam packed day. I can’t even convey how much work, how much energy and how much commitment everyone that is here with me has to this issue of ‘Safe Cosmetics.’ If you are unfamilar with bill H.R. 5786, the ‘Safe Cosmetics Act’, you can familiarize yourself with it here (Soap Guild Site). Here’s what we told the offices we met with:
1. Small Business will be negatively impacted – Regulatory issues around cosmetics cannot be more stringent than than are with food (as they will be with this bill). Small business especially will bear the brunt of this regulatory climate.
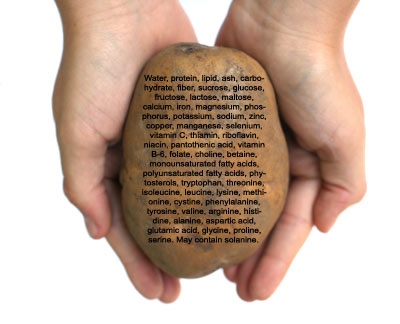
2. Trace elements are not feasible to include on labels – This is what a label will look like for a lotion bar with Cocoa Butter, Olive Oil and Lavender Oil
Ingredients: Olive Oil (Tri-Glycerides of Palmitic, Di-Glycerides of Palmitic, Palmitoleic, Stearic, Oleic, Linoleic, Arachidic Acid, Linolenic Acid, Squalene, Beta Carotene, Campesterol, Methylenecholesterol, Stigmasterol, Sitosterol, Fucosterol, 28-Isofucosterol, Stigmadienol, Brassicasterol, 7-Cholestenol,Ergostadienol, Avenasterol, Triterpene Alcohols, Tirucallol, Taraxerol, Dammaradienol Beta-Amyrin Germanicol, Butyrospermol, Parkeol, Cycloartenol, Tirucalladienol, 24-Methlene 24-Dihydroparkeol, 24-Methlenecycloartanol, Cyclobranol, 4-Methyl Sterols, Esters of Tyrosol, Esters of Hydroxytyrosol, Vitamin E (Tocopherols), Carotenoids, Oleuropein) Cocoa Butter (Tri and Diglycerides of Stearic Acid, Palmitic Acid, Lead, Oleic Acid, Linoleic Acid, Isoleic Acid, Beta Carotene, p-Hydroxybenzoic Acid, Vanillic Acid, Ferulic Acid, Syringic Acid, Phenylehtylamine, Theophylline, Aliphatic Esters, Aromatic Carbonyls, Caffeine, Theobromine, Diketopiperazines and Alkylpryazines), Lavender Essential Oil ( Cineole Octanol, Octanone, Alpha Bisabolol, Alpha Cadinol, Alpha Humelene, Alpha Phellandrene, Apha Pinene, Alpha Terpinene, Alpha Terpineol, Alpha Terpinyl Acetate, Alpha Thujene, Alpha Thujone, Beta Bisabolol, Beta Pinene, Beta Thujone, Borneol, Bornyl Acetate, Camphene Camphor, Cineolealpha Terpineol, Carvone, Caryophyllene, Carophyllene Oxide, CIS Alpha Terpineol, CIS Alpha Bisabolene, CIS Carveol, CIA Linalol Epoxide, CIS Ocimene, Citronellal, Citronellol, Coumarine, Cuminaldehyde, Eugenol, Furfural, Geraniol, Geranyl Acetate, Geranyl Butyrate, Hexanol, Hexyl Tiglate, Isoborneol, Lavandulol, Lavandulyl Acetate, Limonene, Linanlol, Linalyl Acetate, Methyl Heptenone, Myrcene, Nerol, Neryl Acetate, Oleanolic Acid, P Cymene, Rosemarinic Acid, Sabinen, Terpinenol, Terpinolene, Trans Carveol, Trans Epoxy Linalyl Acetate, Trans Linanol Epoxide, Trans Ocimene, Ursolic Acid)
3. Reporting requirements are draconian. This bill requires you report when you hire someone (to the FDA), when you change suppliers (like when you switch to Bramble Berry from another vendor), who your distributors are (hello? competitive advantage out the window) and all of your ingredient formulations (without guaranteeing your confidentiality).
4. This bill is based on bad science – Cosmetics are not killing you. Diet, lack of exercise, obesity, smoking, and excessive drinking are positively linked to cancer. Cosmetics have no conclusive link. Yes, 1,4 Dioxin is terrible (in high doses, ingested by rats). Yes, Formaldehyde is bad if you are massively exposed to it (in 100% concentration high doses, bathing in it) but small businesses are trying to formulate with natural ingredients and yet they are the ones that will be most affected by this.
The meetings were our opportunity to express how small business would be affected. We were thankful to have the time and understand that there is more time for us to comment, educate and share how small business will be affected before a bill is passed.
There is still time, Soap Queen Readers and Bramble Berry Customers – keep up on OpposeSCA.com, write your Representatives, sign the petition and vote your opposition to the bill here.
The most important thing? Your Representatives are on BREAK right now. They are likely visiting/staying in your district (where they live). CALL THEM! Visit them while they are home. You have thirty days starting now. You can do it! Call me if you want talking points – 360-734-8278 or email me. I will help you talk to your Representatives and tell your story in a way that makes an impact. We can do it – we can educate and inform lawmakers on how this bill (as currently written) affects us.
‘Safe Cosmetics Act’ NOT So Safe For Small Biz
Updated 8/1: There is a petition against the ‘Safe Cosmetics Act’ here. Read the petition and sign it if you agree with the statements. The official Oppose SCA site is here. Curious about how a bill becomes law? There’s a fantastic post about it here as it pertains to the ‘Safe Cosmetics Act’ in particular.
A TestaMINT to Mint Chocolate Chip
Soapylove Tutorial – I Heart Soap
Have you seen the new Soapylove molds? I’m so excited about them! There’s an adorable Rainbow and this one is the I Heart Soap.
Here’s a neat way to show off the mold’s raised details without much fussiness. In fact, the print makes the heart seem extra 3-D which is neat! It’s really simple. Here’s how it’s done…
Supplies (makes 2 bars of the flowery print design):
2 ounces Naturally Clear soap base
6 ounces Bright White soap base
Candy Jar fragrance oil set
I Heart Soap mold
Water Soluble Paper
Non-Bleeding Red liquid colorant
Instructions:
Have a cute design printed on the water soluble paper using a laser printer. I bought some pretty printable scrapbooking paper designs from Tracy Ann Digital Art on Etsy. Make a template by tracing the heart from the mold onto a scrap paper then cut out. Trace this onto your printed paper and cut.
Melt the clear soap base then fill just the heart area. Place your design face down into the clear soap and allow to harden.
Meanwhile, add a few drops of red colorant to the remaining soap base. Make sure the soap is nice and hot (130ish), spray the heart area with alcohol, and pour a thin layer into the mold so all the details are filled and you have a very thin layer otherwise. Allow to harden.
Melt the white soap base, add fragrance of your choice (1/2 – 1 teaspoon), and let cool to 120 degrees. Spray the red soap with alcohol and fill mold with white soap, making the stream of soap hit the back of the heart (this will hide any thin areas that might happen if you poured on a different spot). Allow to harden and unmold!
 To make the pearly version, I just used pearly mica instead of red colorant and colored the white soap with a bit of the red colorant to make a pretty pink.
Have fun!

