Search Results for: www.brambleberry.com
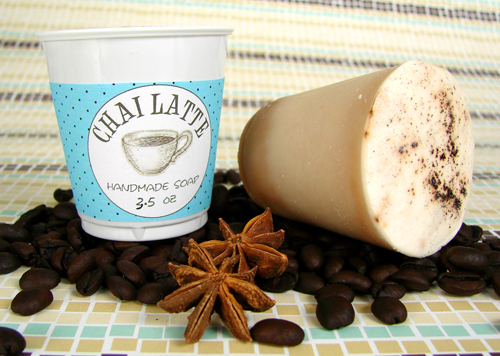
Chai Latte Love (CP Soap Tutorial)
Only 8 Spots Left! HURRY!
Paula Kates is owner, artist and CEO of PJ Soaps. With an extensive background in Linguistic Philosophy, Paula left behind 11 years in the administrative world of the performing arts, first at Milwaukee’s Florentiine Opera, then with the Milwaukee Symphony Orchestra, and eventually cutting out on her own and turning her love of art towards soap making.
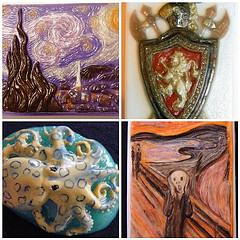
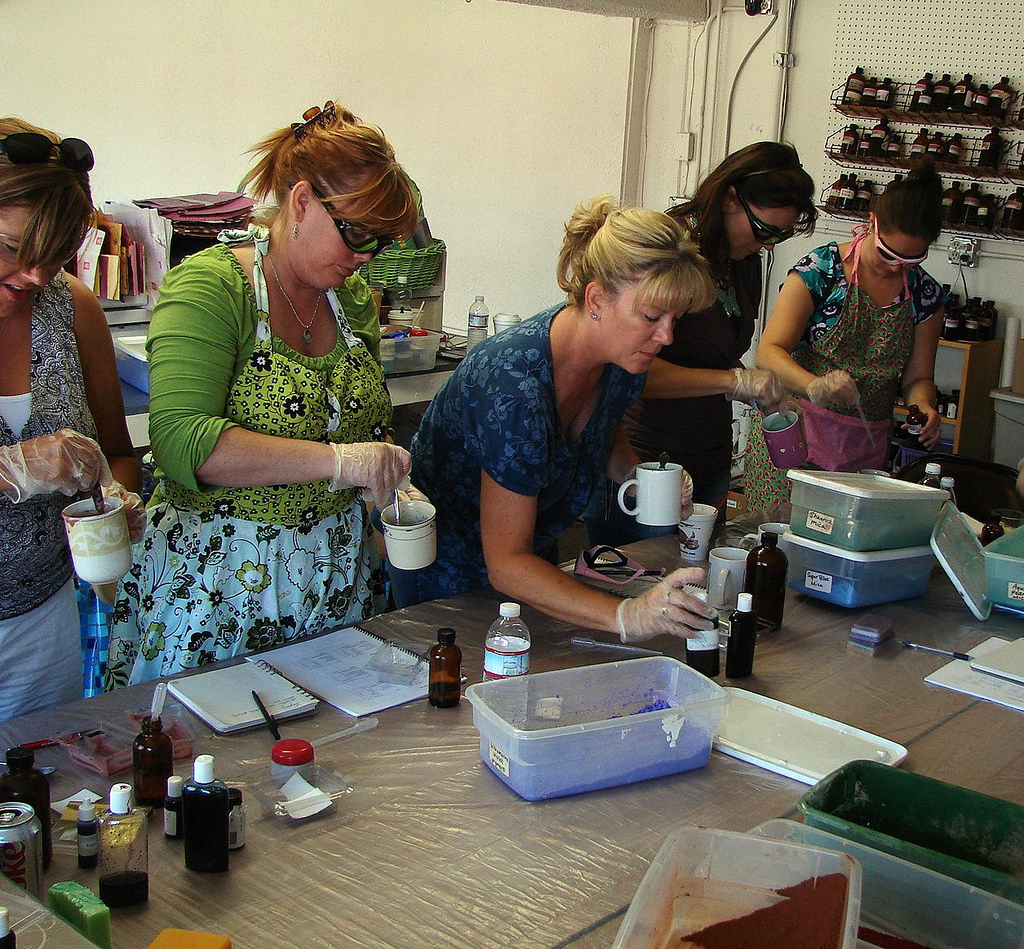
Paula has been making Melt and Pour soap since 2003 most recently winning “Best Soap” at the 2007 ISOCAN soapmaker’s convention in the Chicago area and “Best Soap” at the 2008 First Annual Georgia Spring Fling Soapmaker’s Convention in Conyers GA (outside of Atlanta) and has been aiming for mastery of the art form ever since. Paula is teaching two technique classes at Otion SWI: one on soap painting (really, you can paint just like her!) and utilizing the Melt and Pour Tool Kit to make incredible soaps (it’s easier than you think!)
This year, Paula will be teaching her famous soap painting technique. She’ll also share her tricks on using the injection tool for the finest deatils! Check out the fun we had the last three years:
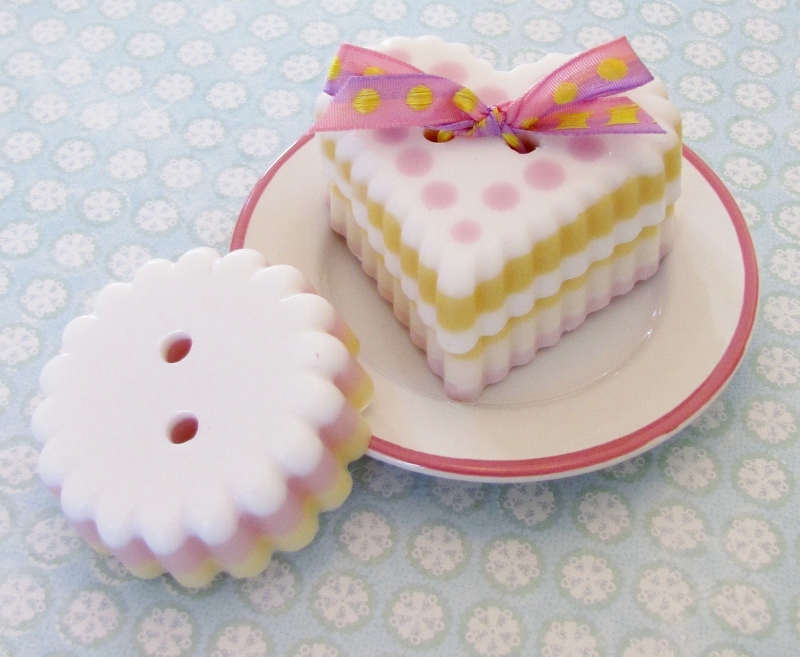
Hearts, Love and Rainbows!
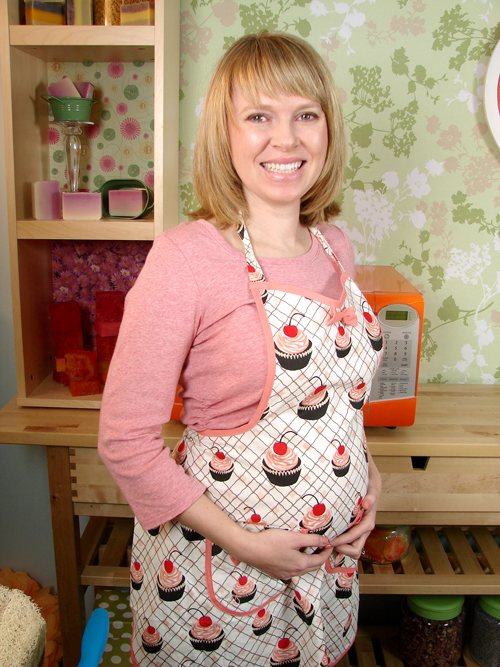
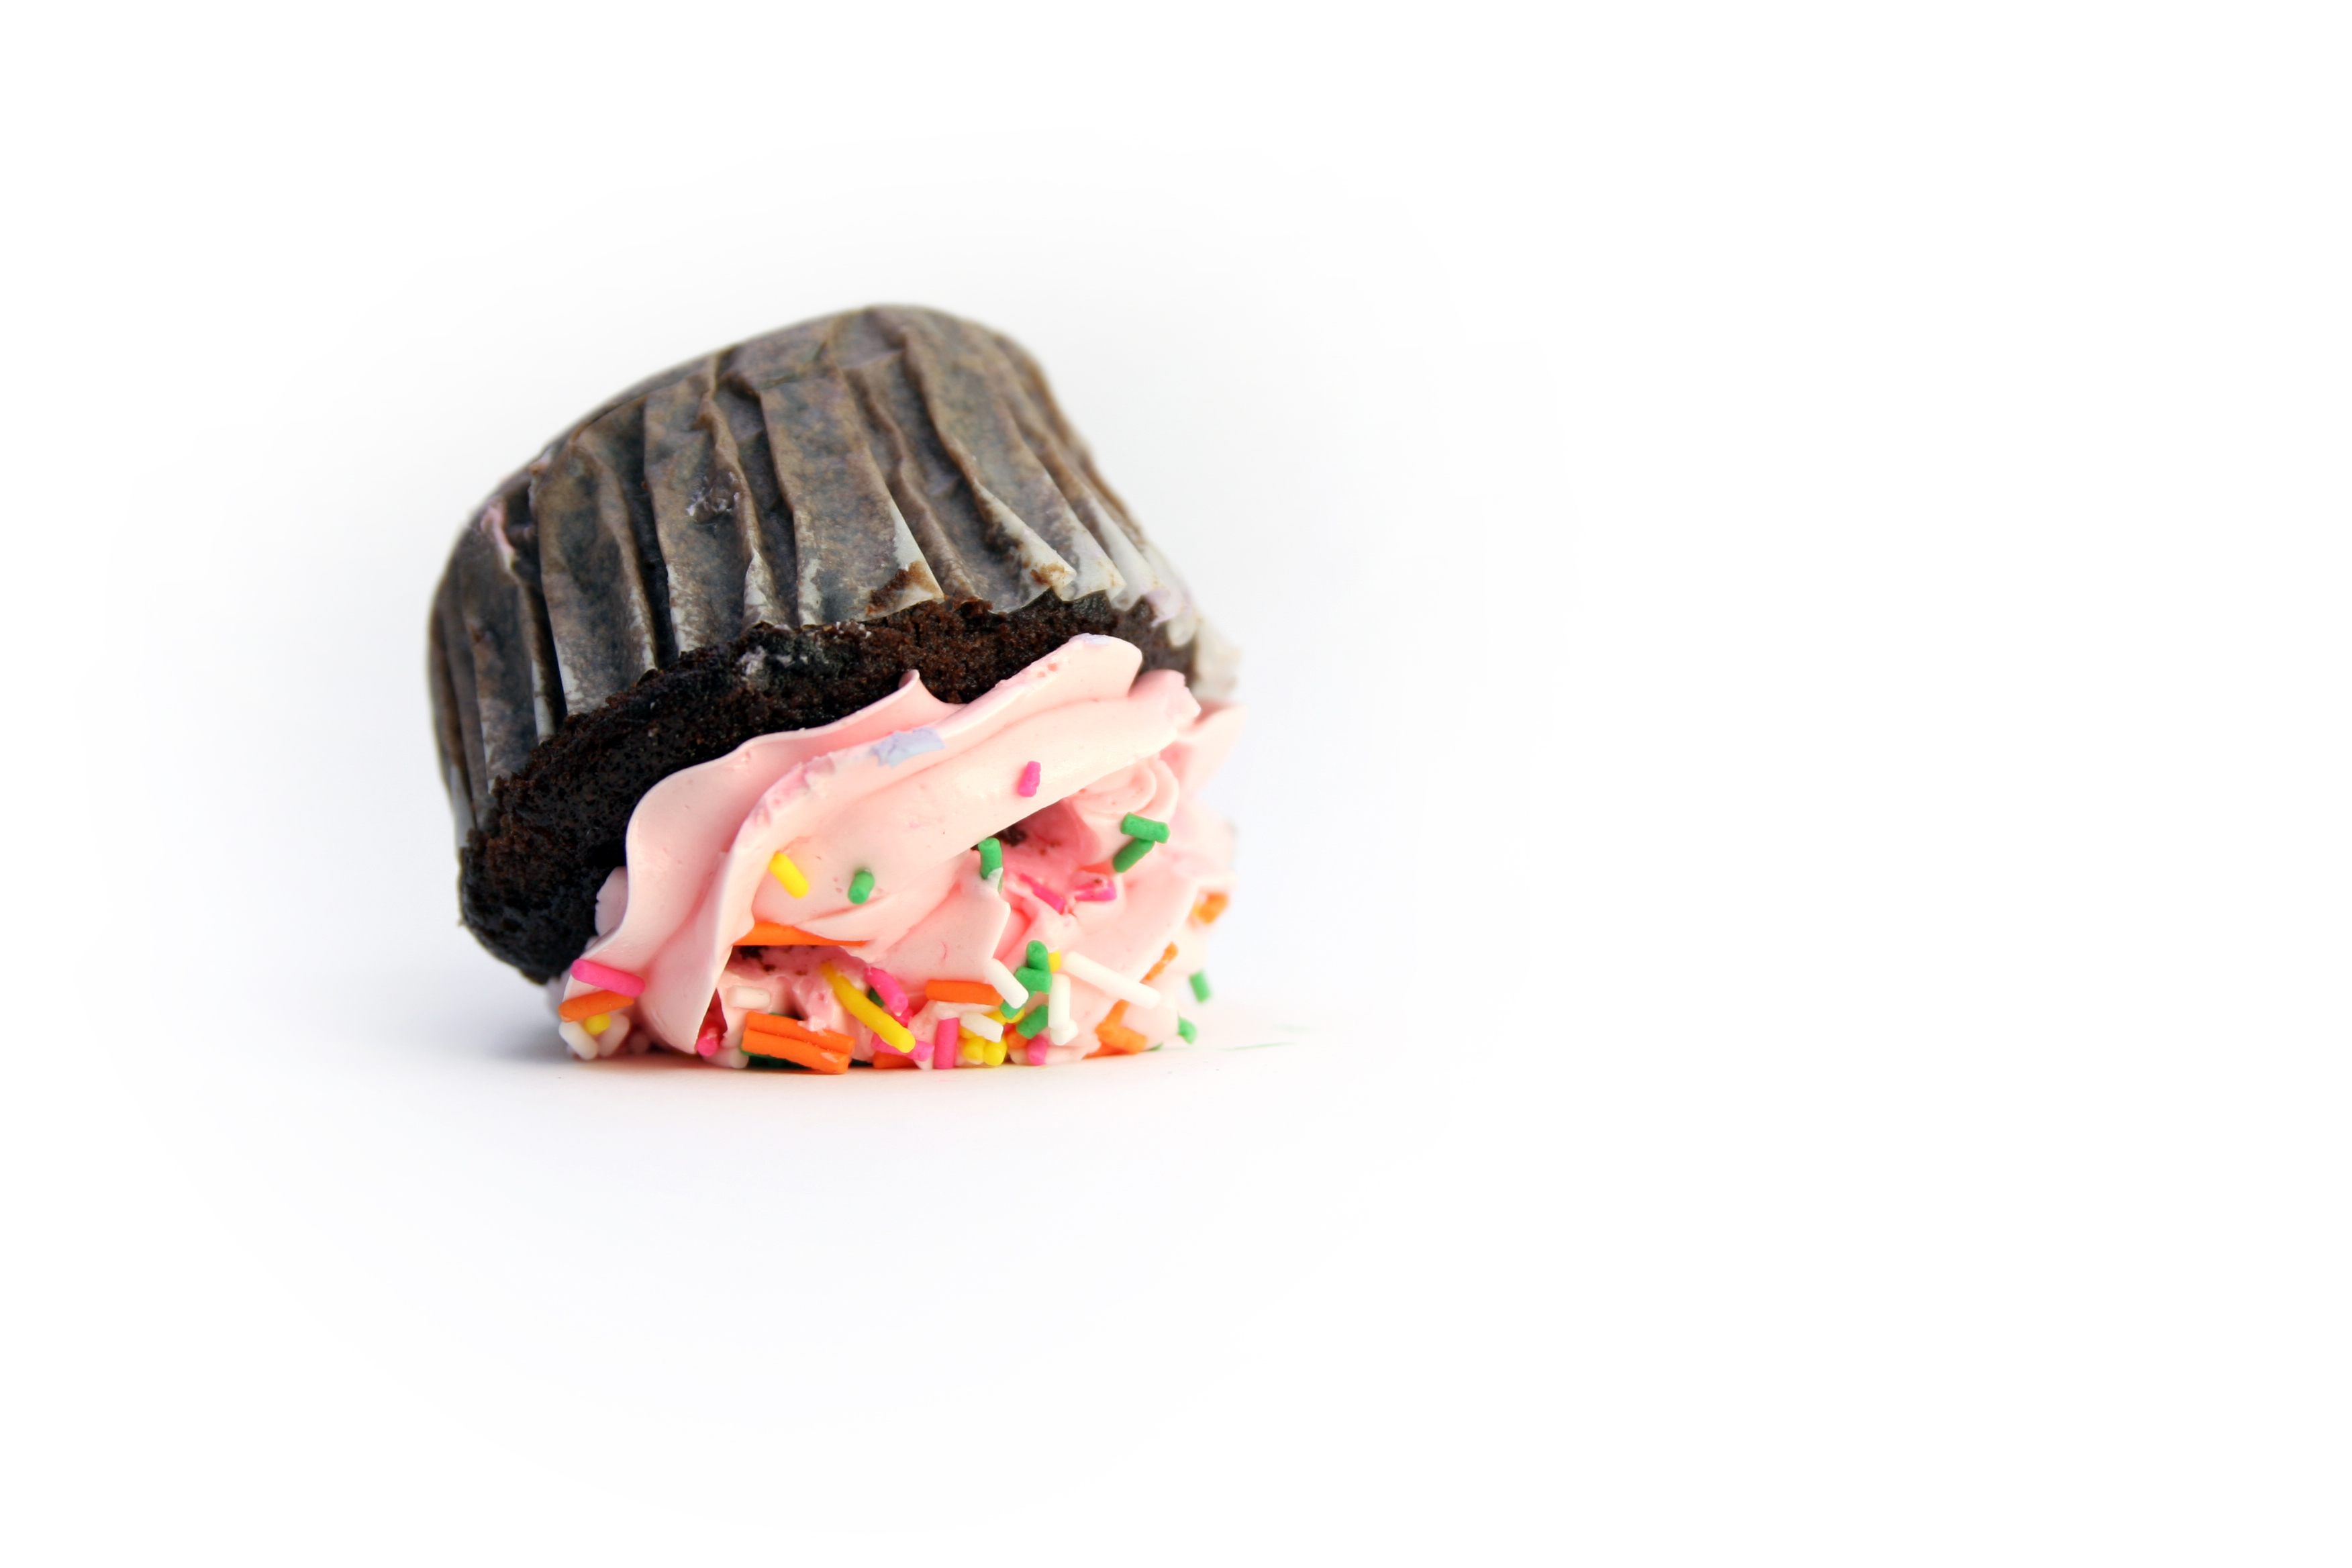
Camouflaging the Bump with Cupcakes?
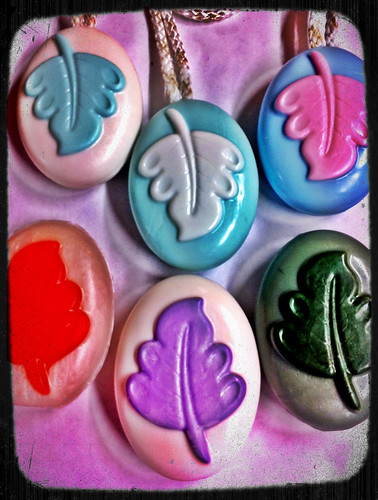 |
| Bringing Soap Ropes back in a big way! |
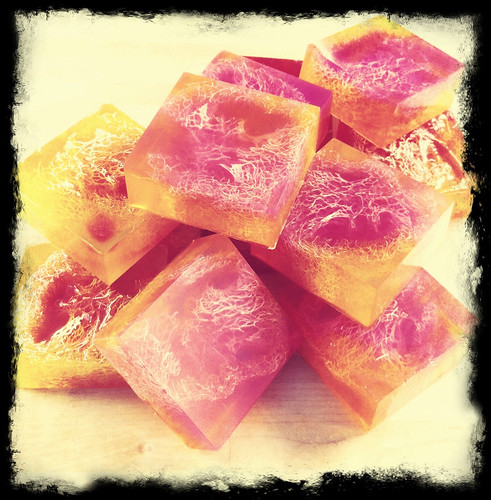 |
| Loofah Fun! |
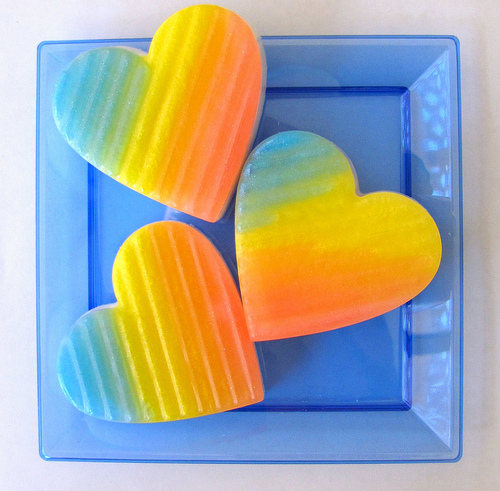
Soapylove Technique Post – 3 Color Fade
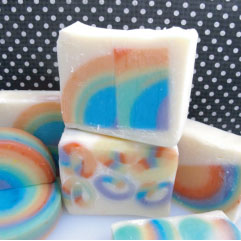
Rainbows and hearts… I can’t seem to get enough! One of my favorite looks lately is graduated color. Several years ago I taught at Otion’s Soap Weekend Intensive and was thrilled to attend a class by Paula of PJ Soaps (she’ll be teaching again this summer!). She showed how to make her beautiful moon soap (click here for tutorial), where she tilts the mold to get a lovely fade between the moon and midnight sky.
I have used this several times with a single tilted color, but realized if you use one on each side and then fill the center, that you can get a 3 color fade!
Here’s what you’ll need:
Coral Mica
Yellow Mica
Liquid Blue
Striped Heart Mold
NOTE: The mold in this tutorial has been discontinued. The kit now contains the Swirled Heart Mold.
Clear M&P soap base
White M&P soap base
Or click here and get everything you need all at once.
Here’s how to do it:
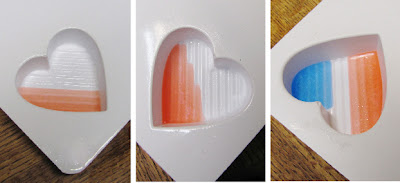
Prop your mold up on one side or corner. I used the Soapylove Striped Heart Mold. Next, melt and color a small amount of clear soap using non-bleeding red or coral mica. Spray your mold with alcohol, then pour a small amount of soap into one side, allowing it to only cover 1/3 of your mold surface.
It’s okay if your color doesn’t line up perfectly with the stripes. Allow to harden. Now turn around your mold so the opposite side is propped up. Melt and pour some blue soap into the opposite side, again only covering 1/3 of the mold face. Allow to harden.
Move your mold to be flat on the table. Color your third batch of soap yellow, spray mold with alcohol, and pour in soap so it fills the center area and covers a bit of each side color. Allow to harden. Spray with alcohol and top off with fragranced white soap. Voila!
Here’s a tip: color your soap with a light hand – if your colors are too dark then the background color won’t show through. When I do this project again, I’ll use a little less blue so the green tone will be more noticeable.
Enjoy!
-Debbie
Soapylove
Let it Bleed: Cold Process Soap Color Gradation Tutorial
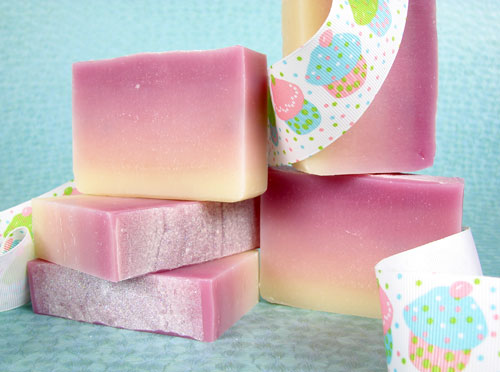
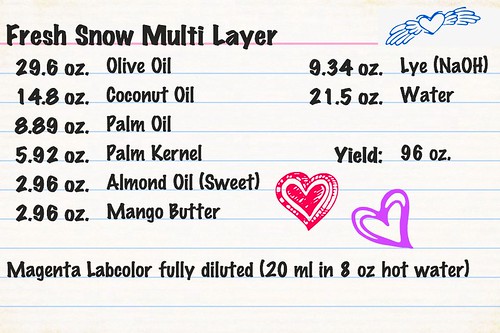
I’ve long been fascinated with how to make Labcolor’s inherent bleeding qualities work in a bar of soap. It does a great tie-dye look and the swirls are romantic and ephemeral. But, the idea of a sunset or a rainbow really drew me in. I started with a simple but sophisticated color graduation. It’s a very easy concept in theory but in practice, takes precision and weighing … and patience.
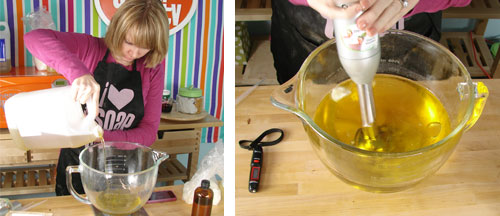
My husband and I are using this bar in our shower at home right now at home and it has fantastic lather and a great balance of bubbles with moisture and creaminess. Coupled with the absolutely exquisite scent and sophisticated color, it’s one of my favorite recipes I’ve made in a while. Read through all the instructions; it requires prep and precision.
Get everything you need with the click of a button.
Man, You’re Soaping Me Blue!
Blue Man is Bramble Berry’s strongly inspired version of of the popular men’s cologne, Aquolina Blue Sugar. The base note of Black Patchouli blends perfectly with Orange Peel, Sparkling Mandarin, Coriander Leaves, Star Anise and Venezuela Tonka. It’s surprisingly sweet and majorly masculine. Discolors to a light brown and does great in cold process.
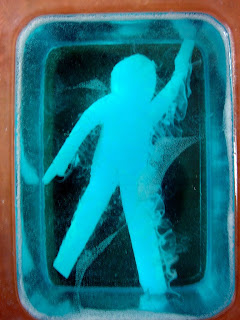
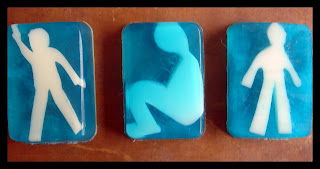 When the heat from the clear base hit the man cut-out, it created this really whimsical swirl in the soap while it set up!
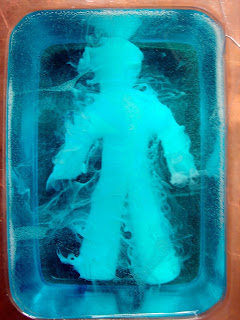

 Below are the little guys waiting to get blue. Even after chopping a bit off his legs, I still couldn’t get the little hat on the third one to fit in my mold.
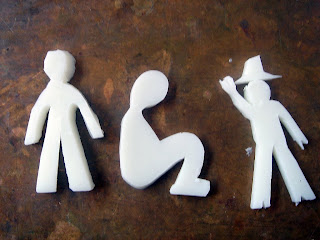 This was really fun and opens the door to all sorts of cut-out ideas. Have fun and remember that you can easily cut any design you’d like with an exacto knife, a thin layer of soap and some patience. Oh, and some cardboard underneath to protect your table.
How to Deal with Haters
 |
|
photo by Michael Lorenzo
|
Bramble Berry is growing (rapidly!). We’ve hired six people in the last two weeks. One of those people was an assistant to our Chief Marketing Officer (though for a small business, having the title ‘Chief Marketing Officer’ might be reaching but hey, aspirational titles are good too, right?). We put the ad out on Craigslist for $9.75/hour. Since the job was for an assistant who would help with graphic design, we proudly gave the URL of our website so applicants could see the quality of work we currently put out and would expect of them. Within 4 hours, the first tweet came: “$9.75/hour? Doesn’t that seem low to you?”
Minimum wage in Washington state is $8.57/hour. Federally, it’s $7.25/hour. Paying $2.50 over federal minimum wage for an entry level, part-time position doesn’t seem low to me. That’s the going rate for an assistant. So, I tweeted back and said something to the effect of “No, it doesn’t seem low. And everyone at BB, even our COO starts low.” That’s true. We don’t hire people who have money as their number one motivation. For one thing, we’ll never be able to keep them. Our company, though profitable and growing, does put the “Small” in “Small Business.” Unless you advance in the company with responsibilities and job title, your position pays the going market rate. And advancement does happen – our Chief Operating Officer started at $7/hour pulling orders and our Chief Marketing Officer started as my part-time assistant and took a $5/hour pay cut to come work for us.
The Tweets got progressively meaner:
And, as local Tweeple started RT’ing (re-tweeting) our job (because yes, yes we are a rockin’ place to work with very low turnover for our core team), one person on Twitter started harrassing the people who RT’ed the job:
Hearts, Flowers and…Gnomes?
I’m New! Now What?!
Recently my friend Debbie wrote me on Twitter and told me she loved the handmade (cold process) soap I had given her for Christmas and wanted to learn how to make her own. She asked, “How do I start?” Since that’s probably a longer answer than 140 characters on Twitter will give me, Debbie, this blog post is for you!
1. Read this article on the types of soapmaking. The type of soap you want to make is ‘Cold Process Soapmaking.
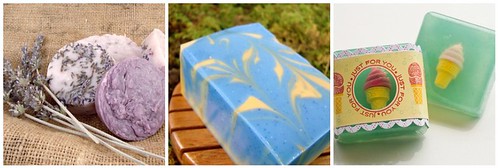 |
| Rebatch Soap Cold Process Soap Melt and Pour Soap |
2. Watch the 4 *free* videos at SoapQueen.TV on Cold Process Soapmaking.
Lye Safety
Basic Terms
Using Fragrances & Essential Oils
Using Colorants
After learning more about the process, are you still interested in moving ahead?
If yes, keep going.
If not, soapmaking is super fun! Consider a slightly less labor intense method of soapmaking – Melt and Pour soap or Rebatching soap. Kits for Melt and Pour and Rebatching are here.
3. Keep educating yourself. TeachSoap.com is a great resource. The TeachSoap forum is helpful. All of the posts here tagged with “Cold Process” add to your knowledge base and the SoapDishForum is a fantastic learning opprtounity.
4. Order a beginner kit. It has everything you need to make your first batch of soap except the Lye. Order the lye along with the beginner kit. Beginner kit A is here. Beginner Kit B is here; Lye is here.
5. Make sure you have all your safety equipment – gloves, goggles, apron etc…
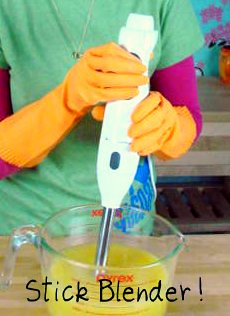
6. Get yourself to Goodwill to get a stainless steel bowl or glass bowl, a couple spatulas, spoons and invest $20 in a good Stick Blender.
7. Wait for your kit. Keep reading. Let your excitement build.
8. When the kit arrives, safety up! Goggles on! Gloves on! Cover those counters with newspaper. Lock pets outside. Children under 14 should be away from your soaping area. Find one hour of uninterupted time.
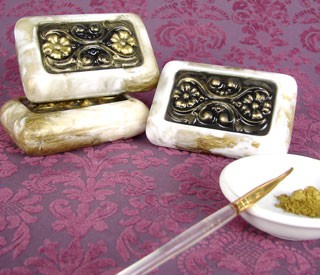
Victorian Swirl 3D Melt & Pour Soap Tutorial
- 4 oz. Clear Melt & Pour soap base
- 3 oz. White Melt & Pour soap base
- Heavy Metal Gold Mica
- Liquid Black colorant
- Apricot Freesia Fragrance Oil
- 12 Cavity Rectangle Silicone Mold
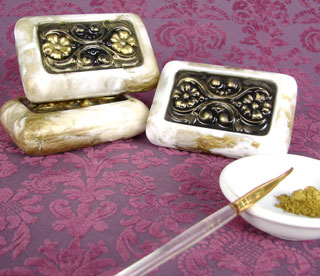
- Melt one ounce of the clear soap base and add four to five drops liquid black colorant. Pour the black soap into the design of the front side of the mold. Allow to set-up completely and clean-up any drips using a clean up tool. Spritz the soap with rubbing alcohol then assemble the 3D soap mold. Make sure that the holes on each side of the mold are matched up (it’s easy to put one hole on the top and one on the bottom – whoops) and secure the top and the bottom of the mold with the thick rubber band. (NOTE: The Victorian Blossom 3D Mold is discontinued. It has been substituted with the 12 Cavity Rectangle Silicone Mold. To achieve a Celtic design, simply paint on the design using gold mica.)
- Melt the rest of the clear soap and mix in Heavy Metal Gold mica and fragrance oil (.1 oz per bar or .5 – .7 oz. for the full two pounds). In a separate container, melt the white soap base and mix in the fragrance oil.
- Alternate pouring the two colors and poking the soap skin with a skewer to swirl the soap. For a full tutorial on how to swirl melt and pour, see the video on SoapQueen.TV.
- Once the soap is completely set up (4-6 hours), remove from the mold and trim the edges using a clean up tool or a non-serrated knife.
- Highlight the design by dry brushing the Heavy Metal Gold mica over the raised areas of the design. See this tutorial on the Soap Queen Blog for how to dry brush your soap.
Energy Fragrance Oil Blends
 |
| photo by Michael Lorenzo |
Energy is a fabulous fragrance that we designed ten years ago because we were inspired by an energetic scent we smelled in a well-known bath and body line. It’s comprised heavily of citrus notes with some fun notes like Blackberry, Pineapple and Champagne thrown in to sweeten it up. Energy provides a great blending palette as well. I hope you like the blends we came up with below. If you like the fragrance as-is, you’re in good company. I just ran the fragrance numbers for last year and Energy was our #2 best seller.
Click here to buy all the fragrances in one easy swoop for the blends (remember, you can delete any individual items from your cart even when using this handy “Buy It Now” button). It’s enough to make full blends of everything so long as your “part” is 1/2 ounce. Not sure what a part is? Jump to the bottom of the post & I’ll explain.
Sweet ‘n’ Citrus
2 parts Energy
2 parts Hello Sweet Thang
1 part Vanilla Select
Tart Fruity Delight
2 parts Energy
2 parts Moonlight Pomegrante
1 part Cream Cheese Frosting
Blended Big Red
2 parts Energy
2 parts Red Apple
1 part Cranberry Sweet
Tropical Beach Party
2.5 parts Energy
2.5 parts Coconut Cybilla
The Big Purple
2 parts Energy
2 parts Blackberry Cybilla
1 part Sugar Plum Fairy
Green Mean Machine
3 parts Energy
1 part Lettuce
1 part Cucumber Melon Cybilla
PS – We also sell straight Energy as a pre-made CP loaf or individual bar. Click here to check them out.
It’s a Tea Time Kind of Day

