Search Results for: www.brambleberry.com
We’ve Got the Cure for your Winter Leg Blues
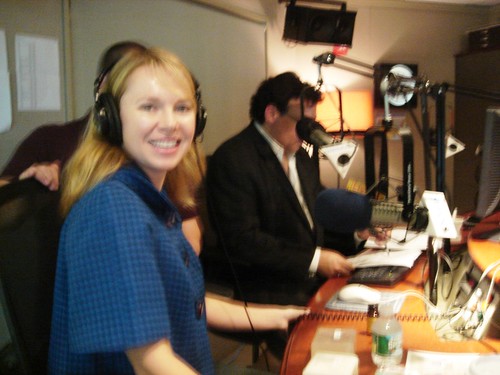
Tune in to Martha Stewart Radio (Sirius112 and XM 157) at 11:30 a.m. PST/2:30 p.m.EST this coming Tuesday (just 1 day away as in, tomorrow!) to talk about some fun Winter projects. I’m taking live callers so give us a jingle. I’m excited to answer your questions LIVE! 1-866-675-6675.
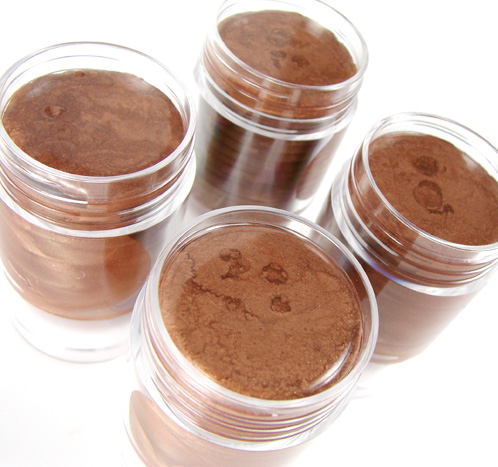
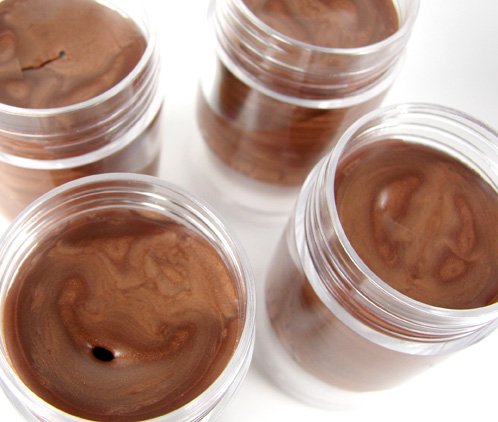
Wondering where your tan is this late in the season? Well, with all the snow comes the dreaded plague: Pasty White Leg Syndrome. Couple that with holiday parties that demand a no-nylons, open-toed-shoe look and you have the makings of a veritable disaster on your hands, or erm, legs. Fear not! We’ve got you covered … in this case, with shimmer bronzer that you can make yourself!
Get everything you need in the click of a button!
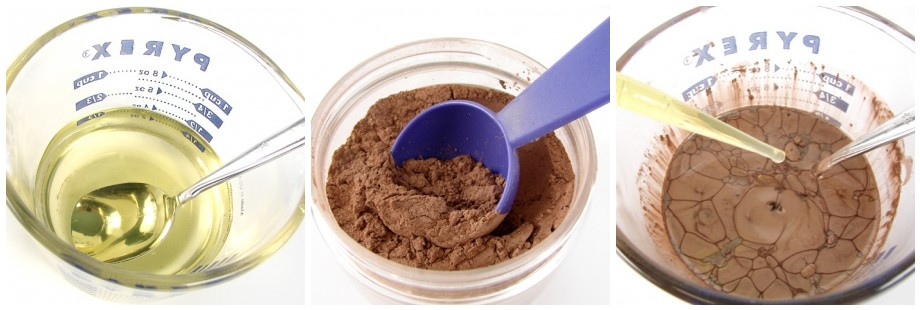
ONE: Melt the perfume base in the microwave on 30 second intervals. Once the base is a liquid, mix in the 5 ml of Coconut Citrus Sorbet and 1 tablespoon of your bronzer. Mix well. On a side note, Coconut Citrus Sorbet is like a tropical vacation. It will bring you out of the haze of dreary winter weather!
Alternate Bronzing Recipe: You don’t have to get the Foundation Kit to make your own bronzer. Check out this fun recipe!
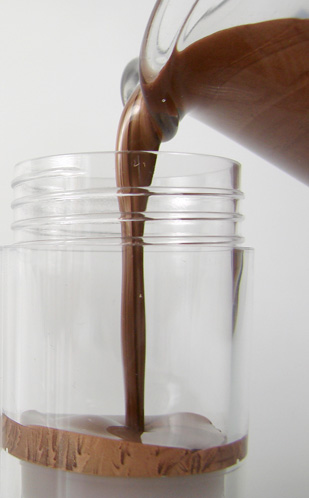
TWO: Pour the mixture into your push tubes and leave a little room in the top (about 3/4″), saving a little of the mixture, just under 1/2 ounce. We’ll come back to it. Let the shimmer sticks cool for about 5 minutes.
THREE: Five minutes later…Do you see the hole in the middle of the shimmer stick? Don’t worry, that’s totally normal and caused by the wax cooling at different temperatures. Melt the remaining mixture and pour it on top of the depression or whole (and no one will ever know it was there).
Variation: Is the Dark Bronzer recipe might be a little too dark? Try the medium or light recipe from the mineral make up book.
Application: Rub the shimmer stick on your legs, arms and decolletage for a moisturized and shimmered look!
Exfoliating Kisser Scrub
Martha Stewart Radio Sneak Peak!
Tune in to Martha Stewart Radio (sirius 112 and XM 157) at 11:30 a.m. PST/2:30 p.m.EST this coming Tuesday (just 2 days away!) to talk about some fun Winter projects. I’m taking live callers so give us a jingle. I’m excited to answer your questions LIVE! 1-866-675-6675.
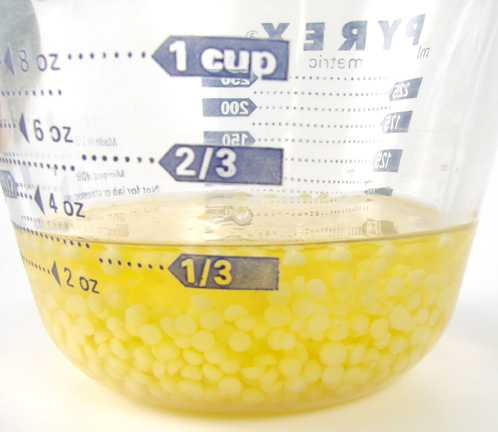
ONE: Combine the beeswax, shea butter and liquid oils in a microwave safe container and heat until the beeswax has completely melted (doing 30 second increments in the microwave).
TWO: Once all of the oils are in liquid form, stir in your flavoring oil of choice and sweetener. Mix well.
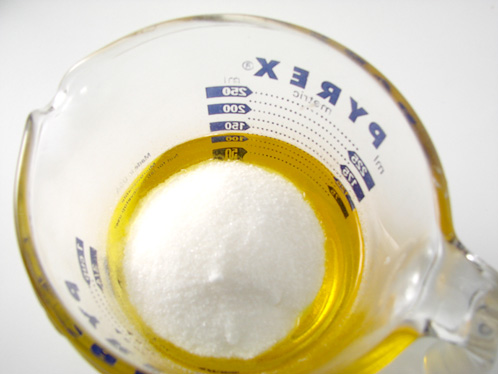
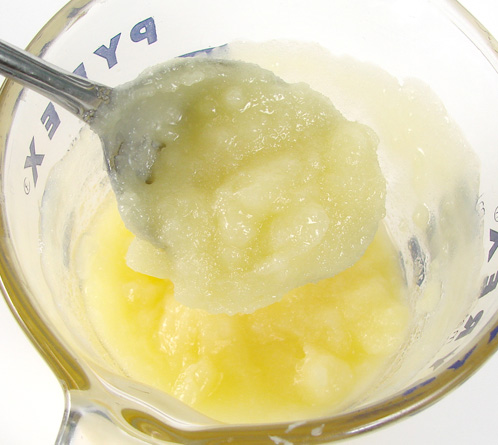
THREE: Stir in 2.5 ounces of white sugar pour into your lip butter pots and let the mixture harden.
How to use the Kisser Scrub: Use your finger to apply a small amount of the sugar scrub to your lips and rub in a circular motion for 30 seconds (or longer if you want extra exfoliation). Then wipe the scrub off with a damp towel and apply lip balm. Your lips will feel silky smooth!
BONUS BALM: Try the Bramble Berry Lip Balm Base for a super easy balm. Just melt, add a flavor, pour into lip butter pots and let cool. Couldn’t be easier. If you have never made lip balm before, check out this premium episode of Soap Queen TV.
Have a question about this blog post? Come join us at Bramble Berry’s Facebook page and we can help you out with any of your soapy questions!
Dirty Laundry or Awfully Sweet Cupcakes?
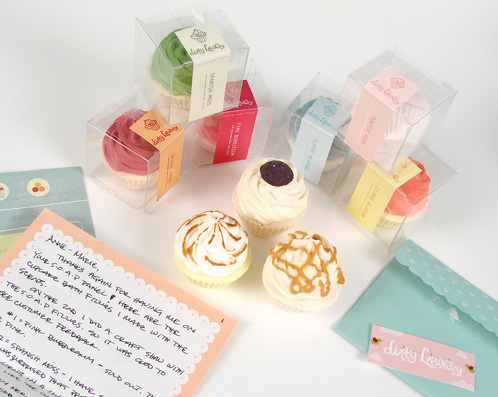
Jeanee, from Dirty Laundry, is such a dear. She was part Bramble Berry’s first SOAP testing panel and tested a bunch of potential new fragrances in her adorable line of cupcake bath fizzies. She was kind enough to send us some some of her samples. And I’m so thankful she saved them for us – they flew off the shelf at her last craft show. Of course, having seen them, we’re not surprised. They’re so cute that they rival puppy dogs and unicorns.
Natural Beeswax Christmas Ornaments
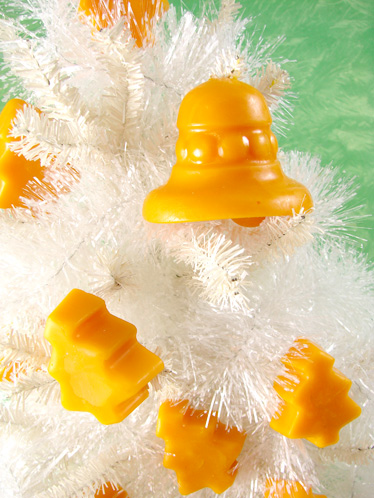
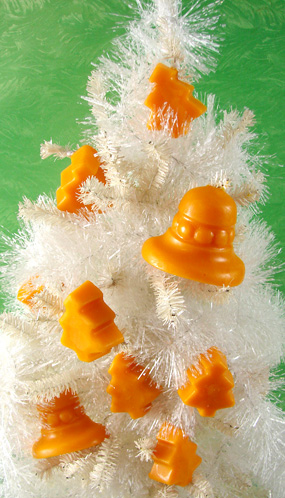
If you have a fake tree this holiday season, then you’re probably missing out on the fabulous Christmasy scent of pine tree; it just goes with Christmas. I’ve figured out a way to have your cake and eat it too. Or should I say have your fake tree and smell it too? However you want to phrase it, these wax ornaments are all natural, easy to make, and will definitely bring your some Christmas olfactory cheer. Check out this tutorial for another beeswax ornament idea!
Get everything you need in the click of a button!
Infused Annatto Seeds? Check out this episode of Soap Queen TV to learn how to infuse Annatto Seeds in oil for an all natural colorant.
NOTE: If you have a big tree you’re going to want to make a bigger batch. And if you dare, you can even add more essential oil so it’s extra piney! This recipe makes 8 ounces total (two bells and eight trees).
ONE: In the microwave (and in a microwave safe container) melt 8 ounces of Yellow Beeswax. Be very careful when melting beeswax in the microwave, it has a pretty high melting point. Just make sure that you melt the wax in short bursts stirring between sessions.
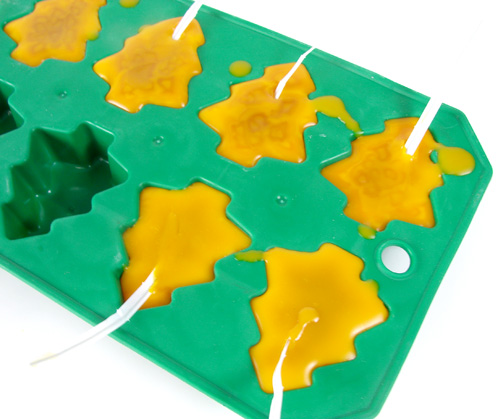
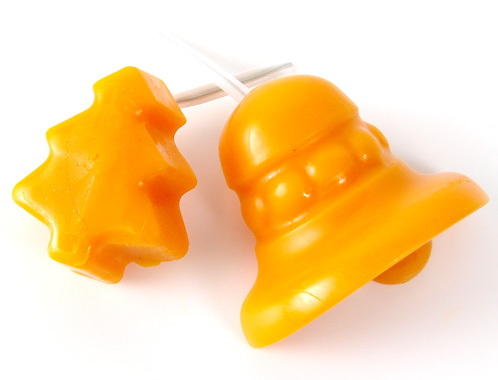
TWO: Once the wax is melted, add 1/2 ounce of Fir Needle Essential Oil and 1/2 ounce of Cedarwood Essential Oil. Mix well and pour into the mold. Then add the twisty ties making sure half of the tie is sticking out.
(NOTE: The Christmas Tree Flexible Mold and Flexible Bell Mold have been discontinued. They have been substituted with the 6 Cavity Christmas Assortment Silicone Mold.)
From Philly, with Love
 While she didn’t come bearing a Philly Cheesesteak, Maureen did come to us all the way from Philadelphia and we were thrilled to have her join us. She came to Otion wanting to expand her melt and pour soapmaking skills. Though she has watched all of the SoapQueen.TV projects (I love a student who has done their homework!), her projects weren’t turning out quite the way she wanted. (She doesn’t know it, but she was my last full-day private class until the baby is born. My back isn’t loving the full standing days anymore.) And bonus, in addition to being insanely off the charts sweet, she is a dog lover! So, her and Toby (our resident mascot dog) got a long really well and Toby helped us make soap for part of the day.
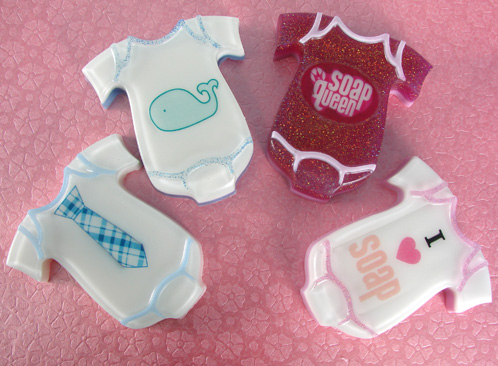
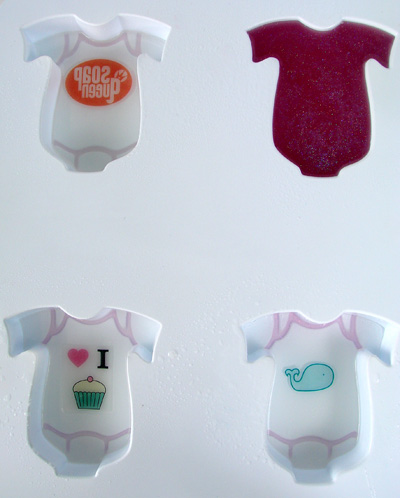
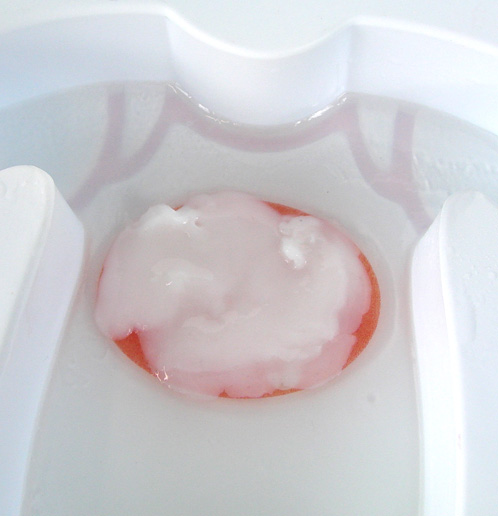
Onesie, Twosie, Threesie
But, Will He Get Seasick?
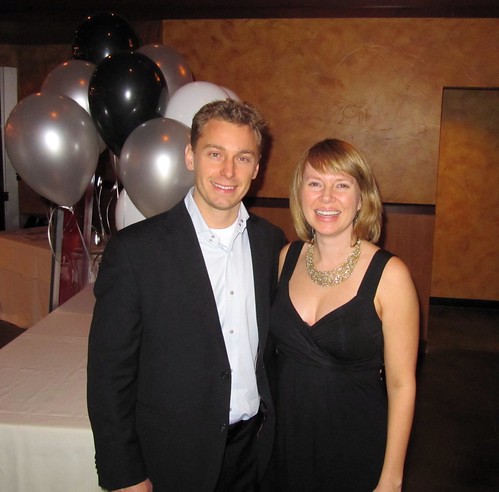
I had the best weekend (and hope you did as well). It started out with a super fun holiday party in Seattle. Chris and I got all dressed up (notice how the dress cleverly hides my 5-months-along baby bump) and went out on the town. To make it even more fun, we stayed at this very hip and modern hotel in downtown Seattle called Hotel Max. The rooms had Sealy Posturpedic beds so we absolutely melted into the mattresses and slept incredibly good all night. Of course, after a night of dancing and dancing and dancing, we needed it! My sweet hubby was a good sport and even danced with me. He did get worried about our little unborn baby (now the size of a very large Heirloom Tomato) getting seasick since I was treating the dance like it was an aeorbics class. =)
On Saturday morning, we got up and walked around Seattle (yes, it was cold!) and had a fantastic breakfast (I had blue cheese and grape pizza for breakfast. It was more delicious than it sounds) while codifying our family values. Both Chris and I have individual lists of things that are important to us as values (integrity, hard work, family, achievement are on my list) and we melded our two lists to make our list for what we want to stand for as a family. With the little one on the way, it was the perfect time to do it.
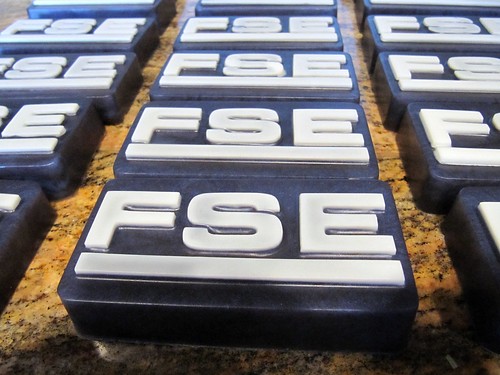
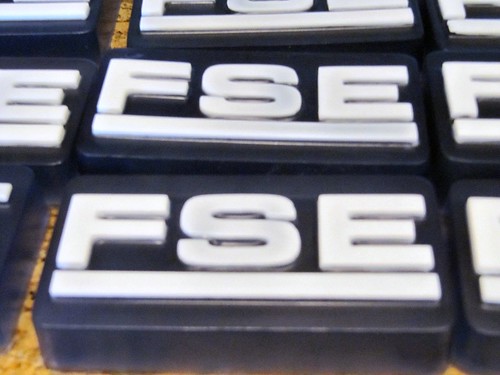
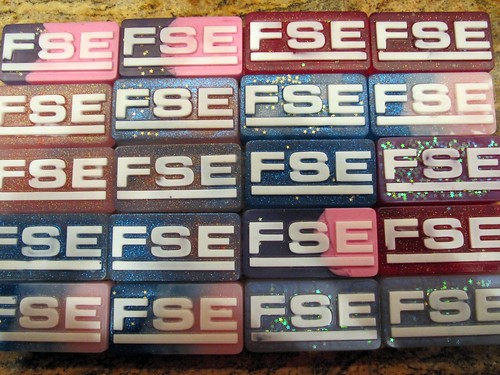
Sunday was definitely my favorite day of the weekend though. I got to make soap all day! My husband’s company had a custom soap mold done up by SoapMolds.com and I used the very simple Gingerbread Man technique (kit here, video tutorial here) to get a easy dual-toned soap that matched his logo colors perfectly.
This soap is using White Soap Base, Clear Soap Base and Antique Blue for the blue color (scented with #1 best-selling fragranc Oatmeal, Milk & Honey).
This soap is made using the White Soap Base, Clear Soap Base and the liquid Black Non-Bleeding color and the liquid Blue Non-Bleeding color (scented with #2 best-selling fragrance Energy).
Chris didn’t want to leave the kids out so he gave me free reign with the kids soaps so of course, I used the Bramble Berry House Clear and White soap bases, with glitters galore along with Brilliant Blue Labcolor and Fuchsia Labcolor to get fun effects.
We’ve been getting a few customer service calls and emails in the last week from people that just aren’t getting their ‘white’ piping on their Gingerbread men to stick around. Since I made 80 bars of soap with just that technique this weekend the best tip I can give you is pour the second layer within 10 minutes of pouring your white piping details. The sooner you pour it after the white has hardened, the greater the chance the two layers have of sticking together. And of course, don’t forget the all important alcohol spray. =)
Catching Up on the News
Emulsifying Wax (generic – lower price point than name brand)
I’ve had a super fun weekend so far (holiday parties, college football games and soapmaking!) and hope you are as well.
Neopolitan Sugar Scrub Cubes Recipe
In this episode of Soap Queen TV, I show you how to make Erin Pikor’s (of Naiad Soap Arts) wildly popular solid sugar scrub soap. The original post on how to make these solid sugar scrubs is a classic project that our readers keep coming back to.
In the video, I put my own little twist on this project by taking inspiration from Neopolitan ice cream. I made cubes of Strawberry, Chocolate and Vanilla. Yum!
Make Solid Sugar Soap Scrub from Soap Queen on Vimeo.
.
Here’s what you’ll need to make this project!
NOTE: The Soapylove fragrance oils used in this video have been discontinued. The kits now include Vanilla Select Fragrance Oil, Dark Rich Chocolate Fragrance Oil and Strawberry Fragrance Oil.
For Strawberry scrubs:
3 oz Shea Melt & Pour Base
2 oz Sweet Almond Oil
6 oz White Granulated Sugar
Strawberry Fragrance Oil
1 drop Tropical Hot Pink LabColor (undiluted)
For the Chocolate Scrub:
3 oz Clear Melt & Pour Base
2 oz Sweet Almond Oil
6 oz White Granulated Sugar
Dark Rich Chocolate Fragrance Oil
2 mini scoops Cappuccino Mica
For the Vanilla Scrub:
3 oz Shea Melt & Pour Base
2 oz Sweet Almond Oil
6 oz White Granulated Sugar
Vanilla Select Fragrance Oil
Heavy Duty Slim Rectangle Mold
(Note: This mold has been discontinued. It has been substituted with the 12 Cavity Rectangle Silicone Mold.)
Click hereto get everything you need added to your Bramble Berry shopping cart.
‘Tis the Soapy (Etsy) Season
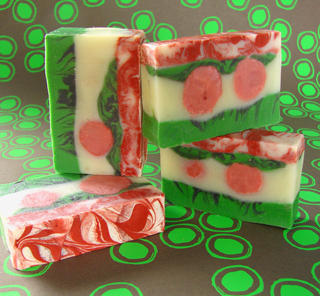
Cheery Holiday Cold Process Soap Tutorial
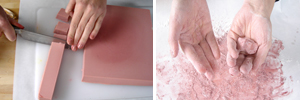
Two days ahead of time, make your cranberry embeds This is an unscented batch of soft soap that is almost play dough like in its consistency. The batch is a small 45 oz. size and is meant to fit into our Silicone Pans.
Wearing full safety gear and following basic CP principles (unsure about CP soap? Watch the FREE SoapQueen.TV tutorials on CP soap here), make your soap.
Add Burgundy Oxide and Merlot mica at thin trace and stick blend in. If you want to ensure no clumps at all, pre-mix color with 2 tsp of oil. Pour your soap and do not insulate. To keep the soap softer and more pliable, not going through gel phase is essential.
After the soap has set-up for just one day, use a melon baller, a cookie dough batter tool or just cut into squares and round off the corners and form with your hands. If the soap is too sticky, mix a little flour with Merlot Mica and apply to your hands to keep your hands from getting sticking to the soap.
Next make layers 1, 2 and 3: Get your soap to thin trace then, separate it into three batches. This recipe is designed to give a good amount of working time for multiple swirls and layers.
Green Soap: 20 oz soap batter with Emerald Labcolor and Green Chrome Oxide. Add approximately 1 oz fragrance.
White Soap Mix: 20 oz soap batter with Super Pearly White. Add approximately 1 oz fragrance.
Black Soap Mix: 12 oz soap batter with Black Iron Oxide and Vintage Gray Mica. Add approximately 3/4 oz fragrance.
Add the fragrance right before you pour so that if your fragrance accelerates trace you will still have time to embed your cranberry inclusions.
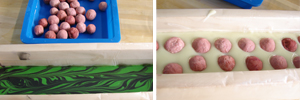
Fragrance the white layer of soap. Pour a thin layer of white soap over the black/green mixture. Add the Cranberry Inclusions, two by two, spacing evenly along projected bar cut lines. Pour the rest of the white soap.
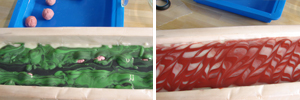
Spoon or pour the remainder of the black and green swirl over the Cranberry Inclusions/White layer.
For the last layer: Split the batch into two containers.
Red Soap: 7 oz soap batter blended with Burgundy Oxide and Merlot Mica. Approximately 1/2 oz fragrance blend.
Uncolored Soap: 11 oz soap batter with approximately 3/4 oz fragrance oil.
Swirl the colored soap and white soap together. Pour over the Green/Black layer.
Insulate well and allow to harden for a minimum of 2 days before cutting. To ensure your soap is mild and hard, be sure to make your soap by November 15th so it can dry for a full 4-6 weeks before the big day!
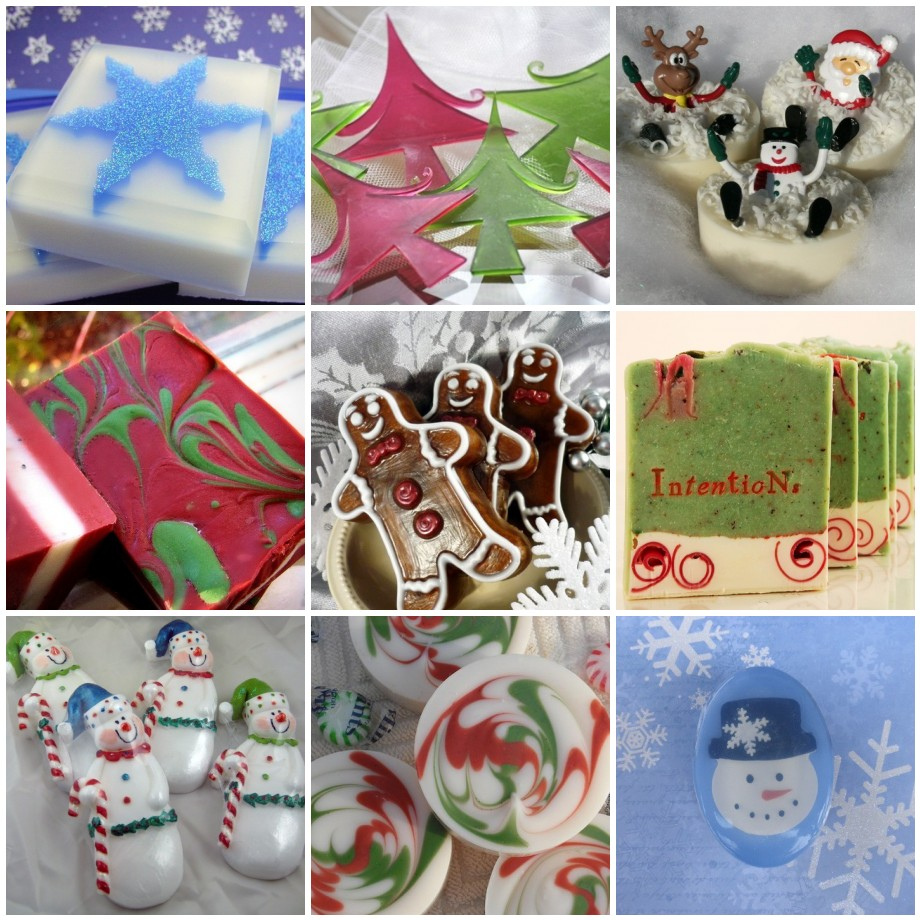
Soaps of Christmas Past
Key Lime Pudding Filled Cupcakes (Recipe)
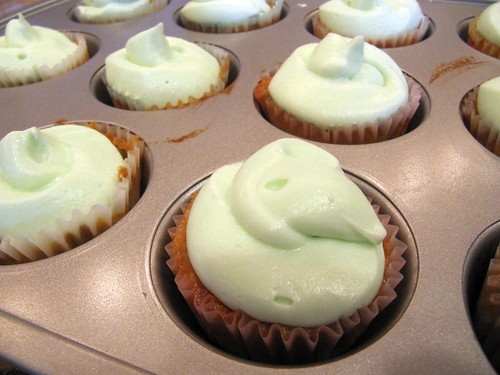
Ever since Bramble Berry was a wee thing, I’ve celebrated employees’ Bramble’versaries by baking something that they would like. Some things are a hit (Choco Salted Caramel Beer Cupcakes), some things were just a ‘nice attempt’ (Bacon Caramel Cupcakes). In this case, Kelsei has been with Bramble Berry for a year as a fulltime Puller. This means that she walks up to 3 miles a day in our warehouse pulling your orders. Her favorite dessert is Key Lime Pie so I decided to make a Key Lime Cupcake (which falls strongly into the ‘Hit’ category).
This recipe is a bit complicated but totally worth it. There are graham crackers ground up into the cupcake batter and a key lime pie filling swirled in throughout the cupcake. If that’s not enough craziness in a cupcake, you pop the cupcake tops off and fill them with a lime pudding! Whooosh!
Makes 30+ cupcakes.
Step 1 – Make the Cupcake Batter
•1/2 Cup butter (room temperature)
•1 Cup sugar
•3 eggs
•1 Cup milk
•1 Cup flour
•1 1/2 Cup graham cracker crumbs
•1 tsp baking soda
•1 tsp baking powder
•1/8 tsp salt
•5 egg yolks
•14oz sweetened condensed milk
•1/2 Cup lime or key lime juice
Preheat your oven to 350; line your cupcake pans with cupcake liners.
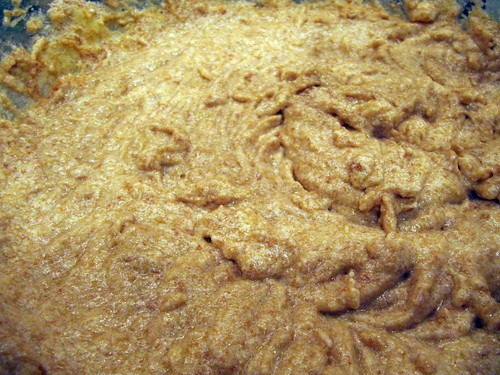
Beat the butter until creamy (about 30 seconds). Add the sugar and mix for approximately three minutes until it is lighter and more fluffy. Add the eggs and mix on medium for an additional 3 minutes.
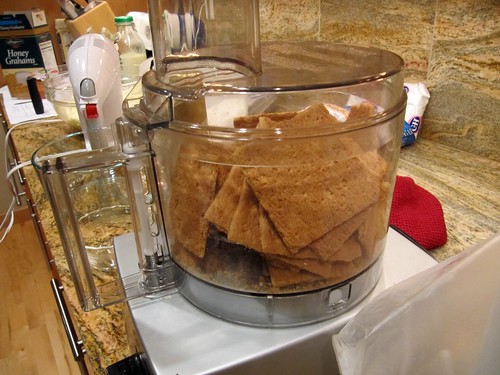
Grind the graham crackers up into tiny bits (they’re headed into the batter). I used a food processor but you could smoosh ’em with a rolling pin or a meat masher thingy.
Sift the dry ingredients (flour, baking soda, baking powder, salt) if you’re really into absolute precision baking. I’m not (I figure this much sugar and butter in a recipe is enough to make anyone overlook a few mini lumps).
Add a bit of this into the butter mixture, mix up, add some milk, add some more dry, add some milk and keep this up until it’s all in there. Mix until it’s all combined.
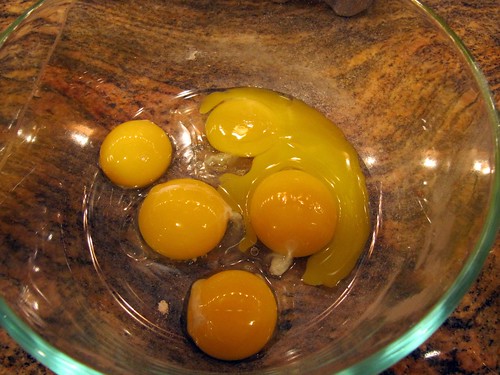
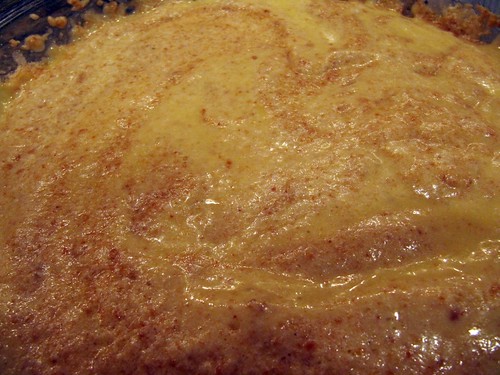
Now it’s time to make the traditional tart and amazing Key Lime filling (yum yum!). In a separate bowl, mix the egg yolks (only the yolks!), sweetened condensed milk and lime juice. Whip this. It gets to be a beautiful pudding like consistency.
Add this Key Lime filing into the graham batter and stir just a bit. You don’t want to mix in the Key Lime filling all the way. You’ll want chunks of it throughout your cupcake.
Fill your cupcake liners up about 2/3 full. These cupcakes don’t puff out like a normal cupcake. They sort of end up a bit like a sponge cake. Be sure to that each cupcake as a good mix of Key Lime pie filling and graham cracker cupcake batter.
Fill cupcake liners 3/4 full. Make sure each liner has a nice distribution of key lime liquid and graham clumps. Bake at 350 for approximately 20 minutes or until you can put a knife or knitting needle into the cupcake and it comes out clean.
Step Two – Lime Cream Cheese Frosting Recipe
•8 oz package of cream cheese (room temperature)
•1/4 Cup butter (room temperature)
•4 Cup powdered sugar
•1 tsp lime extract
(True Confessions: I couldn’t find Lime Extract but I did find Lime Juice so I used that instead)
Mix the cream cheese and butter. Whip in the powdered sugar and lime extract/juice. Take a huge finger swipe. Isn’t that good?
Step Three – Filling
1box (4-serving size) Lime instant pudding and pie filling mix
1 1/2 Cups whipping cream
1/4 Cup Key lime or regular lime juice
4drops green food color
1 1/2 Cups powdered sugar
Make the pudding mix; whip in everything else and get ready to fill your cupcakes.
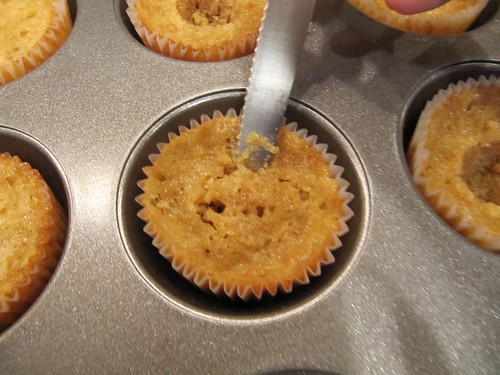
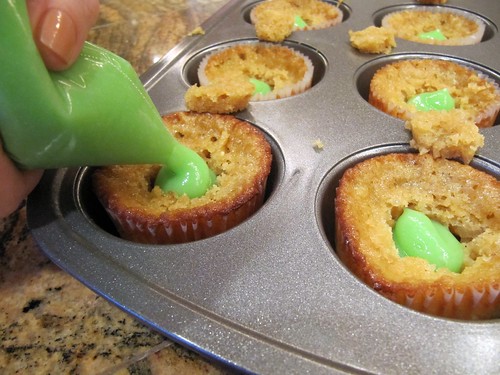
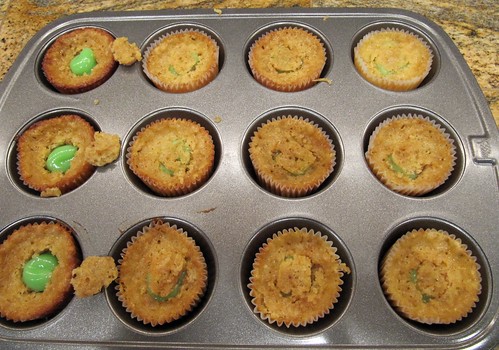
You’re almost done! Almost there! Just take a knife and carve out a little upside down rounded triangle out of your cupcake. Cut the ‘point’ off the cupcake. Eat it. Isn’t that insanely yummy? Now, fill up a baggie with your Filling. Cut off a very small tip. You want to be able to control the flow. Fill up the cupcake holes.
Then top the filling with your little cupcake hats.
Now, you’re ready to frost. Fill up a baggie with all of your frosting and snip a teensy tip off the frosting bag and frost your cupakes in a circular fashion.
Are they all frosted? Have a bite. You’ve earned it.

