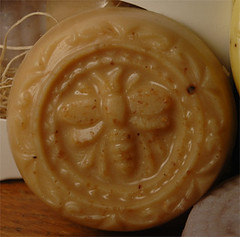
Here’s a kind note I got from Sue Harris of Little Mama Products
I just learned that I placed second in the “fragranced soap” category at the ADGA national convention last week!
I read your blog about what a chore it was, testing all those soaps… thank you so much. It means an extra lot, knowing the judging was done by someone I really respect! :o) I appreciate all the trouble the two of you took, testing the various aspects of the soaps. It’s very interesting to see the criteria, and how decisions are made.
Congratulations on your 2nd place finish, Sue!