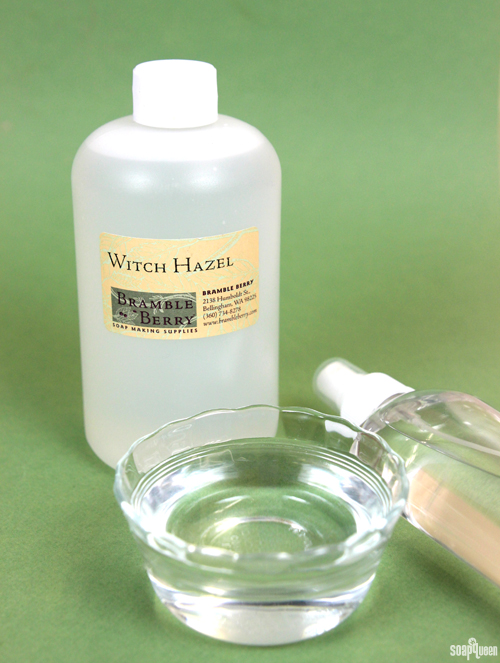
Produced from the witch hazel shrub, witch hazel is a clear liquid that is often used as an astringent. The witch hazel shrub (genus: hamamelis) is a small plant that grows in North America, as well as Japan. Extracted from the leaves and bark of the North American variety (Hamamelis virginiana), witch hazel is fantastic for sensitive or dry skins because it is extremely gentle. Once the extract is obtained, water and alcohol are added for use. A clear liquid, witch hazel does have a unique, slightly sour odor.
How to Make a DIY Bath Fizzy Station + Kiddos
My brother Erik and his beautiful wife Cheriss are expecting their first child any day now. We are beyond excited for them and were so happy to host their baby shower. Cheriss did not want a ‘traditional’ baby shower. She wanted a crafty, DIY, activity-based morning of fun that was less about “guess the new Mom’s circumference” and more about creating. We did a DIY Onesie Painting station, a DIY mimosa station, and an advice station.
Facebook Photo of the Week (May 10 ~ May 16)
This week we celebrated another week of awesome sales and promotions. While the promotions are over, there is still time to enter our Make it Month Contest. It has been so fun to see all your creations made with the Sunny Herb Garden and Carnation Fragrance Oils…keep em’ coming! We’ll do a blog post featuring all the entries in early June.
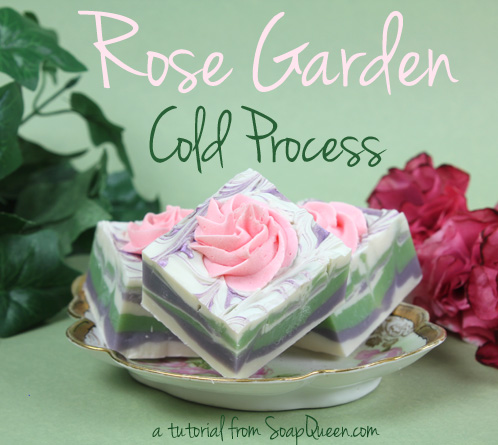
If you are looking for more soapy projects inspired by the garden, this week was full of floral projects. The Rose Garden Cold Process Tutorial is an advanced project utilizing soap frosting, mica swirls and the hanger swirl technique. If you enjoy the hanger swirl technique, this Tiger Stripe Hanger Swirl Tutorial is right up your alley. If you are looking for an easier project, these Elegant Coffee Filter Flowers can be made in minutes. The Victorian Heart Melt and Pour Tutorial is another project perfect for the beginner crafter. If you have never made melt and pour soap before, the Free Beginner’s Guide to Melt and Pour is full of information and tips.
Bath fizzies are another fun and easy project, and our Facebook Photo of the Week from Holly of Lotion Bar Cafe is a great example of a bath fizzy done well.

French Macaron Inspired Bath Bombs
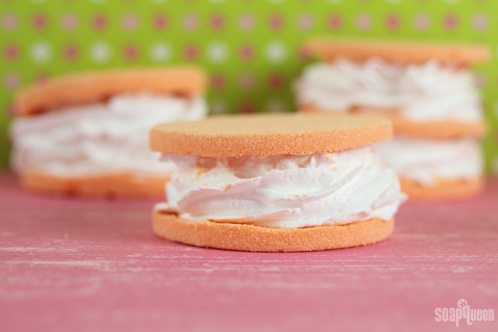
If you follow me on Instagram, you’ve probably noticed the Bramble Berry office is full of French Macaron fans. We’ve had them as snacks during meetings, been treated to homemade ones by our fabulous Customer Care team member Tina, and served them as treats at the Soap Crafting release Party a few weeks ago. They are sweet little meringue morsels made from just a few simple ingredients, and we knew we had to try them in soap. Our bath treats are made from bath fizzies and foaming bath whip instead of eggs and sugar, but we hope you enjoy them all the same. PS – I know they look more like ice cream cookie sandwiches, but macarons were my inspiration; I promise!

What You’ll Need:
For the bath bombs:
1 cup Citric Acid
2 cups Baking Soda
2 tablespoons melted Shea Butter
4 tablespoons Kaolin Clay
6 mL Mango Mango Fragrance Oil
3 mL Cantaloupe La Bomb Colorant
Two 12-bar Round Silicone Molds
For the frosting:
20 oz. Foaming Bath Whip
5 oz. White Melt and Pour Base
2 mL Almond Cybilla Fragrance Oil
Click here to add everything you need for this project to your Bramble Berry shopping cart!
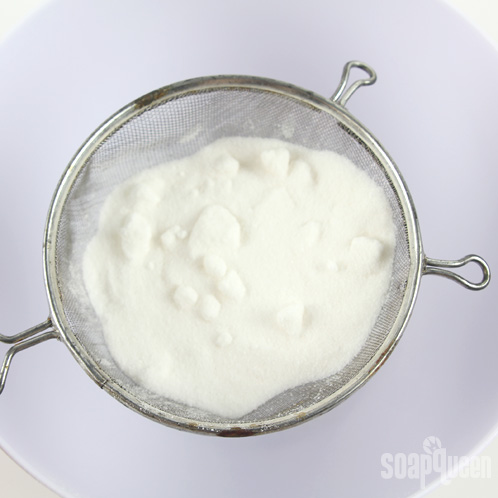
ONE: Start by pouring the Baking Soda and Citric Acid through a strainer to work out clumps. This will ensure your mixture is nice and smooth and free of clumps. If chunks get left behind, use a spoon to break them up and sift them through the strainer.
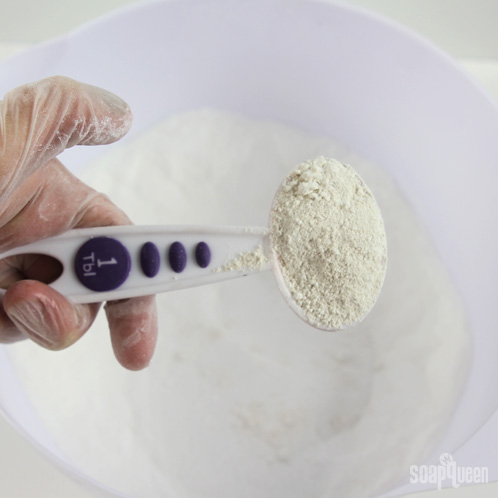
TWO: After you’ve mixed the Citric Acid and Baking Soda, add the Kaolin Clay.
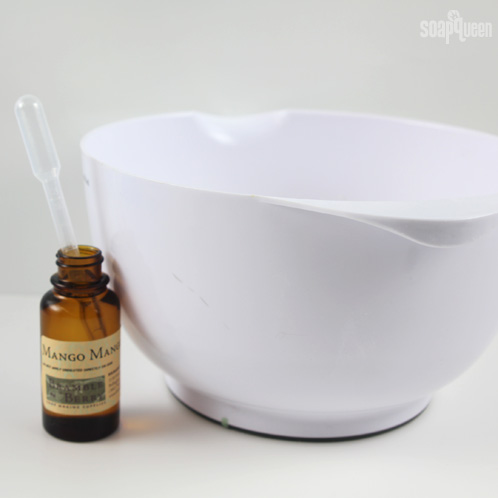
THREE: Mix the powders together and then add the Mango Mango Fragrance oil. To fully disperse the fragrance oil, put on some gloves and handmix the powders and oil together.
FOUR: Now add the Cantaloupe La Bomb colorant. We added 3 mL, but the colorant is WYSIWYG (what you see is what you get) so you can add a bit more if you’d like a more saturated color. Keep in mind — the more colorant you add, the higher the chance that it will color the bath water.
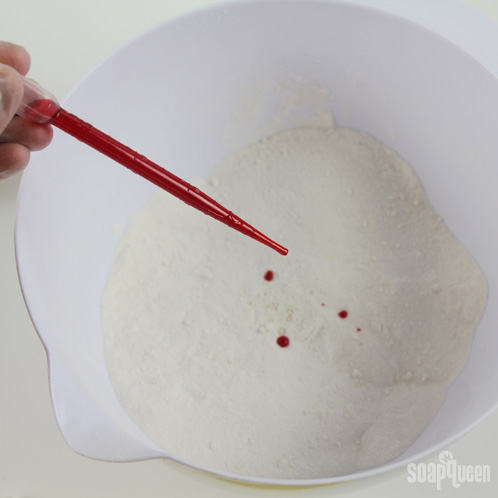
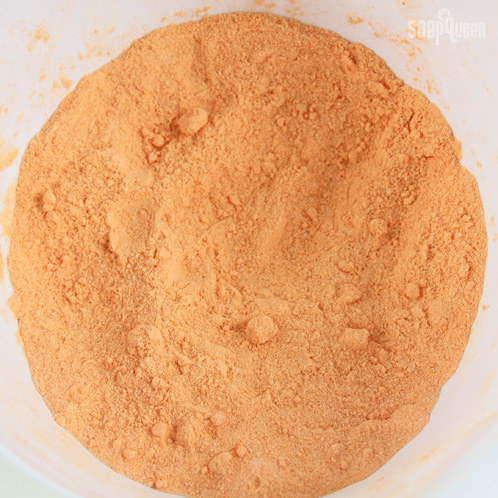
FIVE: At this point you’ll definitely want to put on some gloves to full incorporate the color into the powders. The colorant will tend to clump together so don’t be afraid to break up the chunks with your fingers. La Bomb colorants are specifically formulated to work in bath bombs, and if you’ve never used them before you should check out this blog post.
SIX: Melt down the Shea Butter in a heat safe container on 20 – 30 second bursts. When the butter is fully melted, add it to the powder mixture and stir.
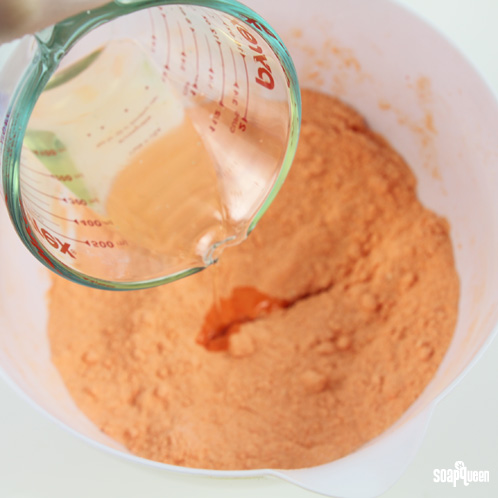
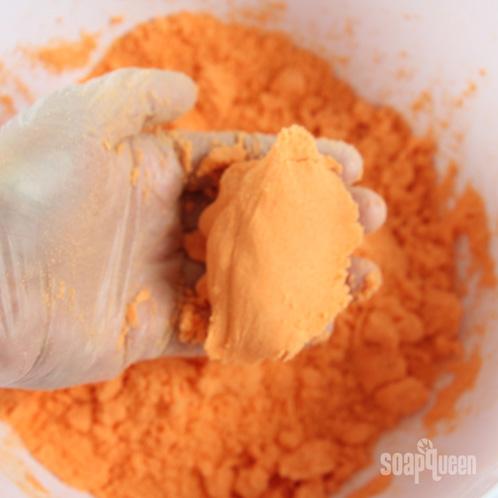
SEVEN: At this point, the powder should start to clump together. You don’t want it so crumbly that it won’t hold a shape, but you also don’t want it to feel saturated. If you find the mixture is crumbly, spray 2 – 3 pumps of Witch Hazel into the mixture. The Witch Hazel will help the powders stick together without setting off a reaction and making the mixture fizz prematurely. Test the mixture by squeezing a handful — if it holds shape and doesn’t fall apart, it’s good to go!
EIGHT: Once the mixture holds shape, scoop about two tablespoons worth of powder into each cavity of the mold. Press the mixture into the mold firmly, making sure to keep the surface as level as possible. Some of the mixture may creep up the sides of the mold as you press — that’s okay, just try pushing it back down. You can clean up the circles in the next step. Once you’ve filled 20 cavities, let the molds sit in a cool, dry place overnight to allow the bath fizzies to harden up.

NINE: After you’ve left the bath fizzies sit, unmold them very carefully. Because they are relatively thin, they can crack and break easily. The best way to get them out unharmed is to gently fold one row of the mold over on itself so the openings of the cavities meet. Then, gently press the bottom of the three cavities facing you, nudging the bath fizzies out of the mold.
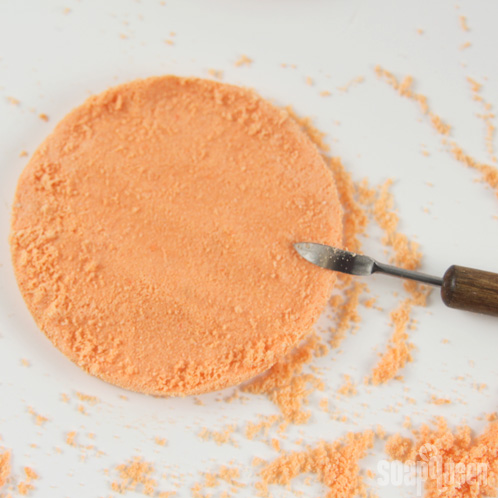
If you find that the bath fizzy edges are rough and jagged from finger prints, use a clean up tool to carve and smooth the edges down.
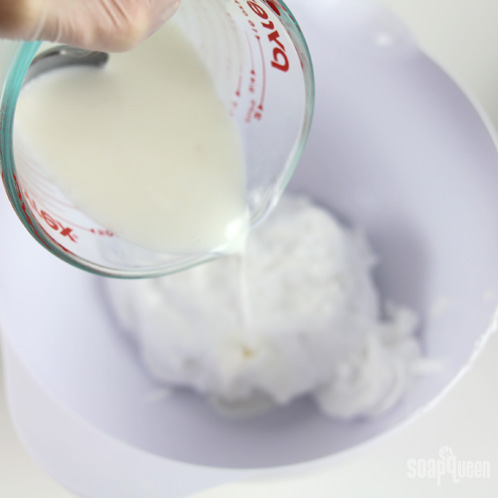
TEN: Set the fizzies aside. For the frosting, use a heat safe container to melt the White Melt & Pour Base in the microwave on 30 second increments. Once it’s fully melted, combine it in a large bowl with the Foaming Bath Whip.
ELEVEN: Add in the Almond Cybilla Fragrance Oil. Because this fragrance oil can cause discoloration and we want the frosting to stay white, add in an equal amount of Vanilla Color Stabilizer.

TWELVE: Using a hand mixer on a low speed, whip the melted soap base, bath whip and fragrance oil together. After about a minute, turn the speed up to high and whip for another 3 – 5 minutes. Keep a spatula on hand in case the mixture creeps up the side of the bowl. After about 5 – 7 minutes of mixing, the mixture should be able to form stiff peaks. Once it has reached that consistency, it’s ready to use.
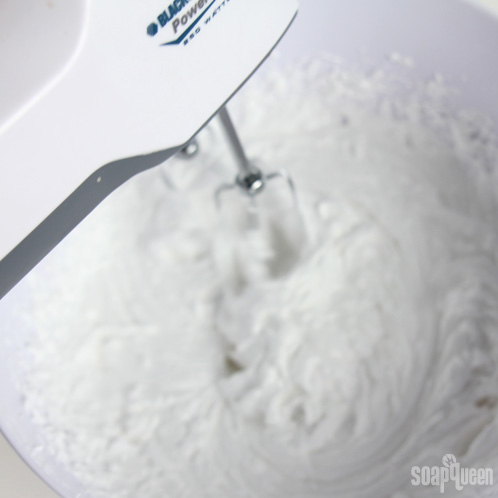
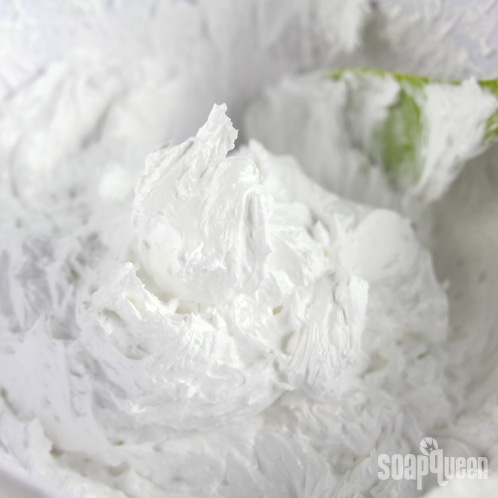
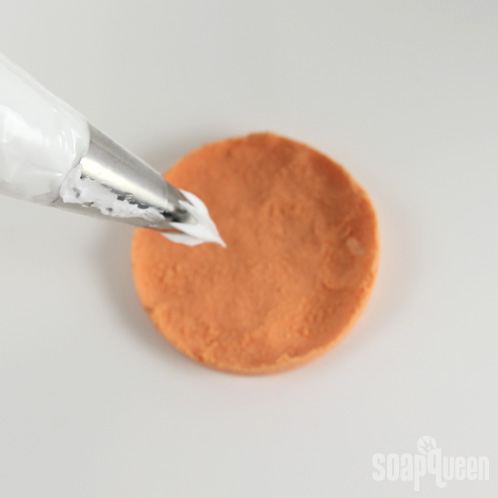
THIRTEEN: Cut the triangle tip off a frosting bag and insert a 4B frosting tip. Then, spoon in about a cup of the frosting mixture (Tip: We like using our brand new Square Silicone Spoons!).

FOURTEEN: Frost the bath fizzy by starting in the center and making a circular pattern toward the edge. We piled our frosting fairly high (1.5 – 2 inches) because although the frosting should be stiff, it will fall slightly when you stack another fizzy on top. Here you can get creative! Try stacking another layer of frosting and another fizzy on top for a triple Macaron, or try squeezing the fizzies together so the frosting peeks over the edges. It’s totally up to you!
Your fizzies are ready to use right away. Enjoy!
Baby Sprinkle Series: Mini Flower Bath Bombs
Another addition to the series of Bramble Girl Sprinkle tutorials – Mini Flower Bath Bombs! The sweet little flowers pair fabulously with the Strawberry Tart Melt and Pour Soaps and the Ombre Gift bags for a gift package that your guests are sure to appreciate. Try out your own color scheme with Bramble Berry’s LaBomb colorant line, and be sure to download the free PDF’s to complete the look of these favors and add a bit of flair to your sprinkle decor.
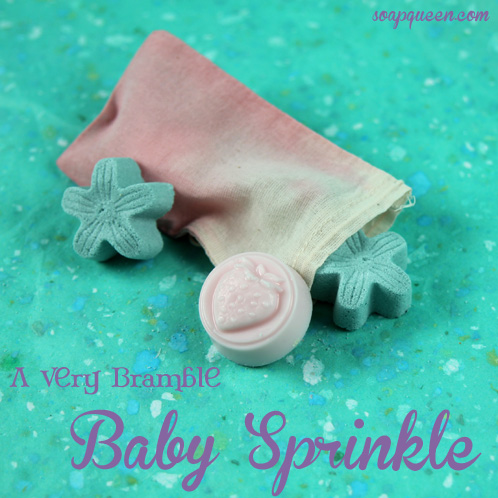 [Read more…]
How to Frost the Perfect Bath Fizzy Cupcake
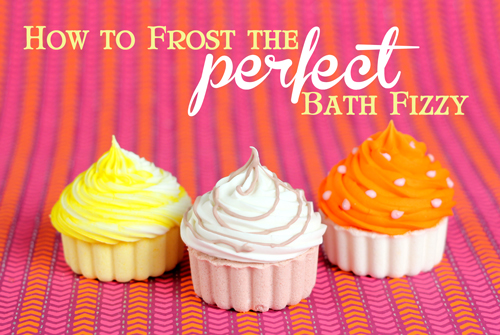
I have a special guest on Soap Queen TV – Jeanee Duval of Dirty Laundry! She came all the way to Bellingham (15 hours of flying time – wowzers!) to show us her technique for making perfect the Bath Fizzy Cupcake. I had such a great time Jeanee, and her craftsmanship is amazing. We show 3 different versions – to dress up your cupcakes. [Read more…]
Soap Queen TV: Bath Fizzy Fun!
Learn how easy it is to make Bath Fizzies and Bath Bombs with me this week on Soap Queen TV!
How to Make Bath Fizzies from Soap Queen on Vimeo.
Bath Bombs are so easy and economical to make but they have a reputation for being tricky to create.
Let me show you how simple and fun making bath fizzies can be. First, I create a multi-colored star with a Soapylove stacked star soap mold and then I show how to use our stainless steel sphere mold to make the ever popular round bath bombs. To find the recipe for the bath fizzy frosting I mention in the video go here.
To make the star fizzies you will need:
1 cup Citric Acid
2 cups Baking Soda
18 ml Coconut Citrus Sorbet
Gurlie Pink LaBomb Color
Adobe Brick LaBomb Color
Cornflower Blue LaBomb Color
Witch Hazel
SoapyLove Stacked Star Mold
Note: The mold shown in this video has been discontinued. This kit now contains the 6 Cavity Heart Silicone Mold.
Or click here to add everything you need to make these to your Bramble Berry shopping cart.
To make the mondo lavender bombs:
1 cup Citric Acid
2 cups Baking Soda
3 Tablespoons Kaolin Clay
18 ml Lavender Essential oil
Lilac LaBomb Color
Stainless Steel 2 piece Sphere mold
Or click here to add everything you need to make these to your Bramble Berry shopping cart.
