Last year, I tried making an impression patterned soap for the first time. You can find that tutorial here. I was inspired by Auntie Clara’s gorgeous lace patterned soap. To achieve the pattern, first you need to create a silicone texture mat. Auntie Clara has a wonderful tutorial and plenty of tips on creating your own patterned mat here. Creating your own textured mat allows you to customize the look, but it is a tricky process. These new impression mats are ready to be placed in the bottom of your mold. Simply cut them down to size to fit your mold and pour your soap on top. Then, unmold and peel away the mat to reveal the pattern!
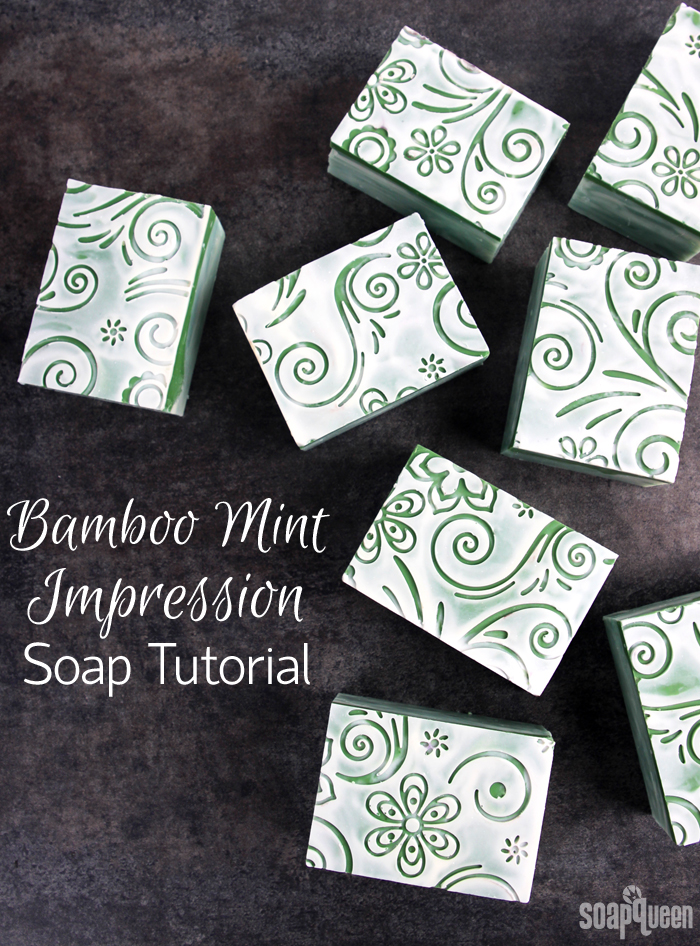
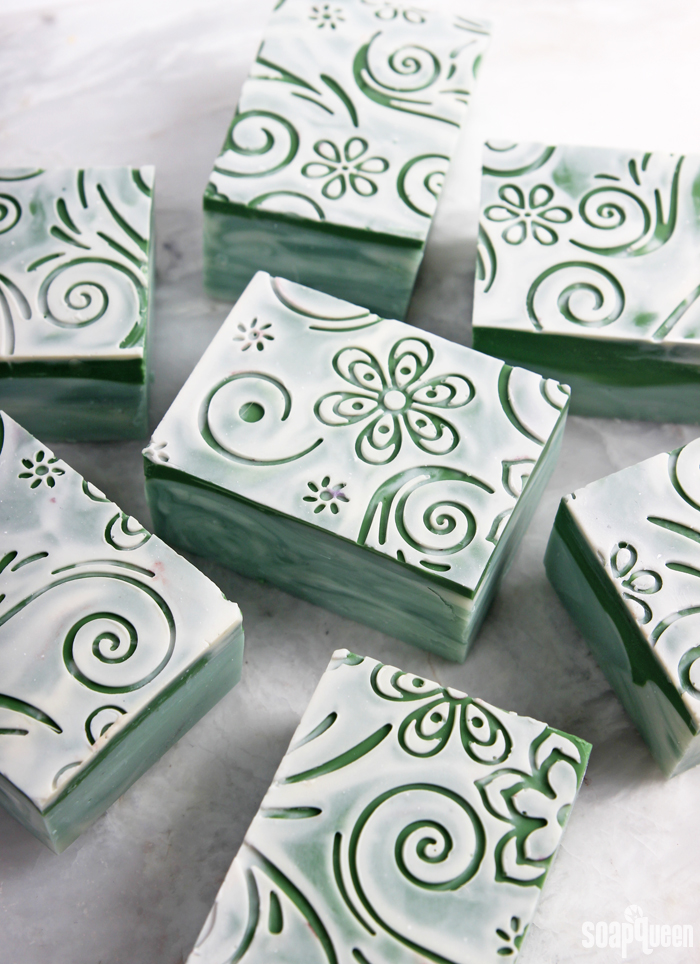
For this project, I used the Flowers and Spirals Impression Mat. This particular mat has a raised pattern, which leaves a stamp-like effect on the soap. To help the pattern pop, I filled the indented part of the mat with white soap and scraped it away from the flower and vine pattern. The Scraper/Cutter Tool worked great for this step. Then, I poured dark green soap on top. This way, the green soap touched the raised pattern of the mat, which resulted in a pronounced pattern.

The process shown in this tutorial an advanced technique. To simplify it, you can skip the multiple layers and colors. Simply pouring one color of soap onto the impression mat will still result in a beautiful soap! I have also found the impression mats that have a recessed pattern (such as the Cupcake Mat or the Butterflies and Feathers Mat) are a little bit easier to use. It’s easier to fill in a recessed pattern rather than a recessed negative space because the pattern is smaller.

