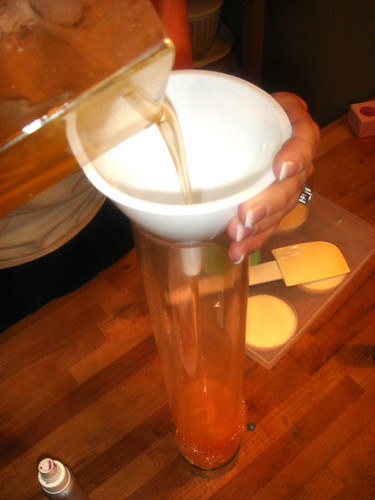
Welcome to Day One in a multi-day series on making Citrus Slice melt and pour soaps.
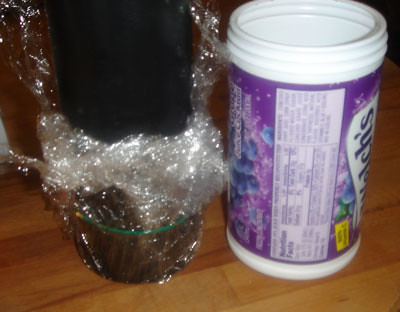 For this project set up, you will need:
clear melt and pour
white melt and pour
non-bleeding or Labcolors or Micas (Exact colors used for this project are Apricot Blush mixed with Orange Mica)
fragrance oil (Good ones are Yuzu, Tangerine EO, Synergy EO blend, Energy and Creamsickle)
Sewer Pipes (2″ and 3″, I found clear and black) or plastic juice cans. Ask the nice people at the hardware store to cut your pipes for you in 8″ or 1′ lengths. Cutting at home, with a hacksaw, on your kitchen counter is neither safe nor conducive to a speaking relationship with your spouse.
Droppers or PJ Tool Kit
Pyrex container
Spoons
Rubbing Alcohol in a spritzer bottle
Saran Wrap
Rubber Bands
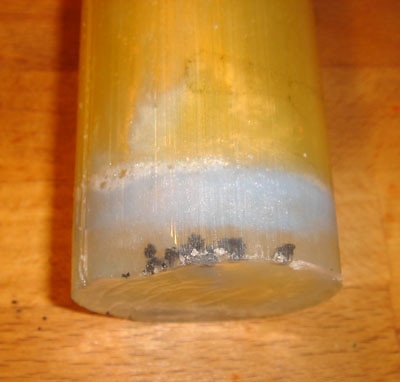
Before starting this project, wash your pipe. The pipes come from a hardware store and are not cosmetic grade clean as evidenced by my rock inclusions. I spent $11 on 3 different sizes of pipes, in multiple lengths. These little makeshift soap molds are economical though the trade off comes when it’s time to get the soap out of the molds. More on that later …
 1. Melt 8 – 16 ounces of clear melt and pour soap in the microwave. While this is melting, prepare your pipe by wrapping the bottom in saran wrap and hold firm with a rubber band.
2. Fragrance and scent to preference.
3. Color to preference. Remember to use the rubbing alcohol liberally to ensure that all of the mica “bubbles” break up and mix in thoroughly.
4. Pour a thin layer (less than one ounce) to the bottom of the sewer pipe. Use a funnel. If you try to pour directly into the pipe, there is a chance you will spill down the sides of the pipe and cause ridges and unsightly colors throughout the range of your soap.
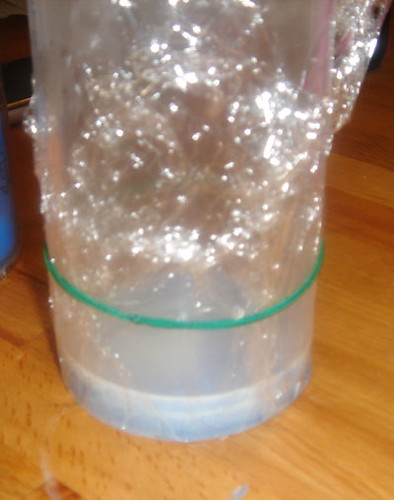
5. Allow bottom layer to harden. If you forget to do this, all the soap will drain out the sides of your tube, causing a mess.
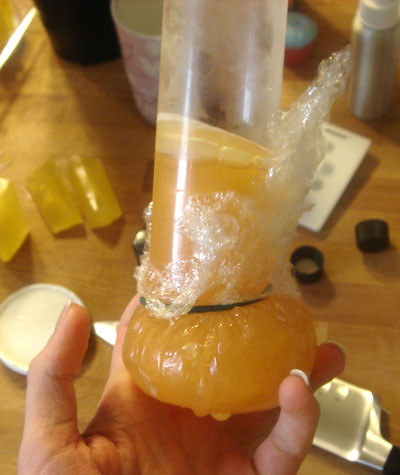
6. Once bottom layer has hardened, use the funnel to pour the colored soap into the tubes. This soap will become your slices.
Part Two
1. Freeze the tubes for 30 minutes in the freezer. Get the soap out of the freezer, anchor yourself firmly and push the soap out however you can figure out to do it. I used a long broom with a towel wrapped around the end to force the soap out. Don’t point this towards a window as the soap slides out at an impressive (and slightly alarming) rate once the air lock has been broken. Soap Cannon, anyone?
2. Once the soap is out, use a sharp butcher knife to cut the tube lengthwise into slices.
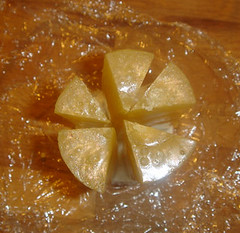 My cutting skills are severely stunted so that’s why my “slices” look like abstract works of art.
3. Again, prepare your tube with saran wrap. Pour a thin layer of white soap down. As soon as the layer is hard, pull the tube off of the white soap.
 4. Use this little circle as a guide to place your slices. Place the slices using melted clear melt and pour as glue. Dip the edge of the slice in the melted soap and place the slice down. Work quickly with all the slices as the soap sets up rapidly. Push, pull and prod until your slices look more expertly arranged than mine.
5. Spray all of your slices down liberally with rubbing alcohol.
6. Smoothly slide the tube back over the white guide ‘n’ citrus rod soap. Fasten the saran wrap back around the tube, keeping in place with a rubber band.
7. Melt white and pour soap in the microwave. Fragrance to preference.
8. For Bramble Berry house bases, pour between 120F and 130F. No thermometer? Not to worry, if you can put your finger in the soap for longer than 5 seconds and it doesn’t burn, it shouldn’t won’t melt the slices.
 9. Pour the white soap slowly over the slices, pouring well above the line of the soap slice.
10. Allow to harden. Put in freezer. Repeat tube wrangling with your Soap Cannon. Cut the soap into slices and behold your creation with pride.
Look for the photo of how my cutting-challenged, sad slices, soap citrus tubes came out tomorrow.
