We’ve been all abuzz and extremely excited in the Bramble Berry offices with the release of my new book, Soap Crafting. So this week, inspired by the book, we will be featuring 4 unique Cold Process tutorials plus announcing a special Soap Crafting contest (hint: who doesn’t love Pinterest?). Can’t get enough of the CP love? You’ve come to the right place!
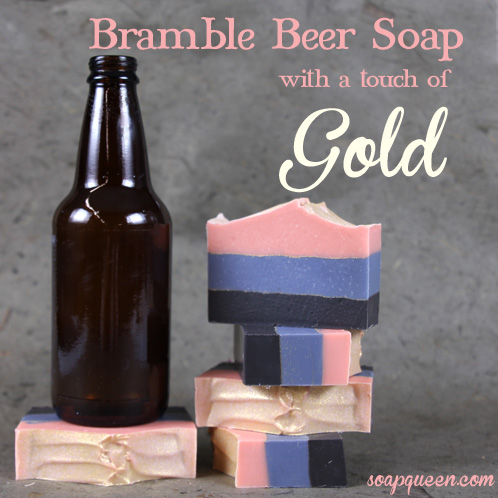
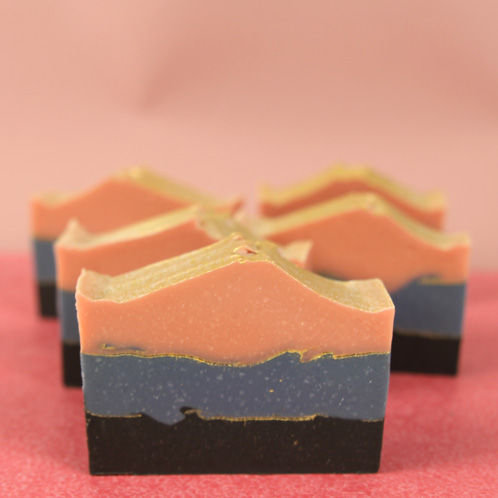
It’s always 5 o’clock somewhere, and for some that means having a cold, refreshing beer. Although I don’t drink beer, I couldn’t resist using beer as an additive in this latest recipe. Substituting beer in a recipe a few extra steps, but the result is totally worth it because it helps to create a thick, creamy lather. This recipe also incorporates a gold mica vein to give this soap a little extra sparkle.
What You’ll Need:
1.75 oz.Avocado Oil
8.75 oz. Canola Oil
8.75 oz. Coconut Oil
7 oz. Palm Oil
8.75 Olive Oil
4.8 oz Sodium Hydroxide
11.5 oz. by volume blonde ale (or any other light ale)
Fragrance blend: .8 oz. Wasabi Fragrance Oil and 1.3 oz. Pink Grapefruit Fragrance Oil
Click here to add everything you need for this project to your Bramble Berry shopping cart!
If you have never made cold process soap before, I highly recommend you get a couple of basic recipes under your belt. Check out this (free!) 4-part series on cold process soap making, especially the episode on lye safety. Bramble Berry carries quite a few books on the topic, and Soap Crafting includes comprehensive chapters about lye safety, oil choices, and an introductory beginner recipe with step-by-step tutorial.
COLOR PREP: Disperse 2 teaspoons of the Ultraviolet Blue into 2 tablespoons of Sunflower or Sweet Almond Oil (or any liquid oil), 2 teaspoons of Titanium Dioxide into 2 tablespoons of in liquid oil, 1 teaspoon Fired Up Fuchsia into 1 tablespoon of liquid oil, and 1 teaspoon of Black Oxide into 1 tablespoon of liquid oil. Use a mini mixer to get clumps worked out smoothly.
BEER PREP: In order to add beer to a recipe, you need to boil it to remove the alcohol and carbonation. Unboiled beer can react badly with lye and cause a bubbly volcano effect! To prevent this, boil the beer for about 15 minutes, paying careful attention that the beer doesn’t boil over. Note that half or more of the volume of beer will be lost when you boil it, so be sure to start out with more beer than you need. We recommend boiling an entire 16 oz. bottle of beer down to the amount you need. If after the 15 minutes you’ve boiled out too much beer, you can always make up the difference by adding distilled water.
Once the beer has been boiled, refrigerate it uncovered, overnight, to be sure that it loses as much alcohol and carbonation as possible. Take it out of the refrigerator about an hour before you plan to add your lye to it.
FRAGRANCE PREP: Prepare the fragrance blend by combining .8 oz. of Wasabi Fragrance Oil and 1.3 oz. Pink Grapefruit Fragrance Oil in a glass container. Set aside.
SAFETY FIRST: Suit up for safe handling practices! That means goggles, gloves and long sleeves. Make sure kids, pets, and other distractions and tripping hazards are out of the house or don’t have access to your soaping space. Always soap in a well-ventilated area.
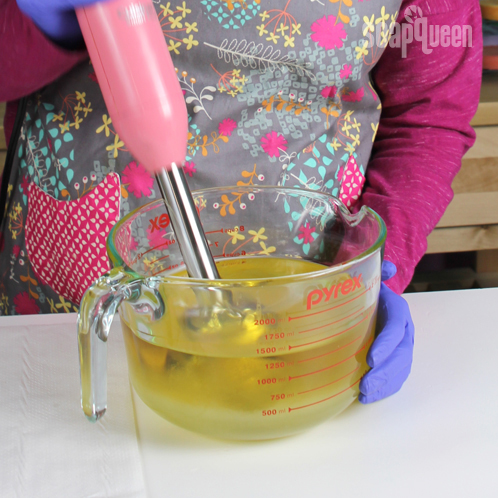
ONE: Add about 1 Tablespoon of lye at a time to the boiled and chilled beer and stir completely before adding another Tablespoon. For extra insurance against overflow, set your container of beer in a larger container before you begin to add the lye. Since you are working with a liquid that is not clear, you won’t be able to visually see that the lye has fully dissolved, so take extra care to assure that there are no more lye chunks floating in your beer before adding it to the fixed oils. Set aside to cool. TIP: If you’d like a harder bar of soap that releases faster from the mold, you can add Sodium Lactate to the cooled lye/beer mixture. Use 1 teaspoon of Sodium Lactate per pound of oils in the recipe.
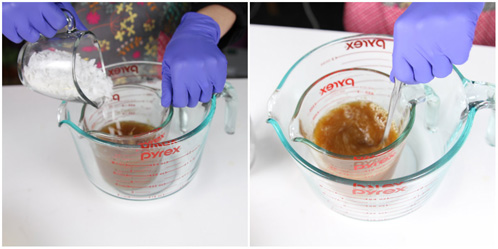
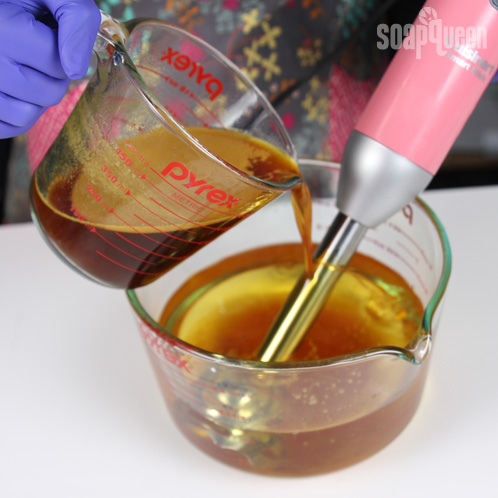
TWO: Melt and combine the Coconut and Palm oils (remember to fully melt and remix your entire container of Palm Oil before portioning). Add the Avocado, Canola, and Olive oils and stir until combined. Once the oils and lye/beer mixture are under 120 degrees F (and ideally within 10 degrees of each other), slowly and carefully add the lye/beer mixture to the oils and stick blend to light trace.
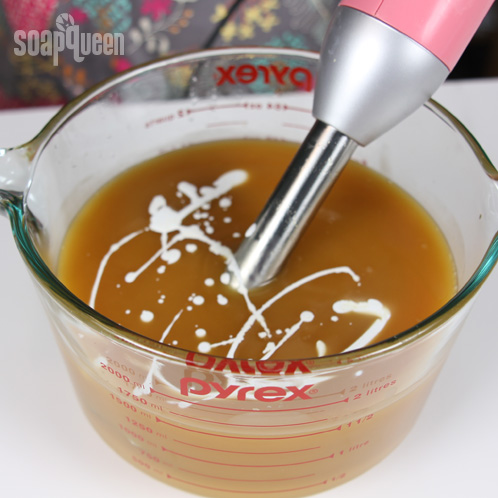
THREE: The beer will discolor the soap to a dark tan color, so add 3 teaspoons of dispersed Titanium Dioxide to the whole batch to lighten the color.
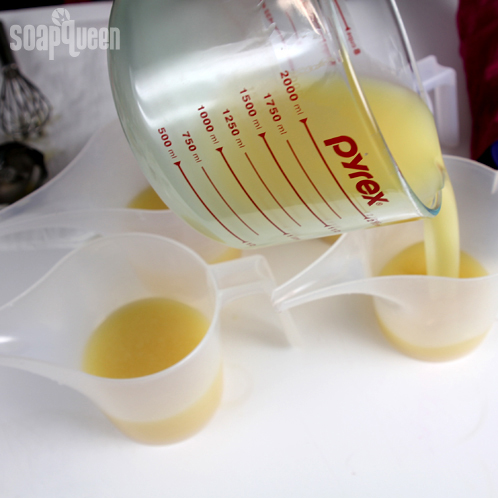
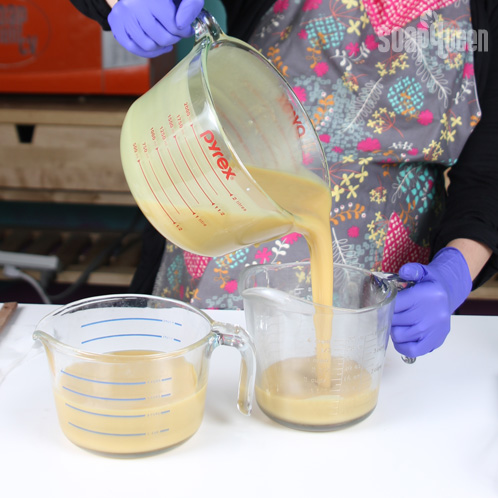
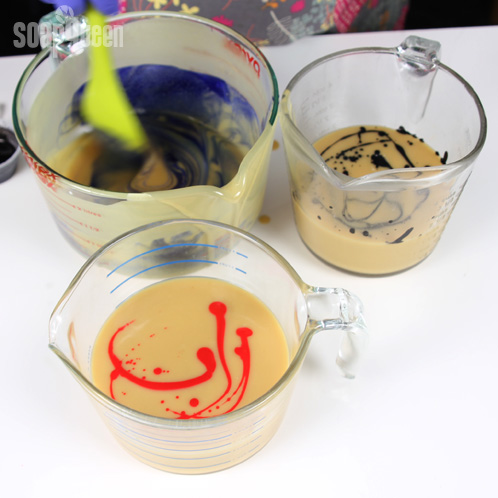
FOUR: Once the colorant has been full incorporated, split the mixture evenly three ways (each container should hold about 2 cups of batter).
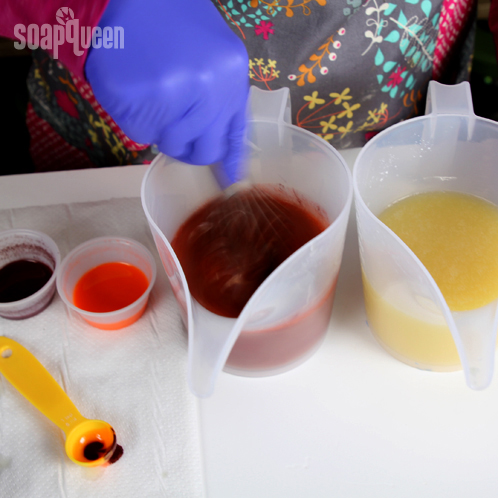
FIVE: In one container, add 4 teaspoons of dispersed Ultraviolet Blue. In the second, add 1 teaspoon of dispersed Fired Up Fuchsia. In the last container, add one teaspoon of dispersed Black Oxide. Stir in the colorants with a whisk or spatula so you don’t accelerate trace. At this point, you can also add in the fragrance oil blend. Split it evenly between the three batches of batter.
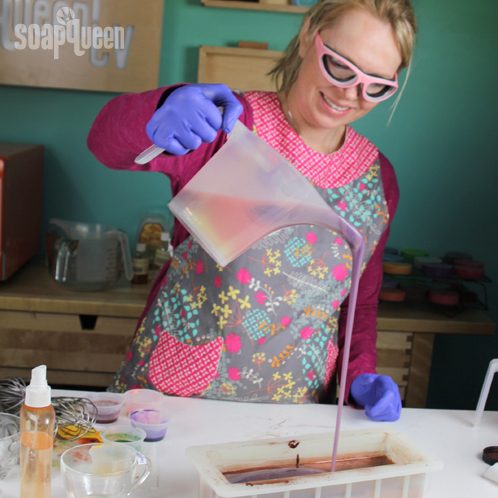
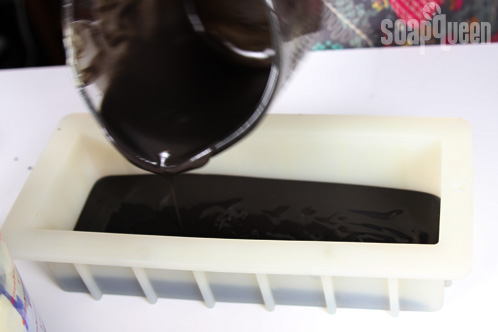
SIX: Slowly pour the black soap into the container first. Tamp the mold on the table several times to disperse bubbles and level the layer.
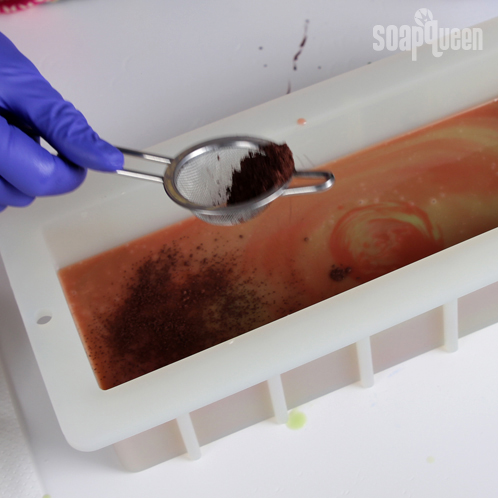
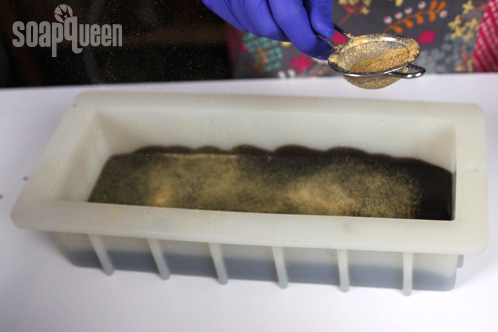
SEVEN: To create the mica vein, use a powder duster to sprinkle a thin layer of Gold Sparkle Mica over the freshly poured black soap. Sprinkling too much mica can cause your layers to separate, so take extra care to achieve just a light dusting of mica. Then, close your eyes and gently blow on the mica to lightly press it into the soap. Because mica is so fine, this part can get messy. Be sure to have paper towels and isopropyl alcohol on hand to clean up any mica that sticks to the sides of the mold or your work surface.
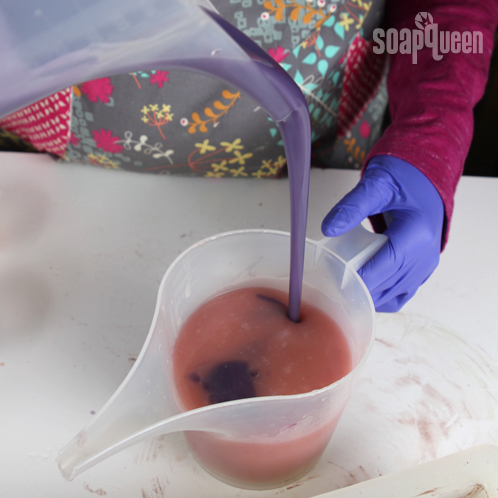
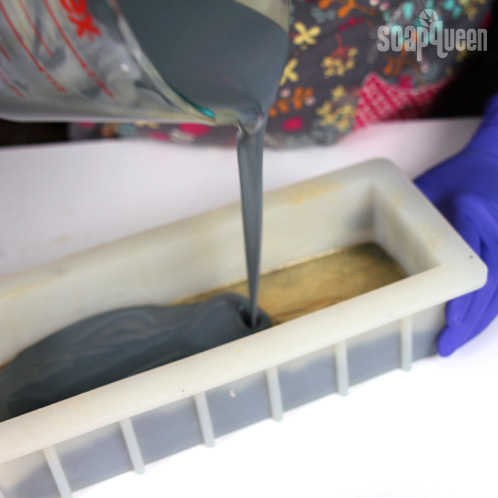
EIGHT: Next, pour the Ultraviolet Blue soap. Pour the soap slowly and carefully. If you’d like perfectly even layers, pour the soap over a spatula. For a more ruptured, uneven layer, pour without a spatula. The further away from the first layer you pour, the more likely that the soap will break through the first layer. Gently tamp the mold on the table several times to disperse bubbles and level the second layer.
NINE: Using the same technique as before dust another layer of Gold Sparkle Mica. Be sure to have paper towels and isopropyl alcohol on hand to clean up any mica that sticks to the mold or your work surface.
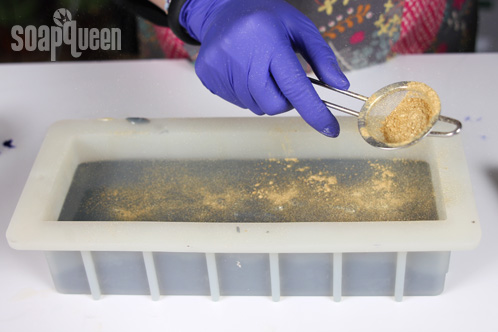
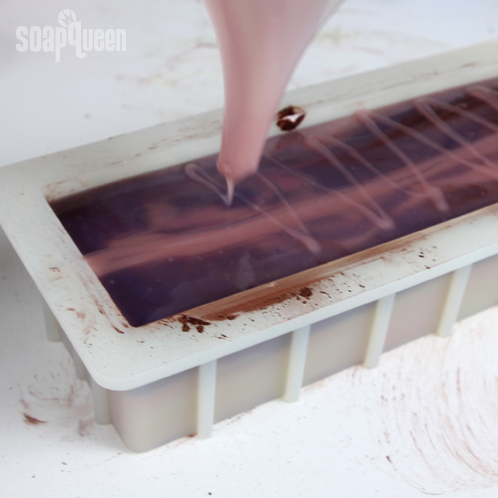
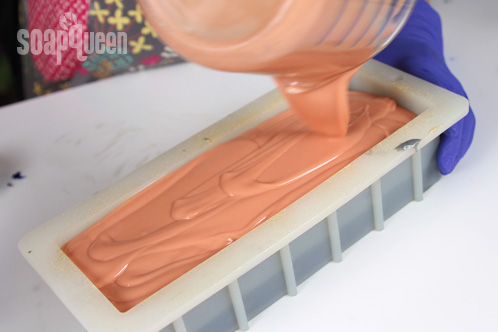
TEN: Finally, pour the pink soap. This layer works best if it’s more thick so it can be textured after the pour. Remember, it’s okay if the layer breaks through. Then, gently tamp the mold on the table to disperse bubbles and level the layer.
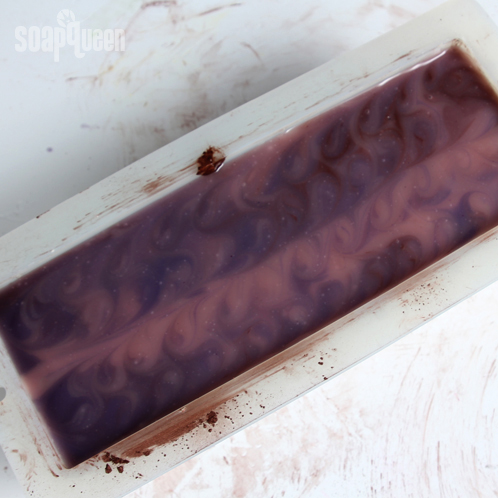
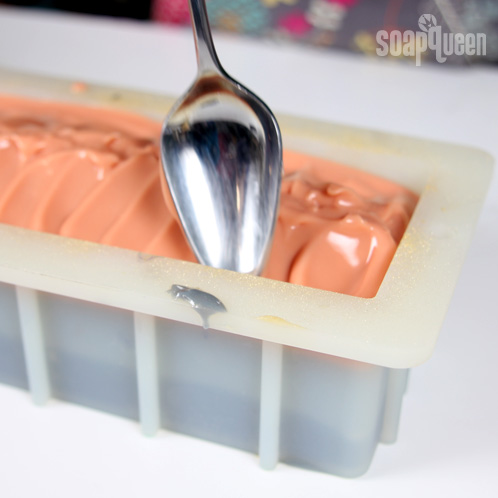
ELEVEN: Finish the top of the soap by using the back of a spoon to gently spread the soap from the edge into the middle of the mold, forming a ridge down the center.
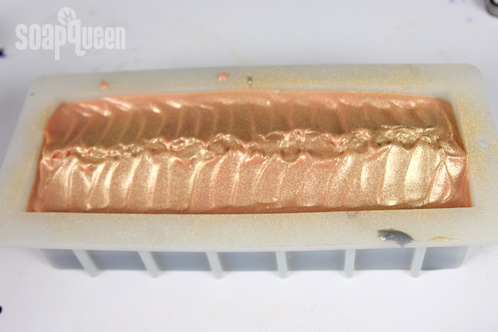
TWELVE: Add a final touch by dusting another layer of Gold Sparkle Mica on top. Cover and insulate for 24 hours and unmold after 3-4 days. Allow to cure for 4-6 weeks and enjoy!
Be sure to check back all this week for more Soap Crafting-inspired cold process recipes!

