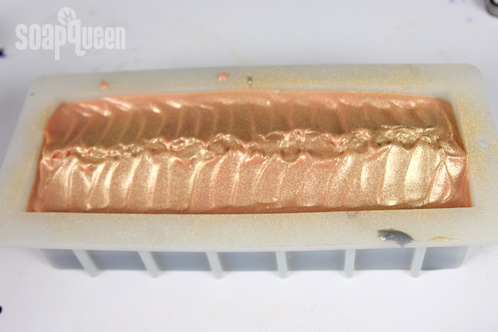
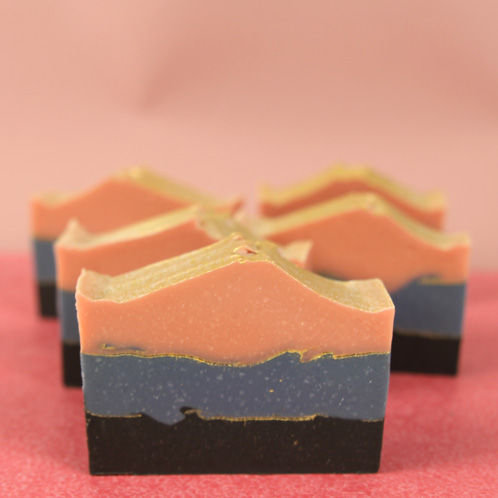
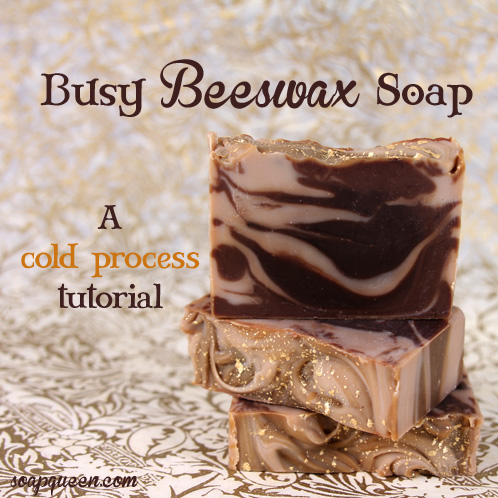
This is day three of our Soap Crafting-inspired tutorials, and I’m particularly excited about this one because the result is visually stunning. This soap incorporates real Yellow Beeswax, which gives the finished soap a translucent and shiny texture. It also utilizes a fun spoon plop technique, which is easy to do and results in something that almost looks like an In-The-Pot-Swirl. The fragrance combo of our best-selling Oatmeal, Milk and Honey Fragrance Oil and Black Cherry Fragrance Oil is dessert-like and sweet, and topping this soap off with a little gold mica gives it an elegant look. This is an advanced tutorial because of the beeswax addition so don’t soap this one until you’ve got a few recipes under your belt. It’s worth the wait =)
What You’ll Need:
3.5 oz. Sweet Almond Oil
2.8 oz. Yellow Beeswax
.7 oz. Cocoa Butter
7 oz. Coconut Oil
3.5 oz. Hazelnut Oil
8.75 oz. Olive Oil
8.75 oz. Canola Oil
4.5 oz. Sodium Hydroxide
11.5 oz. distilled water
2 teaspoons Cocoa Powder
Fragrance blend of: 1.5 Oatmeal, Milk and Honey Fragrance Oil and .6 oz. Black Cherry Fragrance Oil
Click here to add everything you need for this project to your Bramble Berry shopping cart! I didn’t put this awesome silicone spoon/spatula combo into the kit but that’s what I used in this tutorial. I highly recommend it.
If you have never made cold process soap before, I highly recommend you get a couple of basic and intermediate recipes under your belt before attempting this advanced recipe. Check out this (free!) 4-part series on cold process soap making, especially the episode on lye safety. Bramble Berry carries quite a few books on the topic as well, including my brand new book Soap Crafting in which you’ll find a ton of great info for new soapers and veterans alike.
FRAGRANCE PREP: In a glass container, combine 1.5 oz. Oatmeal, Milk and Honey Fragrance Oil and .6 oz. Black Cherry Fragrance Oil. Set aside.
SAFETY FIRST: Suit up for safe handling practices! That means goggles, gloves and long sleeves. Make sure kids, pets, and other distractions and tripping hazards are out of the house or don’t have access to your soaping space. Always soap in a well-ventilated area.
ONE: Slowly and carefully add the lye to the water and gently stir until the lye has fully dissolved and the liquid is clear. Set aside to cool. If you’d like a harder bar of soap that lasts longer in the shower and releases faster from the mold, you can add Sodium Lactate to the cooled lye water. Use 1 teaspoon of Sodium Lactate per pound of oils in the recipe.
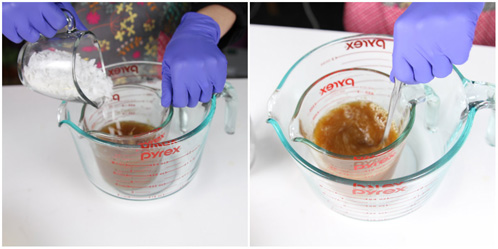
TWO: Melt and combine the Coconut Oil and Cocoa Butter. Add the Sweet Almond, Hazelnut, Olive, and Canola Oils and the Yellow Beeswax. Heat the mixture until the Beeswax has melted entirely. Melting the Beeswax in the oils facilitates even distribution of heat for optimum melting. This oil wax mixture is very hot – above 160 degrees to keep the wax melted. Be careful removing it from the microwave or stove.
Note: Beeswax has a high melting point and tends to harden very quickly. This is an expert-level cold process recipe, and you’ll need to keep your oils above 170 degrees and work quickly to prevent the mixture from clumping.
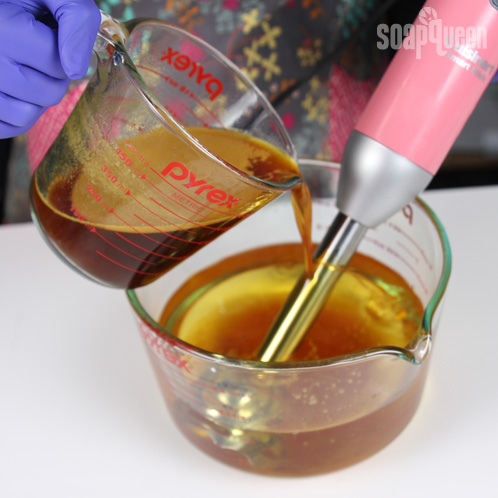
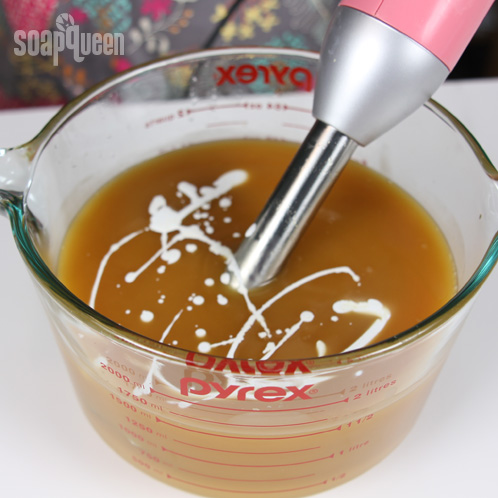
THREE: Pour the lye into the oils and stir gently with a spatula or spoon. Switch to a stick blender and gently pulse until thin trace.
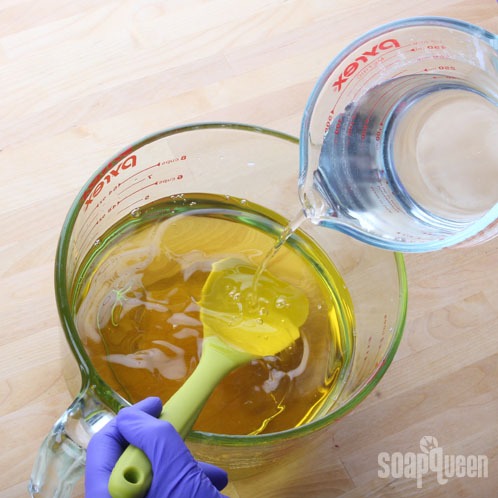
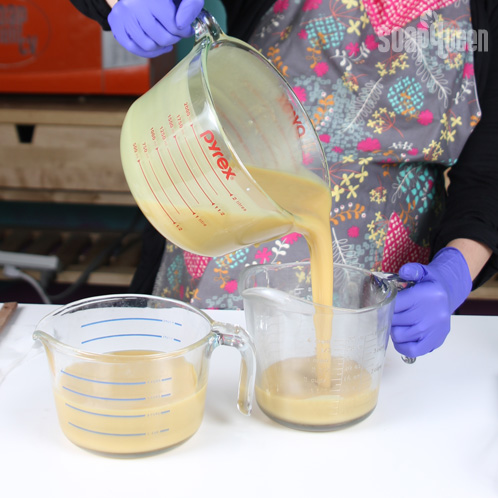
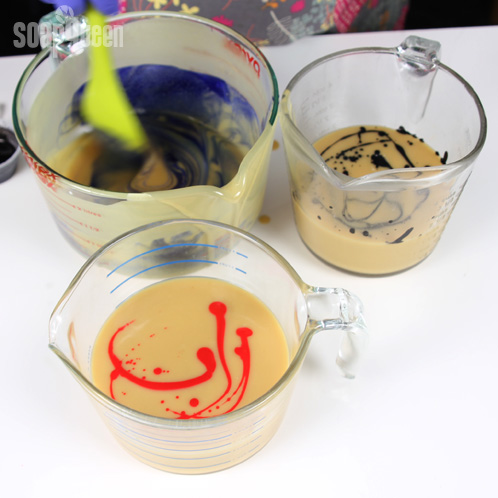
FOUR: Split the batch in half. In the first container, add two teaspoons of Cocoa Powder for color. Mix using a spoon or spatula. Leave the other portion uncolored.
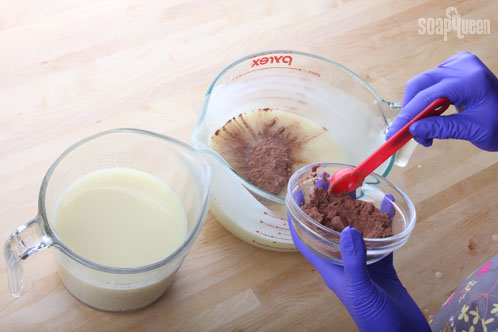
FIVE: Add half of the fragrance oil to each of the portions, and mix well using a spoon or spatula.
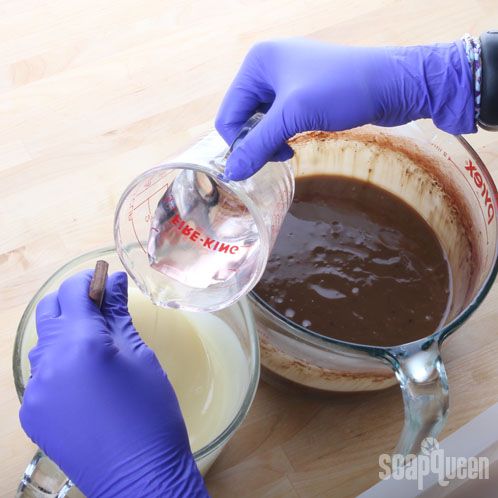
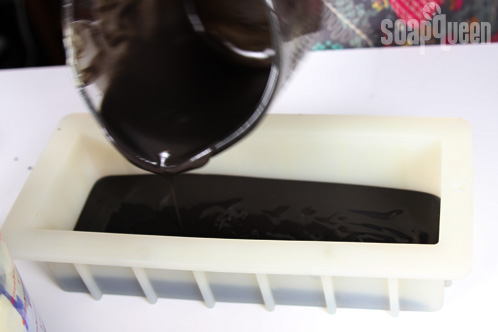
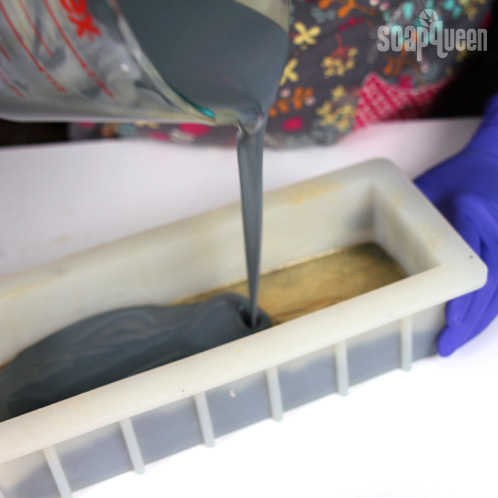
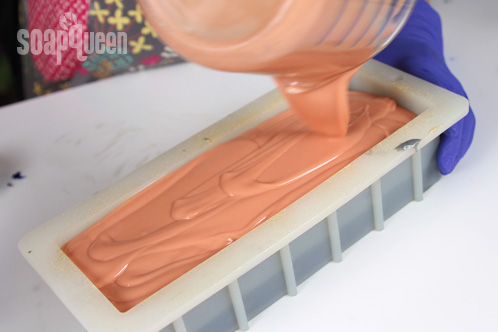
SIX: Starting with the brown soap, use a spoon to plop three mounds of brown soap across the mold. Follow with three plops of uncolored soap, directly on top of the brown soap. Repeat this process, layering mounds of brown soap on top of uncolored soap, until you fill the mold. Tamp the mold intermittently on the table to eliminate any air bubbles. The Square Silicone Spoon/Spatula combo is ideal for this project.
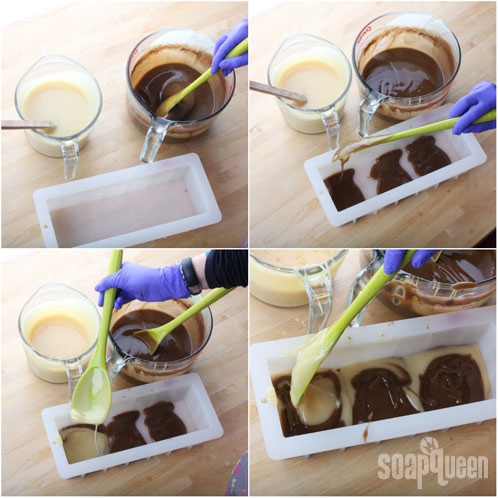
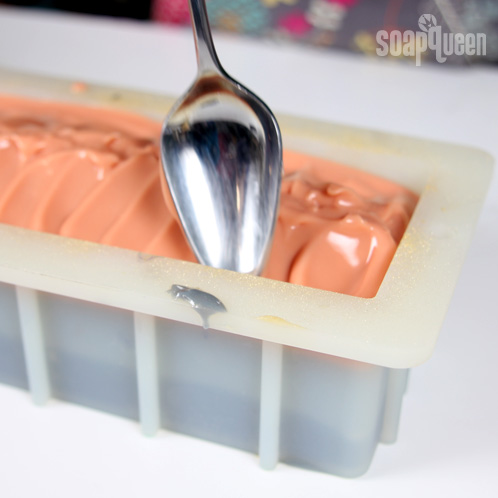
SEVEN: Once all the batter has been plopped into the mold use a spoon or mini spatula to gently form two small ridges running from end to end in the middle of the mold.
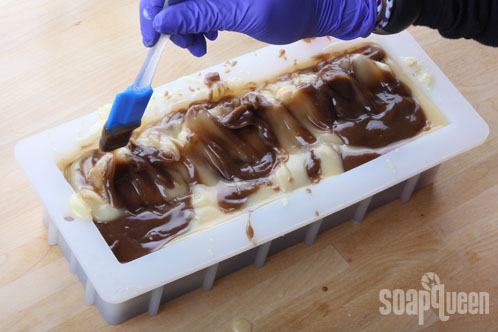
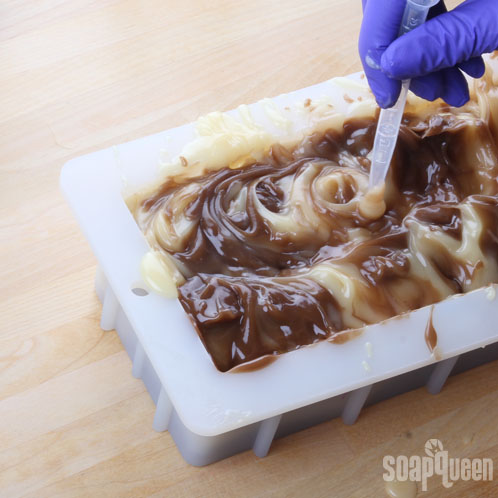
EIGHT: Using a chopstick or dowel (or, in my case a dropper!), make tiny looping swirls on the top of both of the ridges. This will created a nice, swirled texture on the top of the soap.
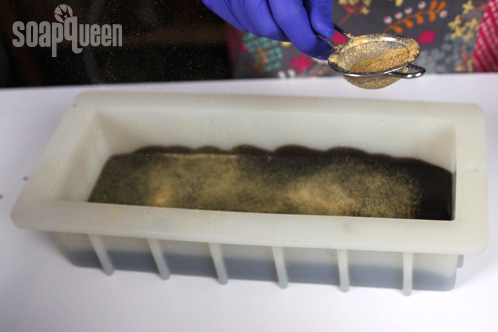
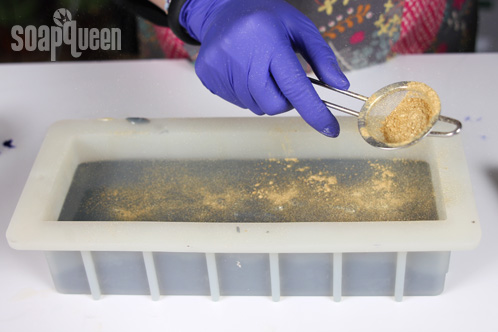
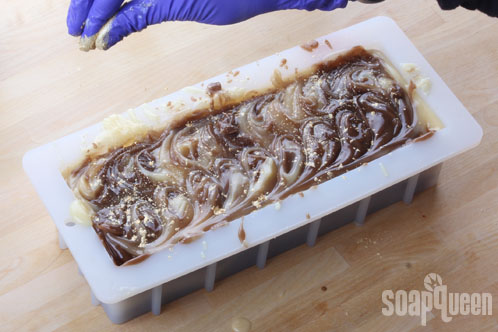
NINE: To put the finishing touches on this soap, use your gloved hands or a powder duster to sprinkle Sparkle Gold Mica across the top of the mold. Then, gently blow on the mica to press it into the soap batter. Be careful because this part can get messy! Be sure to have 99% Isopropyl Alcohol on hand to clean up any mica spills.
Unmold the soap after 4 -7 days and then allow to cure for 4-6 weeks. Enjoy your busy bee soap!


