Real flowers are beautiful, but sadly they can’t last forever. These coffee filter flowers (yes, those are coffee filters) not only look like the real thing, but they also have a much longer shelf life! These filter “flowers” are incredibly easy to make, and you can dye them an infinite number of colors using a wide array of LabColors. Make a dozen of them for a bouquet, place setting or cute garland.
Crafter’s Corner is around the corner!
If you’re ever passing through Bellingham, Wash., stop by and pay Otion a visit. Otion is Bramble Berry’s retail outlet, and it carries fragrances, molds, bases and more. Otion is also a great place to take a soapmaking class, practice soapy techniques and chat with expert soapmakers.
The Otion storefront on a beautiful Bellingham day.
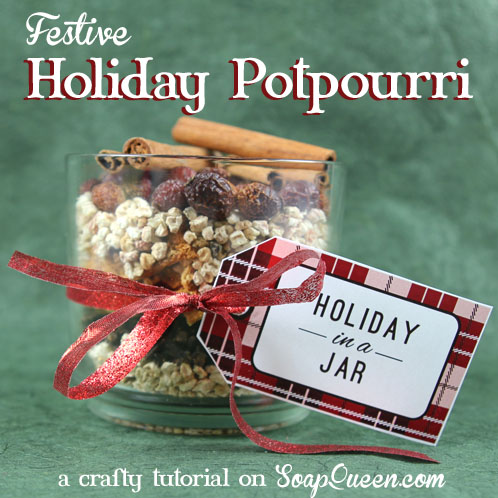
Festive Holiday Potpourri + Free Label
Heading to a holiday party and need a quick gift? This adorable holiday potpourri jar can be assembled in 10 minutes or less! This project incorporates plenty of holiday hallmarks, including cinnamon sticks, cloves and of course, the sweet and spicy fragrance of freshly baked pumpkin pie. Downloadable (free)! labels make this a complete gift giving tour de force.
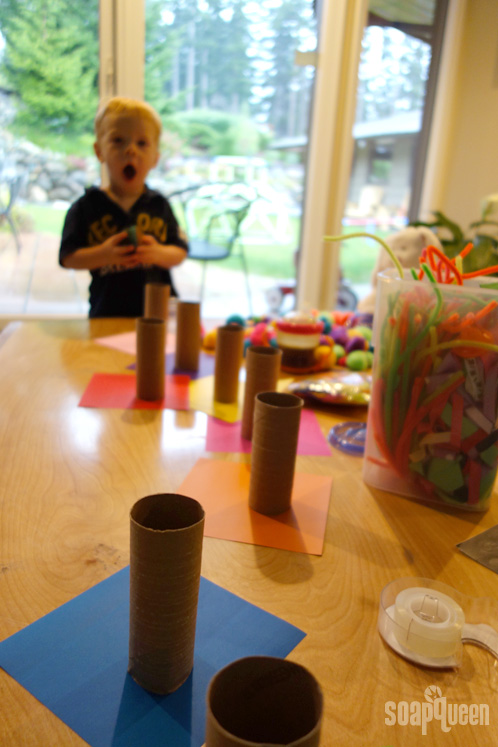
Toddler Toilet Paper Roll Project
Earlier this month Jamisen started preschool, and I can hardly believe he is almost three years old (sob). My (totally and completely not attainable) dream is to be a Pinterest Mommy so to help him get a jump start on learning, I’ve been searching Pinterest for fun, easy and affordable activities that involve his age range. We are focusing on learning shapes, colors and numbers, and I thought this tutorial would be absolutely perfect.
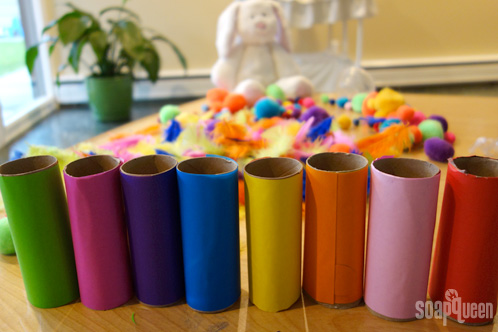
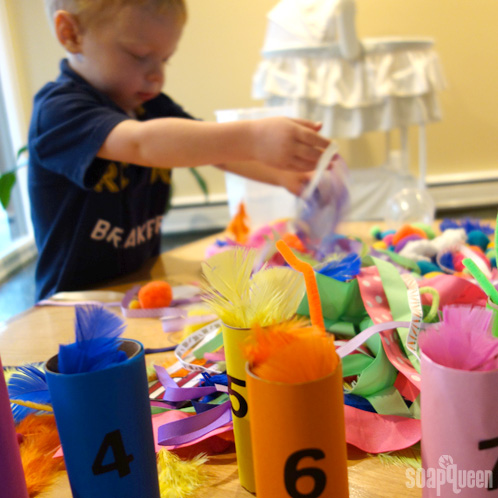
Jamisen couldn’t wait to help me make these colorful little tubes. He was thoroughly entertained with all the different sizes and colors for the entire project.
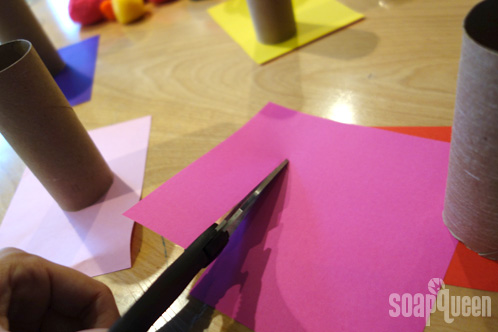
This is a really simple project that includes toilet paper rolls and construction paper. You can buy oragami paper that is the perfect size or you can cut your paper to size and either glue or tape it onto the toilet paper roll. I choose nine different colors to help Jamisen differentiate between each one. Developmental psychologist suggest that your child’s ability to recognize different colors starts to accelerate around 18 months, which is the same time kids begin to notice, shape, size and texture.
After you are done cutting, make sure to adhere the colored paper securely to the toilet paper roll. I used a glue stick coupled with Glue Dots on mine, but I’ve also seen it done with tape or a hot glue gun. Make sure they are fully dried and adhered before using.
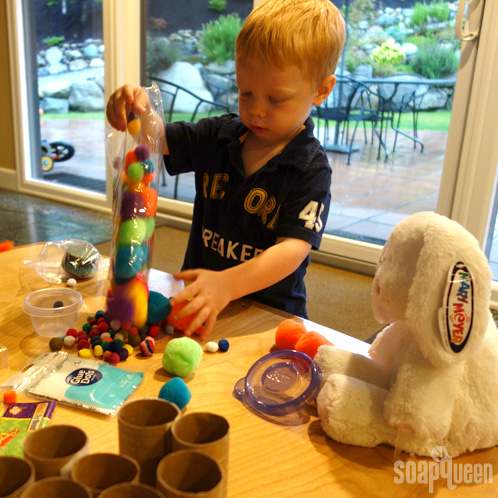
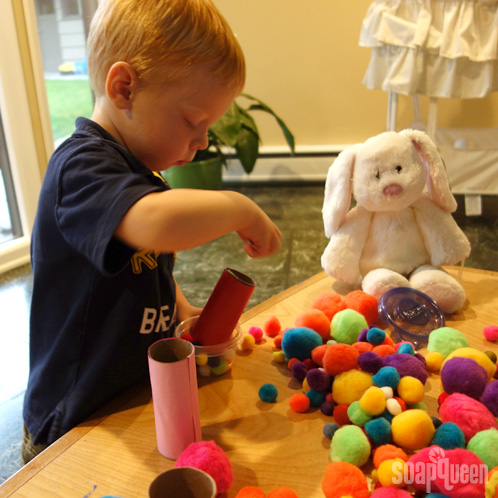
Jamisen couldn’t wait to get his hands on these and immediately started filling them with puffy balls. We are trying to teach him his colors, but he seemed much more interested in seeing how many puffy balls he could get in one tube. I wanted him to match the puff ball colors to the colors on the tubes but that didn’t happen … (sigh).
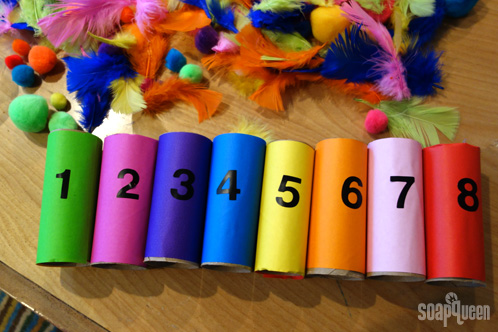
Another way you can use these to help teach your children is by number matching. You can either write, draw or use number stickers on your tubes. Your kids can drop the matching numbers using beads, beans, or puffy balls in the tubes (Jamisen loved doing that!).
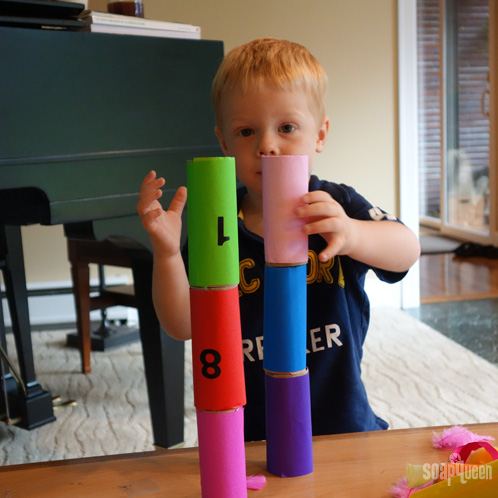
Jamisen is all about stacking anything he can get his hands on, and these tubes were no exception. The original post recommended cardboard circles to use as a base between each roll, but Jamisen was able to carefully steady each additional roll. Do you see the utter concentration in his eyes as he is carefully stacking each individual part of his colorful tower? He was so proud of how high he got each one and then giggled as they would fall down. He loved (loved loved!) to have Mommy stack them and then he would come and just whack ’em to knock them all over. I consoled myself that this was a good lesson on gravity and physics for him.
One of the big benefits of this easy and affordable project is the fact that you can work in so many activities. We found that color matching was a great game (with a little help from Mom and Dad of course), and had fun later that day using them as tube tunnels for his Matchbox cars and trucks. I would suggest this project to any parent with a toddler; it is an easy way to help them start learning at home.
How to Felt Soap
Thank you to Two Tadpoles, Teresa, One Bubble, Amber’s Ambry, and Soapaholics Anonymous for the blog shout outs this week.
Heidi, your heat transfer method soap pictured above looks amazing. The texture really adds interest to the bar.
Teresa, the soap (pictured on right) that your boys made is adorable! I love that you are creating positive memories with your boys, utilizing this fun art form.
Thank you to the Soap Queen reader that alerted me to this YouTube video on how to felt soap.
Feedblitz subscribers, you have to go to the blog to see the video. If you make CP soap and every have ugly CP soap that you want to salvage, the video is worth watching.
The Perfect Bow, from Ms. Martha
The Goddess of all things Crafty and Domestic, Martha Stewart, has posted an easy to follow tutorial on making the perfect bow.
Click here for the downloadable instructions in making the perfect bow.