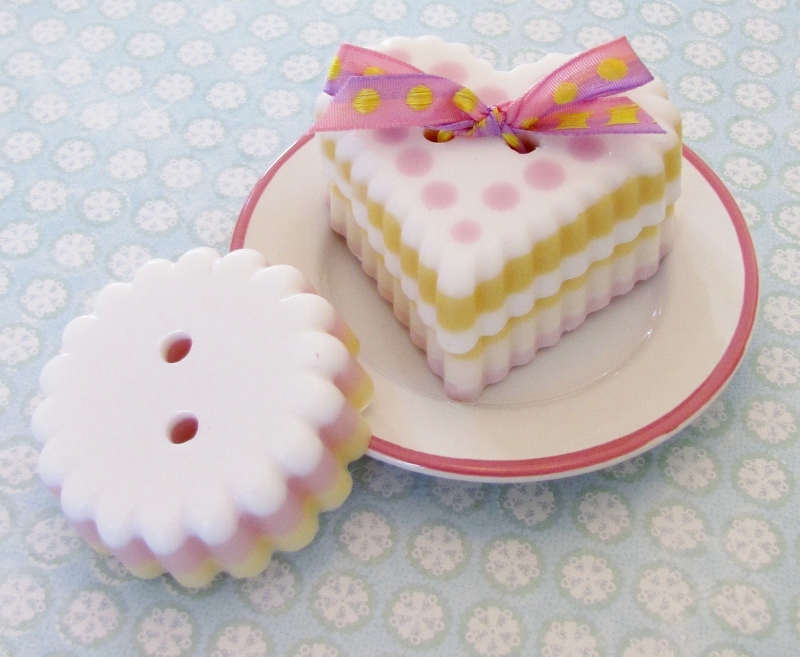
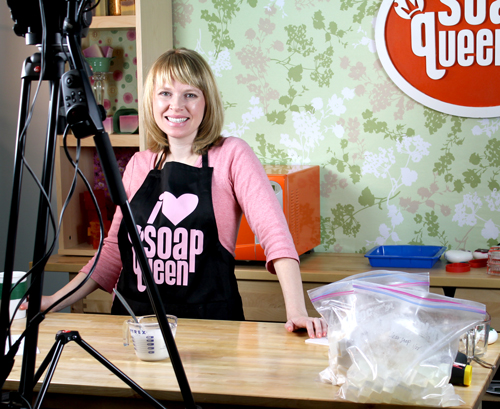
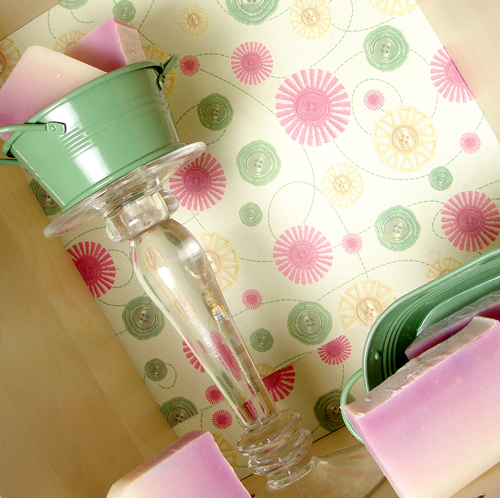
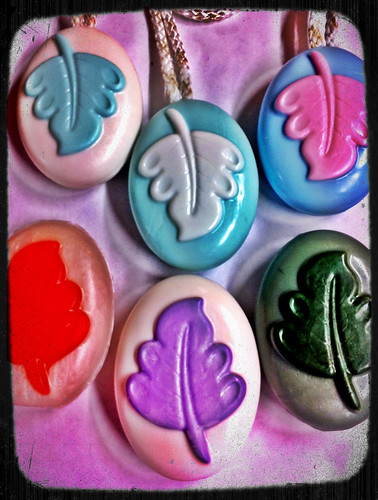
Meet Silvia from Indulgence by SV. Soaps on Etsy. When I got the soap, they were cute, creative and fragrant. I didn’t even want to use them, I just wanted to smell them and put them on display. What’s even better is that her soaps in person looked just like the soaps do on her site! After opening my soapy package, I emailed the owner, Silvia and asked her if she would do a Soap Queen Interview. Thank you, Silvia- I’m so glad I get to share your rock star soaps with our readers!
Martha, Martha, Martha!
Yay! I’m on Martha Stewart Living Radio on Sirius Satellite once again. I’ll be a guest on the Living Today show with Jamie Gwen (Sirius 112 and XM 157 at 10:30 a.m. PST/1:30 p.m. EST) TODAY (Wednesday). I have so many great projects I want to share. I hope I have time to share them all. See the full list below.
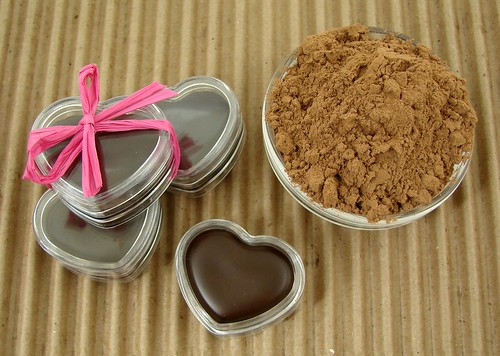
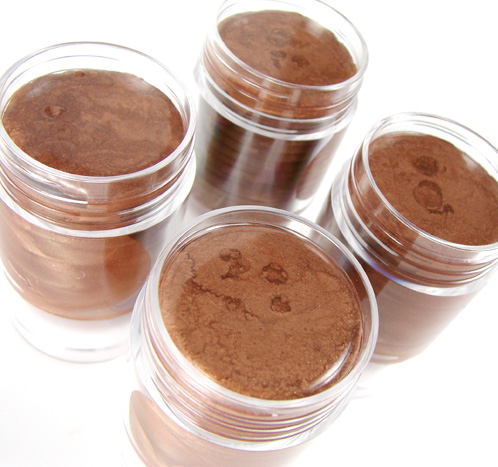
Chocolate Lip Balm using real Cocoa powder. I made this lip balm with Shea butter and Vitamin E oil for an extra rich and moisturizing feel.
Get everything you need (except the cocoa powder) to make these delectable lip balms.
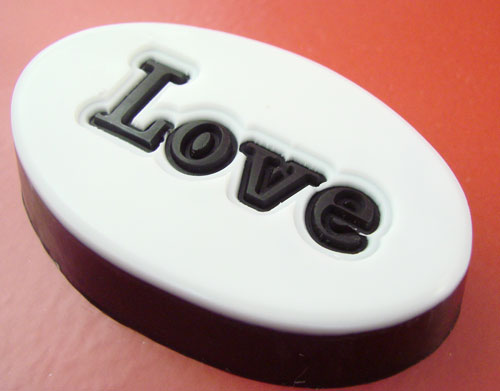
Next up is my melt & pour soap project using repositionable rubber stamps. In addition to the step-by-step blog post, I also created a video on how to make these. They are easier than they look!
 Get the ingredients you need to make these heart felt soaps.
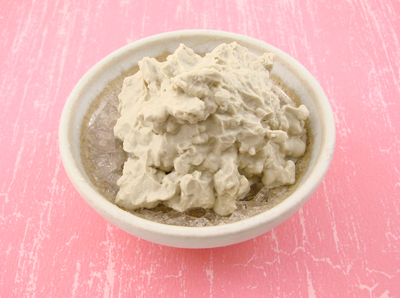
Here I have my Champagne and clay face mask recipe. What a great way to use up any leftover Champagne and so refreshing for your skin!
Get the ingredients you need to make this from Bramble Berry (excluding the Champagne, of course).
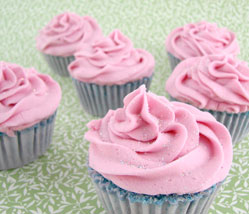
And finally we have my Bath Bomb Cupcakes, the perfect calorie free gift for Valentine’s Day! In addition to the video tutorial, I also posted a blog with a price break down to show just how economical these little beauties can be.
Bramble Berry has a complete kit for making these adorable treats.
Will You Be My (Etsy) Valentine?
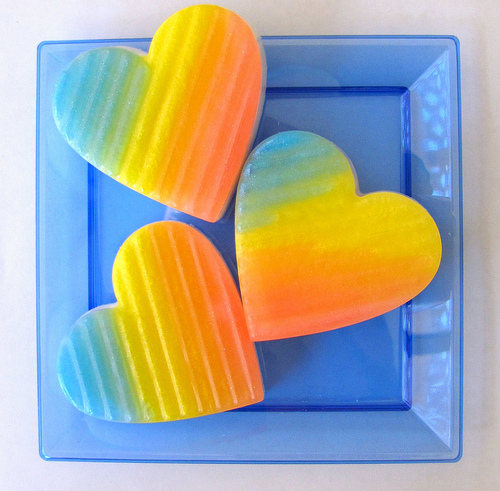
Hearts, Love and Rainbows!
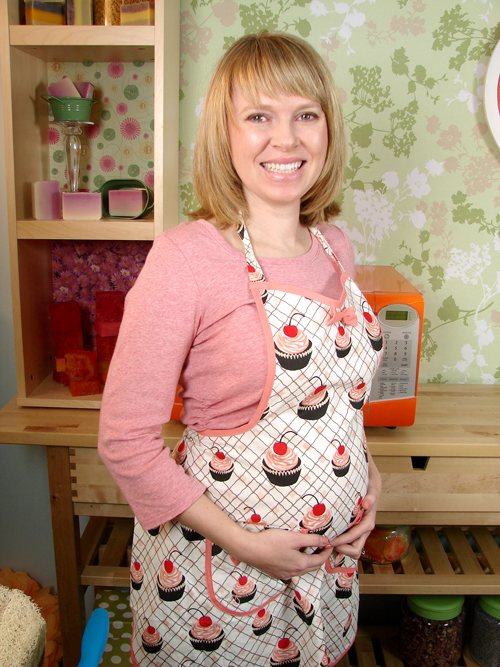
Camouflaging the Bump with Cupcakes?
 |
| Bringing Soap Ropes back in a big way! |
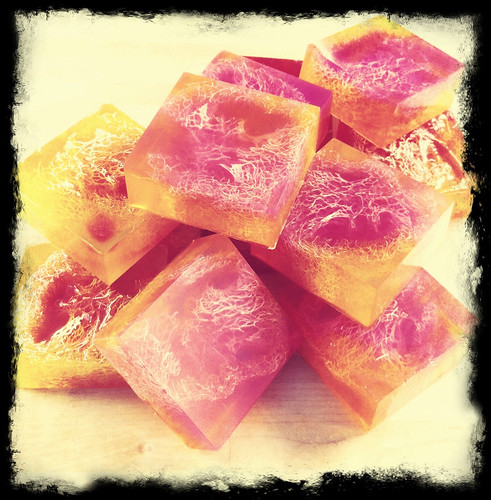 |
| Loofah Fun! |
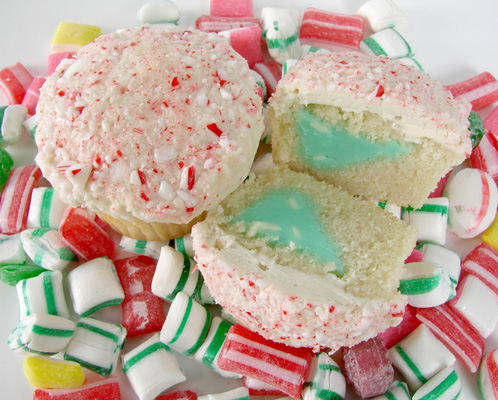
Candy Cane Cupcakes
Wondering what to do with all of your leftover candy canes? Fear not, I have a solution! Candy Cane Cupcakes!
Now, mine are filled with a blue White Chocolate Ganache because that’s what I used to surprise my family with the sex of our baby (missed that post? It’s here). If it were me, I would skip the ganache for ‘normal’ cupcakes. It was just too much sweetness in one cupcake. But if you’re absolutely dying for the ganache recipe, just ask me for it in the comments section.
Vanilla-Peppermint Cupcake Ingredients:
* 1 1/2 cups all-purpose flour
* 1 tsp. baking powder
* 1/4 tsp. coarse salt
* 1/2 cup whole milk
* 1 tsp. pure vanilla extract
* 1 tsp. peppermint extract
* 1/2 cup (1 stick) unsalted butter, room temperature
* 1 cup sugar
* 1 large egg , room temperature
* 2 large egg whites
1. Preheat the oven to 350. Line the cupcake pan with adorable cupcake liners.
2. In a medium bowl, mix all of your dry ingredients together. Sift if you must but I always skip that step.
3. In a medium bowl, mix the milk and extracts together. Set aside.
4. In yet another bowl (yes, I am trying to give you a mountain of dishes to wash. Sorry ’bout that), cream the butter. This involves beating the butter until it’s light and fluffy. Normally, this takes around 3ish minutes. After the butter is creamed, start to add the sugar, 1/2 cup at a time until it’s all in and fluffy.
5. Add the eggs to the sugar/butter mixture and beat on medium.
6. Drop the mixer speed to low and beat in 1/2 of the dry mixture. Now, beat in 1/2 of the wet mixture. Dump the rest of the dry in and the rest of the wet. Mix until just blended.
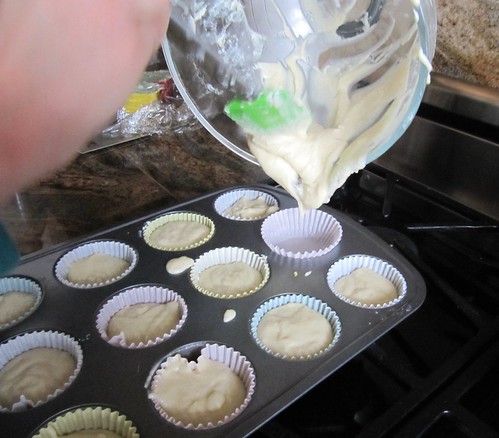
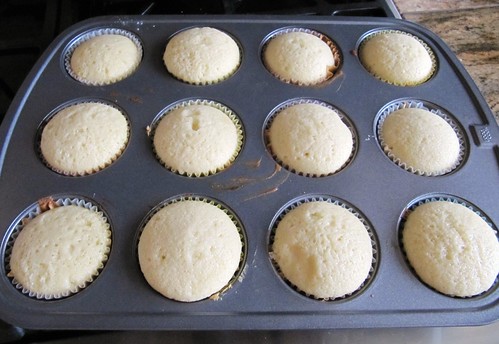
7. Spoon batter into cupcake tins, filling 3/4 of the way up. Bake for 20-25 minutes. Do not overbake. I did and they were a wee bit dry.
Vanilla-Peppermint Frosting:
* 1 cup (2 sticks) unsalted butter, room temperature
* 1/8 tsp. salt
* 3 1/2 cups confectioners’ sugar
* 1/2 tsp. vanilla extract
* 1/2 tsp. peppermint extract
* 1/2 tsp. milk
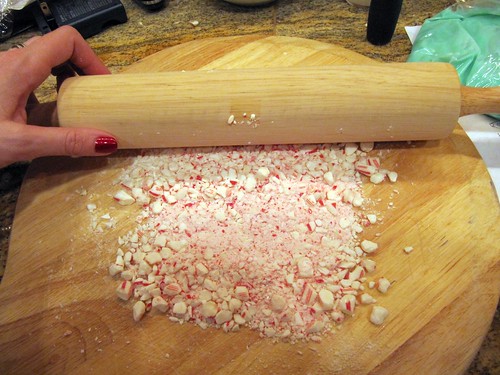
Crushed Peppermint Candy Canes (I used a rolling pin to crush. It was a labor of patient love). I used at least 8 candy canes.
1. Cream the butter and salt (medium speed for about 3 minutes) until light and fluffy.
2. Reduce speed to low and add in the rest of the ingredients.
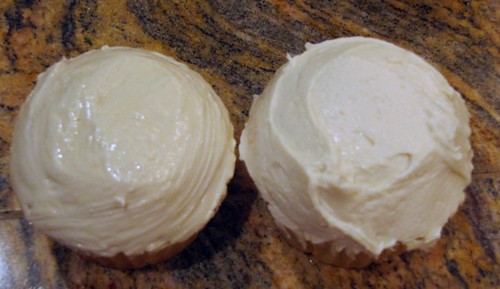
3. When cupcakes are cooled, frost the cupcakes.
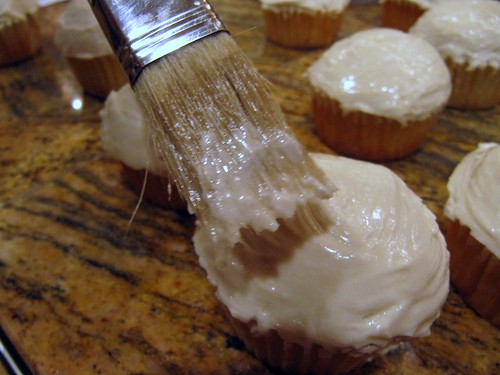
4. Once the frosting is as smooth as possible, take a paintbrush and put into warm water. Paint the cupcakes smooth (or as smooth as you can get it.)
5. Put the crushed candy canes into a bowl and dip your wet, smooth cupcakes into the crushed candy canes until the cupcake is covered nicely with the crushed candy canes.
Store these in an airtight container. Leaving out in the open causes the candy canes to weep and melt.
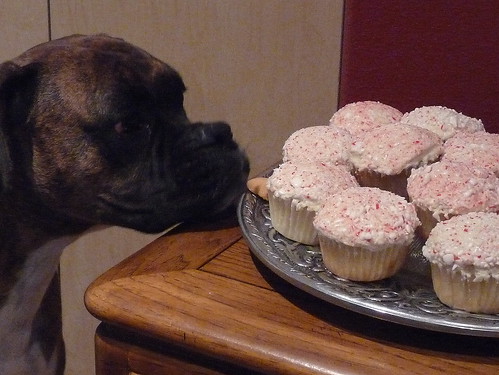
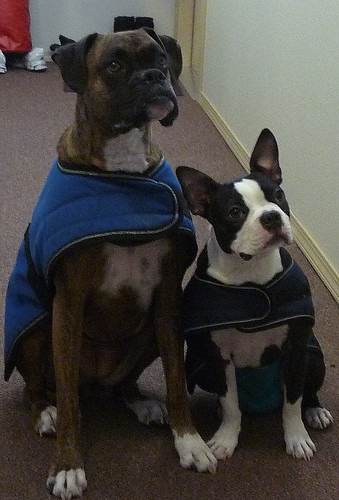
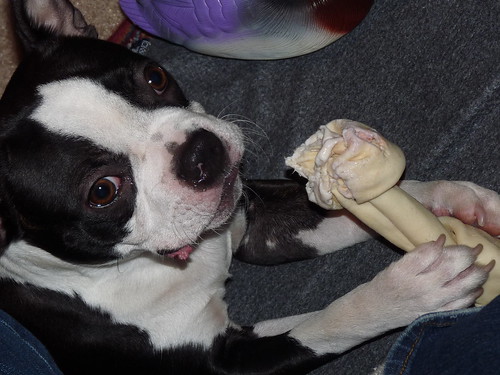
Even niece dog Samantha wanted in on the cupcake action; the frosting is that good!
Sadly, cupcakes aren’t for doggies so we got the pouty sad look. Don’t feel bad for Samantha; we did give her a dog bone. =)
Naiad Soap Arts Project: Bird on Branch Mini Cakes
Oh, I said I wasn’t going to bake this year but this project with the bird.on.branch mold has been waiting to be created for some time now and the holidays and a cold rainy day finally inspired me to get it done! (the rain does not make for great pics so please excuse that!) You can find my original bird.on.branch mold at Bramble Berry. Originally intended for soap making, the mold material is PERFECT for molding chocolate so I have two – one for making soap and one for making chocolate. I have provided a gluten free vegan recipe for the cake as well as links/resources for vegan chocolate and cream filling if you want to make this project all Vegan.
Ingredients:
• 1/4 oz food grade cocoa butter
• Cut the bottom off of each of the rectangles and then slice the rectangles in half. You should be left with pieces 2 inches wide, 3 inches tall and ½ inch thick. These will be the middles of our chocolate covered cakes. You should get 12 slices total.
Method:
1) Melt your chocolate per package instructions in the microwave or a double boiler. Melt two containers with 5.5 oz of white chocolate each, and one container with 1 oz + 1/4 oz cocoa butter.
2) Once chocolate is melted, color one of the 5.5 oz containers of chocolate with green and yellow oil based food colors until desired color is achieved. Add red color to your 1 oz of white chocolate and cocoa butter mix until you get a nice dark red.
I kept my chocolate melted in a pan of hot water but you can pop the chocolate back into the microwave at any time to re-melt it!
3) Using a small brush or popsicle stick carefully spread green chocolate into the recessed bird and branch part of two of the mold cavities. Do the same with the white chocolate in the other two cavities. You may get chocolate outside the edges and this is ok. Once the chocolate is set, about 5 minutes, using a small piece of paper towel rub off unwanted chocolate. You can use the tip of your finger to smooth out rough edges as well.
4) once the chocolate is set spoon white chocolate over the green bird designs and green chocolate over the white bird design until you get an even coat on the bottom of the mold. Let set about 10 minutes – you can pop it in the refrigerator to speed up the process.
5) Once the bottom chocolate is set using a popsicle stick or butter knife spread a coat of chocolate on the edges of the mold in the same color that you used to coat the bottom of the mold. The chocolate will be thick enough to stick to the sides. Set upside down to cool, another 10 minutes or so.
6) When the chocolate is set, spread a thin 1/4 inch layer of your whipped cream or chocolate mouse into the bottom of each of the mold cavities. Press one piece of your cut chocolate cake into each mold so that the cake sits below the edge of the mold cavity. This is so that we have space to top off with more melted chocolate.
7) Top off each with melted chocolate. Tap the mold on the counter to eliminate air bubbles around the edges and fill with more chocolate if necessary. Let set up on the counter for 20 minutes or in the refrigerator for 10 minutes.
8) When the chocolate is set it should easily separate from the edge of the mold. Press down around the edges of each cavity to release the chocolate. Put a cooling rack on top the mold and flip the mold and rack over to invert the chocolates on to the rack. You may need to gently press on the molds to release the chocolates.
NOTE: The first time I unmolded these I made the mistake of trying to unmold them individually onto my hands. They all ended up falling out and the chocolate cracked so be sure to use a large plate, cookie sheet or baking rack to do this.
9) Use your small brush and your red chocolate to decorate the cakes!
Martha Projects for Sirius Radio
We’re so honored that you’re visiting. If you’re new, welcome and if you’re a regular, thank you! If you just listened to me on Sirius Radio, “Living Today with Mario Bosquez”, you can find the projects that we discussed below. If you have any questions feel free to leave them in the comments section. Thanks for listening and happy soaping!
Shimmer Stick -click HERE to see the recipe – the cure for your dry winter legs and a subtle, sophisticated faux tan. Ingredients cost just $65 if you get the Foundation Kit (make foundations and shimmer sticks? Get out!). Or make the bronzer (recipe HERE) and buy those ingredients plus the shimmer stick ingredients for around $47. If you do it that way, you’ll have lots of leftover bronzer.
Exfoliating Lip Scrub – click HERE to see the recipe – by far, my favorite recipe I’ve designed this year, this yummy edible lip scrub will keep your lips soft and supple all winter long. For just $2 per scrub, you can make 20 scrubs and have at least 20 scrubs worth of leftover materials to do it all again the next day!
Peppermint Bark – click HERE to see the recipe – ingredients (including the awesome silicone mold) for 4 pounds of soap are $36 and the recipe makes either two 2 pound batches or one big 3 pound batch with soap and ingredients left over for another small batch.
Dirty Laundry or Awfully Sweet Cupcakes?
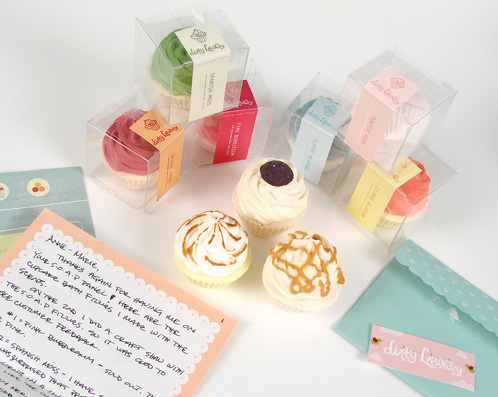
Jeanee, from Dirty Laundry, is such a dear. She was part Bramble Berry’s first SOAP testing panel and tested a bunch of potential new fragrances in her adorable line of cupcake bath fizzies. She was kind enough to send us some some of her samples. And I’m so thankful she saved them for us – they flew off the shelf at her last craft show. Of course, having seen them, we’re not surprised. They’re so cute that they rival puppy dogs and unicorns.
Soaps of Christmas Past
Key Lime Pudding Filled Cupcakes (Recipe)
Ever since Bramble Berry was a wee thing, I’ve celebrated employees’ Bramble’versaries by baking something that they would like. Some things are a hit (Choco Salted Caramel Beer Cupcakes), some things were just a ‘nice attempt’ (Bacon Caramel Cupcakes). In this case, Kelsei has been with Bramble Berry for a year as a fulltime Puller. This means that she walks up to 3 miles a day in our warehouse pulling your orders. Her favorite dessert is Key Lime Pie so I decided to make a Key Lime Cupcake (which falls strongly into the ‘Hit’ category).
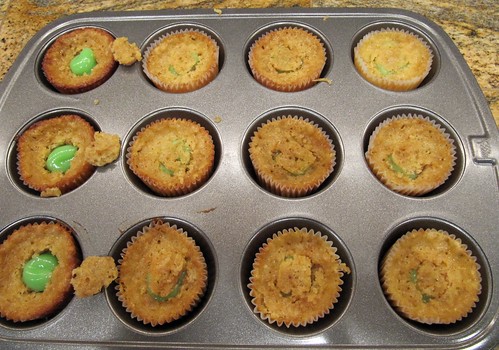
This recipe is a bit complicated but totally worth it. There are graham crackers ground up into the cupcake batter and a key lime pie filling swirled in throughout the cupcake. If that’s not enough craziness in a cupcake, you pop the cupcake tops off and fill them with a lime pudding! Whooosh!
Makes 30+ cupcakes.
Step 1 – Make the Cupcake Batter
•1/2 Cup butter (room temperature)
•1 Cup sugar
•3 eggs
•1 Cup milk
•1 Cup flour
•1 1/2 Cup graham cracker crumbs
•1 tsp baking soda
•1 tsp baking powder
•1/8 tsp salt
•5 egg yolks
•14oz sweetened condensed milk
•1/2 Cup lime or key lime juice
Preheat your oven to 350; line your cupcake pans with cupcake liners.
Beat the butter until creamy (about 30 seconds). Add the sugar and mix for approximately three minutes until it is lighter and more fluffy. Add the eggs and mix on medium for an additional 3 minutes.
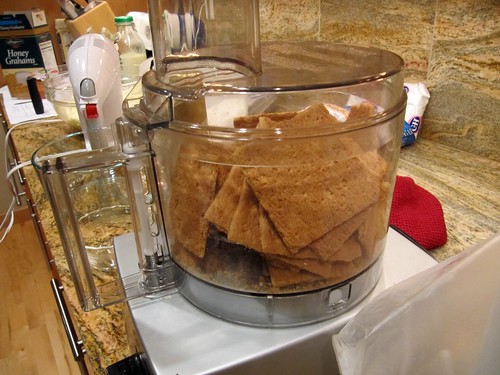
Grind the graham crackers up into tiny bits (they’re headed into the batter). I used a food processor but you could smoosh ’em with a rolling pin or a meat masher thingy.
Sift the dry ingredients (flour, baking soda, baking powder, salt) if you’re really into absolute precision baking. I’m not (I figure this much sugar and butter in a recipe is enough to make anyone overlook a few mini lumps).
Add a bit of this into the butter mixture, mix up, add some milk, add some more dry, add some milk and keep this up until it’s all in there. Mix until it’s all combined.
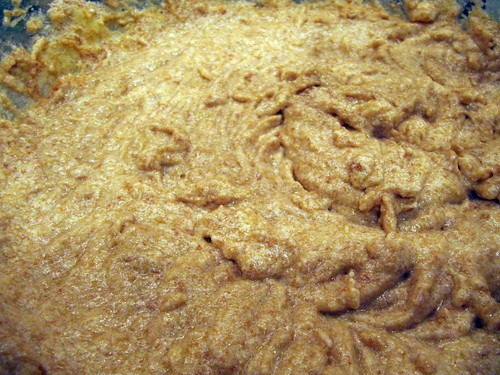
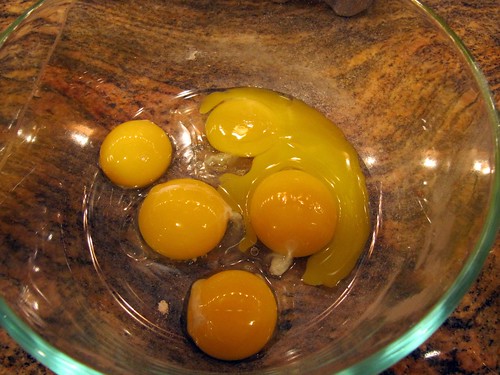
Now it’s time to make the traditional tart and amazing Key Lime filling (yum yum!). In a separate bowl, mix the egg yolks (only the yolks!), sweetened condensed milk and lime juice. Whip this. It gets to be a beautiful pudding like consistency.
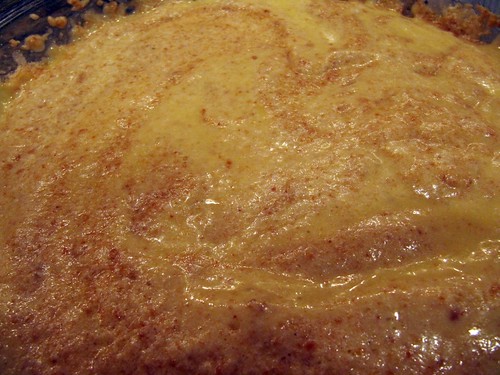
Add this Key Lime filing into the graham batter and stir just a bit. You don’t want to mix in the Key Lime filling all the way. You’ll want chunks of it throughout your cupcake.
Fill your cupcake liners up about 2/3 full. These cupcakes don’t puff out like a normal cupcake. They sort of end up a bit like a sponge cake. Be sure to that each cupcake as a good mix of Key Lime pie filling and graham cracker cupcake batter.
Fill cupcake liners 3/4 full. Make sure each liner has a nice distribution of key lime liquid and graham clumps. Bake at 350 for approximately 20 minutes or until you can put a knife or knitting needle into the cupcake and it comes out clean.
Step Two – Lime Cream Cheese Frosting Recipe
•8 oz package of cream cheese (room temperature)
•1/4 Cup butter (room temperature)
•4 Cup powdered sugar
•1 tsp lime extract
(True Confessions: I couldn’t find Lime Extract but I did find Lime Juice so I used that instead)
Mix the cream cheese and butter. Whip in the powdered sugar and lime extract/juice. Take a huge finger swipe. Isn’t that good?
Step Three – Filling
1box (4-serving size) Lime instant pudding and pie filling mix
1 1/2 Cups whipping cream
1/4 Cup Key lime or regular lime juice
4drops green food color
1 1/2 Cups powdered sugar
Make the pudding mix; whip in everything else and get ready to fill your cupcakes.
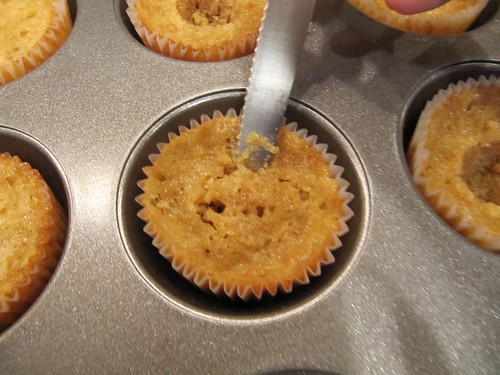
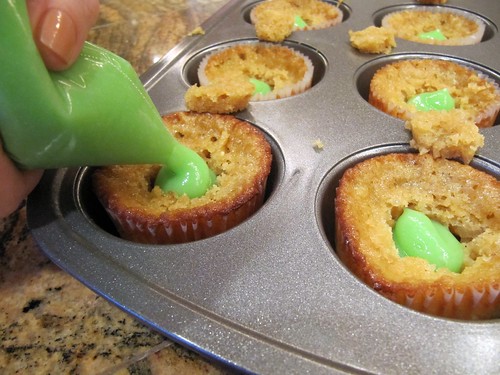
You’re almost done! Almost there! Just take a knife and carve out a little upside down rounded triangle out of your cupcake. Cut the ‘point’ off the cupcake. Eat it. Isn’t that insanely yummy? Now, fill up a baggie with your Filling. Cut off a very small tip. You want to be able to control the flow. Fill up the cupcake holes.
Then top the filling with your little cupcake hats.
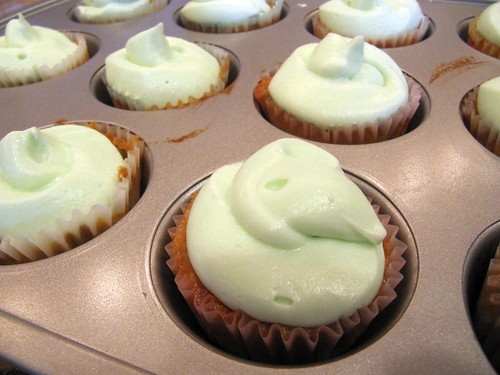
Now, you’re ready to frost. Fill up a baggie with all of your frosting and snip a teensy tip off the frosting bag and frost your cupakes in a circular fashion.
Are they all frosted? Have a bite. You’ve earned it.
Boy or Girl?
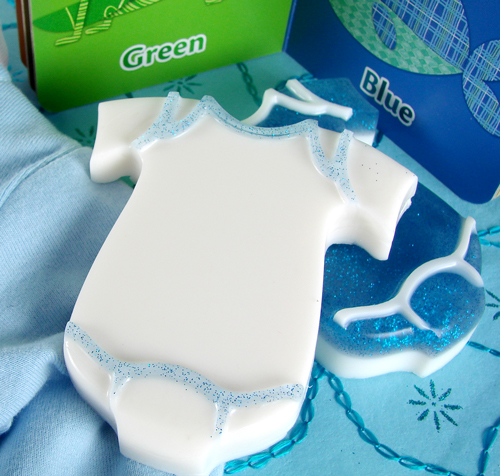 |
| Now can you guess? |
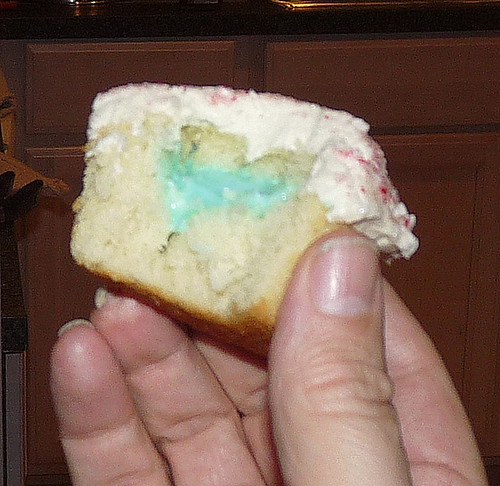 |
| Blue Cupcake for BOY! |
We Made Stuffing Cupcakes!
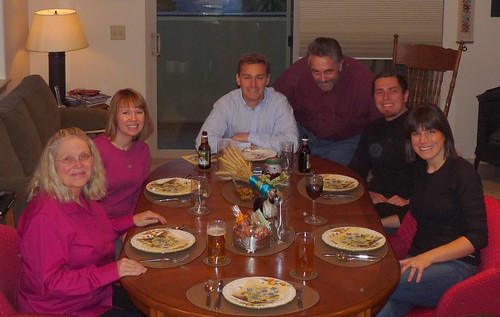
Happy Thanksgiving from our family to yours. I hope you spent today with family or friends, laughing and reminsicing about fun adventures and memories.
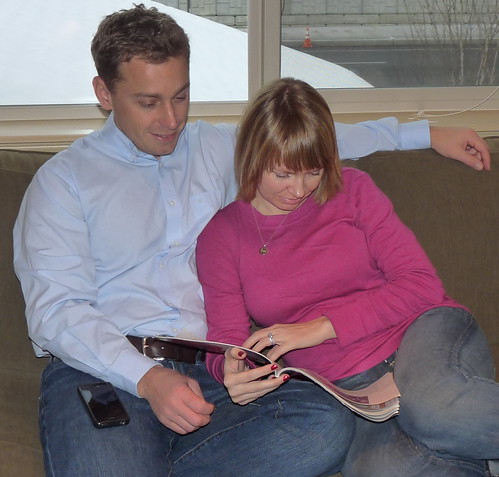
The best gift was that my husband made it home from his business trip to Saudi Arabia with one hour to spare before dinner. We’re reading ‘Parenting’ Magazine. Note our ‘Team Baby Girl or Boy’ shirts. =)
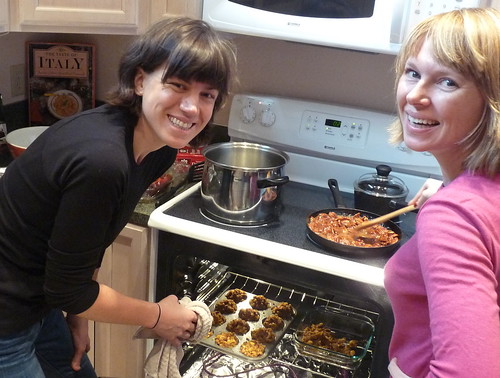
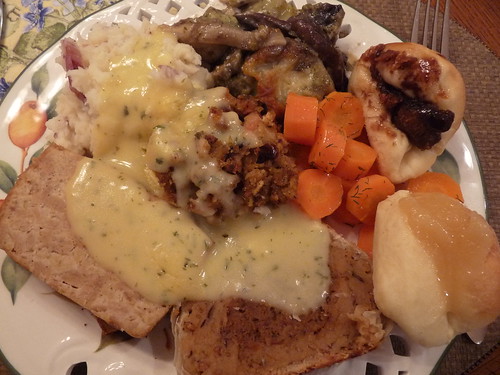
My sister-in-law and I baked up a storm – portabella mushroom lasagna (recipe here), mashed potatoes, two kinds of vegetarian faux-loaf, homemade rolls, and an amazing decadent butterscotch butterscotch dessert (recipe here).
We didn’t go hungry, that’s for sure!
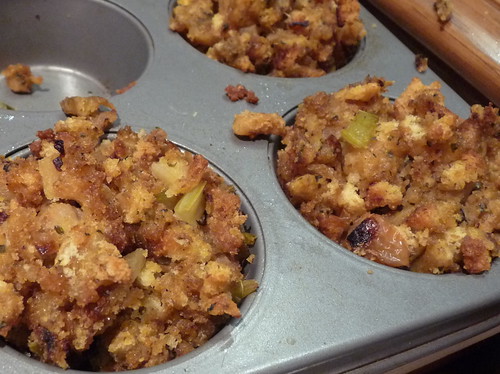
We made cupcakes out of our stuffing. They were perfectly sized for perfectly filling carb loading.
But of course, the real show stopper was the ‘Guess the Baby Sex’ cupcakes. You’ll be in suspense for just one more day and then we’re telling the world what’s kicking up a storm in my belly.
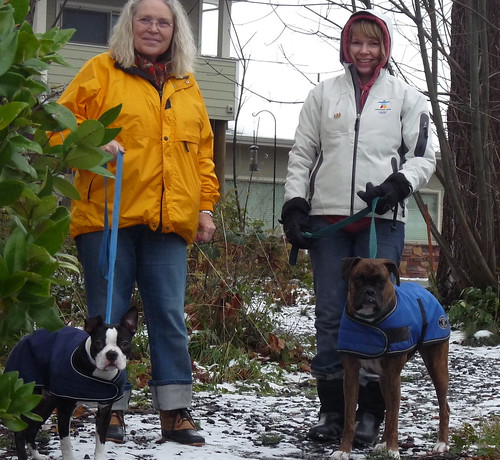
Of course, no family gathering would be complete without the original grandchildren, Samantha and Toby.
Look how big Toby has gotten! Our little puppy has grown into a big 8 month old. Remember how little Toby was when Erik first got him?
My Kitchen to Yours
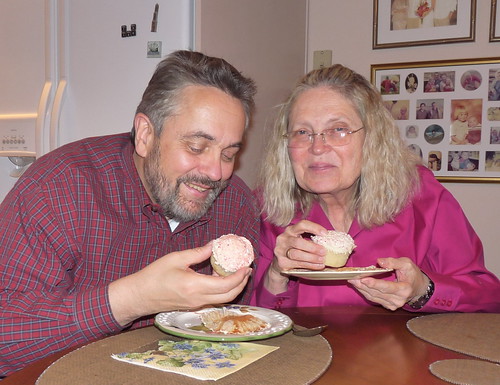
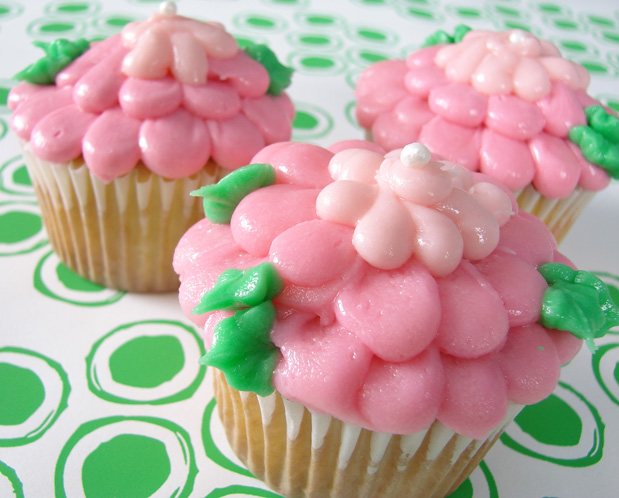
Our Kitchen Is Your Kitchen is a local cupcake shop located in Barkley Village in Bellingham, Washington. They heard the word on the street that I adore cupcakes (so true). So they hand delivered some samples to our retail store, Otion. That is some smart marketing, folks! We just placed an order for our all staff meeting last week. They were moist, delicious and gone in 30 seconds! Aren’t they cute? They were also pink for Breast Cancer Awareness Month.

