Catching Up on the News
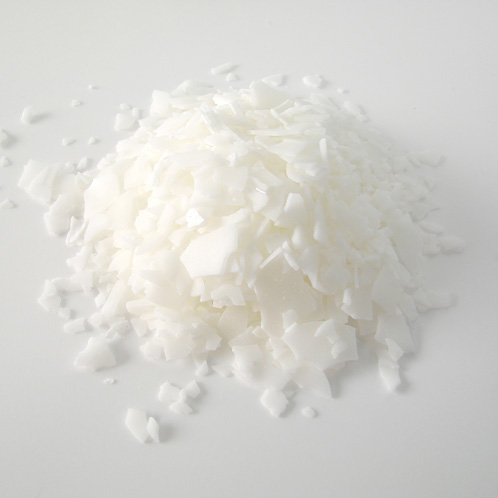
Emulsifying Wax (generic – lower price point than name brand)
I’ve had a super fun weekend so far (holiday parties, college football games and soapmaking!) and hope you are as well.
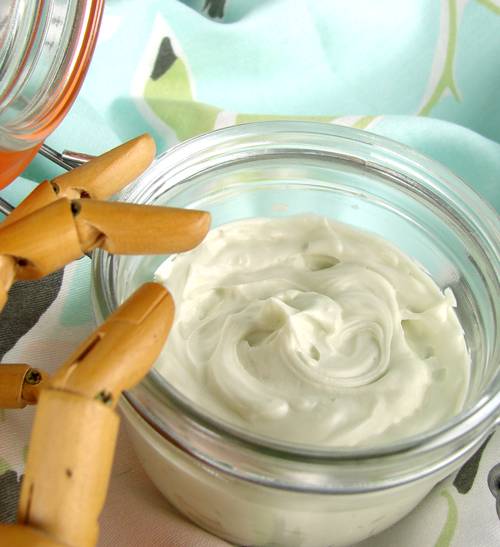
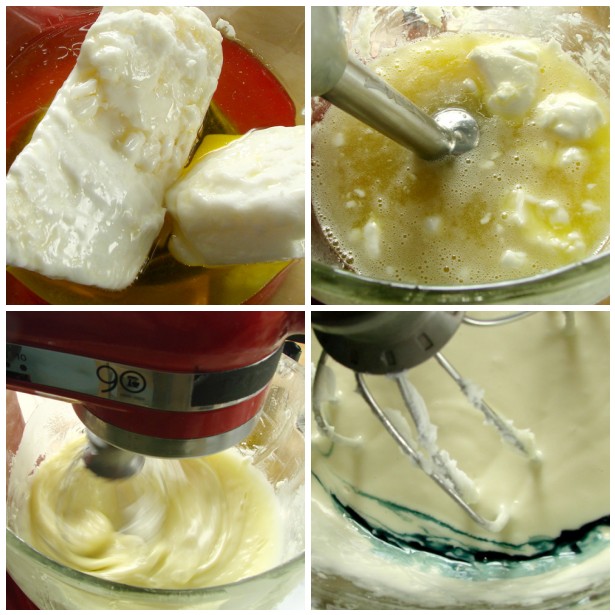
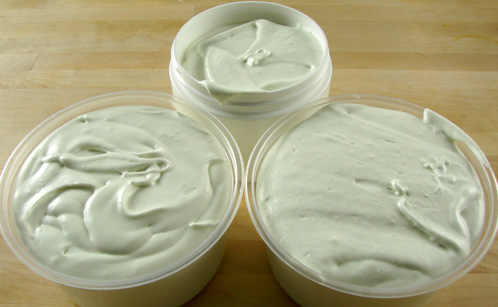
Whipped Belly Butter Tutorial
Wondering why I chose all the ingredients I did? I wrote an explanation here. Curious about how to infuse oils? Tutorial here.
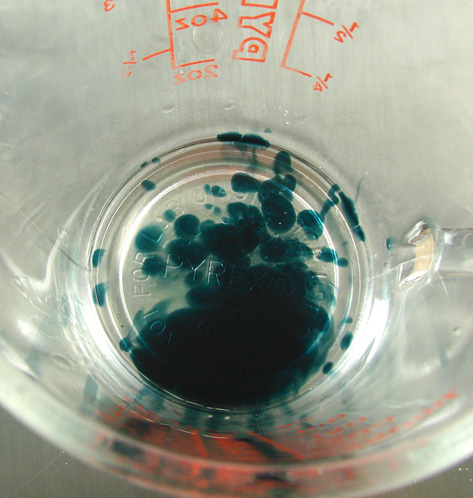
Weigh out all of your ingredients (volume doesn’t provide the same. This is a photo of the German Chamomile. It is a dark beautiful blue.
Exotic Belly Balm – Oil Choices & Why
Even though I’m only 18 weeks along, my belly is stretched tight and it’s itchy and peeling. It’s really not all that attractive. Given that I make yummy products for a living, I took this on as a personal challenge! Stay tuned for the recipe later today. The oils I used:
Cocoa Butter – Long used for centuries for stretch marks, cocoa butter has proven to be no better than a placebo for actually preventing stretch marks (NYTimes article). So, why did I put it into my formula? Cocoa Butter has a compound called CMP (cocoa mass polyphenol), a substance that helps with dermatitis.
Vitamin E – Vitamin E beat out Cocoa Butter for stretch mark relief (citation here). Vitamin E is a an anxi-oxidant that helps to defend skin from free-radicals. Free-radicals attack the skin structure leading to aging, wrinkles and generally unhealthy skin.
Jojoba Oil infused with Calendula Petals – Jojoba oil is a liquid wax. Out of all the oils (or in this case, liquid waxes!), it is closest to the human skin in its make up. Calendula is incredibly nourishing to skin, especially irritated skin. For infusion directions, click here.
Hemp Seed Oil, Unrefined: Hemp Seed Oil is fantastic to use in skin care products because of its lipid profile; it has over 80% Essential Fatty Acids. Additionally, Hemp Seed Oil has been found to help with eczema.
Shea Butter: If there was only one butter I could be stranded on a desert island with, this would be it. High in unsaponifiables, this butter is extremely emollient, making it a key ingredient in many body butters and lotions.
Essential Oils:
Carrot Seed: Carrot Seed Essential Oil is well known for its help with aging skin and to protect skin against wrinkles. Carrot Seed has a very earthy smell.
Frankincense: Used by some of the large cosmetic companies in their anti-aging skincare, Frankincense is known to be soothing and skin-loving.
Helicrhrysum: This essential oil has almost a magical lore about it for healing bruises and soothing dry skin.
German Chamomile: One of my favorite essential oils for skin care, German Chamomile helps calm itchy, irritated skin because of its high azulene content. German Chamomile smells herbal-y and not sweet at all.
What is a Fragrance Oil Made Of?
Q: What exactly is a fragrance oil made out of? I went to buy some today and noticed there was no ingredients listed.
A: Fragrance Oils do not have full ingredient disclosure; they fall under ‘Trade Secret’ status with the FDA and so simply putting “Fragrance” on an ingredient list will suffice.
Curious to learn more about safety, sustainability and the technical details behind fragrance oils? Chemist Stephen Herman has a great article that he wrote for Perfumer & Flavorist that you can read here.
Keeping the Bramble Bump Safe
Aromatherapy & Pregnancy : The History of Warnings
Emmenagogic essential oils: basil, carrot see, German and Roman chamomile, sweet fennel, clary sage, juniper berry, lavender, sweet marjoram, myrrh, rose, rosemary, peppermint.
Tangle Free Soap Queen TV!
Learn to make Shampoo and Conditioner in this episode of Soap Queen TV.
I love making my own hair care products so I can scent them with my favorite fragrances and layer my signature scents with matching bar soaps and lotions (for a subtle scent that lasts all day)! Making hair conditioner is just as easy as making lotion. You won’t believe how fast and economical this project is.
As a special bonus, I made the label template used in the video available as a free download on the Bramble Berry web site- Check it out here!
How to Make Shampoo and Conditioner from Soap Queen on YouTube.
Fragrance Blend:
1 part Rosemary Essential oil
1 part Peppermint 1st dist. Essential oil
1 part Tahitian Vanilla Fragrance
For the Shampoo:
1/4 oz Fragrance Oil Blend
10 oz. Shampoo Base
For the Conditioner:
2 grams Liquid Silk
22 grams Liquid Glycerin
35 grams BTMS-50
13 grams Jojoba Oil
6 grams Sweet Almond Oil
12 grams DL-Panthenol
374 grams Distilled Water
4 grams Fragrance Oil Blend
4 grams Optiphen
Get everything you need to make this project added to your Bramble Berry shopping cart by clicking here.
Mojito Melt and Pour Soap Tutorial
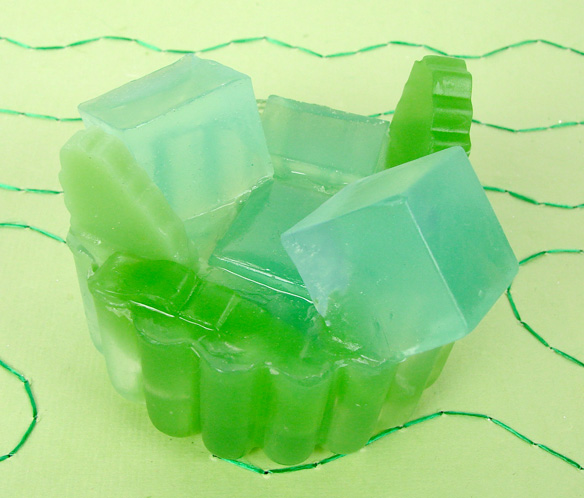
I love reading each and every blog comment posted by Soap Queen Readers. Thank you for all of your input and inspiration- It really makes it fun for me! Mid July, I posted a tutorial on Watermelon Soaps and received a comment from SweetMadeSoap that she had made a delicious Mojito Soap with shades of green and white scented with Lime and Peppermint Essential oils. I just had to give the Mojito soap a try (as my mouth started watering just reading the comment). And the results are in…
NOTE: The Scalloped Round Mold shown in this tutorial has been discontinued. This kit now contains the Round Mold.
Glossy Silicone Tray Mold
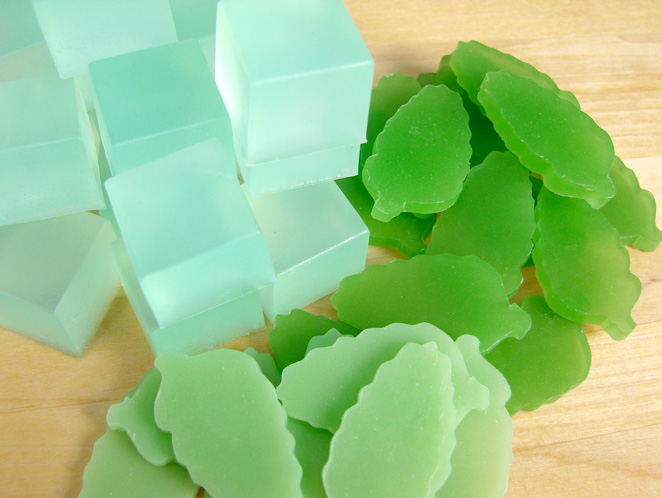
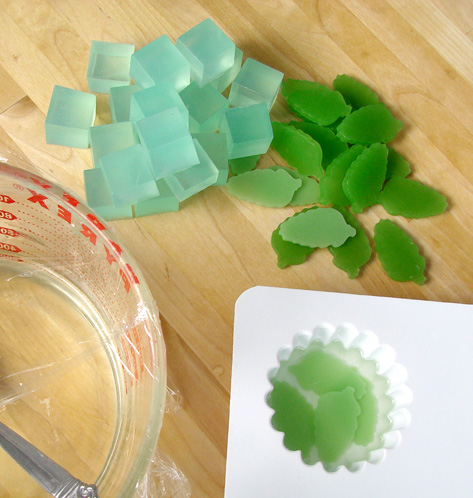
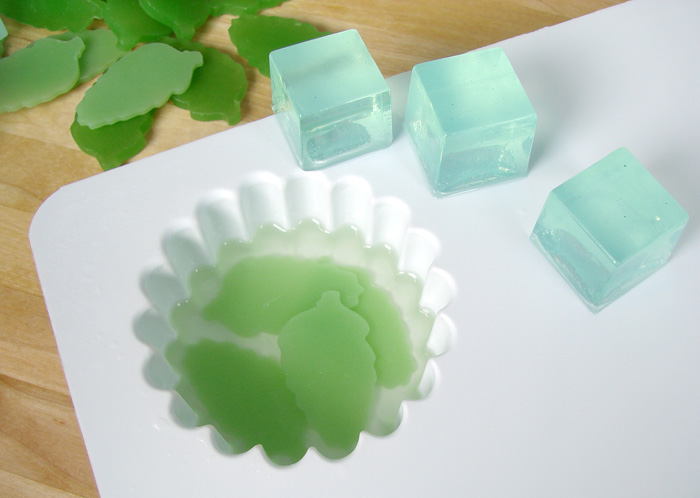
Mint Leaves: For my dark colored mint leaves, I used clear melt and pour mixed with Liquid Green Colorant and a sprinkle of Yellow Mica. Then I poured a thin layer into a brownie pan tray mold. Once it cooled, I used my mini leaf cookie cutter to cut out the leaves. Try adding a little bit of white soap base to the mix if you want a lighter mint color. As you can see, I did both!
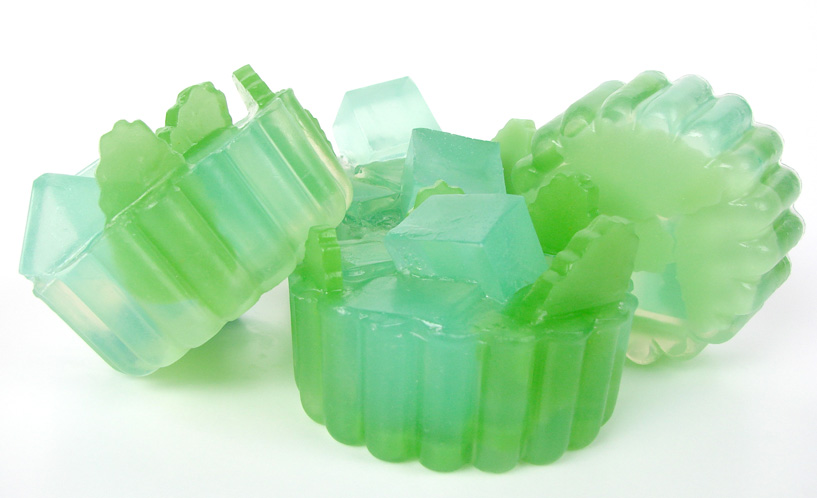
Assembly: Pour a thin layer of clear melt and pour (that has cooled to 130 degrees) into your scalloped round soap mold. Spritz four mint leaves and add them to the soap base. Then add another thin layer of clear melt and pour. Spritz three or four ice cubes with rubbing alcohol and add them to the soap, on top of the mint leaves. Then start the random assembly. Add more mint leaves and ice cubes until the mold is full and you have mint and ice sticking out everywhere. Repeat with the other cavities and remember that they’re not all going to be the same. There are no two Mojito Soaps alike (in my experience).
Soap Queen TV: Bath Fizzy Fun!
Learn how easy it is to make Bath Fizzies and Bath Bombs with me this week on Soap Queen TV!
How to Make Bath Fizzies from Soap Queen on Vimeo.
Bath Bombs are so easy and economical to make but they have a reputation for being tricky to create.
Let me show you how simple and fun making bath fizzies can be. First, I create a multi-colored star with a Soapylove stacked star soap mold and then I show how to use our stainless steel sphere mold to make the ever popular round bath bombs. To find the recipe for the bath fizzy frosting I mention in the video go here.
To make the star fizzies you will need:
1 cup Citric Acid
2 cups Baking Soda
18 ml Coconut Citrus Sorbet
Gurlie Pink LaBomb Color
Adobe Brick LaBomb Color
Cornflower Blue LaBomb Color
Witch Hazel
SoapyLove Stacked Star Mold
Note: The mold shown in this video has been discontinued. This kit now contains the 6 Cavity Heart Silicone Mold.
Or click here to add everything you need to make these to your Bramble Berry shopping cart.
To make the mondo lavender bombs:
1 cup Citric Acid
2 cups Baking Soda
3 Tablespoons Kaolin Clay
18 ml Lavender Essential oil
Lilac LaBomb Color
Stainless Steel 2 piece Sphere mold
Or click here to add everything you need to make these to your Bramble Berry shopping cart.
Eco Chic Candles
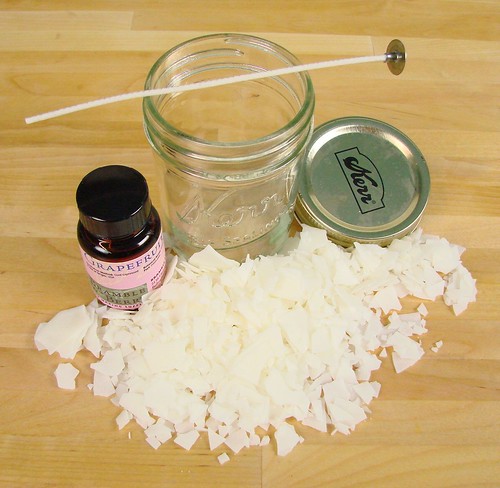
Get back to the basics by using natural products like Bramble Berry’s new Naturewax. It is skin safe, 100% vegetable based and made from soy which is an environmentally friendly renewable resource. Reuse your old canning jars, mason jars or baby food containers for a variety of eco-friendly container candles.
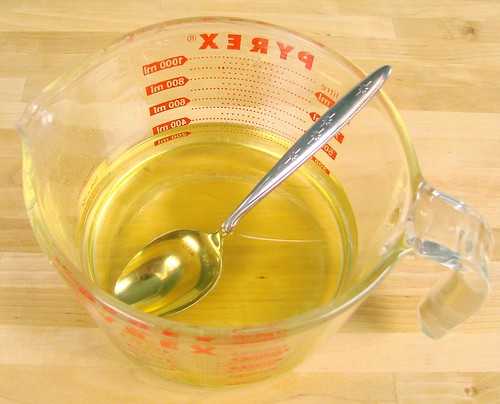
ONE: Melt the Naturewax wax in the microwave in a heat safe container. Make sure to melt it in 1 minute bursts, stirring in between with a spoon. Normally we recommend a double boiler for wax melting but his particular wax has a melt point of 125°F so it melts nicely in the microwave. Also, for paraffin based waxes, I always recommend specialty candle containers. Again, because of the super low melt point, they are not needed for this Naturewax based project. For more tips on candle making, check out the Soap Queen TV Episode on Travel Candles.
TWO: Fill one jar with melted wax, leaving at least 1/2″ from the top of the jar. Mix in your essential oil blend (we used 5 ml Orange EO, 4 ml Grapefruit EO, 3 ml Lime EO). Blend well. Note: we used a 4 oz. baby food jar and found it held 3.2 oz. (by weight) of Soy Wax.
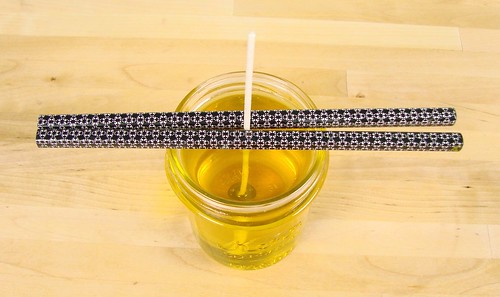
THREE: Dip the base of the wick into the melted wax and center on the bottom of the container.
TIP: If you’re having problems with leaning wicks, make sure that your wick can stand on “dry land” before putting it in your wax, bending the wick if necessary. Once the wick is centered in the candle, place 2 pencils horizontally on the jar on each side of the wick. This will give the wick a little support as you pour the wax and the candle cools.
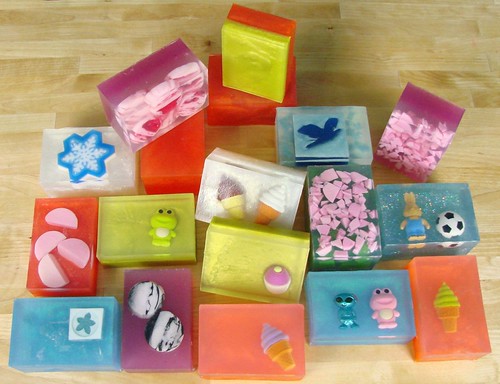
18 Bars of Pure Cuteness!
Have you seen Bramble Berry’s new Baltic Birch Molds? If not, check them out HERE. I love them SO much. They are stunningly gorgeous, so versatile and selling fast (we’re seriously having trouble keeping them on the shelves). And you can use them for more than just cold process. Here’s a colorful and fun melt and pour project!
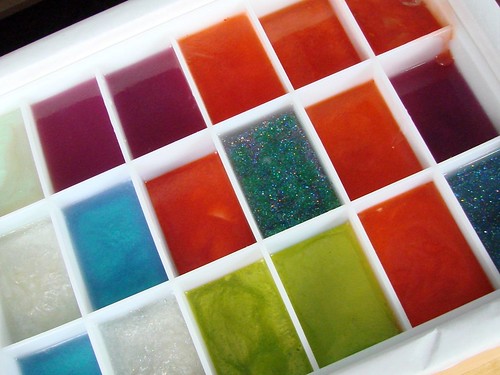
Colorants
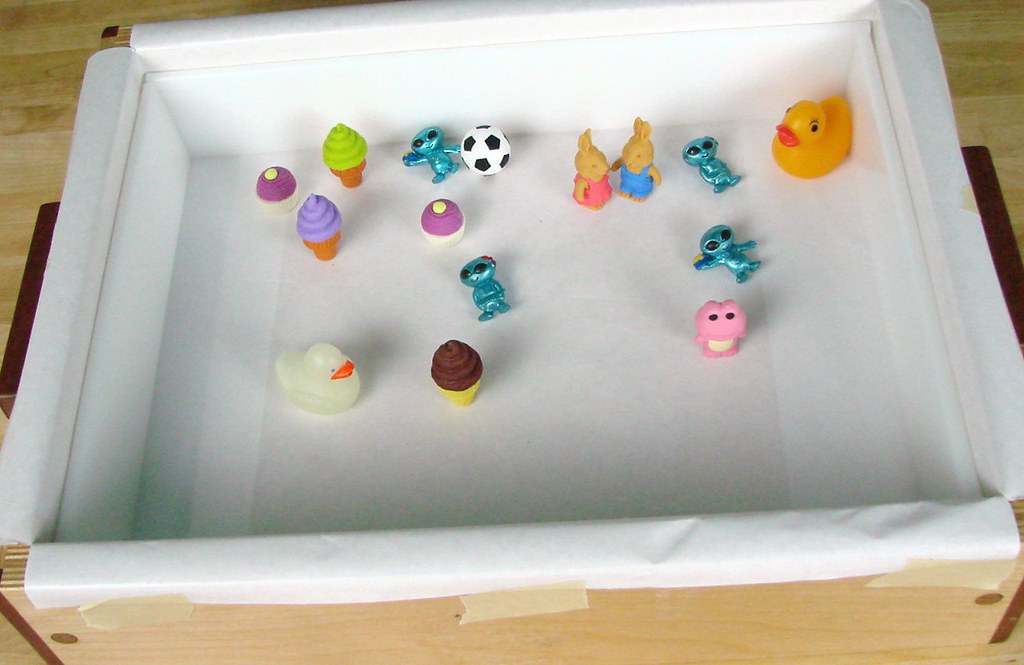
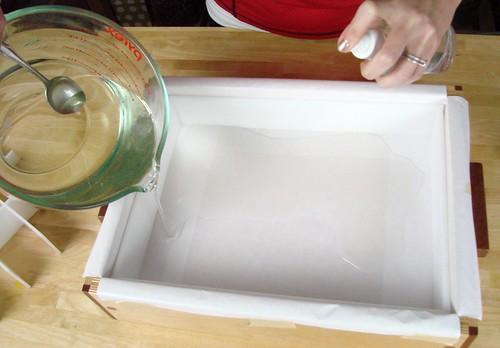
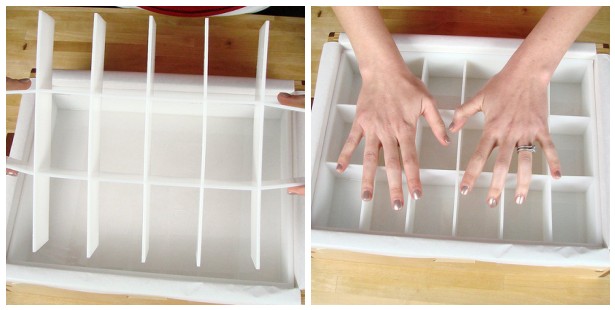
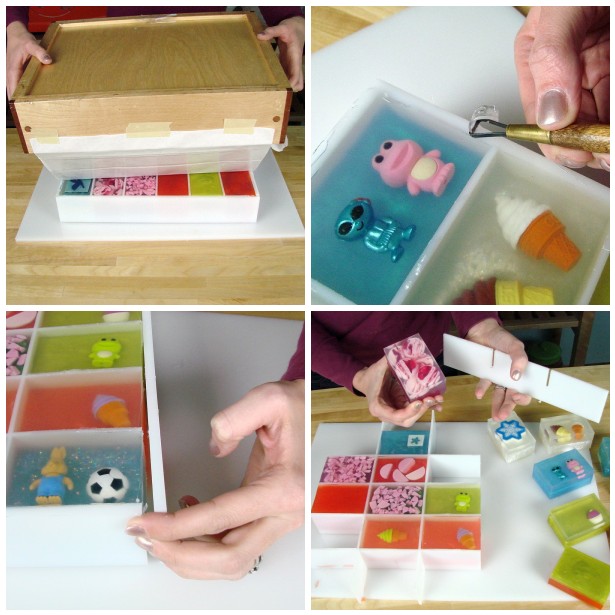
Before you start: Line your mold with freezer paper making sure that you have a flat bottom with the shiny side up. Remember that the bottom will eventually become the top of your soap. Once your mold is lined, add the side and end border pieces and put your inserts together so they’re ready to go to.
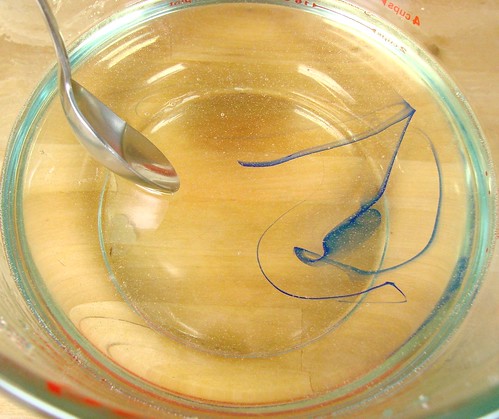
ONE: In a large microwave safe container, melt about 32 ounces of clear soap base. Once the soap is completely melted, add 1 drop of liquid blue colorant to give the soap a “clear” effect (just one drop will do the trick). Do not add any fragrance at this point.
Note: You will only need a couple of ounces for the initial pour so if you don’t have a microwave safe container that big, it’s a-okay. Just melt 1-2 ounces. To save time, I like to melt my soap in larger quantities.
TWO: Pour a thin thin layer into the mold (about 1/8″ thick) and spritz the soap with alcohol while your pouring. This will help the soap spread out into the mold.
THREE: Before the soap cools, quickly place the inserts into the mold, squeezing the ends with your fingers to hold them together. Press the inserts firmly into the soap and let cool for 15-20 minutes, until the clear layer is totally hardened and the dividers are ‘sealed’ in the soap.
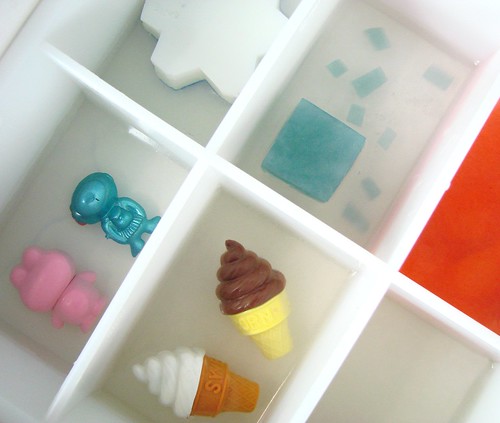
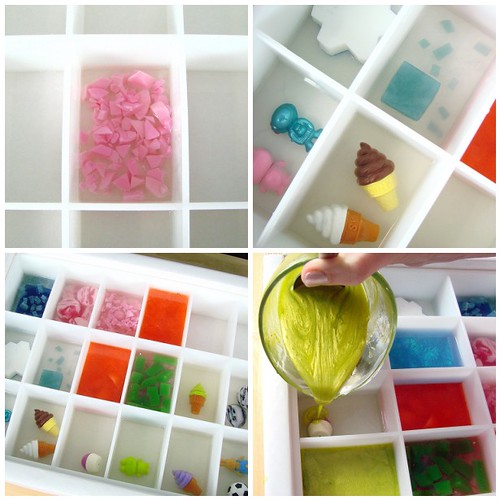
Embedding Tips: Spritz the first layer of clear soap with rubbing alcohol and pour another thin layer of clear soap (you might have to remelt your original clear soap). Liberally spritz the embedding object (whether it be soap scraps or toys) with rubbing alcohol and place it into the freshly poured clear soap.
FIVE: Once the embedded layer has cooled, add the final layer of soap with color* and fragrance. I used a combination of Energy Fragrance Oil, Grapefruit Essential Oil and Yuzu Fragrance Oil. I always recommend .25 -.5 ounces of fragrance per 16 ounces of soap base. When pouring your layers, remember to spritz the embedded layer before pouring your colored layer. Also make sure your colored soap is no hotter than 120 degrees; we don’t want to melt any of your other soap layers.
All of my soaps turned out different ranging from 3.2-5.6 ounces (using 89 ounces total) so have fun and make any size that you want!
Unmolding: Place a large cutting board over the top of your mold and gently flip the soap mold over onto a hard surface. Lift the mold off of the soap and slowly remove the freezer paper from the soap. I used the scraper tool from the Tool Kit (a non serrated knife or small spatula would work) to scrape the soap off the edges of the border pieces. Then slowly pull the sides of the mold away from the soap (Note: If you ever use this mold to make Cold Process soap, you cannot pull the sides from the soap as CP soap is softer and tends to tear). Pop out your soaps and marvel at your creativity.
Wild West, Mary Kay & Business Lessons
Day Two of the Handcrafted Soapmaker’s Guild Annual Conference was packed, packed, packed with an incredible line up of speakers.
Robert Tisserand entertained and educated at the same time with a great talk about essential oils. He had us in stitches with his sense of humor. My big take away for me from his talk was that ALL essential oils should be refrigerated (so quick, go make room in your fridge!).
Kayla Fioravanti talked about Essential Wholesale’s growth from inception to where they are today. She told hilarious (honest) stories of the early years, making everyone in the group feel better about how their businesses have grown (haphazardly!). My big takeaway from her talk was that small businesses are at an ADVANTAGE compared to big businesses because we can tell stories that connect with the customer; we can share our passion; we have a face. The ‘big guys’ can’t connect with customers in the same way that we can as nimble small businesses.
Debbie May shared her journey in starting WholesaleSuppliesPlus. She focused on the things that can kill your business – lack of passion, lack of data mining, lack of profits and lack of systems. Debbie has an MBA and she wowed us all by sketching out a basic profit and loss on the fly to illustrate the difference between net profit and gross profit. My big takeaway from her talk was that ‘growth sucks cash.’ In order to fund your growth in the early years, you may have to do without a paycheck as you plow all of your earnings back into your company to fund your growth. Debbie’s business hero is Mary Kay and she highly recommends the book “Mary Kay: Timeless Principles from America’s Greatest Women Entrepreneur.”
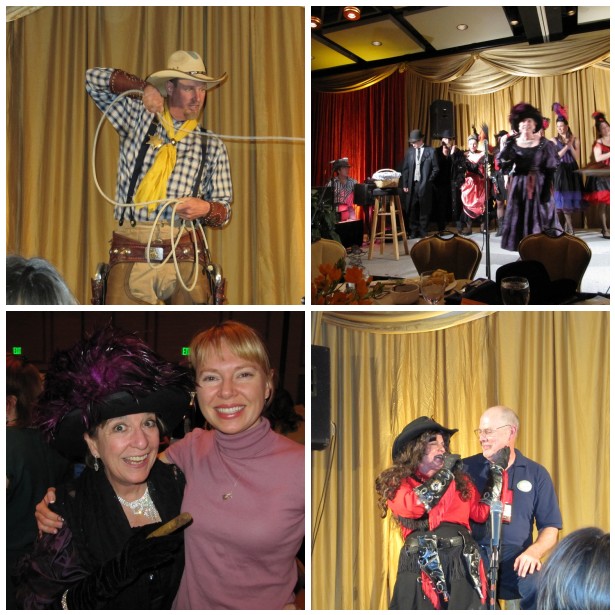
Then it was off to the Essential Wholesale Wild West Party. For the second year in a row, they sponsored the evening’s activities – from a Wild West Improv party to a comedian to a great dessert table, open bar and full wild west buffet. The evening was full of laughter, camaraderie and yes, even a conga line.
I’ve uploaded even more photos (and even a few videos from the Wild West party) to my Flick account here or the Soap Guild Conference page is here with full photos. Tonight is the big awards night where they announce the the location of the next Conference and give us all an excuse to dress up a little.
Happy Earth Day – One Planet, Many Soaps
Celebrate this Earth Day with Eco-Chic Soap (with one easy kit)! This kit is designed to be as eco friendly as possible. Reuse your own yogurt, tofu or cleaned out food containers to make an earth friendly soap that is made with 100% organic vegetable oils and essential oils. In keeping with the eco friendliness, no paper instructions will be included with this kit so grab your step by step paper-free instructions HERE.
You can provide additives like coffee grounds, oatmeal, clays or food-grade charcoal (just make sure that it’s skin safe). You’ll also provide a recycled “soap mold” like a yogurt container, tofu container, soy milk container, coffee cup, etc. You’re not limited to anything here (well, except glass containers which don’t release soap very easily) so feel free to get creative!
Mother’s Day Bath Tea
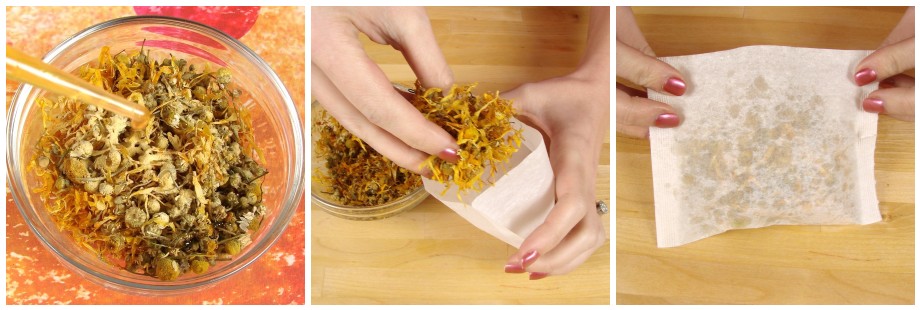
ONE: In your small mixing bowl, combine the Chamomile, Calendula, Orange Peel Powder, Vitamin E Oil and Orange Valencia Essential Oil.
TWO: Mix ingredients together so the oil is evenly distributed. Use your fingers to fill the tea bag with the herbs.
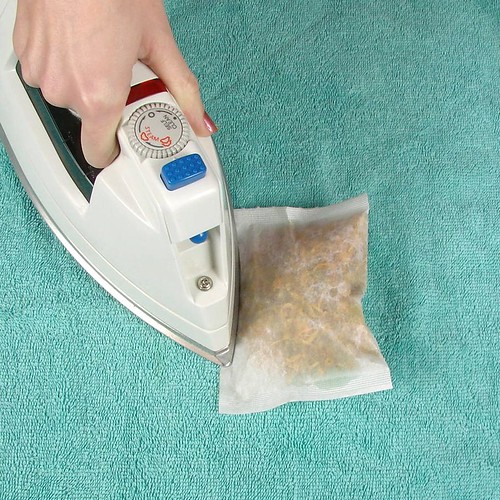
THREE: Seal the open ends of the tea bag with a hot iron.
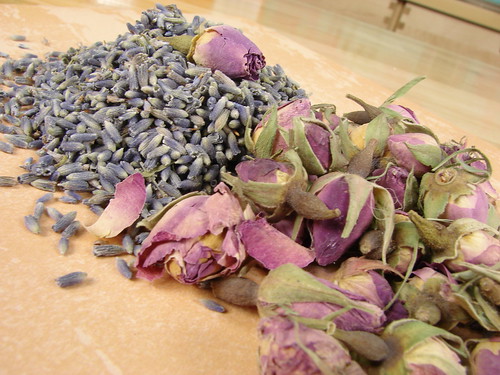
ONE: In your small mixing bowl, combine the Lavender, Rose Petals, Vitamin E Oil and Hungarian Lavender Essential oil.
TWO: Mix ingredients together and fill the tea bag with the herbs.
THREE: Seal the open ends of the tea bag with a hot iron.