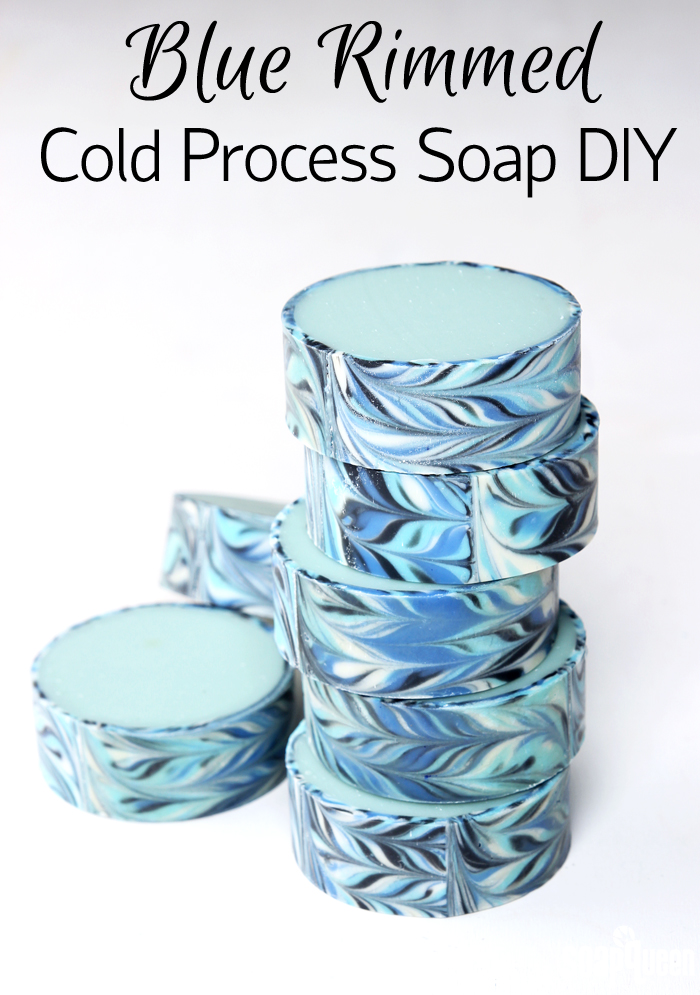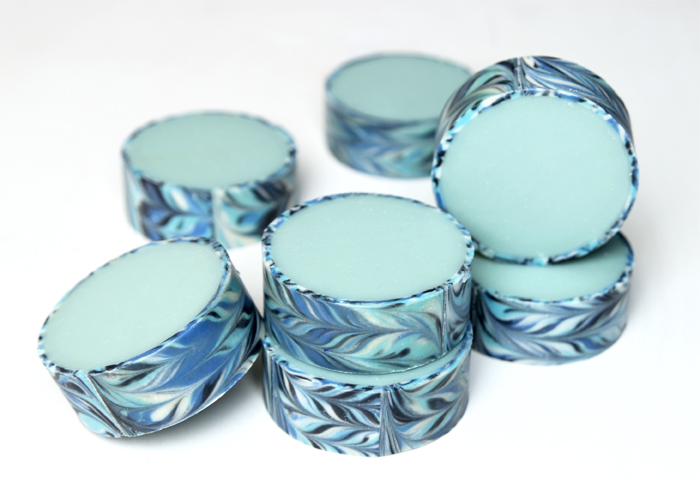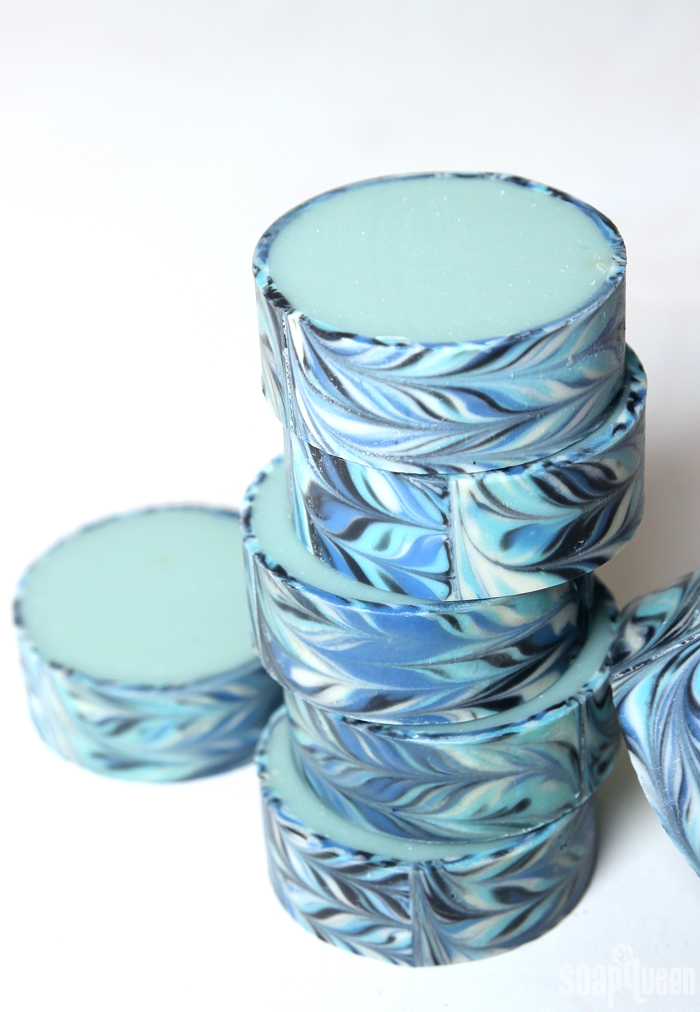
The rimmed soap technique is a project I have been meaning to try for months. It was made popular earlier this year when Amy Warden and Tatsiana Serko hosted a Rimmed Soap Challenge for the Soap Challenge Club. Typically, the technique is made in a column mold for a round shape. For this tutorial, I used the Heavy Duty Column Mold with Reusable Liner. Rimmed soap is an advanced technique that involves several steps. First, a thin layer of swirled soap is created in a loaf or slab mold. After the soap has hardened but is still soft (about one day), the soap is sliced horizontally into thin strips and carefully molded on the rim of the Heavy Duty Column Mold. Finally, soap is poured in the center.

To create the soap for the rim, I poured a small amount of soap into the 10″ Silicone Loaf Mold. Then, I sliced the soap into thin strips using the Wire Soap Slicer. The Wire Soap Slicer is specifically designed to slice soap horizontally. It’s fantastic for cutting designs like the Taiwan Swirl, and really came in handy for this technique. The wire can be moved up or down to adjust the thickness of the soap layers. I found the thinner the soap layers, the easier they are to bend into a circular shape. Thicker slices of soap are more likely to crack. If you don’t have a slicer, Alaiyana B. Bath and Body has a great tutorial for rimmed soap that demonstrates creating a very thin layer in a large slab mold. Alaiyna B. Bath and Body is a master of the rimmed soap technique – check out some of her beautiful creations here.

I decided on a blue color palette for this project to coincide with blue week of #SoaptheRainbow. I have been loving all your gorgeous blue photos; keep ’em coming! If you’re unfamiliar with #SoaptheRainbow, I’m choosing my favorite photos tagged with #SoaptheRainbow on Instagram, Twitter and Facebook. The winners will be featured on Instagram and win a $10 Bramble Berry Gift Certificate.
