The holidays are a great reason to get together with friends and family. With all the stress the holidays can bring, a party is the perfect way to unwind. I try to host one get together every holiday season, even if it’s just a small wine night with a couple close girlfriends. If you’re hosting a holiday party this year, including a craft component is a great way to bring some creativity to the occasion. Want some quick tips for throwing a craft party? Scroll to the bottom of the post to learn my tips for throwing a smooth and fun party.
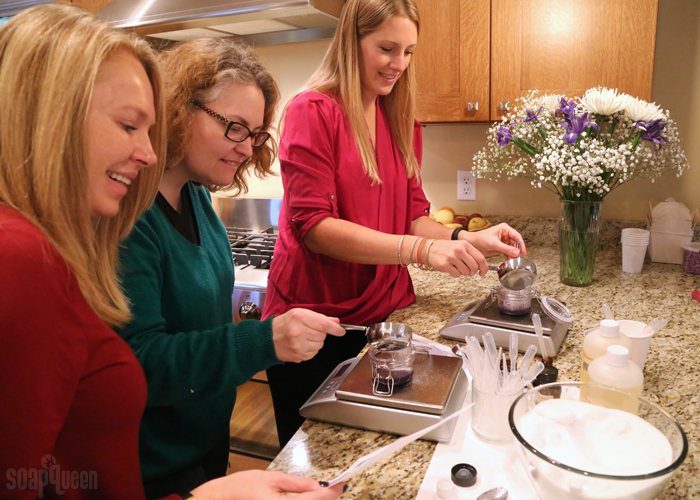
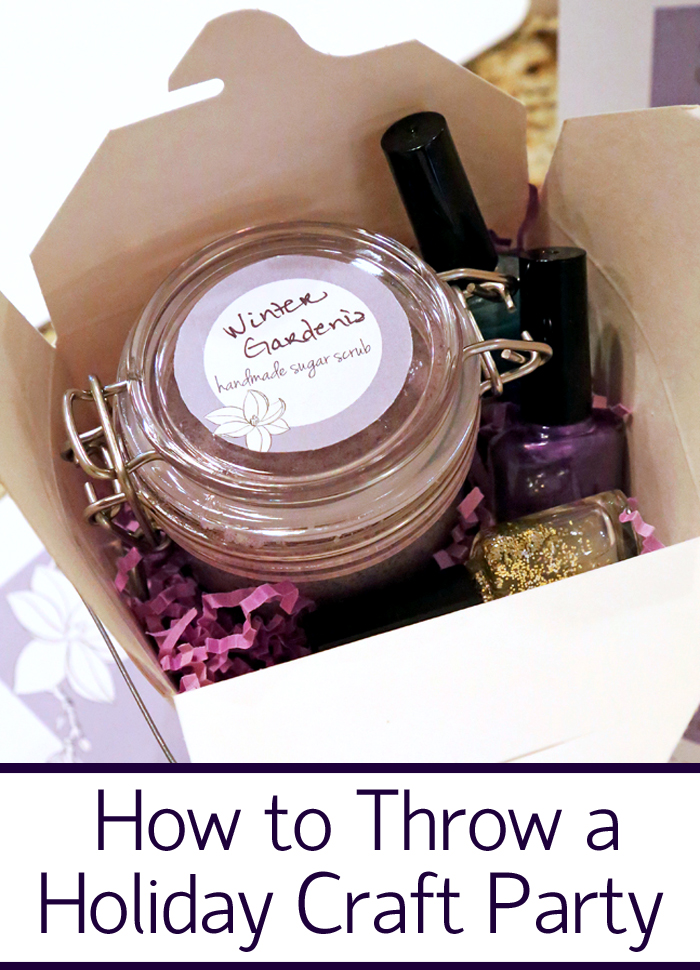
Crafts are a fun way to help people interact with each other at parties. Sure, standing around eating and drinking is fun…but it’s nice to give your guests something to do! A couple years ago I hosted a holiday craft party that included a nail polish and sugar scrub station. Easy projects like these are great for parties, because guests don’t need much assistance making them.
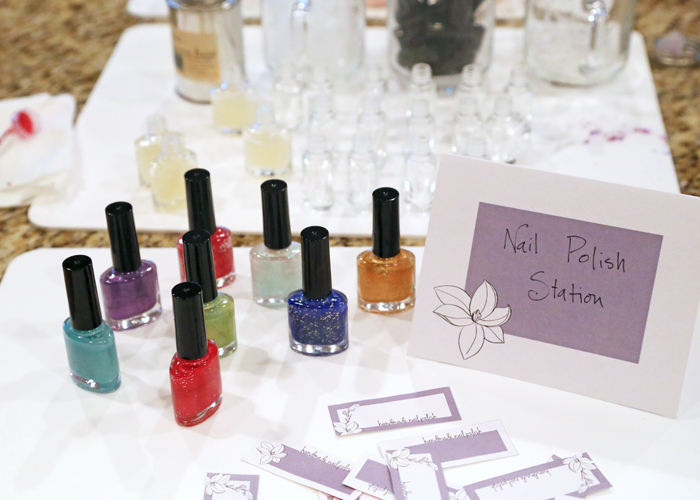
It’s important to keep in mind that what you consider easy might be a little intimating for a beginner. To give them a little extra help, I print “How-To Sheets” that include step-by-step instructions for each attendee. You can find the free printables below! In addition, I recommend giving your guests a little demo at the beginning of the night. That way they will feel more confident with the project.
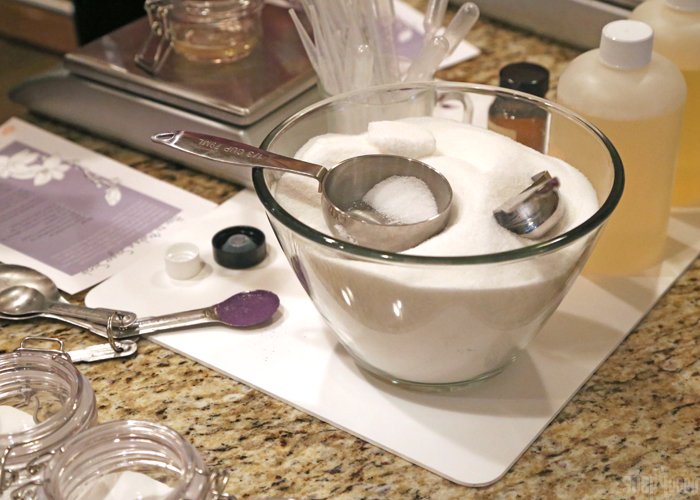
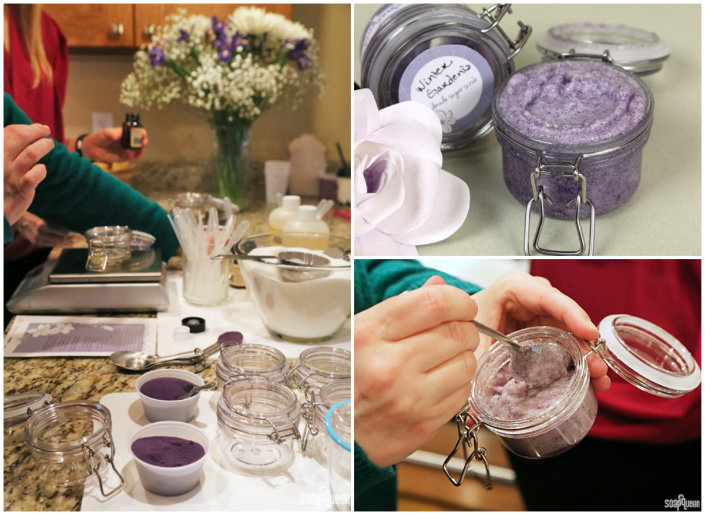
Thinking about throwing a party this year? Click here to see my ideas for a sugar scrub party, along with an easy recipe. The scrub recipe includes meadowfoam oil, potassium cocoate, jojoba beads and granulated sugar. It’s easy to customize by replacing the fragrance, fixed oil or jojoba beads of your choice. You can also simplify it by only using sugar (although the jojoba beads give a lovely color!) The DIY Party Winter Gardenia Sugar Scrub Kit includes everything you need to make ten sugar scrubs.
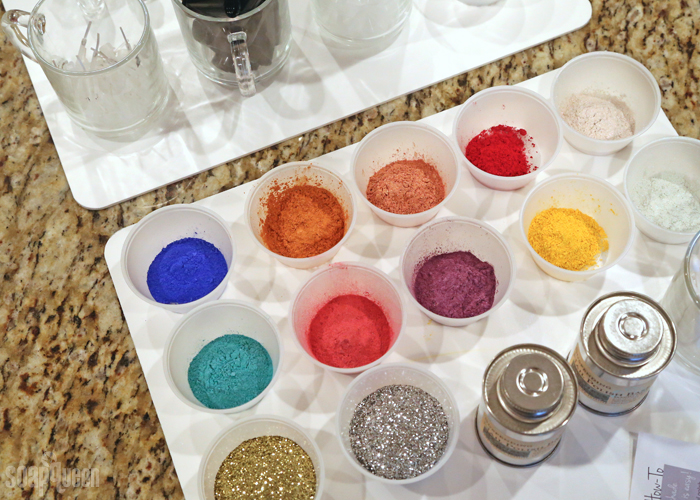
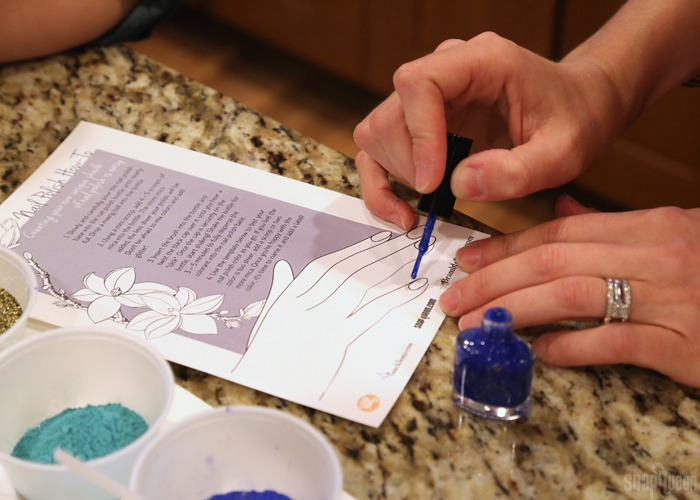
Nail polish was the other “station” at the party. It’s particularly well suited for a party because exact amounts of ingredients are not necessary, and just about everybody can use more nail polish! 😉 When making nail polish, I recommend placing the colors in individual containers to allow for easy access. I used little plastic sampler cups from the grocery store (shown below). I also recommend covering your counter with craft paper, newspaper, parchment paper, or another protective surface. That way if a little nail polish spills, it will be easier to clean up. Definitely have some nail polish remover on hand as well!
Just like the sugar scrub, I had instructions on the counter for guests to refer back to. On the sheet is also a nail graphic where guests can “test” their color while creating. The free template also includes nail polish labels, so you can name your polish once you’re done. This is one of the best parts of the process; my guests had a blast coming up with silly names for their polish.
Once guests are done making nail polish, keep the crafting going and use the polish to paint glassware! The Bramble Berry team had a mini painting party with nail polish and champagne flutes earlier this year. Learn more about the process here. It’s an easy project that any skill level can do. All you need to provide is the glassware (I recommend checking out the dollar store!), Q-tips, and a sealing spray if you’d like to make the glasses a little more durable. You could also tell your guests to bring their favorite polish color to decorate their glass.
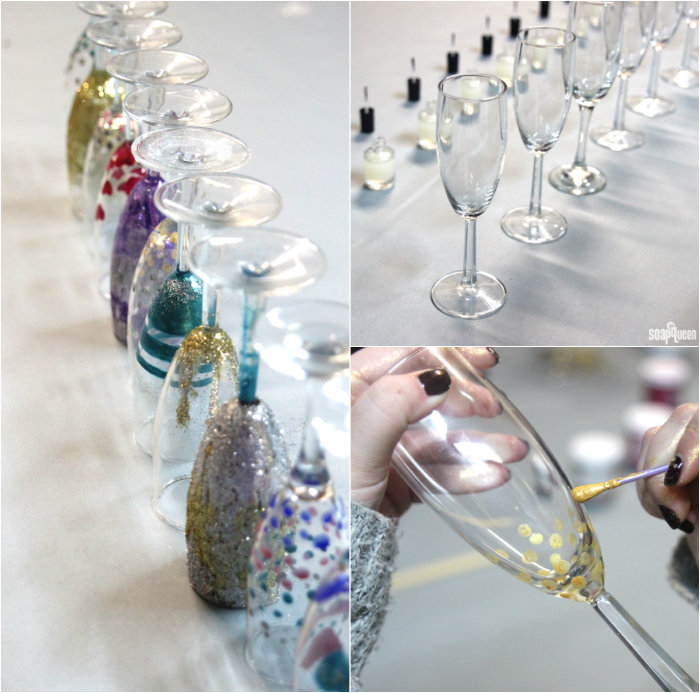 A glassware nail polish painting party is a fun way to make nail polish, and use it too!
Jen of Something Turquoise also created a DIY Nail Polish Bar, complete with mimosas and plenty of shimmer. Jen did an amazing job of setting everything up with thoughtful labels for each nail polish bottle and printed instructions. She also included a tray for guests to pour over to catch any drips of polish or spills of color – so genius! Doesn’t it look beautiful? In particular, Jen’s party was for a bridal shower or bachelorette party, which is such a great idea.
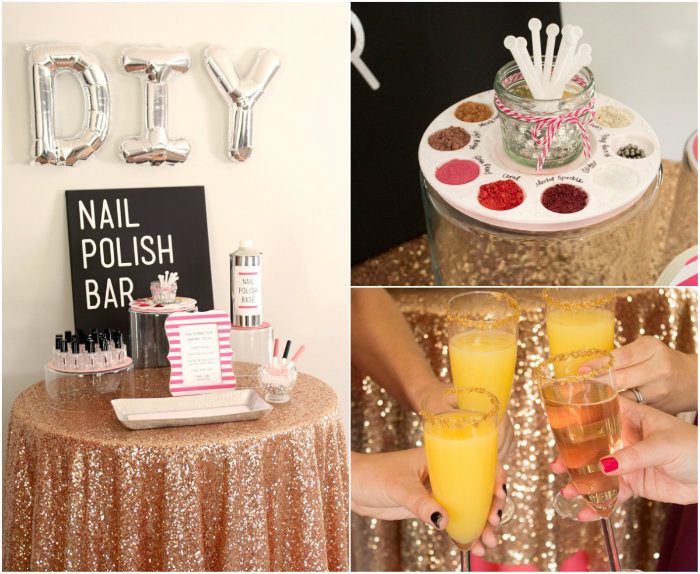 Jen of Something Turquoise threw a beautiful, sparkly Nail Polish Party, complete with mimosas.
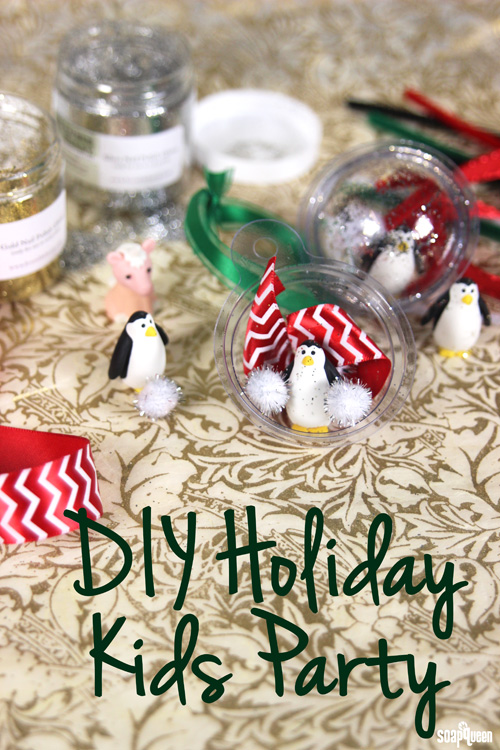
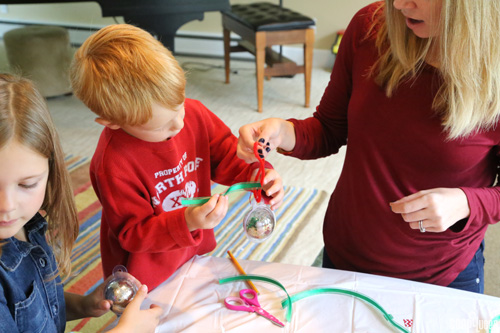
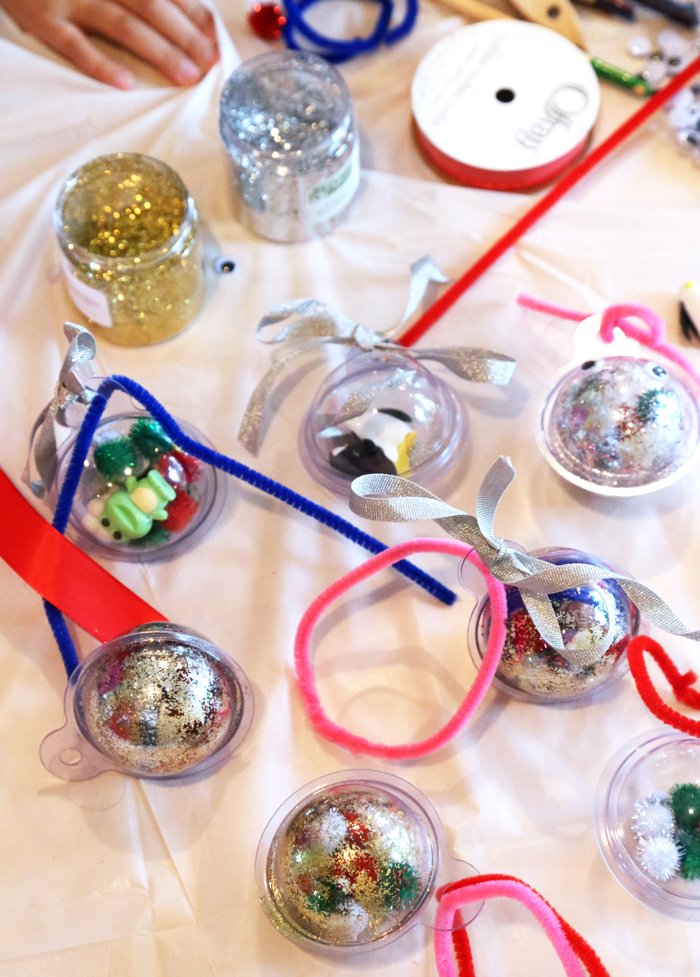
After hosting a few of these parties for family and friends, of course I had to host a party for the kiddos. We kept things mess-free by making DIY Ornaments with the Bath Bomb Mold and Package; click here to see all the details and instructions. The project really couldn’t be easier. Lay out an array of craft materials (with a protective cover for your table for easy cleanup), and let the kids fill their mold with glitter, ribbons, pom-poms, pipe cleaners, and little toys like the Black and White Penguin Erasers. I found that the kids did need some help putting the mold together, but were able to do just about everything else by themselves. Of course this will vary depending on the age range. =)
Ready to party? I’ve compiled some of my “go-to” tips below. Throwing a craft party isn’t hard, but it’s important to do some thorough prepping! You’ll thank yourself later. After all, you want to be able to enjoy the party too!

- Choose an “easy” project. Everybody has a different idea of easy, but I think it’s safe to say cold process soap would be intimidating for more guests.
- The fewer guests you have, the more difficult the project can be. If you’re only having over a few friends, cold process soap might actually be doable! It all depends on what they are comfortable with, and how much attention you’d like to commit to giving each guest. Cold process soap, for example, would require lots of hand-holding if it’s their first time making it.
- If your project of choice requires heat (like melt and pour or lip balm) consider the logistics carefully. Most likely, you only have one microwave. If you have a lot of guests, that area will get pretty crowded, and people will be waiting to use it.
- If you are loving the idea of melt and pour, melting all the base ahead of time in a large double-boiler or crock pot is a great way to avoid microwave backup. That way, guests can ladle out the melted soap into their bowl to customize further. You can also use this method for lip balm base.
- Have plenty of clean-up materials. Crafting can get a little bit messy! This means have paper towels and wet wipes on standby.
- If you’re hosting a nail polish party, I recommend stocking up on a bottle or two of nail polish remover. You may also consider covering the crafting surface with a tablecloth that you don’t mind if it gets ruined (the dollar store/Goodwill will have one!) or crafting paper.
- At the beginning of the party, give a mini demo of how to do the project. This will help guests feel more confident when making their project.
- Have a few printed instructions sheets nearby for guests to look at. Even with a demo, guests may a little lost during the process. Having step-by-step instructions to refer to is helpful.
- If the project requires mixing together specific amounts of individual ingredients (like a scrub), make sure to also have a printed recipe nearby for guests to refer to.
- Once you figure out how many “tools” you need to create the project (spoons, spatulas, droppers, mini scoops, etc.), get extra. Doubling the amount of tools may be a little extreme, but you’ll probably need more than you think. Having extra on standby means you won’t have to worry about it during the party.
- If you provide labels for the projects, don’t forget scissors and pens for guests to cut out the labels and create a name for their project. You could always cut them out ahead of time, but I recommend letting your guests do it. Cutting out tons of labels can be time consuming, and it just gives your guests another way to put their finishing touch on the final product.
Have you thrown a holiday craft party? I would love to hear about what you made, and if you have any tips!
