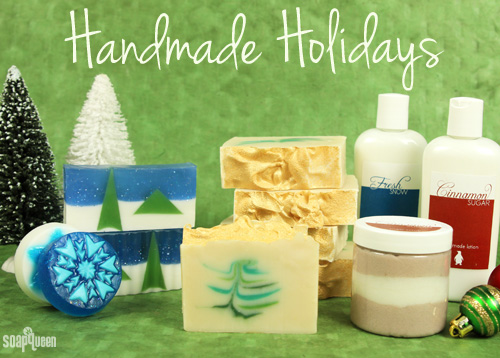
 The past two weeks, the holidays came early with a series of festive projects and tutorials. Even though the holidays seem far away, making handmade gifts takes a lot of time and planning. This is the year to plan ahead and have a stress-free, handmade holiday!
[Read more…]
Snowy Forest Melt and Pour
Preparing handmade holiday gifts requires a little bit of planning. That’s why Soap Queen holiday projects have come early this year! This modern holiday melt and pour project features festive layers and embeds to create a snowy forest landscape. With glitter and the piney Christmas Forest Fragrance Oil, this soap is the perfect holiday gift.
When making melt and pour soap in advance, it’s important to store and wrap it properly in order to keep it in tip-top shape. This Packaging Soap Queen Tv Episode shows you how to protect your melt and pour from glycerin dew (aka: sweating) and fading. Storing your melt and pour in a dry, cool place also helps extend the life of your creations.

Ready to kick off your holiday crafting? Now until September 18th at noon, PST, all fragrance oils are 20% off! Use the code: SAVESCENTS during checkout.
[Read more…]
Soap Queen Cuisine: Chocolate Chai Tea Mix
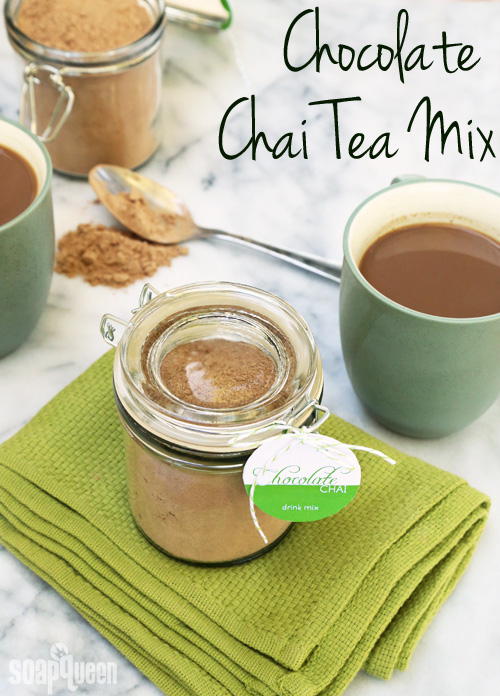 On a cold day or night, there is little better than snuggling up on the couch with a book and a warm drink. Sweet, spicy and o’ so comforting, chai is a favorite treat of mine during fall and winter. Unfortunately chai can be expensive, and chai tea lattes contain a lot of sugar (a Starbucks chai tea latte packs in 42 grams!). Luckily, recreating chai tea lattes at home is easy. Made with a combination of milk powder, spices and instant tea, this chocolate chai mix cuts back on the sugar content while saving money.
[Read more…]
Handmade Holiday Kits (only 106 days ’til Christmas)
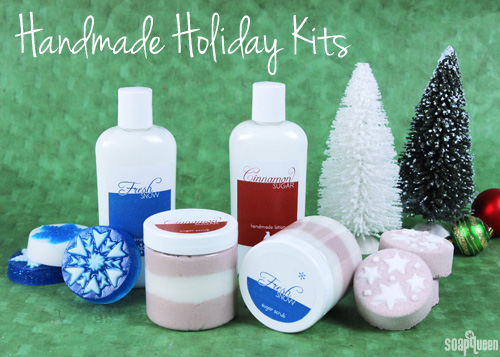
The holidays may seem far away, but they will be here before you know it. If you plan on creating homemade gifts for family, friends and loved ones, now is the time to get started. Crafting gifts early cuts down on stress and makes the holiday season more enjoyable. With a little preparation, this will be the year for a handmade holiday!
Give the Gift of Givember
The season of gift-giving, present wrapping and stocking stuffing has arrived. This season, we’re taking the frantic trips to the mall, weaving through department store crowds and standing in never ending lines out of the holiday gift-giving equation. Instead why not give gifts that are not only fun to give, but fun to make too?
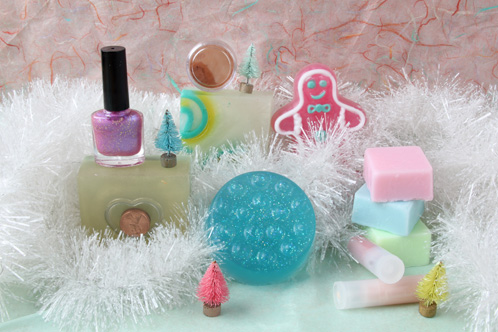
This is just a taste of the kinds of projects we’ll show you how to create for Givember 2013. From left to right: Surprise Embed Melt and Pour, Sugar Plum Nail Polish, Jelly Roll Melt and Pour, Copper Sparkle Eye Shadow, Loofah Massage Melt and Pour, Candied Gingerbread Man Melt and Pour, Santa’s Sugar Cubes and Sweet Winter Clementine Lip Balm
From November 4 through 15, we’ll show you 25 fantastically festive projects that make great gifts and stocking stuffers as part of Givember 2013. We’ll show you several tutorials per day through our various social media outlets, so check in often for the latest tutorial.
We’ve included a wide range of goodies, from how to make mineral make-up to lip balms and of course, lots of fun soaps! Along with the tutorials, look out for special Mid-Week Mayhem coupons with exclusive offers and deals. These coupons are good for just 24 hours, so keep a close eye on our Facebook, Instagram, Vine, Tumblr, Twitter, and Pinterest accounts, the Bramble Berry homepage, and of course, the Soap Queen Blog.
Our newsletter subscribers will receive bonus tutorials and be the first to know about all the deals and coupons, so if you aren’t signed up already, head over to Bramble Berry and enter your email address on the right hand side. Don’t forget to click through the confirmation email to activate your subscription, and be sure to check your spam filter for emails from info(at)brambleberry(dot)com.
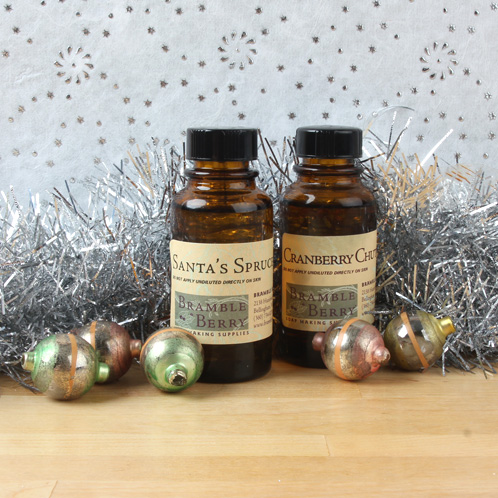
We’ve also chosen two very special fragrances that will be used throughout all 25 projects. The first is Santa’s Spruce Fragrance Oil, which is an intriguing twist on the traditional pine tree scent. It has complex sweet notes which softens this otherwise earthy scent, and it performs wonderfully in cold process soap and other bath & body products. The second fragrance, Cranberry Chutney Fragrance Oil, is sweet and fruity with base notes of warm vanilla spice. It performs well in bath and body products, and discolors to a light golden yellow in cold process.
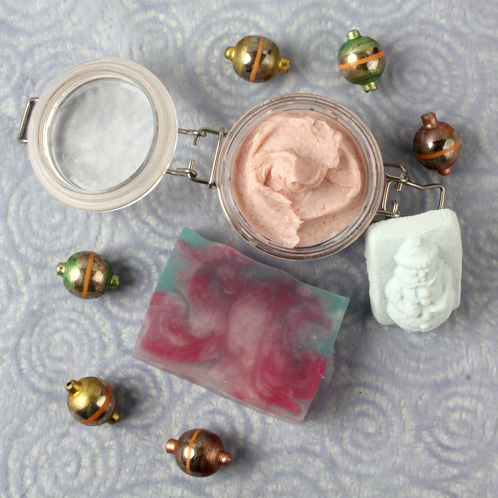
All this fun starts on November 4. Are you ready to give the gift of Givember?
Candy Cane Soap Tutorial
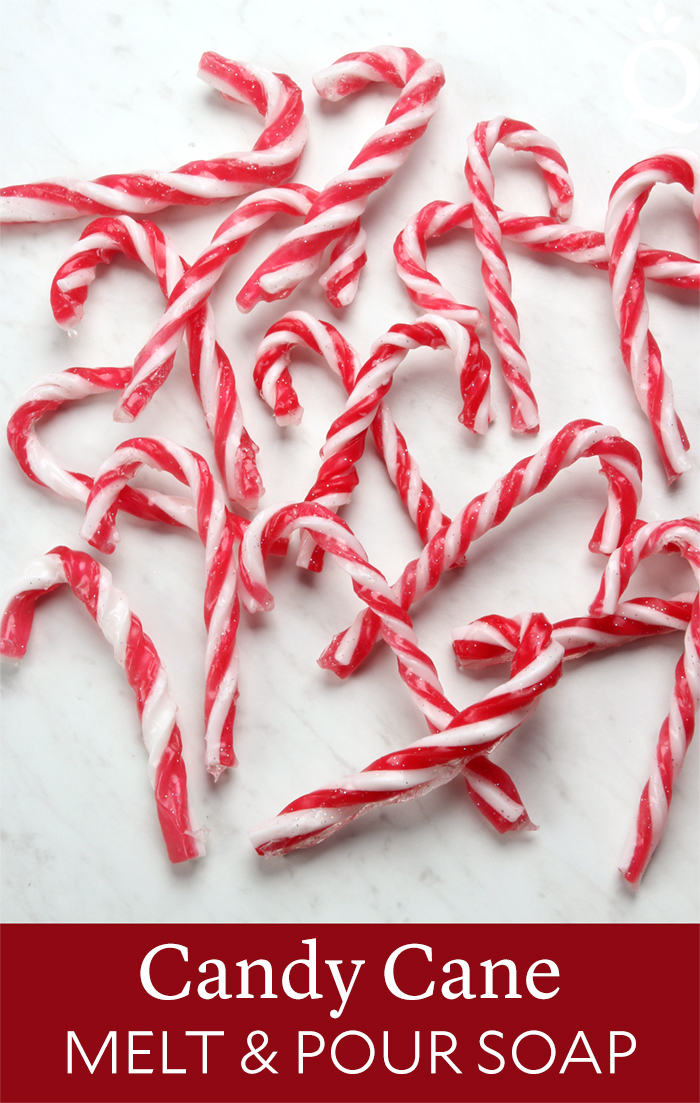
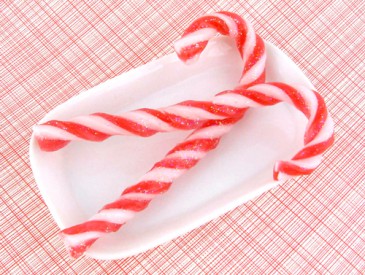
Are you having guests over this Christmas? Sneak these Candy Cane Soaps into the guest bathroom for holiday ambiance. Just tell the little ones not to eat them, they look and smell like the real thing.
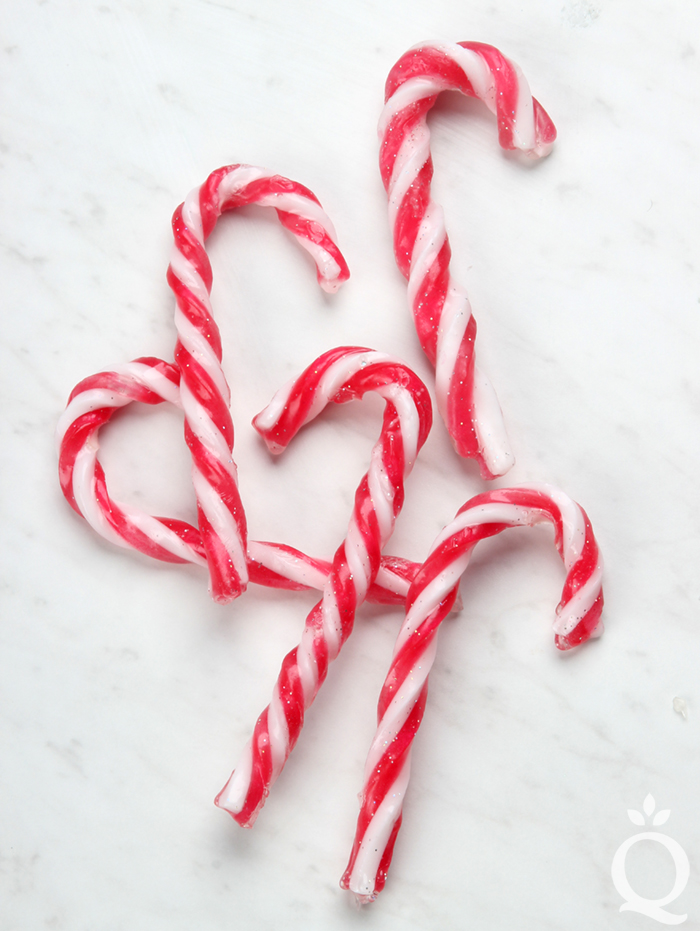
This project involves mixing melt and pour with glycerin to give it a softer, pliable texture. As soon as the soap is cool enough to handle, it’s cut into strips and molded into candy cane shapes. Timing is crucial for this project. Once you pour the soap into the mold, don’t walk away! The cooler and harder the soap, the more difficult it is to mold.
Once you start twisting and molding the candy canes, work quickly. We recommend having a soaping buddy for this process. If the slab of soap becomes too cold, it becomes very difficult to twist the soap without breaking.
6″ Silicone Slab Mold
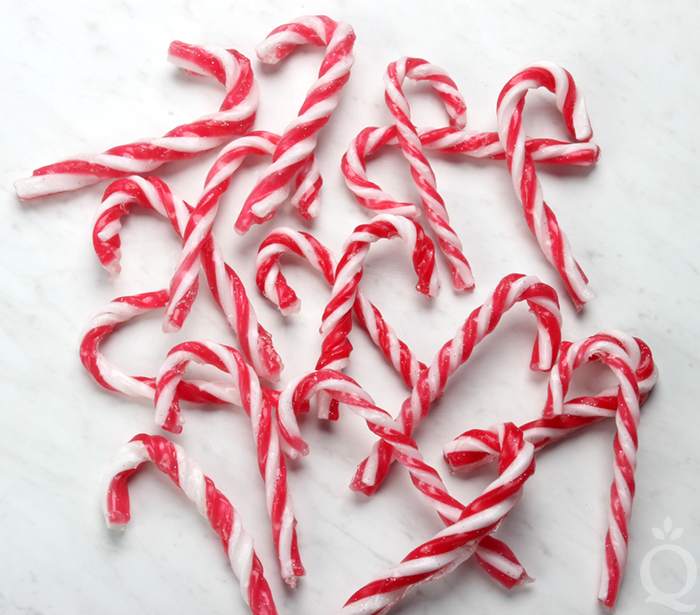

SIX: Once all the candy canes have been twisted, melt 4 ounces of Clear Melt and Pour Soap Base using 10 second bursts. Mix in about 1/4 teaspoon of Fine Silver Rainbow EcoGlitter. Feel free to add more glitter if you prefer. Dip the candy canes in the sparkly soap. Then, you can either lay the soap flat on a silicone mold to dry, or create a “hanging contraption” as shown below to allow the soap to drip off. Allow the soap to fully cool and harden. Enjoy!


- 6" Silicone Slab Mold
- 7 oz. Clear Melt and Pour Soap
- 3 oz. White Melt and Pour Soap
- 2 mL Peppermint Essential Oil
- 1 oz. Liquid Glycerin
- Red Mica
- Fine Silver Rainbow EcoGlitter
- 99% Isopropyl Alcohol in Spray Bottle
- Melt 3 ounces of White Melt and Pour Soap Base in the microwave using 10 second bursts. Add 1 mL of peppermint essential oil and 0.5 ounces of liquid glycerin. Stir together. Pour the soap into the mold and spritz with 99% isopropyl alcohol to eliminate bubbles. Let the layer cool for about 5 minutes. If the soap has a skin on top that can support more soap, it's ready for the next layer.
- Melt 3 ounces of Clear Melt and Pour Base in the microwave using 10 second bursts. Add 1 mL of Peppermint Essential Oil and 0.5 ounces of liquid glycerin. Stir together. Add about 1/16 teaspoon of the Red Mica and mix together. Once the red soap has cooled to 125 degrees F, spritz the white layer of soap with 99% isopropyl alcohol and pour the red soap into the mold. Let the soap cool for about 5 minutes.
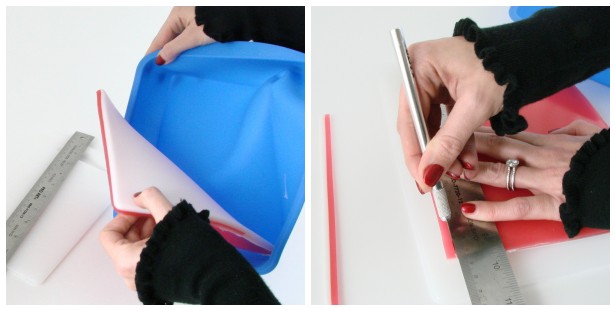
- Once the soap has cooled enough to unmold but is still warm, remove it from the mold and place it on a cutting board. With a craft knife and ruler, cut the soap into thin strips (about ¼ inches or smaller).
- Place two of your freshly cut soap strands on top of each other (so they look like a checkered board) and squish them together as much as possible.
- Gently twist the soap and curl the top so it looks like a candy cane. Timing is very important. You need to work quickly to mold the candy canes while the soap is till pliable. You'll have about 5 minutes to do all of your twisting before the soap gets too hard to be pliable and just breaks in your hands.
- Once all the candy canes have been twisted, melt 4 ounces of Clear Melt and Pour Soap Base and mix in about ¼ teaspoon of Fine Silver Rainbow EcoGlitter. Feel free to add more glitter if you prefer. Dip the candy canes in the sparkly soap. Then, you can either lay the soap flat on a silicone mold to dry, or create a "hanging contraption" to allow the soap to drip off.

