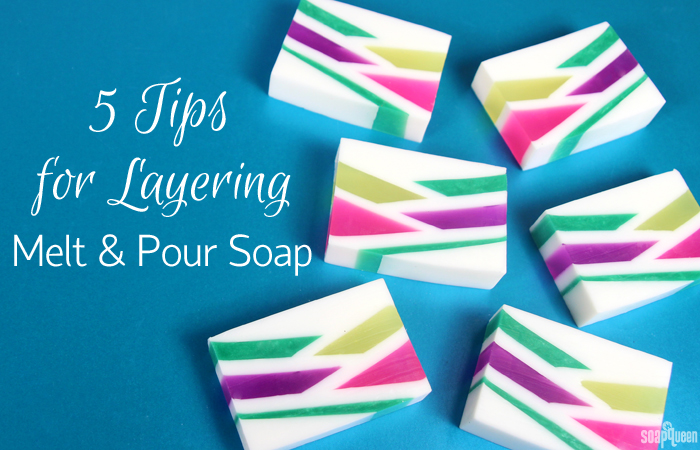
Last week, I shared 5 Tips for Swirling Cold Process Soap. Swirls are possible with melt and pour, but can be a bit tricky because the soap hardens quickly as it cools. Swirls in melt and pour soap end up looking much different than in cold process soap. You can read more about my tips for swirling melt and pour here. Right now, I’m playing with the Stephenson Suspension Melt & Pour base to create swirls in melt and pour so be sure to watch my Snapchat stories (bramble-berry) to follow along over the next few weeks with that project. But for now, let’s move to layering.
While melt and pour can’t swirl quite like cold process can, melt and pour can create extremely clean and straight layers. Because melt and pour soap cools quickly, you can wait for the soap to completely harden before pouring the next layer. This prevents the top layer from breaking through to the bottom, which is easy to do in cold process soap. Creating layers with melt and pour soap takes a little patience and a little practice. Below are my top five tips for creating layered creations in melt and pour soap.
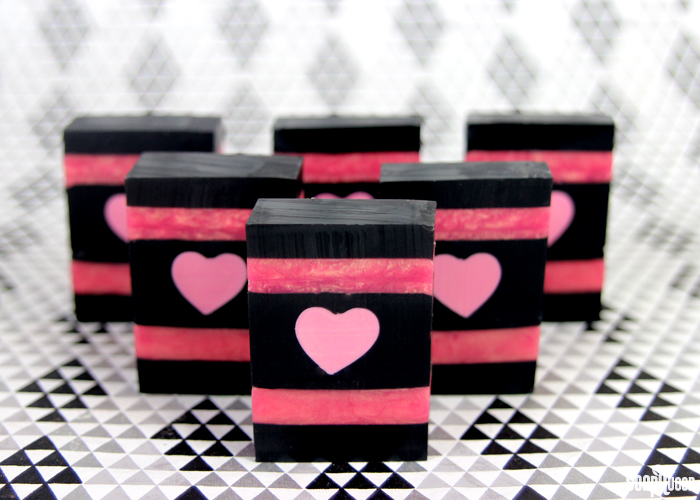 Melt and pour creates clean layers in the Rose Gold & Charcoal Heart Melt and Pour Soap.
It’s All About Temperature!
With melt and pour soap, temperature is key. Melt and pour begins to melt around 120-125 ° F. When pouring layers, it’s crucial that the top layer is not too hot or it will melt the soap below. Make sure that the top layer has cooled to 125 ° F or below before pouring. Because temperature is so important, I recommend investing in an infrared thermometer for more layered melt and pour projects.
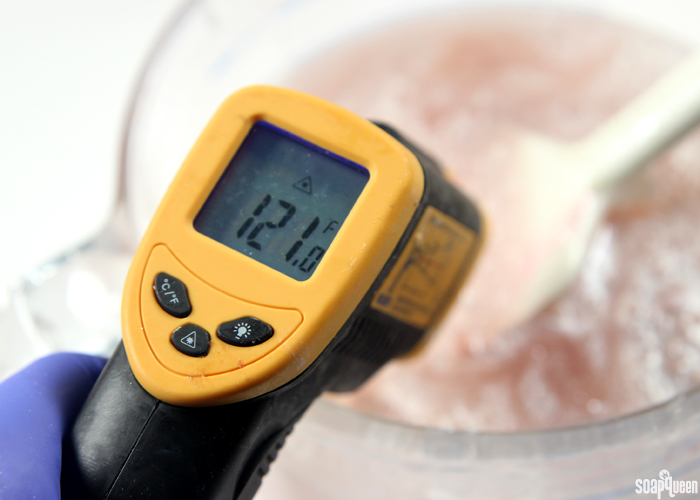 If the top layer is too hot, it will melt and layer below. Always allow it to cool before pouring!
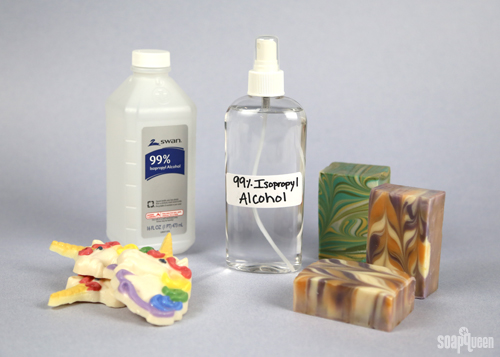 The two most common types of alcohol are isopropyl alcohol and ethyl alcohol. The basic difference between the two is that ethyl alcohol is commonly used for consumption, while isopropyl alcohol is used for topical application. Isopropyl alcohol is not safe for consumption.