Today is the third tutorial in the Back to Basics Cold Process Series. The first two projects were designed to give you a “feel” for soaping, and did not feature color or any complex design elements. Now, we are ready to work with color, thick trace and gel phase! The Back to Basics Soapmaking Kit includes all the soaping ingredients you need to create all four recipes in this series, including the 10″ Silicone Loaf Mold. Now, let’s get soaping!
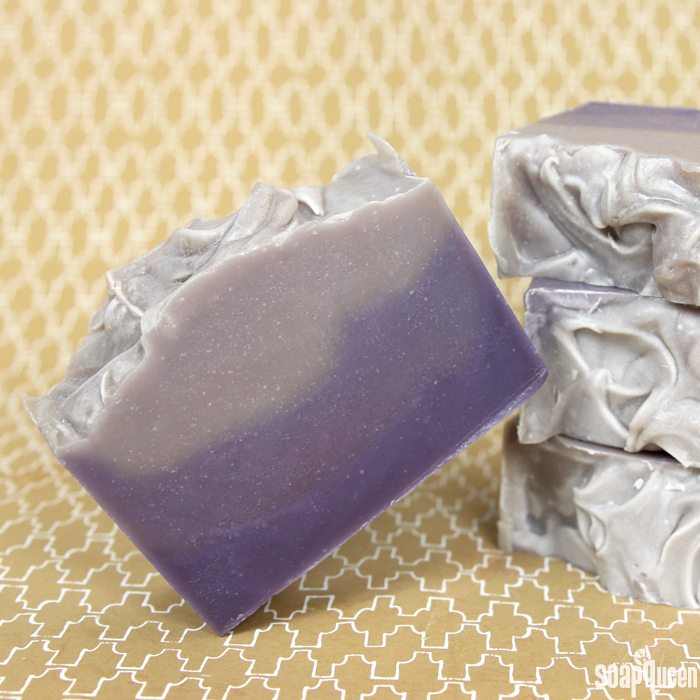
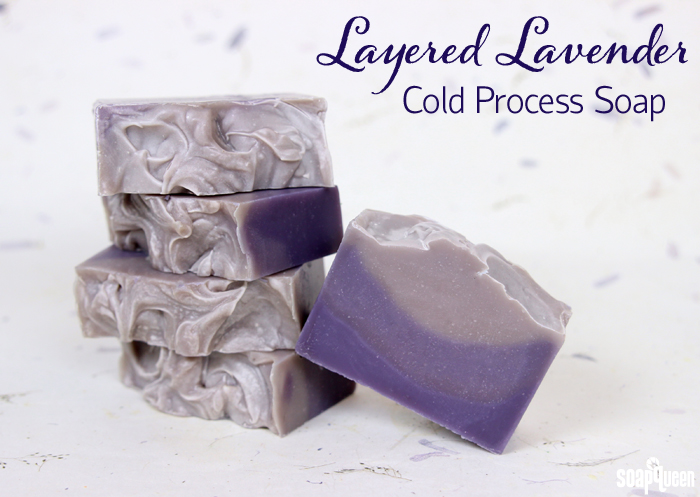
Basic layers are a fantastic design option for the beginner soaper. To make sure layers don’t blend together, the bottom layers of soap need to be thicker than the top layers. This Layered Lavender Cold Process Soap works with thick trace to ensure the layers stay separate. Thick trace soap has a texture similar to pudding, and holds its shape. To help give the soap its thick texture, this project uses Lavender & Cedar Fragrance Oil, which accelerates very slightly. To learn more about trace, check out the All About the Trace blog post.
In addition, this project uses LabColors to give the layers a purple ombre effect. LabColors are highly concentrated liquid dyes. In order to be used in water based projects, they first must be diluted in distilled water. Click here to learn more about LabColors, and how to dilute them. LabColors become more vibrant when the soap goes through gel phase. Gel phase refers to the part of the saponification process where the soap gets warm and gelatinous. Gelled soap looks slightly more transluscent and shiny than non-gelled soap. Click here to read more about gel phase, and see how gel phase affects LabColors.


