Domino Lip Balm
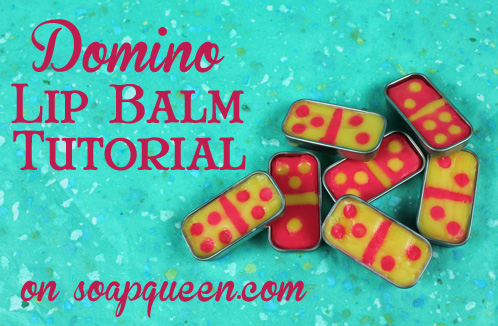
These fun and fruity lip balms are great for those who love the classic game of Dominoes. We are personally big fans of Trains (sometimes referred to as ‘Mexican Trains’) in this household. By manipulating hardened lip balm base, I was able to create a fun polka-dotty look with a tropical twist. Read on to learn how to create these adorable and yummy-tasting lip balms.
Recipe:
Drinking Straw
Click here to add everything you need for this project to your Bramble Berry shopping cart! [Read more…]
Matte Finish Nail Polish Tutorial
Creating our own nail polish has become all the rage for Team Bramble Berry and we can’t get enough of playing around with our Suspending Nail Polish Base. We’ve done everything from basic colors to scented nail polish. Have any questions about making your own nail polish? Check out Talk it Out Tuesday all about customizing nail polishes. For this tutorial, I’m trying out a cool effect I came across while surfing Pinterest last week. Matte nail polishes are all the rage, and the addition of a special ingredient – cornstarch – can take your polish from glossy to glam.

Ingredients:
Cornstarch
4 oz Suspending Nail Polish Base
10-15 Nail Polish Mixing Balls
Click here to add everything you need for this project (except for the cornstarch) to your Bramble Berry shopping cart! [Read more…]
How to Make Nail Polish Video
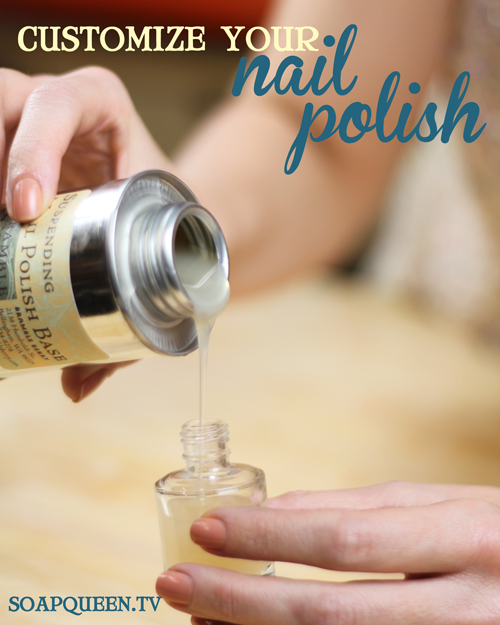
Our Nail Polish base has been such a popular item at Bramble Berry but it can be a little tricky to use. So I made this Soap Queen Short video to show how easy it is to make your own custom nail polish. I’m excited to point out that we now have mini nail polish bottles at Bramble Berry so you can create a full spectrum of color options from one little 4 oz can of base!
To make the nail polish in this video you will need:
- Nail Polish Base
- Heavy Metal Gold Mica
- Super Pearly White Mica
- Nail Polish Bottle
- Nail Polish Mixing Balls
- Tiny Funnels
- Mini Scoops
 Click Here to add everything you need to make this project to your Bramble Berry shopping cart.
Embedded Heart Melt and Pour Tutorial
As we head full swing into February, love is in the air. Here’s an adorable melt and pour project that is great for practicing layers and embedding. I used a unique trick to get these heart cut-outs to sit up on their sides. Read on and try not to fall in love with this soap.

Recipe:
55 oz. Clear Melt and Pour Soap Base
Super Pearly White Color Block
Mango Peach Salsa Fragrance Oil
Glossy Silicone Square Tray Mold
Silicone Loaf Mold
Click here to add everything you need for this project to your Bramble Berry shopping cart! [Read more…]
Hot Process Series: CPOP Swirls
Ever wondered what the difference is between CPOP, HPOP, and CPHP? I’m hoping to set the record straight when it comes to various methods of using heat to aid in the soapmaking process. Or, at the very least, I’ve set out to tell my own accounts of what happens when I attempt these different methods. First, let’s take a look at CPOP.
CPOP: Cold Process Oven Process. Basically, CPOP is forcing a hot, extended gel phase with the help of an oven. Gel phase is temperature phase. After soap is in the mold, the process of saponification can cause the soap to heat up. Gel phase is beneficial to soap because it can intensify colors in the soap. Professor Kevin M. Dunn, author of Caveman Chemistry and Scientific Soapmaking, mentions that heat and gel phases also speeds along the saponification process. However, not going through gel phase doesn’t detract from soap in any way. In fact, some soapers prefer the matte look of soap that has NOT gelled, or gone through gel phase, and take special steps to prevent gel phase. The warmest part is in the center of the soap (the most insulated section), which is where gel phase starts. Insulating soap after molding will also promote gel phase, although CPOP will pretty much guarantee a full gel (as opposed to a partial gel, which can appear as a dark ring in the center of your soap). Cooling the soap as quickly as possible will deter gel phase from happening, which is why some soapers put their soap into the fridge or freezer directly after molding. To gel or not to gel is a matter of personal preference, but CPOP is all about the gel phase, baby! There’s a Q & A at the end of the tutorial for commonly asked questions.
Click here to tweet this tutorial!

Finding the Perfect Purple
Recently my good friend, Cealleigh, married the love of her life in a beautiful ceremony that took place in a gazebo overlooking a pristine California beach. I was honored to act as her Matron of Honor, and possibly even more excited when she asked me to create the favors for her reception! Cealleigh loves orchids and took cues from their colors for every facet of her wedding decor. She had the idea for some purple soap embedded in opaque soap for the favors, and I embarked on the journey to find the perfect hue for her soaps!
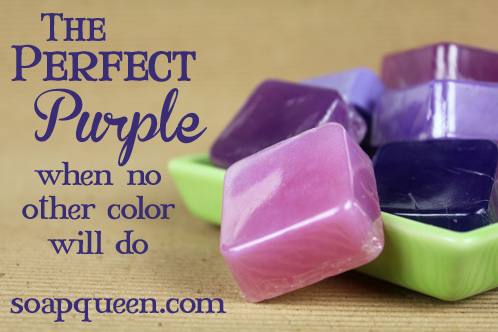
As I experimented with the hue I loved the range I was able to achieve, from deep blue-purples to lighter red-violets using all from Bramble Berry’s oxides and micas. [Read more…]
Making Scented Nail Polish
One of the things I love about making Nail Polish from scratch is the instant gratification factor. It’s ready as soon as it’s made! If I decide I’d like a quick custom color for date night tonight, boom. Done. And so much fun to experiment with different colors and color blends. The addition of a favorite scent makes for an unexpected twist on a classic cosmetic.
Fall Sweater Stripes Soap Tutorial
I’ve just added a new board to my Pinterest page: Color Inspiration! How did I go so long without this board? And have you seen the array of color palettes that are out there? Whoa. Inspiration overload. One of my favorite go-to sites for all things color is Design Seeds, and recently there was a color story posted that reminded me of a comfy and cozy fall sweater. Of course, my next train of thought was to turn it into soap, and what better way to use Bramble Berry’s newest fragrance, Cranberry Chutney?

Sunset Over the Water by Lovin’ Soap
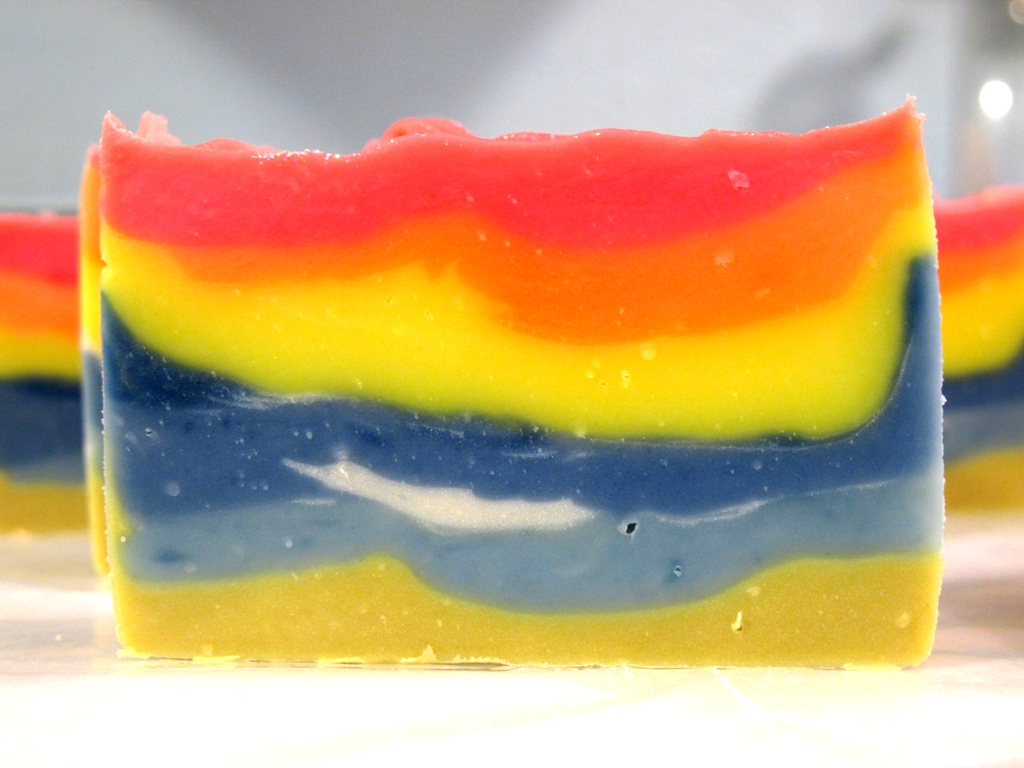
Check out this great cold process tutorial featuring Bramble Berry’s neon colorants layered to look like a gorgeous ocean sunset. Here’s Amanda with the how-to! -Anne-Marie
Sunset over the water
By Amanda Griffin
The recipe:
Sweet Almond Oil – 5 oz.
Avocado Oil – 5 oz.
Castor Oil – 4 oz.
Rice Bran Oil – 5 oz.
Olive Oil – 18 oz.
Shea Butter – 5 oz
Coconut Oil – 18 oz
Water – 12 oz (I did a discount since I have all of the soft oils)
Lye – 8.4 oz
Colorants: Fired up Fuchsia, Tangerine Wow!, Fizzy Lemonade, Blue Mix LabColor, Ultraviolet Blue, Cappuccino Mica, Super Pearly White Mica
Mold: Wood Mold with Silicone Liner
Fragrance: Energy and Moroccan Mint.
Buy everything you need for this project with the click of a button! [Read more…]
A Palm Free In-The-Pot Swirl
Despite our recent weeks of summer fun, fall is definitely in the air in the Pacific Northwest. I’m ready to leap into fall with this seasonal color palette and in-the-pot swirl soap. Check this out if you’ve been on the hunt for a great palm-free recipe, and check out another palm free recipe here and here. This recipe turns out super hard and the bubbles are medium in size with an easy rinse-off.
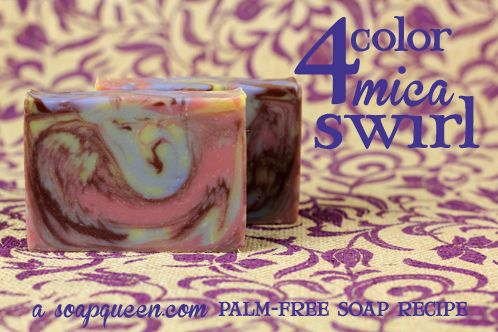
20.0 oz Coconut Oil
40.0 oz Rice Bran Oil
8.3 oz Sodium Hydroxide (Lye)
19.8 oz Distilled Water
3.5 oz Earl Grey Lemon Fragrance Oil
3 teaspoons Merlot Mica
2 teaspoons Super Pearly White
1 teaspoon Cellini Blue Mica
1 teaspoon Cellini Yellow Mica
1 teaspoon Cappuccino Mica
2 tablespoons Sweet Almond Oil
5 Pound Wood Mold with Sliding Bottom
Buy everything you need for this project with the click of a button!
For more tactile learners, this tutorial is available in our Etsy shop! Get your hands on printed instructions and a bar of soap and learn to make this palm-free soap here. [Read more…]
Circle Swirled Soap in Column Mold
Today we’re launching our latest mold (drum roll), the Heavy Duty Column mold! To celebrate it’s debut, I’ve got a fun and fabulous tutorial that is a twist on the Faux Funnel Pour technique. This is a great recipe for an alternative to Olive Oil, for those late night soaping adventures where you realize you’re just short of an ingredient and it’s too late to hit up the store (anyone else been there? anyone?). Using contrasting colors in unexpected hues and a bright and fresh fragrance oil blend, I’m hoping you like this recipe as much as I do.

Cold Process and Customer Service!
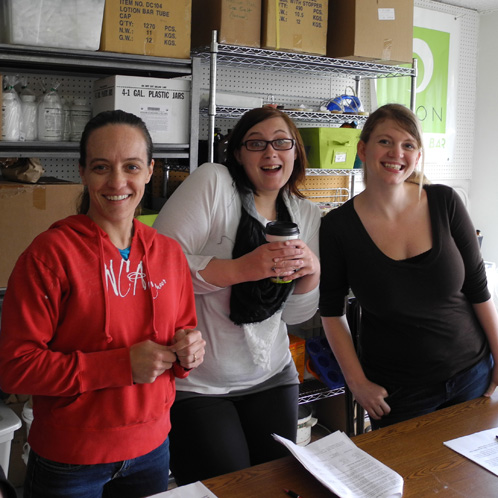
Last week Bramble Berry’s fabulous customer service team was able to take a soaping class with the soaperrific Kat at Otion (Bramble Berry’s retail store). They made a fun and simple cold process recipe while having a great time as a team. Check it out!
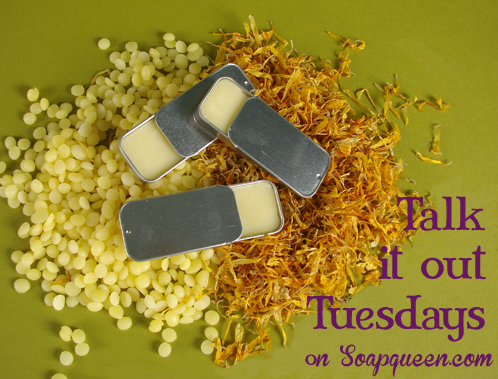
Talk It Out Tuesday: Lip Balm
Guess what day it is? Yep! It’s Talk It Out Tuesday (you can check out previous TIOT’s on melt and pour, preservatives, colorants, bath bombs and our most recent one on lotions)! This is a fun topic because lip balm are a blast to make and use. Read on to find the answers to many of Bramble Berry’s frequently asked questions. If there is anything I didn’t cover, feel free to ask your questions in the comment section. Or if you want to get started right this very second, check out our Lip Balm Quick Start Guide on the Bramble Berry Website.
What is lip balm?
Lip gloss, lip shimmers, lip conditioners, lip sheers, lip balms and lip butters are all very easy and inexpensive to make. Generally, they are a mixture of oils and waxes combined to heal and soothe dry or chapped lips (and sometimes, they provide a bit of color as well). You can create an all-natural mixture using edible essential oils and nourishing vegetable butters or you can get wild and make them sparkly and decadent with micas and flavors. But a word of warning – once you start making your own beautifully hand crafted lip balms, you won’t be able to buy another mediocre, manufactured, tube of low quality oil and wax again. We’re all addicted to our homemade creations here and, it’s a good thing! [Read more…]


