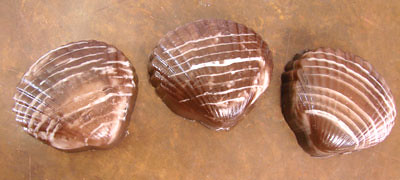
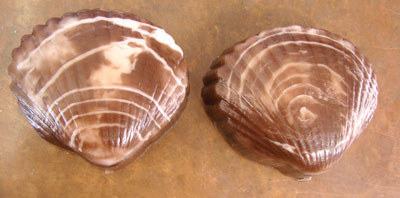
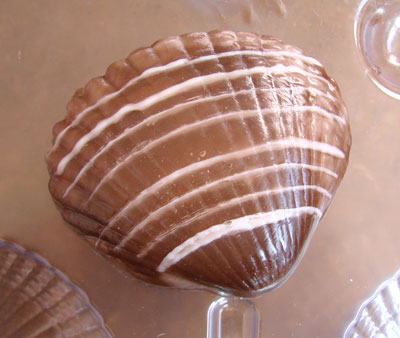
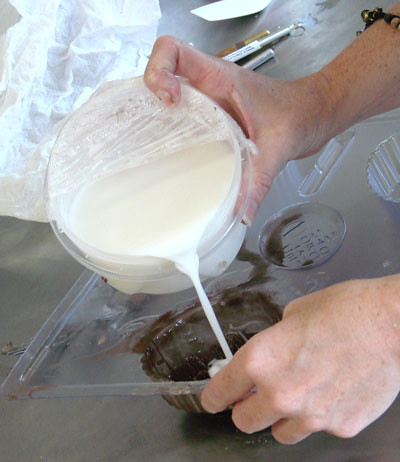
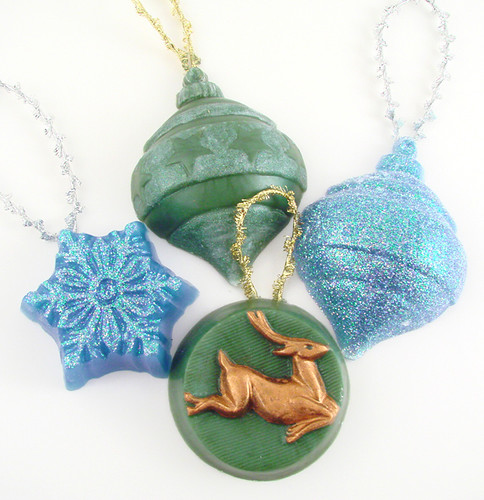
The first part of this tutorial was how to create glittery Ornament soaps. Now I’m going to show you how to add details with your own homemade soap paint. I wouldn’t recommend trying to paint over the glitter, you should choose one technique or the other.
 Soap paint recipe:
2 parts Liquid Soap
1 partClear Melt & Pour Base
1 part Rubbing Alcohol
1 part Mica or Oxide
This recipe is in parts so you can make as much or as little as you like. We used 1/2 teaspoon to measure out our paint. So our recipe was 1/2 tsp. Clear M&P, Rubbing alcohol, and colorant and 1 tsp. liquid soap.
tools:
small heat proof container
paint brush
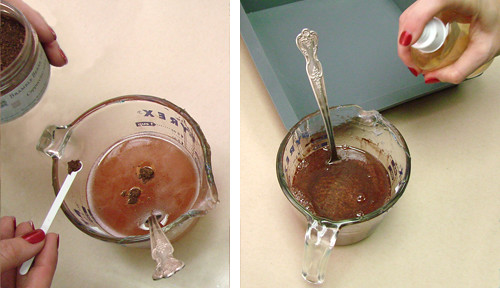
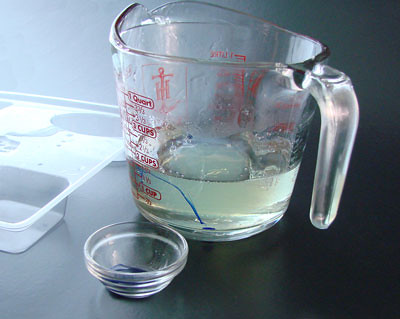
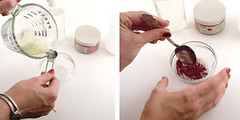 Step 1: Measure out the liquid soap and warm it up briefly in the microwave.
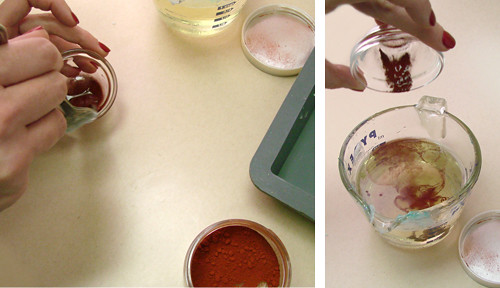
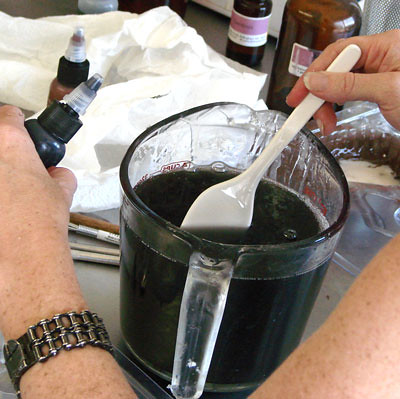
Step 2: Add the rubbing alcohol and colorant and stir to mix well.
Step 3: Add the melted clear melt & pour soap base and stir well.
Hint: If the soap starts to cool down and solidify you can pop it in the microwave to warm it up and make it paintable again. If it gets goopy, mix in a little more rubbing alcohol to help smooth it out.
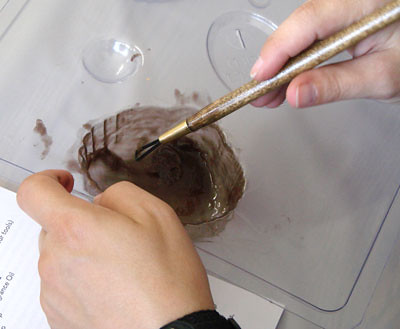
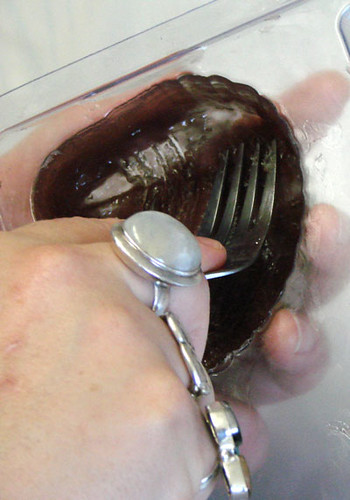
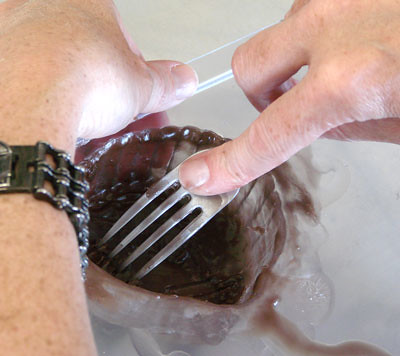
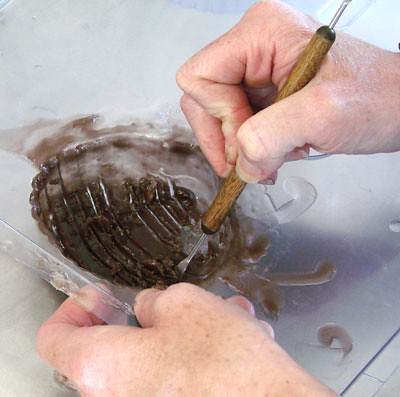
Step 4: Carefully paint your soap ornament. If you paint an area where you don’t want paint, use the carving tool from our melt and pour tool kit to clean it off.
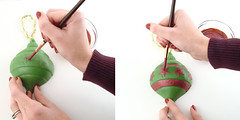 Another Hint: If the paint doesn’t want to stick to your soap, try dusting a little cornstarch over the soap before painting. This gives the soap something to grab onto.
Allow the paint to dry for a day before wrapping in plastic or hanging on your tree. It’s a heavy soap, so pick a sturdy branch. When guests come to visit over the holidays, let them pick their own useful soapy ornament to take home. They’ll think good thoughts about you every time they use their Christmas surprise.
