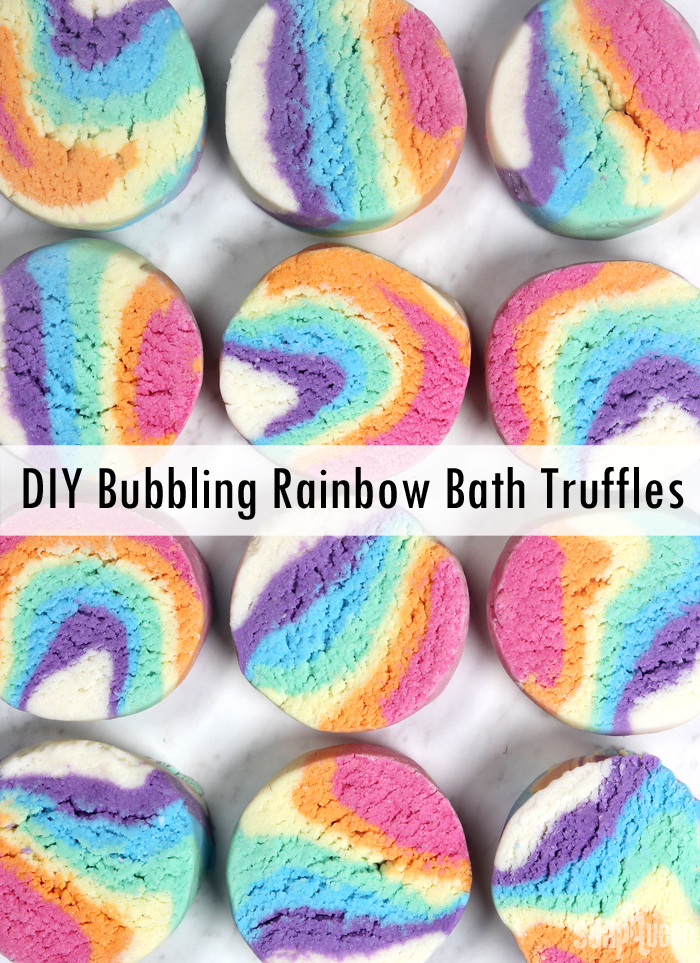
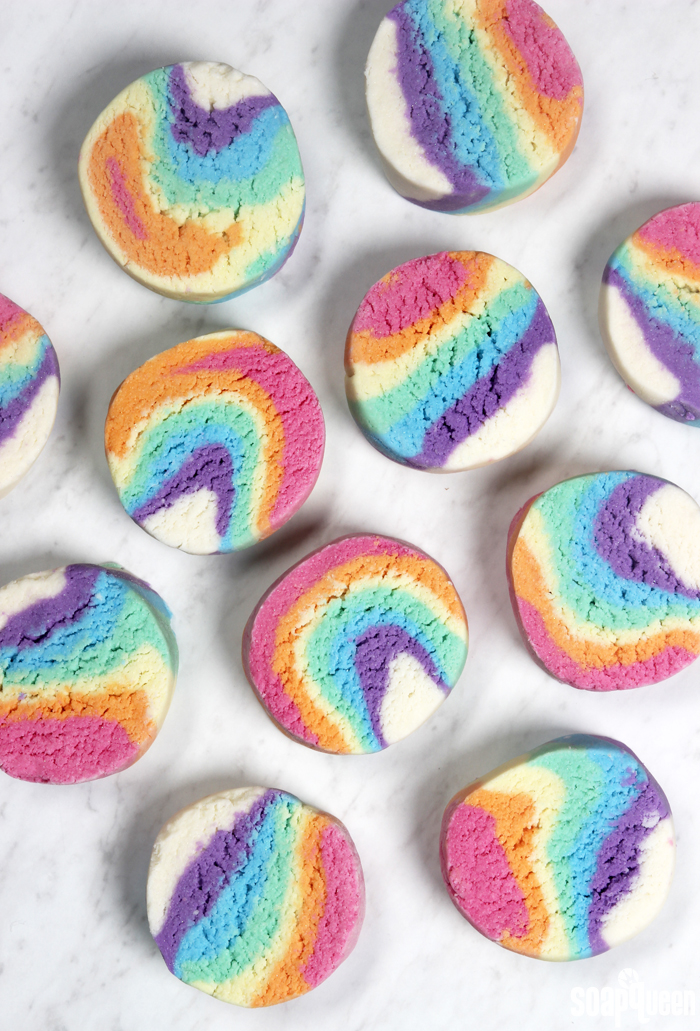
With St. Patrick’s Day a couple weeks away, I’ve been itching to make a rainbow-inspired project. Thus, Rainbow Bubbling Bath Truffles were born. The bars aren’t quite a bath bomb, bath melt, or bubble bar – they are a little bit of everything! The combination of sodium bicarbonate (baking soda) and citric acid creates a mild fizzing reaction. The addition of SLSA creates bubbles, while cocoa butter cubes and shea butter add moisture to the tub. The new Fruity Fusion Fragrance Oil gives the bath truffles a fruity scent, which smells delicious combined from the chocolatey smell from the cocoa butter. They smell a lot like chocolate covered gummies – yum!
When added to the tub, the bath truffles fall to the bottom because the butters make them quite heavy. Slowly, they start to fizz and disperse the skin-loving ingredients. If you want to activate the bubbles, hold the bar directly under the faucet once the tub is almost full. Break up small pieces of the bar in the running water. You can also place the bar into a fine mesh strainer and hold the strainer under the faucet to help activate the bubbles as well. The bubbles are modest because of the butter, but still cover the surface of the tub. If you’re looking for more bubbles, less fizz and less moisture in the tub, a more traditional solid bubble bar recipe (like the LoveSpell Solid Bubble Bath DIY) may be a better fit.
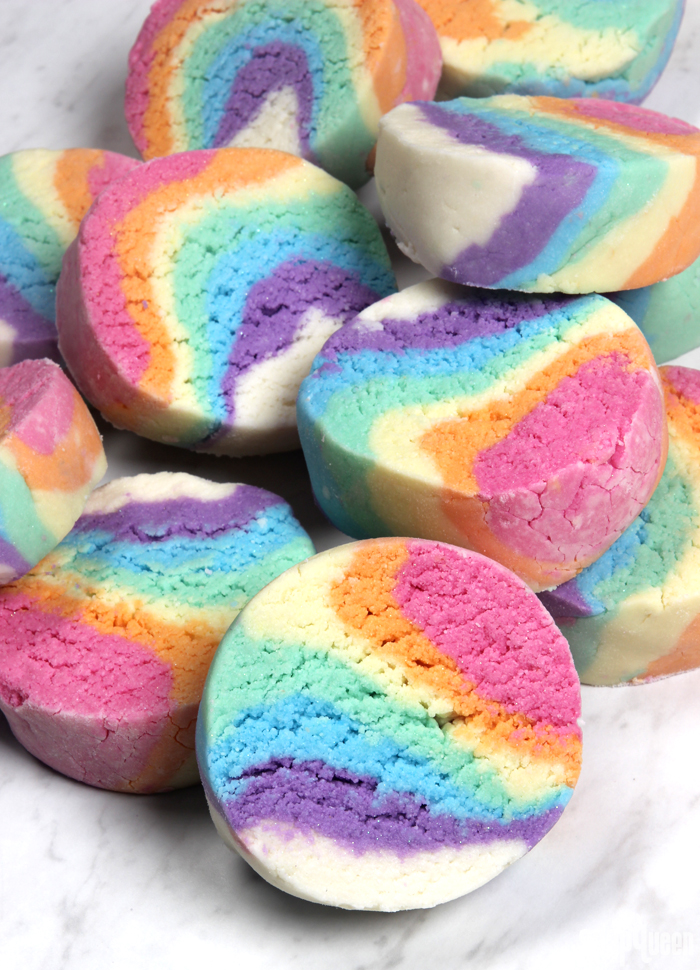
Typical solid bubble bath recipes can take a week or more to become firm. That’s because most of the moisture in solid bubble bath recipes comes from glycerin. One of the great things about this Bubbling Bath Truffle recipe is the bars harden within a few hours. The moisture in this recipe comes from shea and cocoa butter, rather than glycerin. Once the butters are completely cool, the bath truffles become firm. In our tests, this took about 3 hours. A small amount of glycerin makes the mixture slightly more moldable, and polysorbate 80 disperses the butters in the bath water.
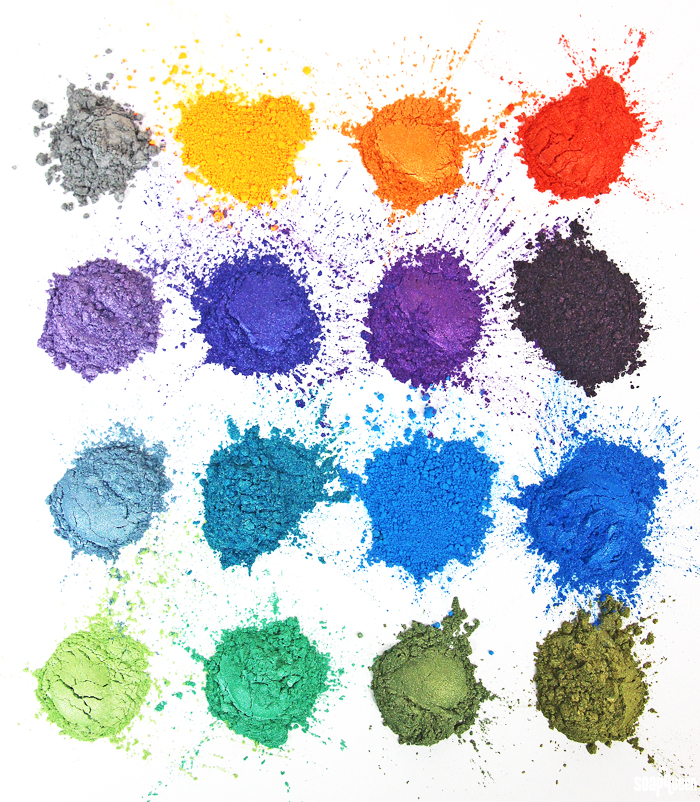
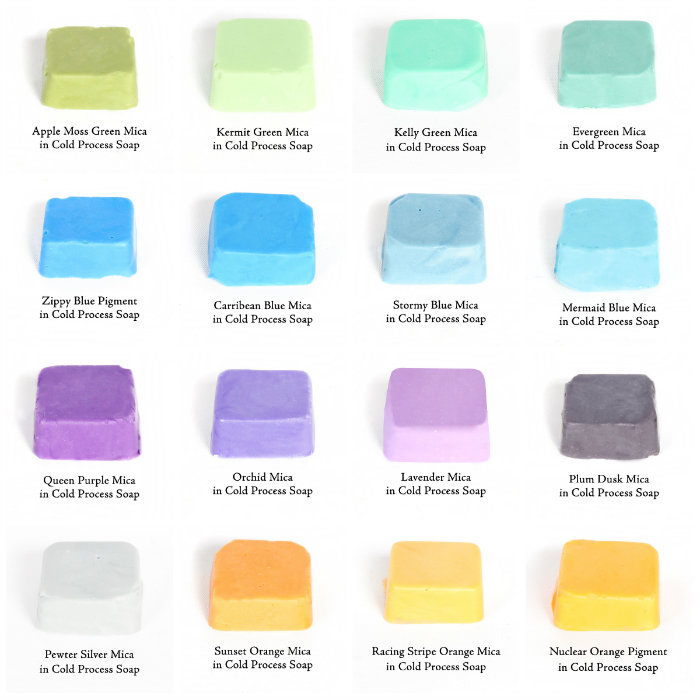
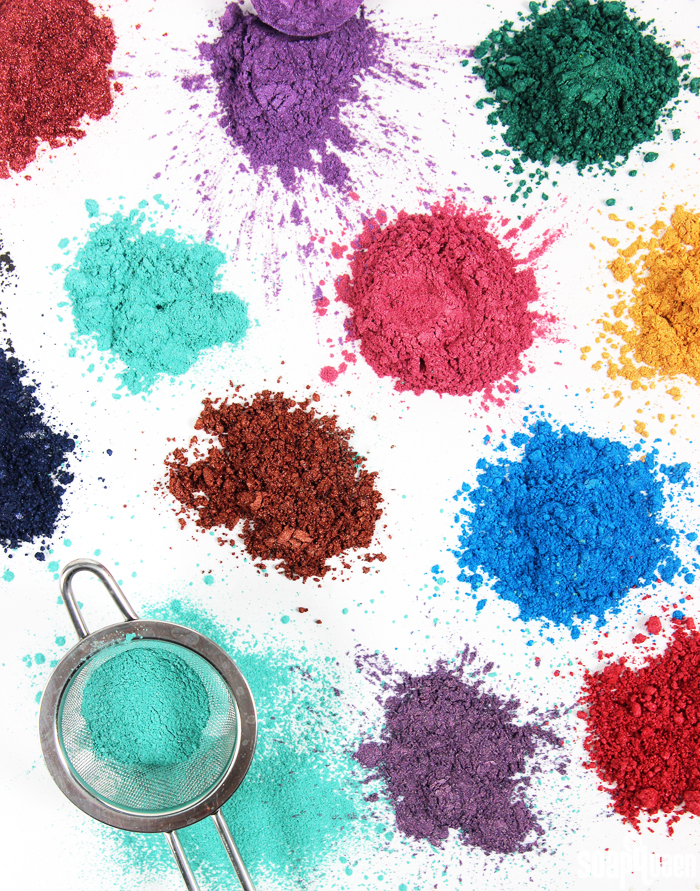
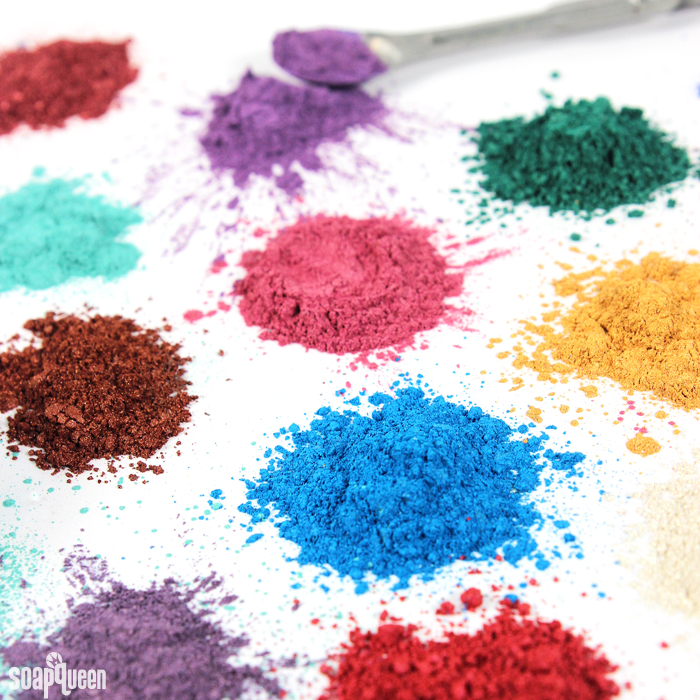
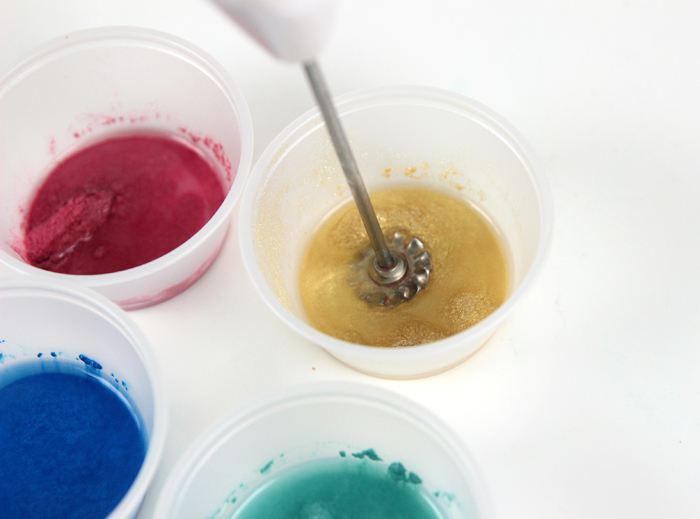
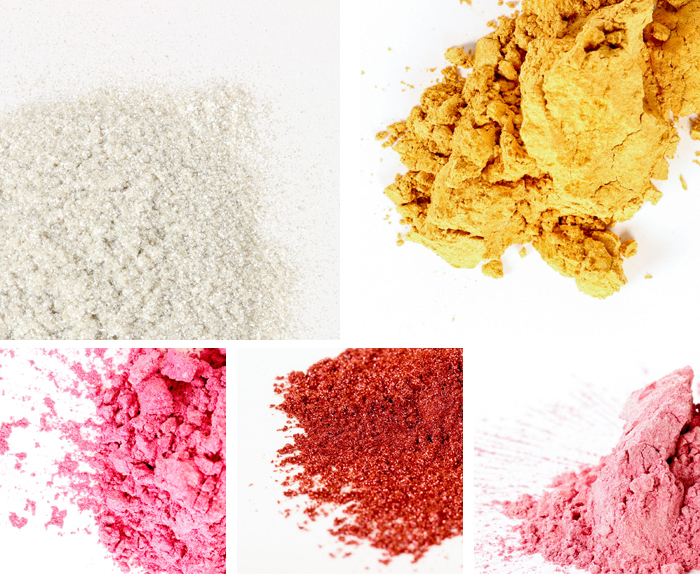
While these bars are extremely vibrant thanks to micas, we found the colors don’t transfer on the tub. Polysorbate 80 prevents the colors from clumping up in the bath water. All the colors in this project can be found in the Rainbow Mica Sampler Pack. You can also use La Bomb Colorants. Oxides and pigments are not recommended. They are larger than micas, which make them harder to mix in and could transfer color to the tub or your skin.
Testing and Recipe Notes –
These bath truffles took several trial and error batches – four to be exact. The first batch was placed in the Heavy Duty Column Mold and allowed to harden in the mold for a few hours. The final bars were an even circular shape; little did we know it was beginner’s luck! The problem with that batch? It was so hard to get the log out of the mold. The mixture expanded, making the liner really difficult to slide out. The bars also didn’t create many bubbles in the tub.
They looked great, but were difficult to make and didn’t behave like we wanted them to. After we tweaked the recipe to create more bubbles, we ran into the problem of the bars sticking to the liner. They were still hard to remove from the mold. You can see the sad third batch of bath truffles below. They stuck to the liner, and were also crumbly when cut. The crumbles still worked well in the tub though!
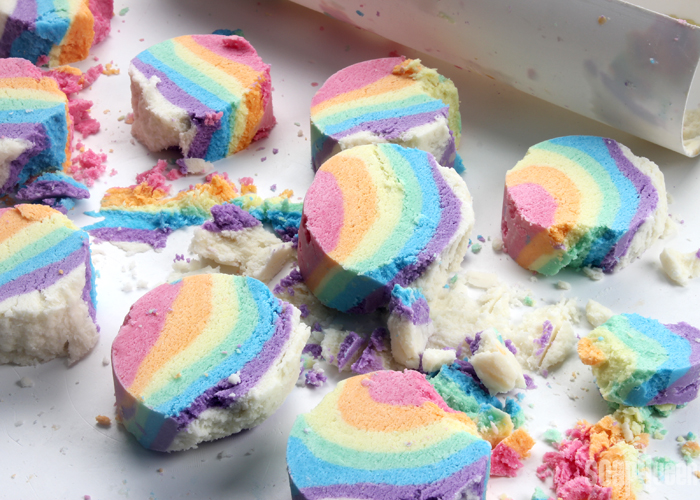 When formulating a recipe, not every batch turns out perfectly! This recipe took four trials to find a recipe and method that worked well together. This batch stuck to the mold liner.
After testing, we decided to ditch the Heavy Duty Column Mold. While it did give the first batch an even, round shape, it just wasn’t working. It was extremely difficult to unmold the bars. It was also hard to find the perfect amount of time to leave the bars in the mold. If they were removed too soon, they were soft and stuck to the mold. If you wait too long, it was harder to umold and they were crumbly to cut. The compromise shown in this tutorial is using the liner to help shape the bars. Then, they are cut immediately while still soft.
If you want to substitute any ingredients in this recipe, it will change the texture of the dough. Changes to the recipe can affect how long you have to work with the dough, how firm the bars become, how easily the bars can be rolled and cut, how it behaves in the tub, etc. In general, I don’t recommend making substitutions for the dry and wet ingredients in this recipe. If you do want to tweak the recipe, consider making a smaller batch with one color to see how the changes affect the texture of the dough and results in the tub.
