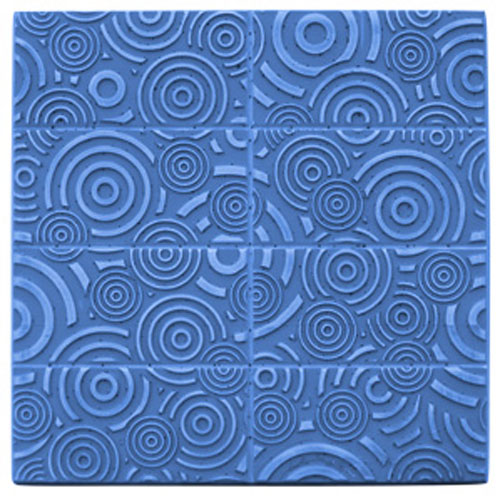
Bubbles Soap Tray Mold (Can’t you just see this with the awesome Neons with a black background?)
Tutorials on soapmaking, bath fizzies, lotions and more
Filed Under: Bramble Berry News
Bubbles Soap Tray Mold (Can’t you just see this with the awesome Neons with a black background?)

Filed Under: Bramble Berry News
Bramble Berry is offering more 3D mold options! Now you can get your 3D molds with a white back and a clear front for $7.75 with an even cheaper option on the way. Soon you will be able to purchase a totally white 3D mold for just $6.50. Why the change you ask? Because of the rising costs of plastic (a petroleum product), we were forced to raise our pricing on 3D molds. We’ve been brainstorming for weeks and came up with the idea to offer more choices so YOU can be in control. If you don’t need clear, you won’t need to pay for that increased plastics cost.
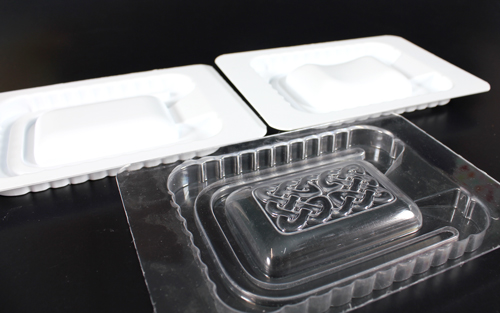
Have you ever made a 3D soap? Learn from Anne-Marie on Soap Queen TV. OR learn how to make a beautifully brushed 3D soap (below) by clicking here. I think this Rosette Mold would look amazing with the dry brushing as well.
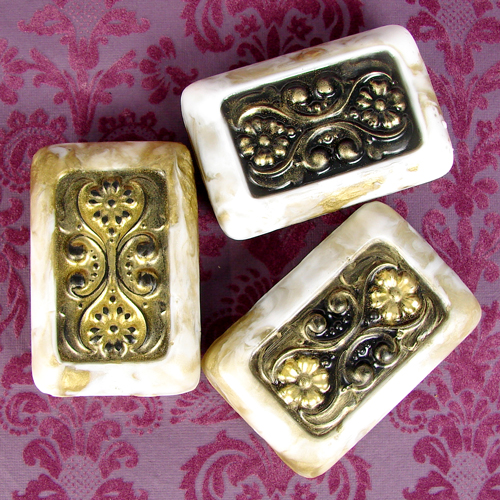
Projects we’ve done with the 3D molds in the past:
Heart Valentine 3-D Molds
Alien Head Soap
Loofah Soap on a Rope
Soap on a Rope – Basic Instructions
3-D Molds – Trimming
3-D Molds – Layering & Coloring Detail
3-D Molds – Pouring & Fill Line
3-D Molds Set Up
I love the 3D molds and the final bars – they’re so smooth and sophisticated. Enjoy the entire line here.
Filed Under: Bramble Berry News
Do you love Bramble Berry’s line of Silicone Kudos Molds? We love them too and it’s time to add more molds to the selection. That’s where you come in. Which molds would you like to see added to the Bramble Berry line?
Take 2 minutes to take the survey and check all of the molds that you would like to see at Bramble Berry! There are 38 fun designs to choose from. Take the survey HERE. Thanks, good luck and have fun!
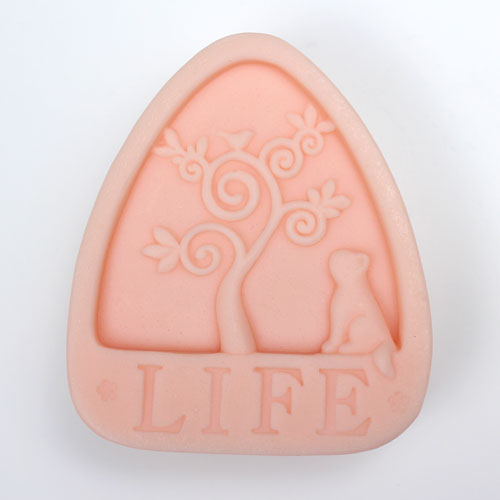
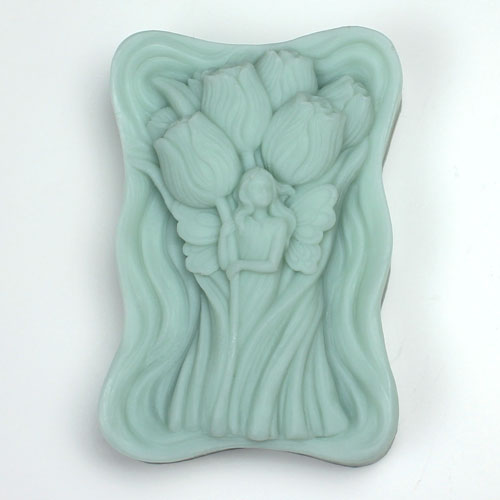
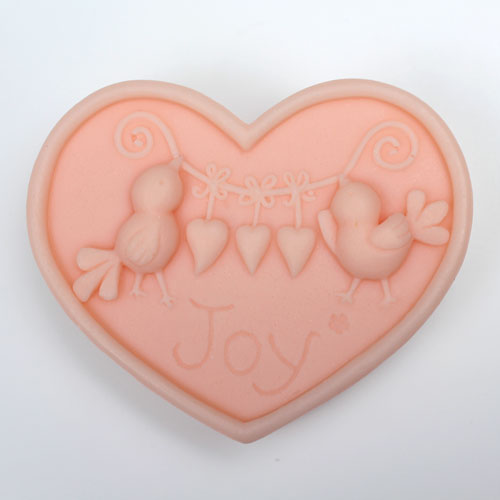
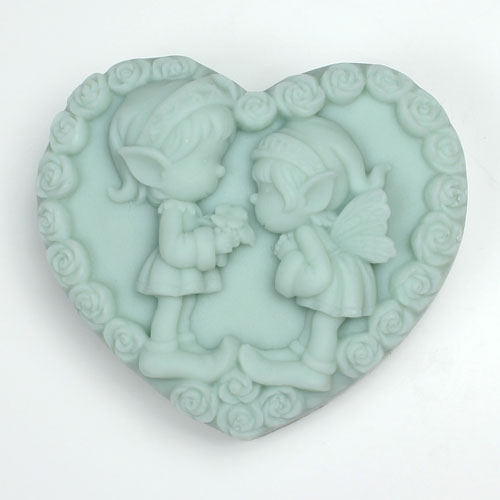
Take the Survey HERE!
Filed Under: Melt & Pour Soap
Filed Under: Bramble Berry News
Filed Under: Bramble Berry News
Filed Under: Melt & Pour Soap
ONE: Melt 25 ounces of Honey Melt and Pour soap base in the microwave and mix in .5- .75 ounces of fragrance oil.
TWO: Whisk the melted soap until you have frothy bubbles on top. Switch between whisking and stirring the soap. The goal is to suspend the bubbles in the soap (to look like carbination). Stir until the soap is gelatinous and pour into the mold. Do not spritz with rubbing alcohol. We’re keeping the air bubbles this time!
THREE: Once the soap has cooled make your frosting recipe for the “foam”. Combine, 5 tablespoons of liquid soap, with 8 ounce of White Melt and Pour and .25 ounces of Honey Ale Fragrance Oil and blend on medium/high with an electric mixer (or super strength elbow grease). See this Soap Queen TV episode on Soap Cupcakes with Whipped Frosting to learn more about soap frosting.
FOUR: Once the beer soap is completely cool and the frosting recipe is frothy, spritz the first layer of soap with rubbing alcohol and pour the soap frosting on top. No spritzing alcohol on the frosting. You don’t want to deflate the beer froth.
FIVE: Once the soap has cooled, carefully release from the mold and cut into adorable cubes and give them away or keep them all to yourself.
Filed Under: Cold Process Soap
As promised (on Facebook; what, you’re not reading our Facebook fan page obsessively? Shame. Shame), my Hot Cocoa Soap recipe in all of its chocolaty goodness! I used an advanced technique called ‘In the Pot Swirl’. Basically, you split up your batch into two different colors and pour 1 color into the second pot in various places. The soap batter naturally swirls the colors together when you pour the soap into the mold (I used the 5 lb Wooden Log Mold). I also used real cocoa powder as my brown colorant then mixed in Super Pearly White Mica (in about 12 ounces of soap batter) for the swirling color. Swirling a thin layer on top adds a nice touch so save a little extra of the Super Pearly White soap. You can use any swirl technique that you want though. If you want to see exactly how the ‘In The Pot Swirl’ technique is done, check out this video to watch the step by step process.
I do have to admit that I made this recipe to test a new fragrance called Hot Cocoa that Bramble Berry is bringing in for the holidays. It’s pure chocolate bliss and passed the cold process test with flying colors. I’ve already ordered it so keep your eyes peeled on the Bramble Berry site. In the mean time, I would suggest a combination of Dark Rich Chocolate and Vanilla Select.
THREE:Pop them on top of your CP soap at thin trace for a sweet accent!
Filed Under: Bramble Berry News
Filed Under: Bramble Berry News
Filed Under: Cold Process Soap
Filed Under: Bramble Berry News
You read it right, get a free soap mold from Bramble Berry! Choose from one of these seven exclusive ELF mold designs; oval massage, tractor, peace sign, slim broad rectangle, slim oval, slim short rectangle, or slim square. See all of your choices here.
To use the coupon you must make a minimum purchase of $25. Just add your items and the free mold you would like to your shopping cart, then enter the coupon code in the coupon field and voilà- the price of the mold will be deducted from your total. Head over to Bramble Berry now, offer ends Friday, June 18th.
Filed Under: Bramble Berry News
Filed Under: Melt & Pour Soap
ONE: Melt 4 ounces of clear soap base in the microwave (about 30 seconds). Once the soap is fully melted, mix in .3 ounces of liquid glycerin, 1 ml of fragrance oil and your non-bleeding (school) colors. I chose Liquid Green to represent one of our local schools, Sehome High. Mix well and pour the soap into the brownie pan mold. Spritz with rubbing alcohol to get rid of those pesky bubbles. Let cool for about 5 minutes.
TWO: In the meantime, melt 4 ounces of white soap base in the microwave (about 30 seconds). Then mix in .3 ounces of liquin glycerin and 1 ml of fragrance oil. I left this layer white but feel free to add a colorant at this time. Mix well.
THREE: Once your first layer of soap has cool and your melted soap is around 120-125 degrees, spritz the first layer with rubbing alcohol and pour the second layer of soap. Spritz again with rubbing alcohol to get rid of any bubbles. Let the layers cool for about 10 minutes.
Tip: Don’t let the soap cool for too long. As soon as it’s hard enough to unmold it’s ready to “roll”. If you wait too long the soap will be harder to work with and you could end up with unsightly cracks (which may drop your grade on the project).
FOUR: Once the soap has cooled, carefully pull the soap out of the mold and place it on a flat surface. Cut the soap in half with a soap cutter or flat edged knife. Then trim up the sides so all of the edges look the same (getting rid of those rounded corners).
FIVE: Start at the skinny end of the soap and roll it all the way up. Then (aggressively) squeeze the middle of the soap to slightly dent it. This will give the soap its “paper like” effect.
SIX: Tie a coordinating ribbon around the soap in a simple bow and you’re done. They’re ready for the party favor bowl!