Breaking News from the Bramble Berry Soap Lab
4 Color Swirl Price Break Down
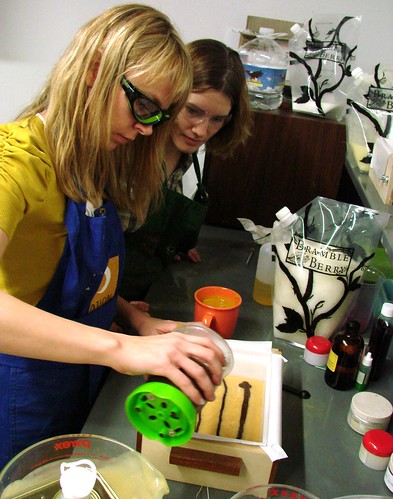
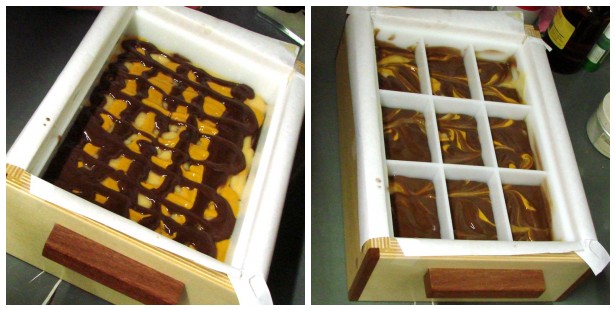
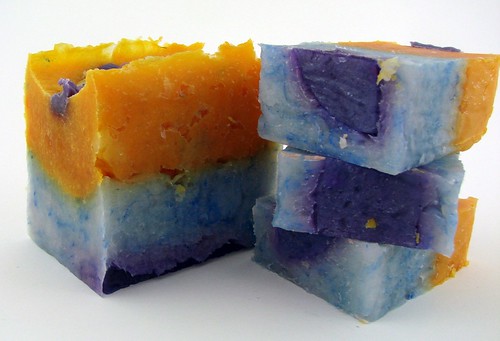
How much does it cost do make 36 bars of handmade soap? Assuming that you have a 36 bar soap mold already, you can make a bar of soap with luxurious ingredients, a fabulous fragrance and eye catching color for just $1.00. Hard to believe? Check out the price break down below.
All of these prices are based off of Bramble Berry’s most popular sizes. Keep in mind that you can save even more money if you buy in larger, bulk sizes! Oh and I found the olive oil at our local restaurant supply store, Cash and Carry.
Fragrance Oil– $1.57 per oz (1 lb size)
Colorant – $4.00 per oz (1 oz size)
Patience. It’s a Soapmaking Virtue.
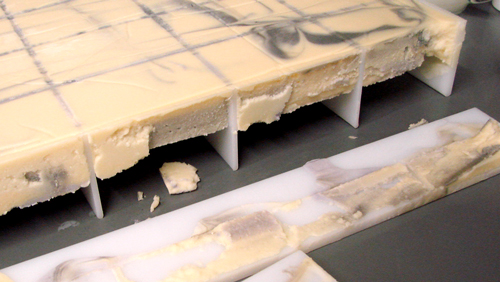
If you follow me on Twitter, you know that the incomparable Amber accidentally ripped the divider off the side of the perfect swirl molds last week. This is what happens if you rip instead of slide.
When you’re using the Divider Molds (soon to be released, I promise), just gently wiggle and slide the side bars up the side of the soap. Always remember to slide the dividers off. Slide. Slide. Slide.
Budget Molds are Back!
 We’re so thrilled and honored to be the exclusive distributor for Soap Mold SuperStore (formally known as Martin Creative). They have reorganized their business and are back and better than ever! These single cavity molds are a fantastic deal (just $3.50 each)! Check out all of the single cavity cuteness HERE!
Cool Heavy Duty Mold Tip

I was on the SoapDishForum this week and saw these great looking Oatmeal, Milk & Honey soaps by hobby soapmaker Wayne in Indiana. Their CP soap turned out great in the Heavy Duty Molds with crisp, clear details. I will admit, I’m a ‘pour into mold and let it sit for a week and the pop out’ kind of soaper but I do like how super crisp their soap turned out. They said: “We do lightly coat them [the molds] with mineral oil (PAM type sprays don’t seem to work here), then put them in the freezer for an hour after an overnight sit. They usually pop out fairly easy.” Thanks for the tip, Wayne!
Desperately Seeking Birchwood Molds
Thank You – Tooling Issue Follow Up
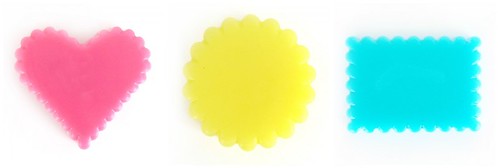
To everyone who helped with the tooling issue a few months back, these are the first perfect molds that we made after utilizing a combination of many peoples’ advice and feedback. Thank you, thank you, thank you!
Wooden Molds and Cutters

To cut my colorful rebatch soap, I used our Wooden Cutter for the 2 and 4 pound molds. This mold comes with the scraper/cutter below and a wooden removable spacer that allows you to cut 4 ounce bars instead of 5 ounce bars. In the picture above, I chose to cut my soap with my kitchen knife (Shhh. Don’t tell my husband).
Coming Soon – Cute New Molds
Bramble Berry Log Molds
We recommend wax paper lining for cold process soap and a plastic (saran wrap or plastic paint drop cloth) for melt and pour soap.
Birchwood Mold Inserts

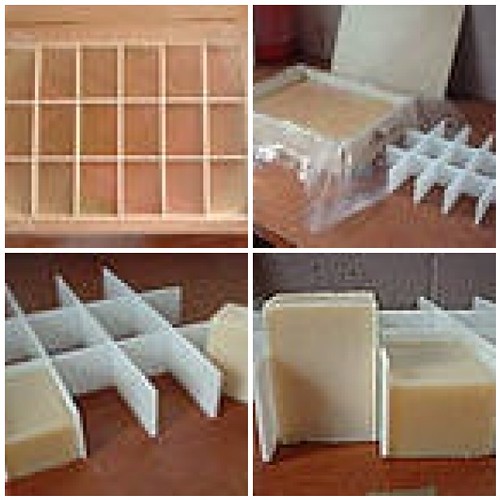
Do you have one of our now-discontinued Birchwood Molds? Have you broken a divider? Do you need another ring?
Rings are free if you pay shipping. Check out the box I just found when cleaning! Just email me info (at) brambleberry (dot) com
Do you need a divider? I found a large box of those as well. They are $6 each. Email me at info (at) brambleberry (dot) com if you want any dividers. Be sure to tell me if you need the 6 or 18 short or long.
Updated: 04/2010 – These molds are now back in stock with a new vendor. Click here to purchase one.
Political Soap


This is an exclusive Bramble Berry mold with lots of possibilities. It’s not just an elephant and donkey to amuse the kiddies (but it would work for that as well). $6.50 here.
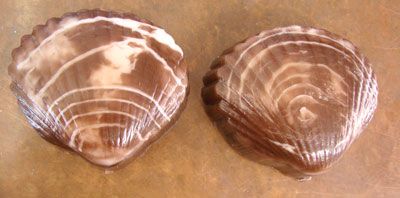
Realistic Clamshell Soaps – Day One
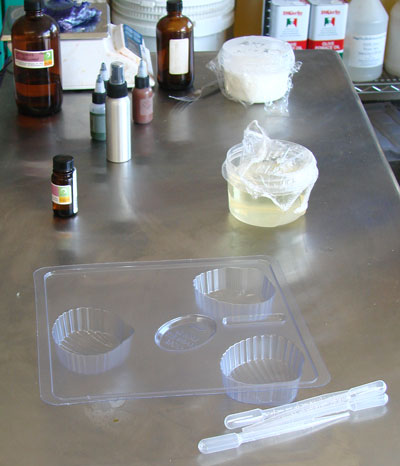
What You’ll Need (4 Bars of Soap):
Pre-heat 4 quart pan of water on simmer (for rinsing your tools)
1 dropperful of Gardenia Fragrance Oil
1 dropperful of Sensuous Sandalwood
6 dropperful of Sea Moss Fragrance Oil
6 oz Shea Butter Melt and Pour Base
32 oz Shaving Melt and Pour Base
4 microwavable containers one large 20 oz and three smaller 8 oz
Straight Metal Fork with Tines
Plastic wrap
Heat your water to a low simmer. Cut your 6 oz of Shea Butter Melt and Pour Base Base into ice cube size pieces, place in one of the small containers, cover with plastic wrap and set aside. Cut 6 oz of Shaving Melt and Pour Base, place in small container, cover with plastic wrap and set aside. Cut another 6 oz of Shaving Melt and Pour Base place in small container, cover with plastic wrap and set aside. Cut about 16—20 oz of Shaving Melt and Pour Base into small pieces, place into the large container and cover with plastic wrap.
At this point you have:
1 small container of Shea Butter Melt and Pour Base Base
2 small containers of Shaving Melt and Pour Base
1 large container of Shaving Melt and Pour Base
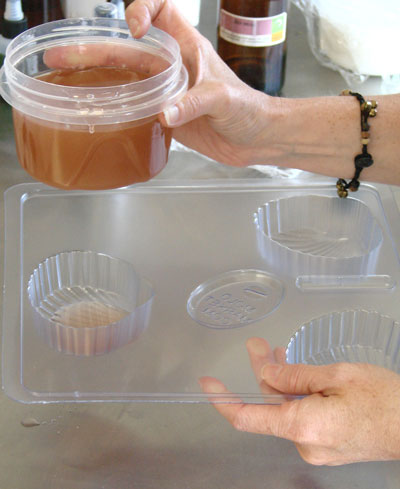
For 30 seconds microwave one of the small containers of Shaving Melt and Pour Base (heat 10 additional seconds at a time if needed) and add a little of brown oxide (not sure how to use oxides in Melt and Pour Soap? Click here to be taken to a tutorial on using Oxides in MP soap) and one dropper of Sea Moss fragrance. The result should be a translucent amber liquid soap that does not burn your pinkie finger. In the photo above, we’re using pre-mixed brown oxide in liquid glycerin. You can make up your own color blend using the instructions referenced above (here).
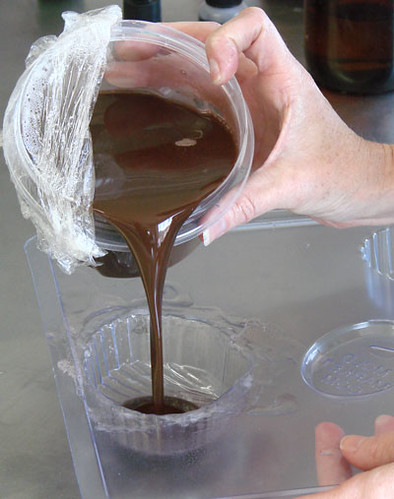
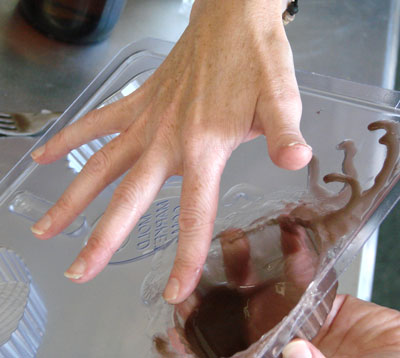
Pour about a Tablespoon and a half of the light translucent soap into one of the cavities and turn the entire mold until you’ve covered the sides and bottom of the mold. The layer doesn’t need to be even or even look like anything special and don’t worry about spilling soap over the sides as you can always wait a minute or two and use the scraper tool to replace any spilled soap into the container it originated from. Do the same for each of the cavities. We call this the “Swirl ‘n’ Twirl” method. Keep rotating the mold around in a circular fashion until the bulk of the soap has hardened up fully on all sides. It’s okay if it’s a little thicker in places.
Now, for 30 seconds take the 2nd small container of clear soap cover it and melt in the microwave for 30 seconds or so and add 5 parts of brown oxide, one part black oxide and one part of green oxide (heat 10 additional seconds at a time if needed, stirring each time); when melted add one dropper of Sandalwood fragrance. The teacher for this method, PJ, likes to scent each layer separately. This is an optional thing. If you’d like one fragrance for all the layers, it won’t affect the integrity of the soap at all.
One at a time, spray with rubbing alcohol the first translucent layer in one of your shell molds and immediately add about a tablespoon and a half of the dark brown soap into the mold on top of the translucent soap, turning the mold until the sides and bottom are mostly covered (imperfections at this layer add to the look of the soap). Keep rotating the mold around in a circular fashion until the bulk of the soap has hardened up fully on all sides. It’s okay if it’s a little thicker in places. Use the scraper tool to replace any spilled soap into the container it originated from.
Check back for the rest of this week as we finish the Clam Shell Project, creating realistic shells out of just soap and a little skill.


