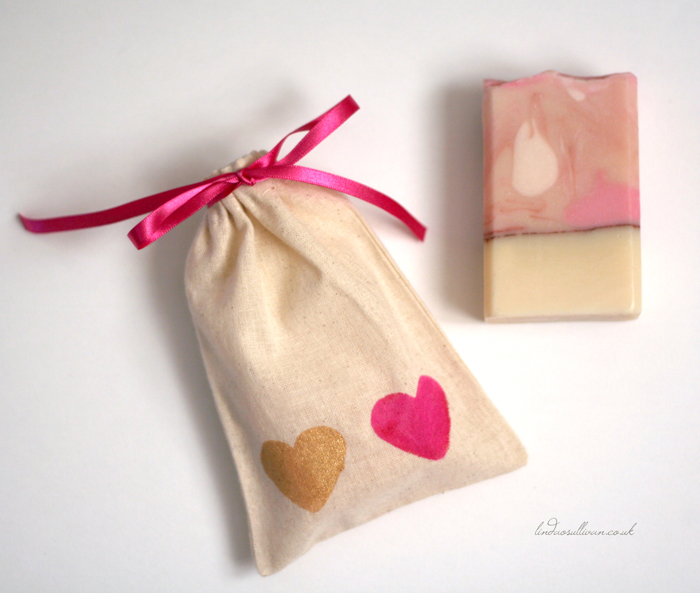
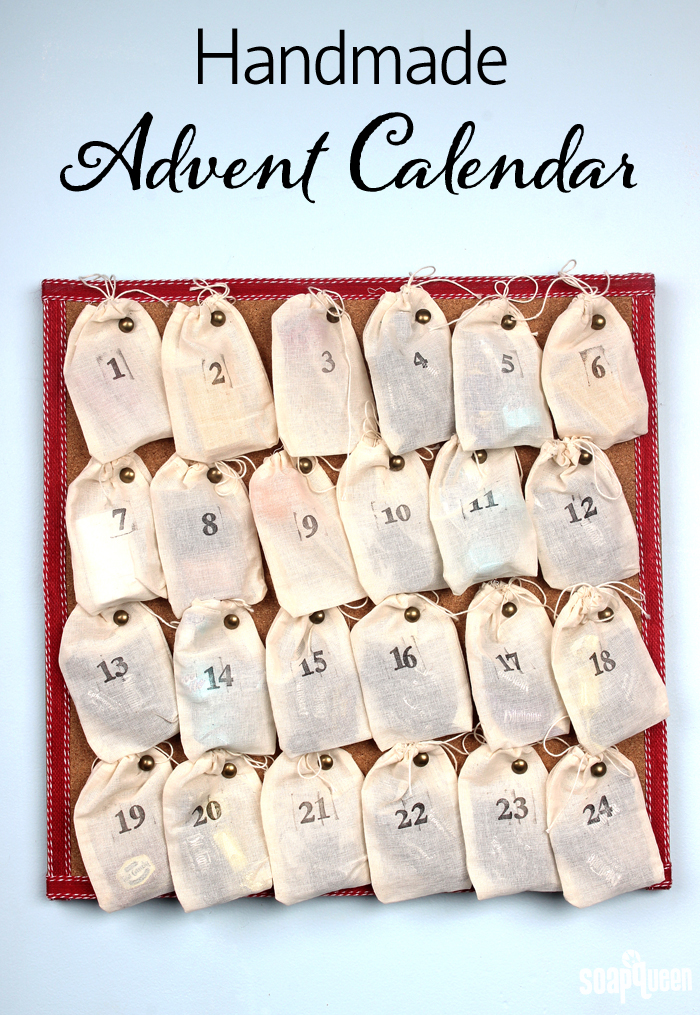
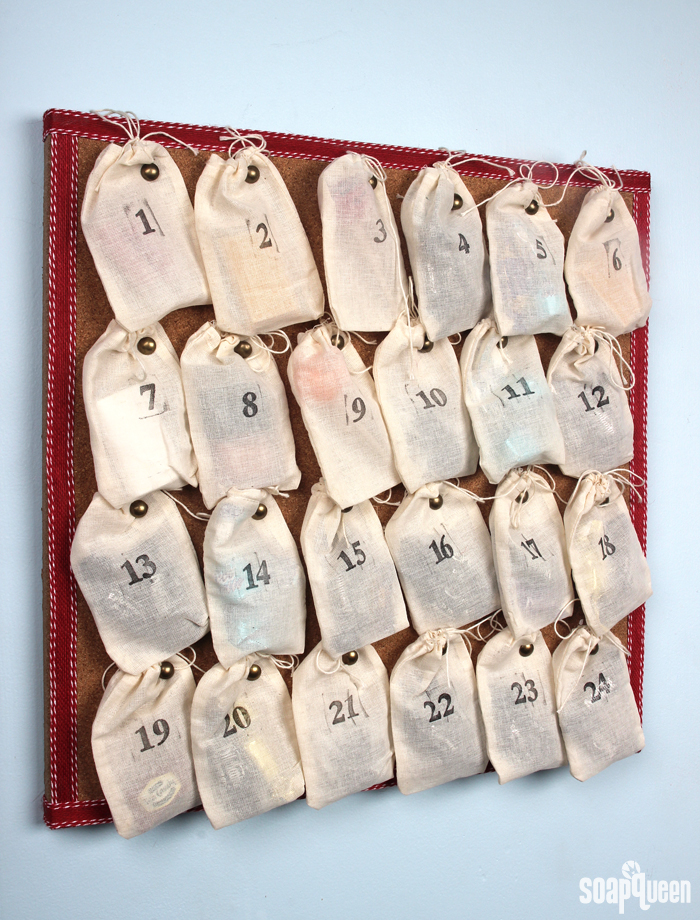
This week, some of my favorite soapers are demonstrating unique and creative packaging ideas with Valentine’s Day flair. How a product is packaged can completely change the look and feel, and is especially important for soapers selling their products. Today, the amazingly creative Linda O’Sullivan is demonstrating a cute technique for dressing up muslin bags. I love how this technique can be customized in so many different ways! -A.M.
———————
Hi, I’m Linda, the soapmaker behind the Linda O’Sullivan website and the Instagram account mimi_and_boo. Today I am going to show you how to embellish muslin bags with fabric paint using a DIY custom-made stencil.
I tend to use two types of packaging for my soaps. Mostly I wrap them with pretty paper dressed with colorful ribbons. However, if I am selling at a market, I like to keep things simple by popping each soap into a muslin bag. I like the muslin bag solution for various reasons. The soap is totally protected, the packaging is minimal and re-usable – so no plastic, no wastage. And last but not least, it’s a very easy option because all you have to do is pop your soap in the bag, attach a label and you’re done!
Muslin bags are very versatile. They are like a blank canvas – you can keep things simple by just stamping them with your logo or design or you can decorate them in various other ways. I like stamping them but sometimes I prefer the brighter, more vibrant colors you can get with fabric paint. As Valentine’s Day is just around the corner, it seemed fitting to choose a Valentine’s Day theme for this project, so let’s get started.
Supplies:
Muslin Bags
Freezer paper
Heart paper punches (I have 3 different sizes)
Pieces of scrap cardstock cut to fit inside your bag
Fabric paint (pink and gold)
Artist paint brush (or a sponge dauber)
Iron
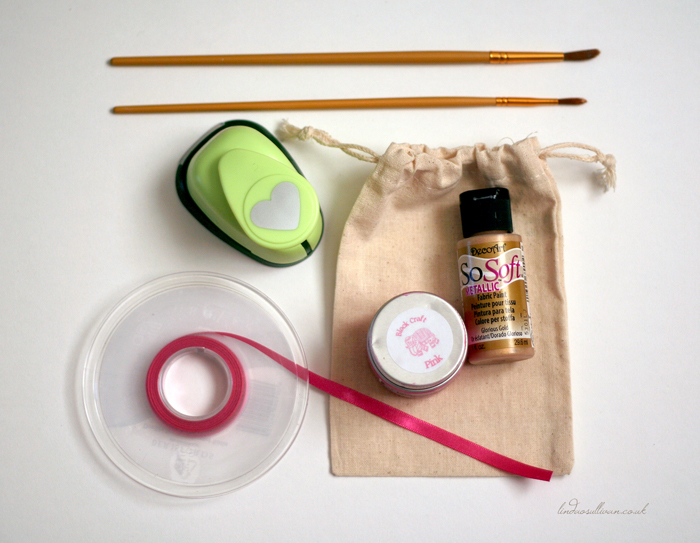
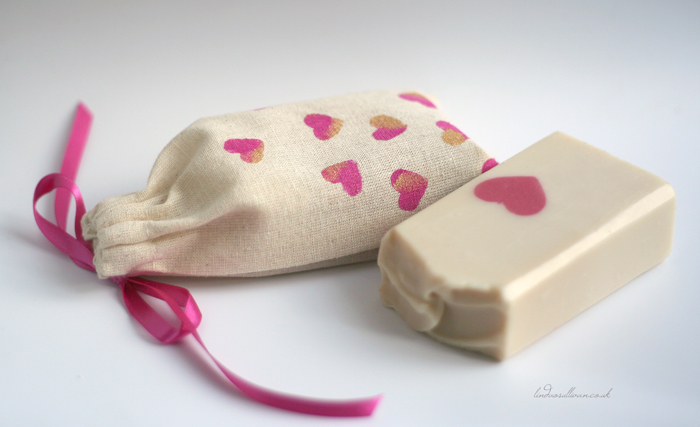
For this design, we are going to paint random little hearts all over the bag. To start, insert a piece of card in your muslin bag. This is so the paint does not bleed through to the back of the bag. Next, we are going to make our own ‘stencils’ using freezer paper. If you are good at drawing and using a craft knife, you could do it that way. I’m not, so I tend to stick to simple, easy designs!
I cut up a few small rectangular bits of freezer paper and used a heart paper puncher to punch a little heart in each bit of paper. You want your bits of paper to be big enough so that there is some space left around the punched out heart. That blank space is important because it is the bit that will stick to the bag, thus creating your stencil.
Place your heart ‘stencils’ shiny side down all over the muslin bag, making sure that the heart shapes do not overlap. Next switch your iron to medium and carefully but gently press over the freezer paper until the heat of the iron makes the shiny side of the freezer paper stick to the muslin bag. You may find it easier to do a couple first, iron over them, then do the next couple and so on.
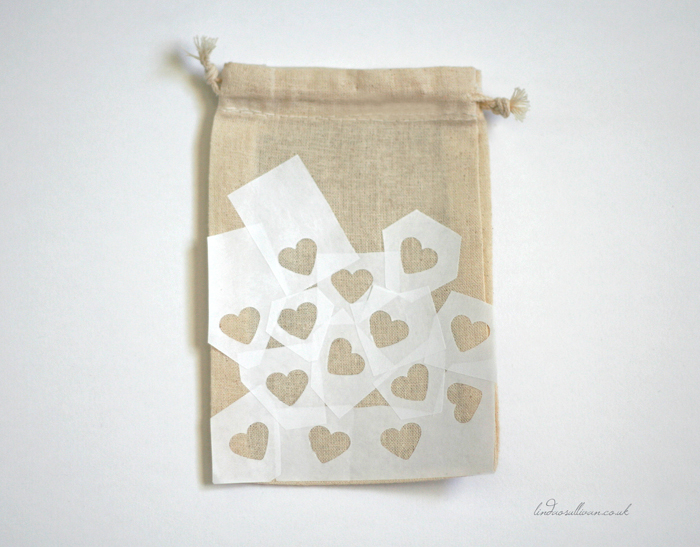
When your stencils are fixed to the bag, use a small brush to dab fabric paint onto your heart stencils.
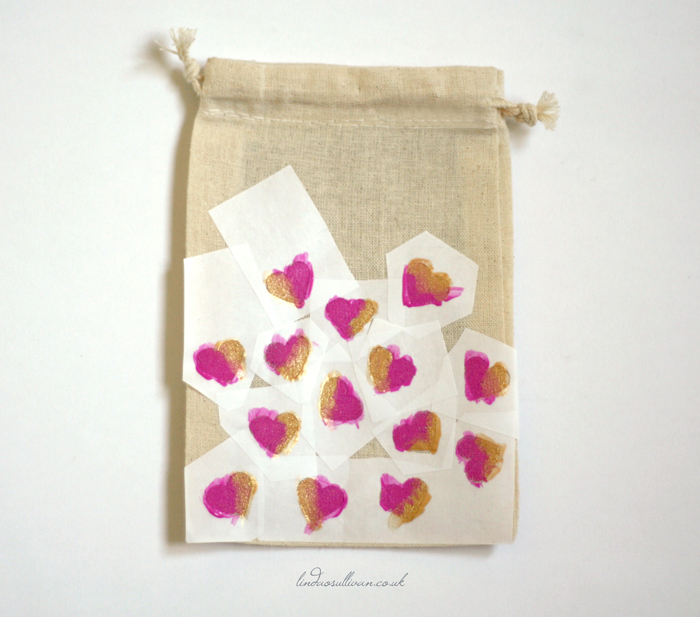
When you’re done, slowly remove the stencil and allow the paint to dry. Once the paint is dry, you can remove the scrap of cardboard from the bag.
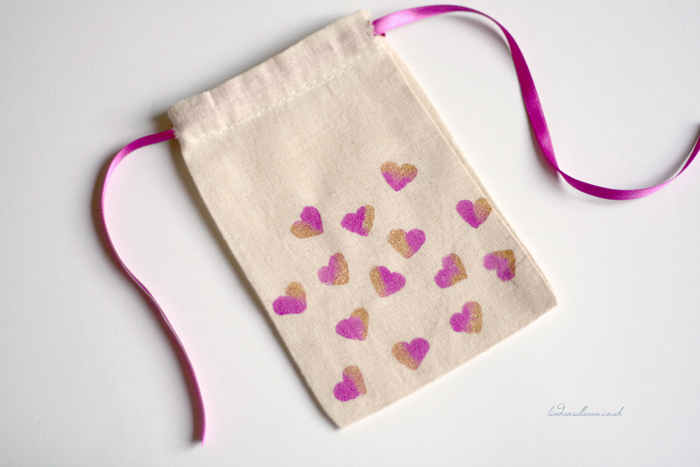
Below are further examples of how I decorated my muslin bags.
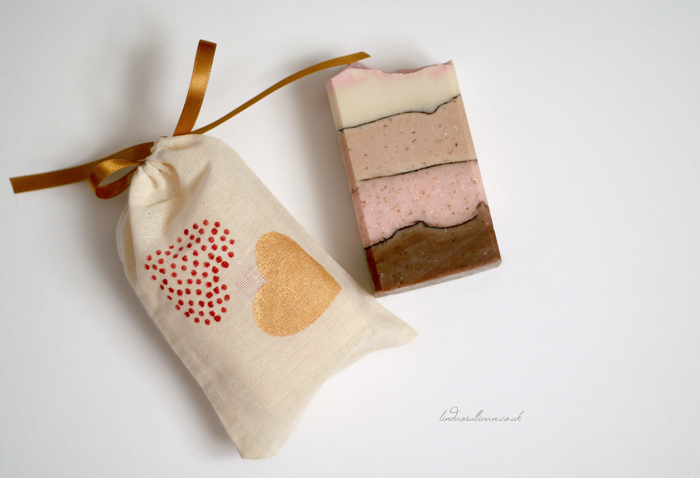
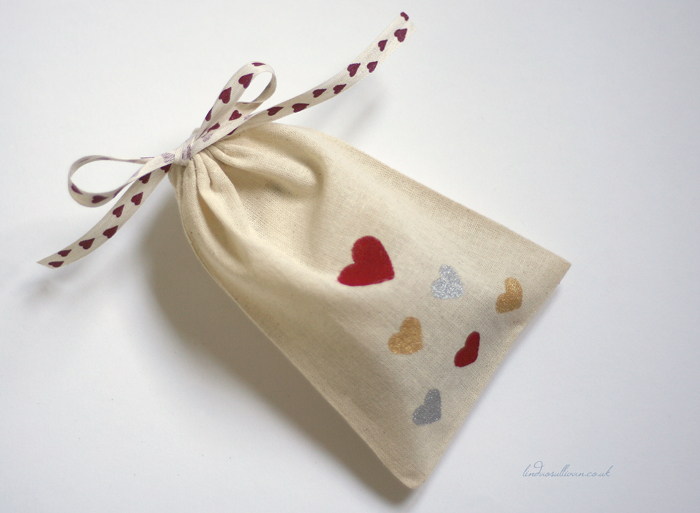
Tip: If you want to do a simpler design, such as just one big heart in the middle, you can make several stencils in one go by placing several pieces of freezer on top of each other. I was able to do 5 in one go with no trouble at all.
