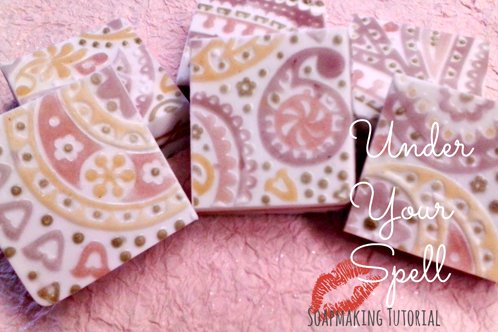
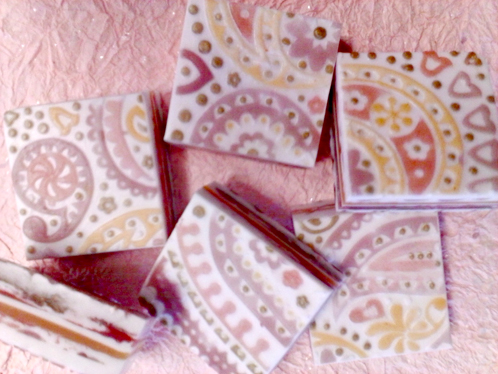
Have you used Bramble Berry’s new Brazilian Clays yet? Otion did and they came up with this fabulous Paisley Melt and Pour Soap that was done exceedingly well. Read on to be inspired and learn how they made it.~A-M PS – This injector tool is the secret weapon of many talented melt and pour artists.
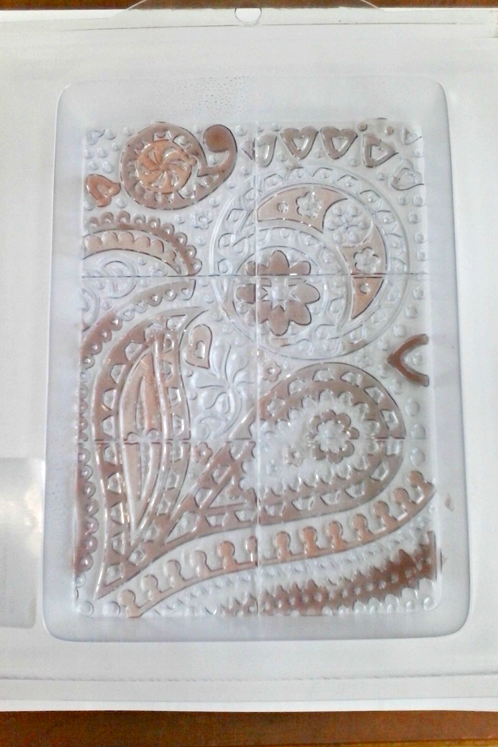
We’re head over heels for these lovely clays, and they’re a perfect for those romantic and sultry colors. We used the Paisley Tray Mold and a Syringe Injector to do the detail work with the purple, yellow, dark red Brazilian clays and heavy metal gold for some sparkly touches.

Ingredients:
1 lb Aloe Vera Melt and Pour Base
Click here to add everything you need for this project to your Bramble Berry shopping cart!
ONE: Cut up and divide your aloe base into 4 mugs. We’ll work with the colors one at a time, so melt one mug and add 1/4 tsp of your first color clay and 3 ml of Lovespell fragrance. Mix well! Use the injector tool to fill in the areas you like, remembering that you’ve got 3 other colors to work with, so don’t fill in everything! You can always go back and change your mind later, so don’t worry too much.
Tip: To see your details better, put your mold on top of a white piece of paper!

Repeat with the rest of your colors until all the detail cavities are filled. Wait for them to cool, and spray liberally with alcohol.
You should have quite a bit of colored soap left over; don’t worry, we’ll use it up!
TWO: Melt 4 oz of shea soap base carefully. We don’t want it too hot, or it’ll melt all that detail work! It should not be steaming, but rather should be cool enough to have formed a thin skin (just like pudding!) on the top of the container. Stir in the skin to melt it, and spray you detail work with alcohol. Pour the shea soap over your details. Allow to harden fully, and spray with rubbing alcohol before the next step.
THREE: Melt back down all your other colors and remnants, and the rest of your shea soap base (12 oz). Add an additional 1/2 oz of fragrance to the melted shea soap. Alternate pouring white with your colors before each layer has hardened fully for a swirled effect, or allow each layer to harden before pouring the next to get crisp layers. (I found I didn’t have enough soap left over to do complete layers).
If you only have a tiny amount of a color left over, like I did with my purple and gold, drizzle over a white background randomly for a lovely marbled effect. Whatever you do, you’ll have color all through your soap so it never gets boring once the design has washed off!

Tips and Tricks:
1. Have a cup of very hot water around to clean out your syringe. Clean it often with the hot water to prevent soap from clogging it up!
2. Patience, patience, patience! Don’t worry about coloring outside the lines, because you can always clean it up later with a tooth-pick or scraper tool. But don’t rush things! If your soap is too hot when you try to use it with the syringe, it will squirt out in big, hard to control puddles.
3. Have fun! This is your work of art, and it’s a great way to spend a rainy afternoon and practice your soap art skills.
