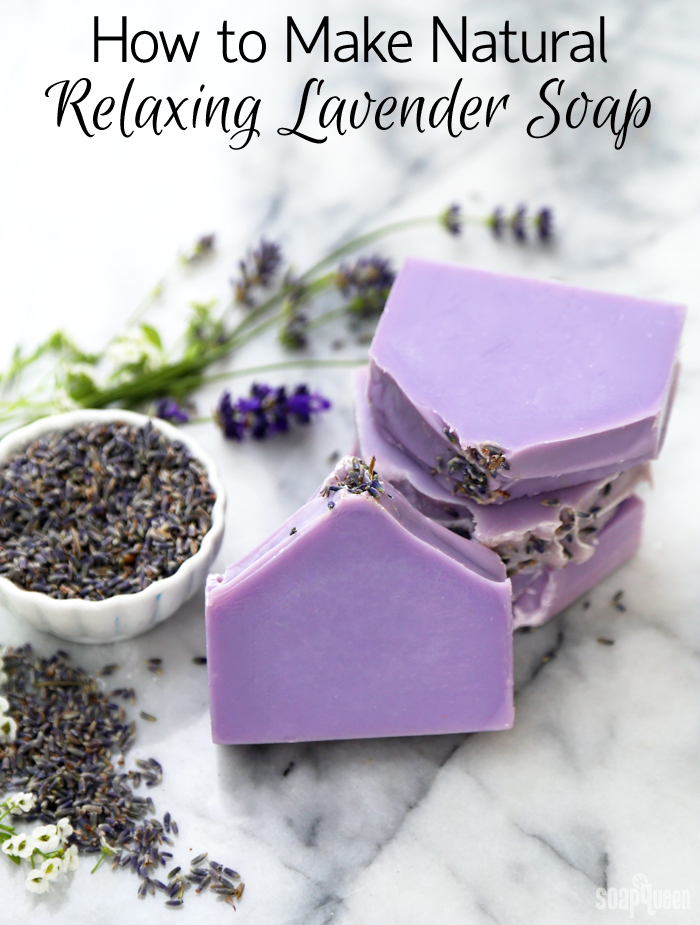
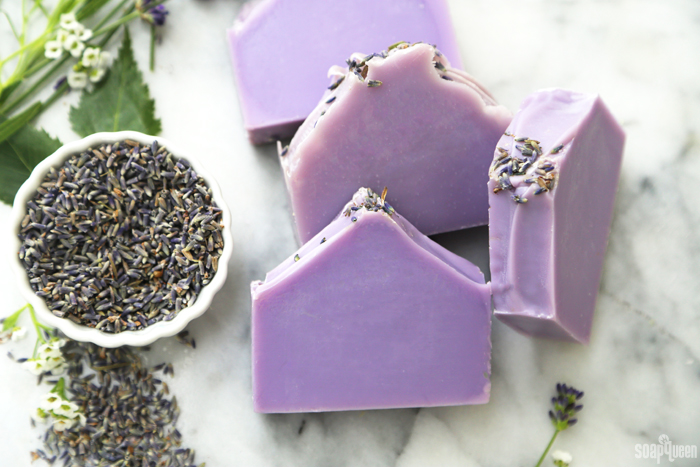
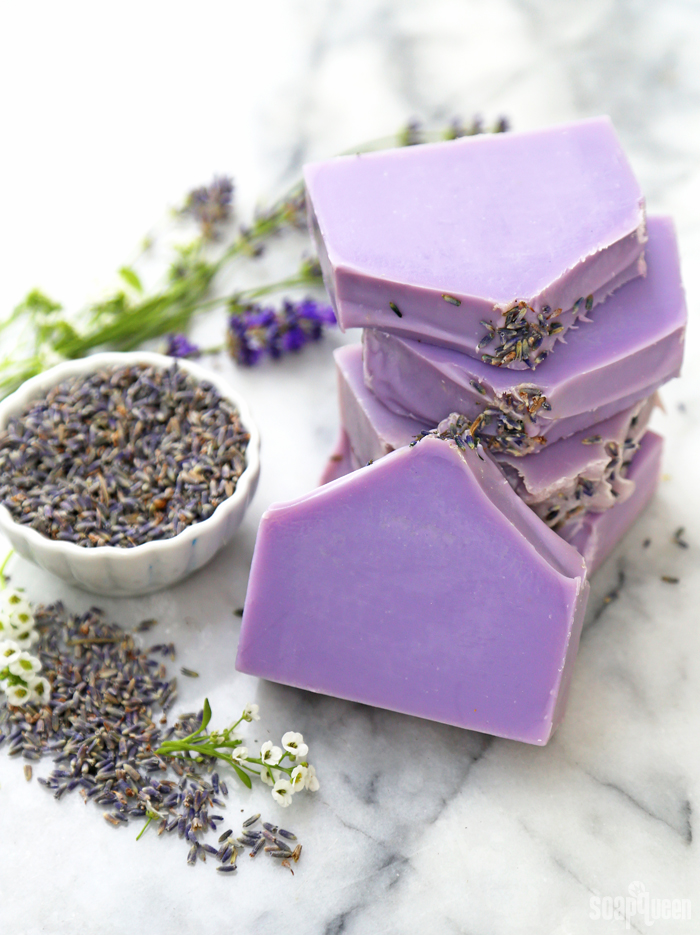
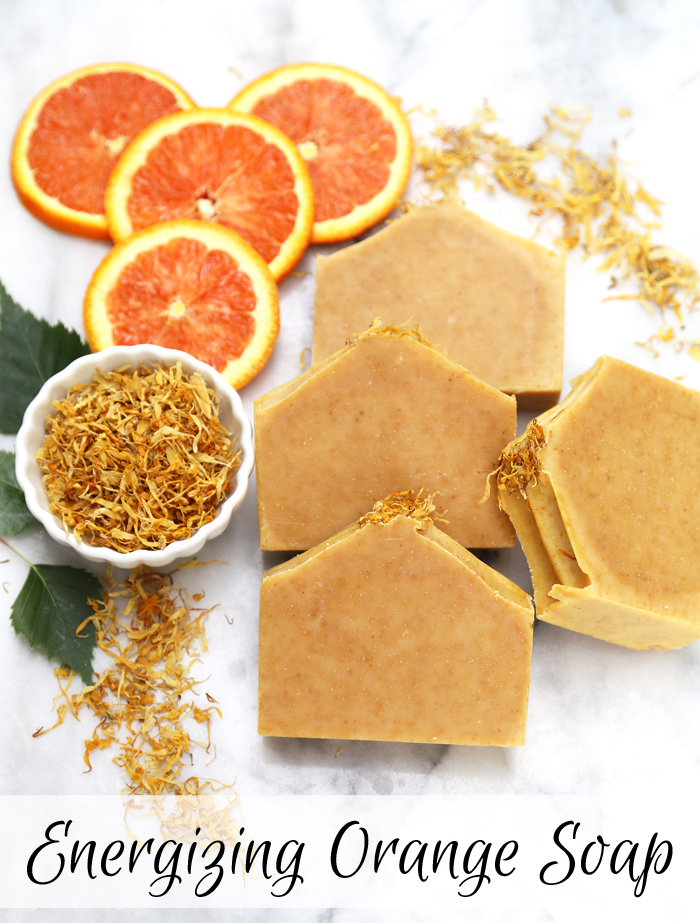
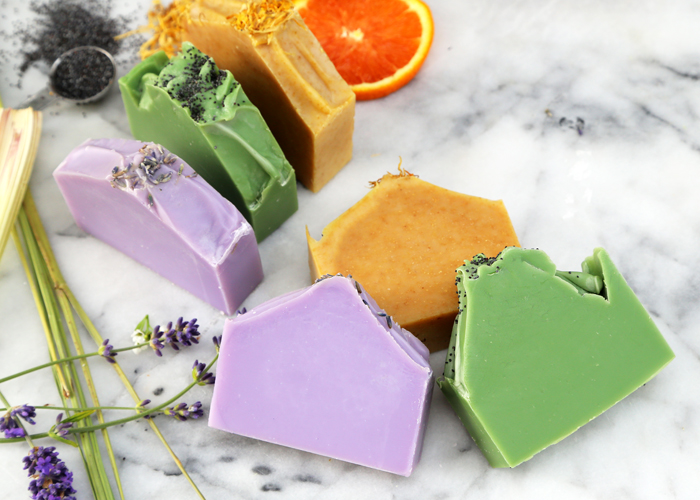
At first glance, making soap can seem intimidating. However, it’s so easy to make! This week we launched the new Natural Soap Kit for Beginners, which includes everything you need to make soap from scratch. It also includes FREE SHIPPING anywhere in the lower 48 United States. The kit has three options made with 100% pure essential oils: Energizing Orange, Refreshing Lemongrass and Relaxing Lavender. Click through the Natural Soap Kit for Beginners post to learn more.
How to Make Natural & Relaxing Lavender Soap
Making natural soap with essential oils is easier than you think. If you’re nervous to give it a try, the new Natural Soap Kit for Beginners was designed with you in mind. The kit includes everything you need to try your first batch of soap made with natural ingredients. You can choose from three pure essential oil options: Energizing Orange, Refreshing Lemongrass and Relaxing Lavender. The kit ships for FREE to the lower 48 United States. Watch the video below to see the Relaxing Lavender Essential Oil Soap made from start to finish.
In the video, you can see just how easy it is. First, mix the lye solution and allow to cool. If you’re unfamiliar with working with lye, watch this video to learn how to handle it safely. The soap is colored with Ultramarine Violet Oxide Pigment for a light purple hue. For this project, the colorant is added directly to soaping oils. Typically, I would disperse the pigment in oil, but since this soap is one solid color you can save a step by mixing it into your base oils. The colorant can also be added to trace with or without dispersing. Because you use the stick blender so much, the chunks get stick blended out. =)
Next, slowly add the lye solution to the soaping oils and begin stick blending to emulsify. Once the lye and oils have emulsified, add Lavender 40/42 Essential Oil to give a calming lavender scent. The essential oil is a blend of many different lavender essential oils to produce a consistent scent year after year (sort of like the concept of a ‘Red Table Wine’ that is the same from year to year in taste). Blend until it’s at thick trace – about the texture of thick pudding. Once in the mold, use a spoon or spatula to create a peak in the center and top the soap with lavender buds. Lavender buds tend to go brown if used inside soap, but remain a lovely purple if placed on top.
After about 2-3 days the soap can be unmolded and cut into bars. Then, the soap cures for 4-6 weeks to allow water to evaporate. This produces a harder, longer lasting bar of soap. It’s now ready to use or give to friends and family! In addition to free shipping, the Natural Soap Kit for Beginners also includes cute labels that you can cut and wrap around each bar for a professional look.
Soap Recipe:
Most of the items below are supplied in the Natural Beginner Soap Kit. See all contents of the kit here.
10″ Silicone Loaf Mold
33 oz. Lots of Lather Quick Mix
10 oz. Distilled Water
4.7 oz. Sodium Hydroxide Lye
2 tsp. Sodium Lactate
2 oz. Lavender 40/42 Essential Oil
1 tsp. Ultramarine Violet Oxide Pigment
Lavender Buds
99% Isopropyl Alcohol in Spray Bottle
Click here to add everything you need for this project to your Bramble Berry shopping cart and get *free shipping* on this kit!
- 10" Silicone Loaf Mold
- 33 oz. Lots of Lather Quick Mix
- 10 oz. Distilled Water
- 4.7 oz. Sodium Hydroxide Lye
- 2 tsp. Sodium Lactate
- 2 oz. Lavender 40/42 Essential Oil
- 1 tsp. Ultramarine Violet Oxide Pigment
- Lavender Buds
- 99% Isopropyl Alcohol in Spray Bottle
- In a durable, heat-safe, non-metal container, measure out 4.7 ounces of sodium hydroxide lye flakes. In a separate durable, heat-safe, non-metal container, measure out 10 ounces of room temperature distilled water. Slowly and carefully add the lye to the water and gently stir until the lye has fully dissolved. Do not add the water to the lye. As you stir, the mixture will emit fumes; do not breathe them in. The lye mixture will heat to about 180-190 ° F. Label the container “DANGER: LYE” and place in a safe space to cool until about 120-130 ° F. This takes about an hour.
- While the lye solution cools, prep the oils. Fully melt the entire bag of Lots of Lather Quick Mix in the microwave or in a double boiler until there are no chunks or cloudiness. If melting the oils in a double boiler, do not let the bag touch the sides or bottom of the pot, or the plastic bag can melt. Once the oils are completely melted, give the bag a good shake. Measure 33 oz. of oils into a large, non-aluminum bowl capable of holding at least 50 ounces. Set aside.
- Measure 2 ounces of the Lavender 40/42 Essential Oil into a glass, fragrance oil safe container. Set aside.
- The ingredients are now prepped! Check the temperature of your lye solution and oils. To soap, the oils and lye should be 110-130 ° F. If you took off your safety goggles and gloves, place them back on. Once your oils and lye are in that temperature range, carefully add 2 teaspoons of sodium lactate to the lye solution and use a spoon to gently stir in. Wash off spoon immediately. Now, let’s soap!
- Add 1 teaspoon Ultramarine Violet Oxide Pigment directly into the measured bowl of oils. Place the stick blender into the oils, and “burp” it by tapping the head of the blender on the bottom of the bowl. This will release bubbles trapped inside the blender. Pulse the stick blender for about 30 seconds to disperse the colorant and get rid of large chunks.
- Slowly and carefully add the lye solution to the oils. Pulse the stick blender on and off to begin emulsifying the oils and lye together. Continue to pulse the stick blender for 15-20 seconds and then use it to stir the mixture.
- Once you start blending, the mixture will begin to look creamy. After about 1 minute of blending and stirring, the oils and lye will be combined and the soap will be the texture of thin pudding. This is thin trace!
- Add the Lavender 40/42 Essential Oil into the soap. Use the stick blender to completely blend in the essential oil.
- At this point, the soap batter will have thickened slightly. As you continue to stick blend, it will become thicker. Continue to stick blend the soap batter until it is the texture of thick pudding and is able to form peaks.
- Once the soap has thickened, pour the batter into the 10” Silicone Loaf Mold. Tap the mold firmly on the counter to release bubbles. Use a spoon to mound the soap in the center of the mold, forming a peak in the center. If the soap is not holding its shape, allow the soap to sit in the mold for 2-3 minutes, then continue mounding in the center. There is no right or wrong way to create texture on the top of soap, have fun with it!
- Once you’re happy with the top of the soap, sprinkle lavender buds on the top of the soap. Spritz the top of the soap with 99% isopropyl alcohol.
- The soap needs to sit and harden in the mold for 2-3 days. It can be hard to wait, but it’s worth it! After two days, pull the sides of the mold away from the soap. If it releases easily, pull the other two sides away from the soap and gently press from the bottom to release the airlock. Gently and carefully, remove the soap and place on a cutting board. If the sides of the mold do not easily release, give the soap another day to harden in the mold.
- Using a sharp, non-serrated knife, cut the soap into bars. To prevent the lavender buds from creating drag marks, lay the soap on its side and cut the bars. Once the loaf is cut into bars, they need to cure for 4-6 weeks. During this time water evaporates from the bar, which creates a firmer and longer lasting bar of soap. Enjoy!
New! Natural Soap Kit for Beginners
I know that just because you read my blog doesn’t mean you’ve made cold process soap before. In fact, I know many of my readers have never made soap, and given how much I love it, I wanted to find an easy way for you to start. Now this may sound crazy, but the truth is cold process soapmaking is easier than melt and pour. It’s true! Once you get past the fear of using lye (it’s just like driving a car – you need to take basic safety precautions) you’ll find that making cold process soap gives you more time to work on the design and a final bar of soap that lasts longer. Making and using handmade soap is a great way to eliminate harsh chemicals from your shower. The new Natural Soap Kit for Beginners was designed with the first time soapmaker in mind to learn how to make soap, but I think experienced soapmakers will love it too. The kit includes 100% pure essential oils, natural botanicals, basic soapmaking tools and a reusable mold.
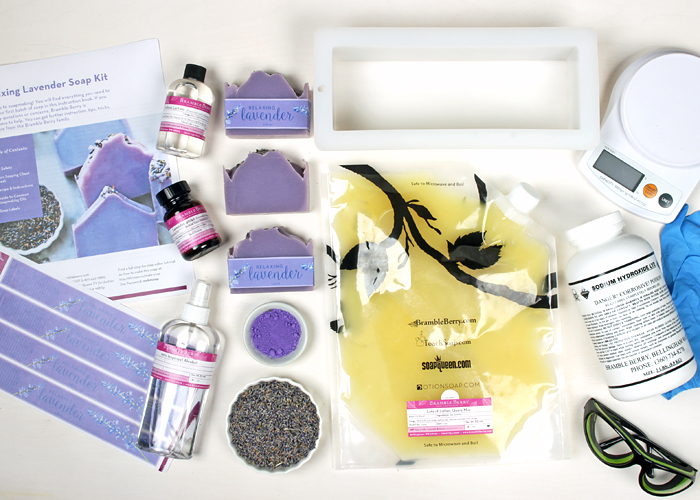
From mixing your oils to labeling your bars, this kit will walk you through every step of the soapmaking process. The kit includes printed instructions, lye safety information and an exclusive how-to video that I made just for this kit. To keep the price of the kit down it doesn’t include all of the tools – you need to supply a stick blender, distilled water and a mixing bowl, but I was able to get a small digital scale (and, **free shipping**!) in the kit. Below are the basics that come with each kit and then I want to tell you about the essential oils I’ve chosen to highlight in each option:
\Each kit also includes FREE SHIPPING anywhere in the lower 48 United States. Free shipping applies to the kit only. If additional items are added to your order, those items are subject to normal shipping rates. The kit will be sent in a separate box from other items in the order.
Additional Instruction & Materials
- Step-by-Step Instructions
- Lye Safety Guide
- Guide to Common Soapmaking Oils
- Bar Soap Labels that follow FDA rules
- Exclusive Online Instructional Videos made just for this kit
Shown above are the contents of the Natural Soap Kit for Beginners in Relaxing Lavender.
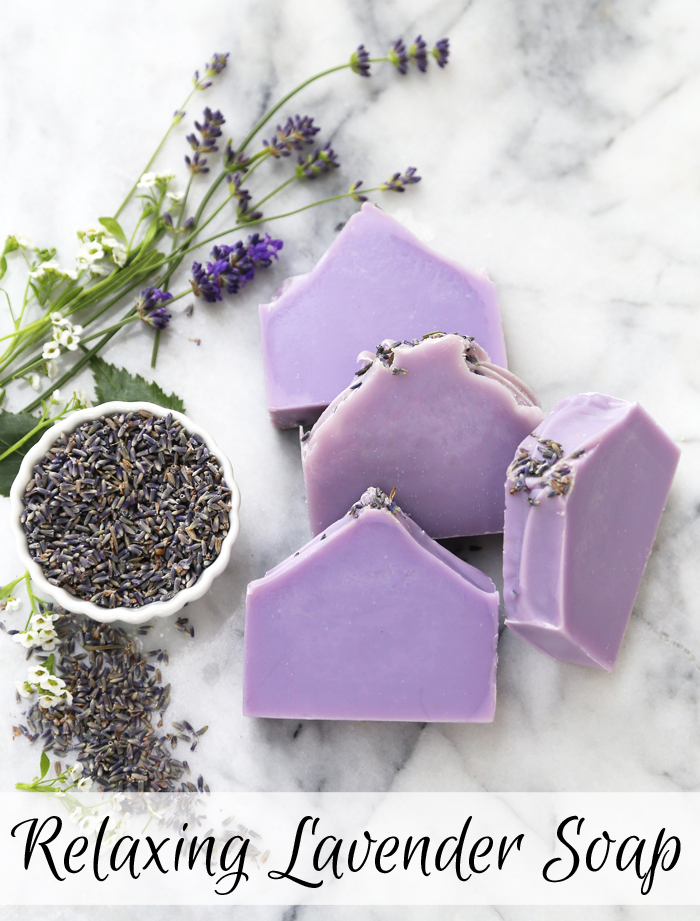
Once you purchase the kit, you will have access to an exclusive page featuring 10 soapmaking videos to get you started. First is the video I made with my friend Courtney, where I show her how to make the soap in the kit. We had so much fun, I think you might see her pop up in more of our videos! Several of the videos show you how to specifically create the soap in the kit, while some go over more general soapmaking knowledge important for the beginner and a great reminder for the experienced soaper.
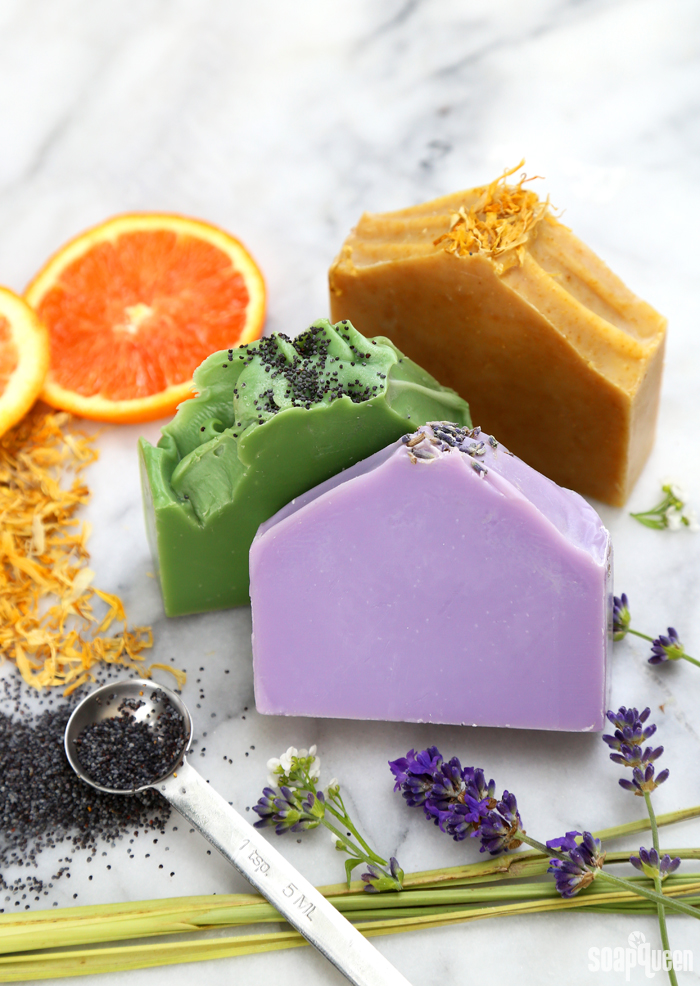
You can choose from three different kit options: Energizing Orange, Refreshing Lemongrass and Relaxing Lavender. In addition to all the ingredients and tools listed above, each kit includes a different 100% pure essential oil, colorant and botanical topping. Check out each gorgeous, natural option below! Which is your favorite?
The Relaxing Lavender Kit features lavender 40/42 essential oil – which is just a blend of many different lavender essential oils to produce a consistent scent year after year. It also has dried lavender buds, which will turn brown if you put them in your soap but when sprinkled across the top add a lovely finishing touch.
2 oz Lavender 40/42 essential oil (scent) |
0.2 oz Ultramarine Violet Oxide (colorant) |
3 oz Lavender Buds (soap topper) |
Click here to add everything you need for this project to your Bramble Berry shopping cart and get *free shipping* on this kit!
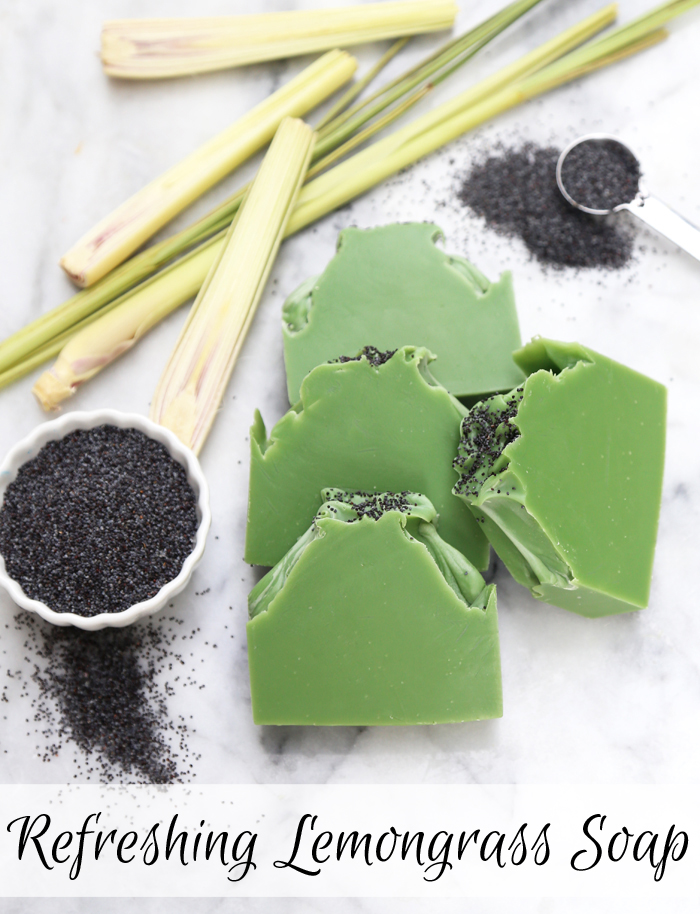
The Refreshing Lemongrass Kit features lemongrass essential oil, which is so lovely and fresh, and reminds me of warm noodle soups. This option includes black poppy seeds which look so striking in soap.
2 oz Lemongrass Essential Oil (scent) |
0.2 oz Chrome Green Oxide (colorant) |
3 oz Poppy Seeds (soap topper and exfoliant) |
Click here to add everything you need for this project to your Bramble Berry shopping cart and get *free shipping* on this kit!
The Energizing Orange Kit features orange 10X (pronounced ten fold) essential oil, which is distilled 10 times. This is what allows that fresh citrus zing to shine through the soap. Topped with bright yellow dried marigold petals, this kit makes a soap that evokes summer.
1.75 oz Orange 10X Essential Oil (scent) |
3 oz Orange Peel Powder (colorant and exfoliant) |
3 oz Marigold Petals (soap topper) |
Click here to add everything you need for this project to your Bramble Berry shopping cart and get *free shipping* on this kit!
If you’ve been thinking about trying soapmaking for the first time, the Natural Soap Kit for Beginners is the perfect way to start. Say hello to natural soapmaking and share it with your family, your friends and especially your skin. I can’t wait to see your projects!